This fruit punch ice cream recipe delivers the best easy homemade version for cooks who want big flavor with minimal effort. In one straightforward method, you’ll turn simple fruit punch and creamy ingredients into a smooth, scoopable ice cream without complicated equipment or tempering. You’ll also get clear guidance on texture—so it freezes properly every time.
Fruit punch ice cream is easy to make at home: mix fruit punch with a creamy base (heavy cream or sweetened condensed milk) and freeze until scoopable. This recipe focuses on a simple, reliable process that delivers bright, nostalgic flavor while using practical techniques—like chilling the base and controlling ice-crystal formation—to help you get a smooth texture without specialized equipment.
Gather Ingredients for Fruit Punch Ice Cream

To make this fruit punch ice cream recipe, you only need a few core ingredients, but choosing the right version of each one strongly impacts flavor and texture.
– Choose your favorite fruit punch flavor (juice concentrate or prepared punch works)
– Best results: Use a fruit punch that’s already sweet and tangy. If you’re using concentrate, dilute it according to the label so the sweetness and acidity match what you’d expect in a “punch” drink.
– Flavor notes to watch: Many fruit punches are citrus-forward and slightly berry-like. That acidity helps “wake up” the dairy and prevents the final ice cream from tasting flat.
– Use a creamy base like heavy cream, half-and-half, or sweetened condensed milk
– Heavy cream: Produces the richest, creamiest scoop, with the least icy texture.
– Half-and-half: Lighter than heavy cream, but still smooth when you follow chilling and proper freezing steps.
– Sweetened condensed milk: Adds sweetness and helps reduce ice crystals because it contains sugar and dairy solids that “bind” water. It’s a go-to for easy no-churn results.
– Add optional boosts like vanilla extract or a pinch of salt for balance
– Vanilla extract (¼–1 tsp): Rounds out fruit flavors and gives the ice cream a more “dessert” finish.
– Pinch of salt: Makes sweetness taste more natural and reduces the chance of a one-note, candy-like flavor.
Quick ingredient ratio (so you can scale confidently):
A reliable starting point is 1 cup fruit punch + 2 cups dairy base (adjust slightly if your punch is extremely sweet or very concentrated). You’ll fine-tune sweetness later by taste before freezing.
Fruit Punch Ice Cream: Flavor & Texture Impact by Base (Batch ~ 1 Quart)
| # | Cream Base | Typical Texture | Sweetness Relative | Scoopability Rating |
|---|---|---|---|---|
| 1 | Heavy cream (no churn) | Thick & rich, mild iciness | Medium | ★★★★★ |
| 2 | Heavy cream (churned) | Very smooth, airy | Medium | ★★★★☆ |
| 3 | Half-and-half (no churn) | Creamy, slightly softer scoop | Medium-Low | ★★★☆☆ |
| 4 | Half-and-half (churned) | Smooth with less richness | Medium-Low | ★★★★☆ |
| 5 | Sweetened condensed milk (no churn) | Creamy, best anti-ice-crystal effect | High | ★★★★★ |
| 6 | Condensed milk + cream (churned) | Ultra-smooth, dessert-like body | High-Medium | ★★★★★ |
| 7 | Light cream alternative (higher water) | More ice crystals, less body | Variable | ★★☆☆☆ |
Prep the Base for a Smooth Texture

The smoothness of your fruit punch ice cream depends more on how you prepare the mixture than on fancy tools. Use the following steps to keep the base homogeneous and stable during freezing.
– Whisk the fruit punch into the dairy until fully combined
– Add the fruit punch slowly while whisking, especially if your dairy is cold. This reduces the chance of streaks and ensures the mixture thickens evenly as it chills.
– If your fruit punch is concentrated and slightly syrupy, whisk a bit longer to fully disperse it.
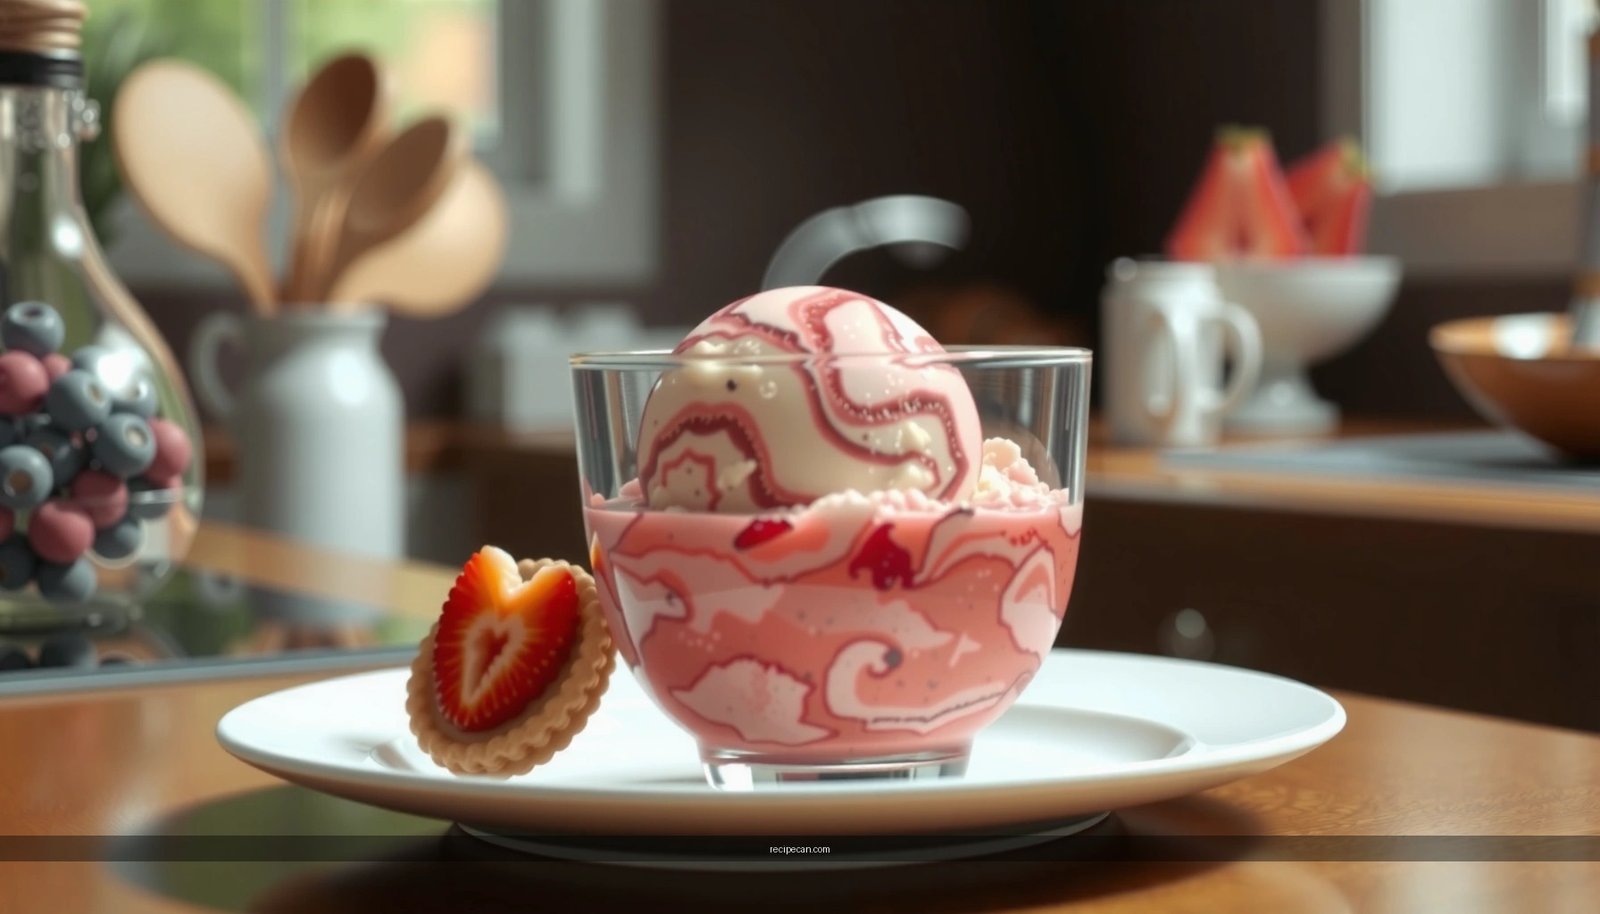
– Strain if needed to remove pulp for a smoother finish
– If your fruit punch includes pulp or “bits,” strain it through a fine-mesh sieve. This prevents grainy ice crystals and gives you that clean, scoopable texture.
– If you love the texture of small fruit bits, you can skip straining—but expect a more “chunky” mouthfeel.
– Chill the mixture before freezing to improve texture
– Chill for at least 2 hours (or up to overnight). Cold mixtures freeze more evenly, which helps control ice crystal growth.
– This step is especially important for no-churn fruit punch ice cream, where stirring is the main anti-ice-crystal tool.
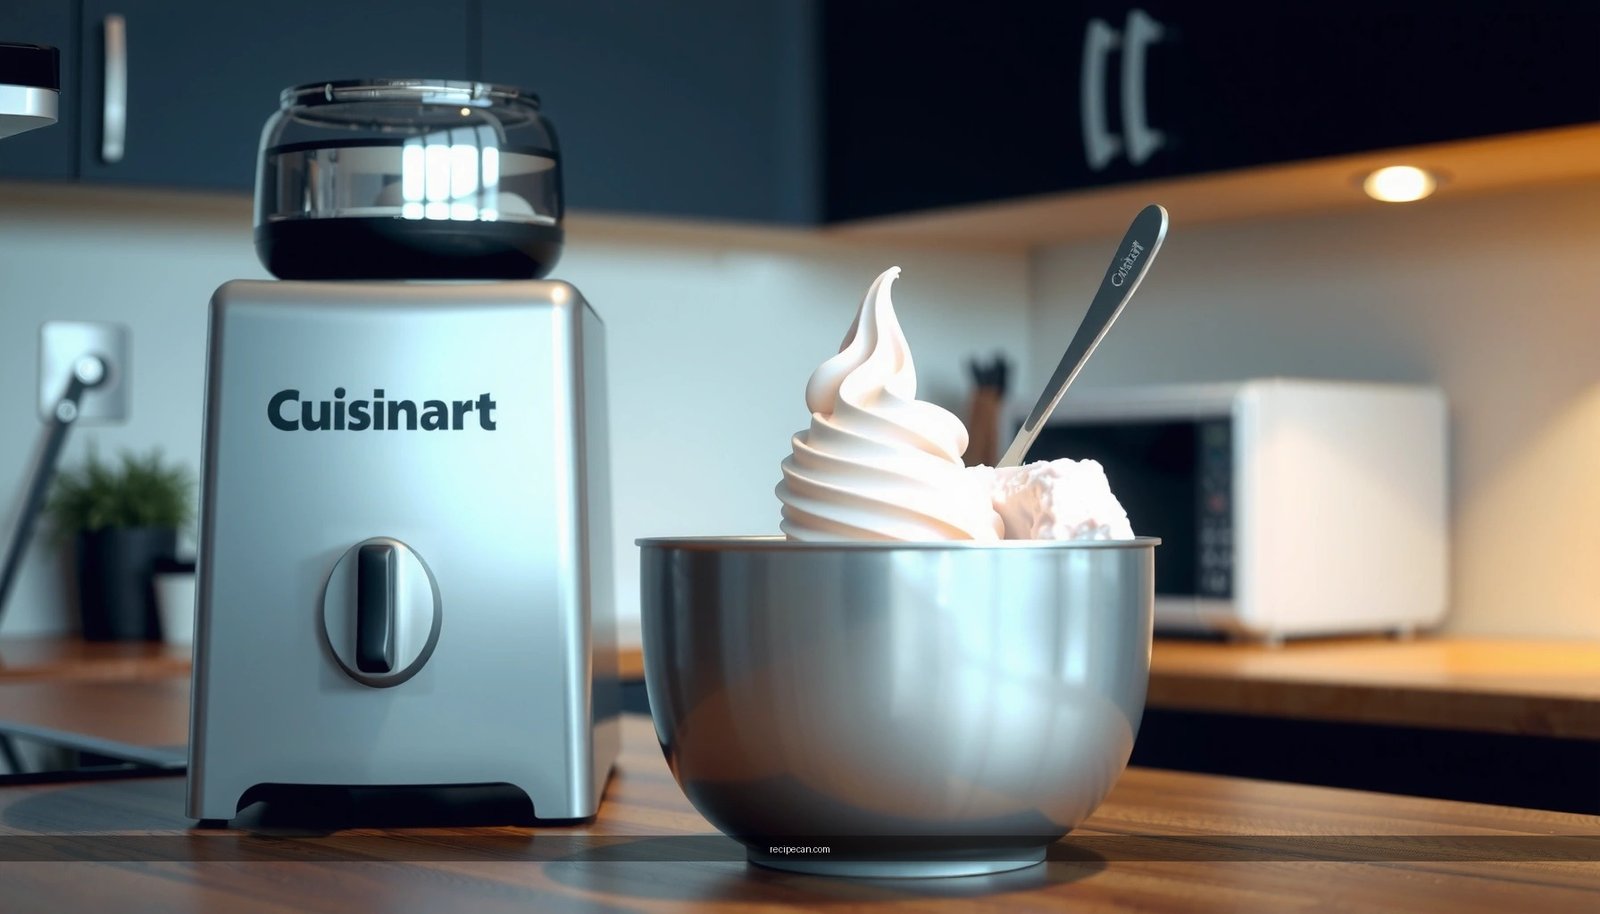
Choose Your Churning Method (or No-Churn)

You don’t need complicated equipment—but your method determines how smooth the final texture will be. Consider your time and tools first.
– Churn: use an ice cream maker for a creamier, airier result
– Churning incorporates air while continuously freezing, creating smaller ice crystals and more stable structure.
– Once churned, freeze briefly to firm up, then serve slightly softened for the best scoop.
– No-churn: freeze in a shallow container and stir regularly to prevent ice crystals
– Pour your chilled mixture into a shallow, wide container. The larger surface area helps the mixture freeze more evenly.
– Stir every 30–45 minutes during the first 2–3 hours, then every 1–2 hours if needed until the texture thickens. This repeatedly breaks up forming ice crystals.
– Pick the method based on whether you have an ice cream maker
– If you have an ice cream maker, churn for the most “classic ice cream” feel.
– If you don’t, no-churn works extremely well with sweetened condensed milk because the sugar and solids reduce iciness.
Freeze and Set Properly
Proper freezing is where most homemade batches succeed or fail. Aim for “firm but scoopable,” not rock-hard straight from the freezer.
– Freeze until firm but scoopable (timing varies by freezer)
– Typical no-churn time: 6–10 hours.
– After churning: 2–4 hours is often enough, since the machine has already built structure.
– Stir/churn during the first hours for best consistency
– For no-churn, the early stirring schedule matters most. Don’t wait until it’s fully frozen before you start mixing—by then, large ice crystals may have already formed.
– For churned ice cream, follow your machine’s timeline, then freeze briefly only to firm.
– Let it soften briefly before serving for easier scooping
– Let fruit punch ice cream sit at room temperature for 5–10 minutes. This slightly warms the fat and softens the ice crystals for a creamier bite.
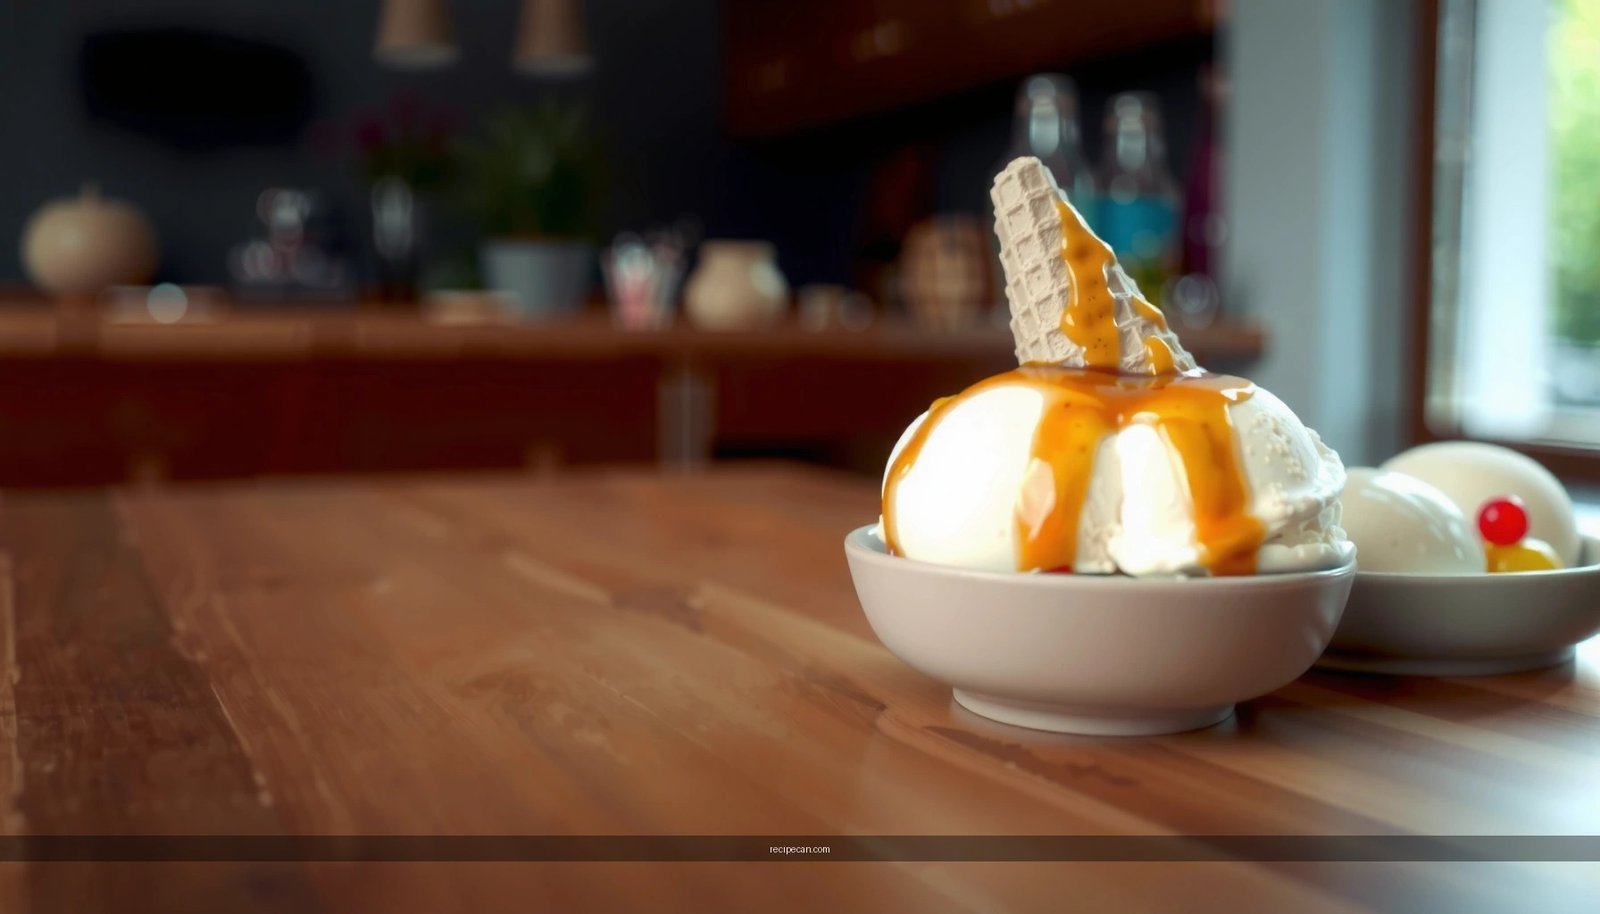
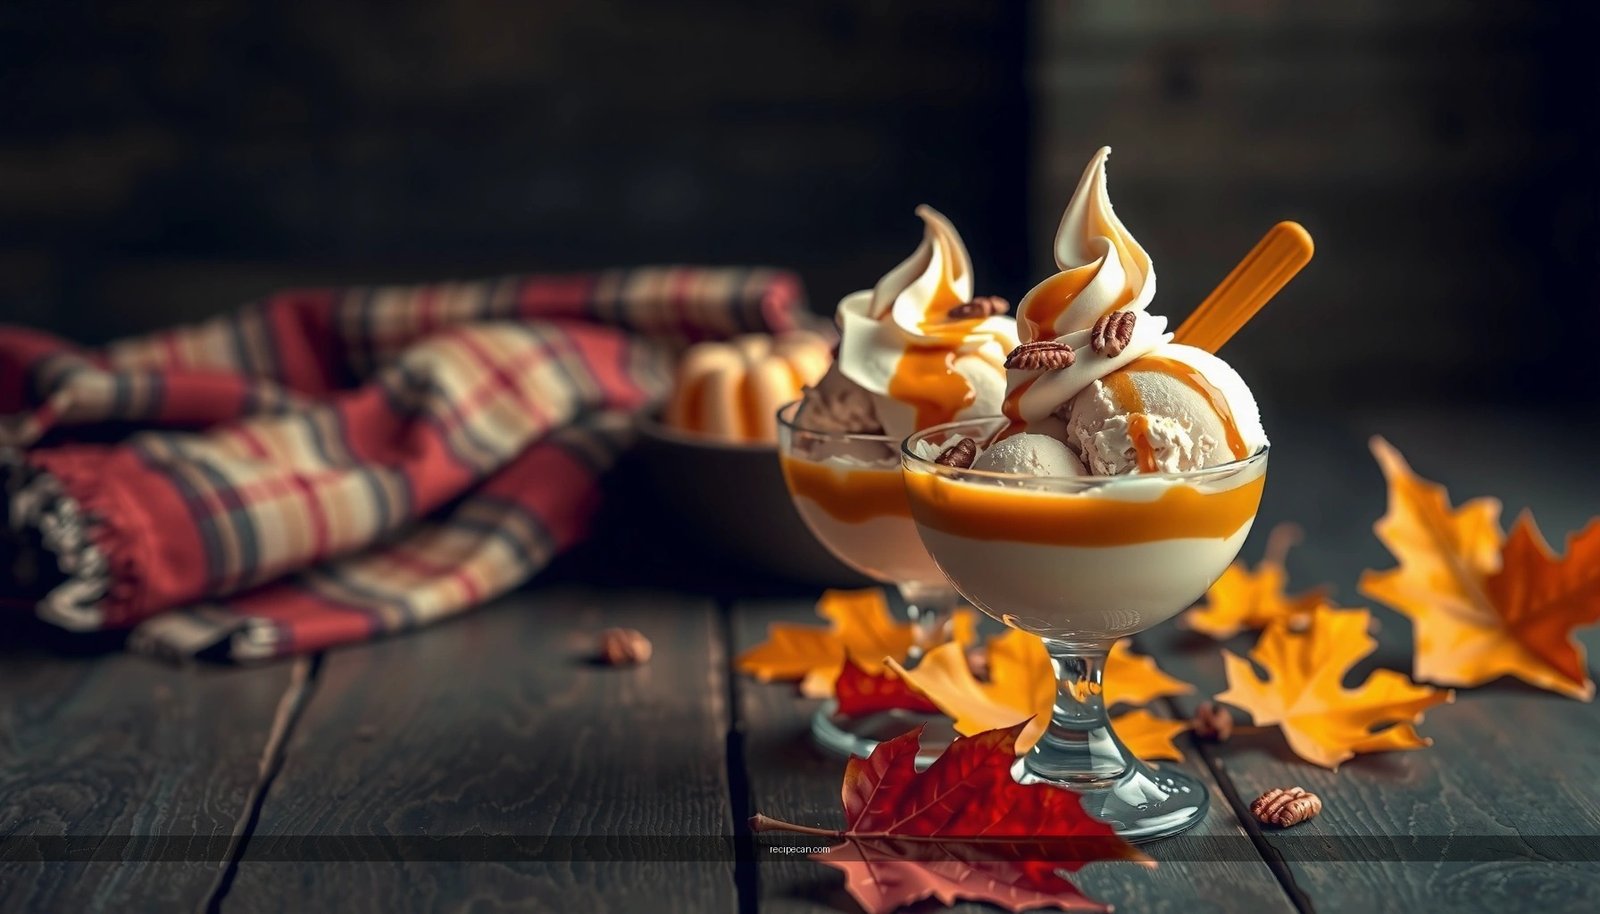
Add-Ins and Toppings for Extra Flavor
Fruit punch ice cream is bright and flavorful on its own, but small add-ins can make it feel like a premium dessert. Keep them controlled so they freeze well.
– Fold in chopped fruit, marshmallows, or crushed candy for fun mix-ins
– Chopped fruit: Dice strawberries, mango, or pineapple into small pieces. Use fruit that’s not overly watery, or you’ll dilute the base.
– Marshmallows: Great for a punchy, nostalgic “fizzy” dessert vibe. Add small marshmallow bits so they disperse evenly.
– Crushed candy: Use sparingly—large chunks can create icy hard spots and uneven freezing.
– Use fruit-flavored sprinkles or whipped cream to finish
– Add sprinkles after scooping so they don’t bleed color or soften too much in the freezer.
– Whipped cream provides contrast to the tart fruit punch base.
– Keep add-ins small so they freeze evenly
– If the add-ins are too large, the center may remain unfrozen longer and create texture inconsistencies.
– A good rule: target pieces roughly pea-sized to bean-sized.
Storage and Serving Tips
Finally, storage protects texture and flavor over time. Homemade ice cream is sensitive to freezer burn and temperature swings.
– Store in an airtight container to reduce freezer burn
– Transfer to an airtight container and press a piece of parchment or plastic wrap directly onto the surface before sealing.
– This minimizes ice formation on top, which can dull flavor.
– Label and use within a few weeks for best flavor and texture
– For best quality, aim to eat within 2–3 weeks.
– After that, the texture can become icier and fruit flavor may mellow.
– Serve slightly softened for the creamiest bite
– As mentioned earlier, short softening time improves scoopability and reduces the perception of ice crystals.
When you combine fruit punch with a creamy base and freeze (churn or no-churn), you get an easy homemade fruit punch ice cream with great flavor and scoopable texture. Pick your method, chill the base, and follow the freezing steps—then try a few add-ins or toppings. Make a batch today and enjoy your frozen treat!
Frequently Asked Questions
What ingredients do I need for a fruit punch ice cream recipe?
Start with a creamy base like heavy cream, whole milk, and sugar, then add fruit punch flavor using fruit punch drink concentrate or a combination of fruit juice (like orange and cherry) plus a little lemon juice. For the best texture, include a stabilizer such as cornstarch or egg yolks, and consider adding chopped fruit or crushed fruit bits for extra “punch” in every bite. Optional extras like vanilla extract and a pinch of salt round out the flavor in your fruit punch ice cream.
How do I make fruit punch ice cream without ice crystals?
Use either an egg-based custard or a small cornstarch thickening step to stabilize the mixture before churning. Chill the base thoroughly in the refrigerator for at least 4 hours (or overnight) so it’s cold and smooth when it hits the ice cream maker. During freezing, press parchment or plastic wrap directly onto the surface to reduce ice crystal formation and keep your fruit punch ice cream creamy.
Why does my fruit punch ice cream taste icy or too sweet?
“Icy” flavor usually happens when the base is too thin or under-churned, while overly sweet results when the fruit punch concentrate is stronger than expected. Adjust by thickening the base (custard or cornstarch), measuring sugar carefully, and balancing with acidity—add a splash of lemon juice to brighten the punchy flavor. Also let the ice cream ripen in the freezer for a few hours so sweetness and fruit punch notes blend more evenly.
What’s the best fruit punch for ice cream—concentrate or juice?
Fruit punch concentrate is often the best choice because it provides strong flavor without adding extra liquid that can make the ice cream freeze too hard or become icy. If you use juice, choose a thicker option (or reduce it on the stove first) so your fruit punch ice cream has a rich, punchy taste. Whichever you choose, taste the mix before chilling and adjust sugar or acidity to get the flavor right.
Which method works best: no-churn fruit punch ice cream or churned fruit punch ice cream?
Churned fruit punch ice cream is typically smoother and more “classic,” because the ice cream maker incorporates air and reduces iciness during freezing. No-churn versions can be easier, but they often require careful balance—use sweetened condensed milk plus heavy cream, and fold in fruit punch carefully to avoid a watery result. If you want the creamiest texture with less risk of ice crystals, go with churned fruit punch ice cream.
References
- Google Scholar Google Scholar
https://scholar.google.com/scholar?q=fruit+punch+ice+cream+recipe - Google Scholar Google Scholar
https://scholar.google.com/scholar?q=homemade+ice+cream+base+custard+freezing+science - Google Scholar Google Scholar
https://scholar.google.com/scholar?q=food+safety+homemade+ice+cream+eggs+salmonella - Ice cream
https://en.wikipedia.org/wiki/Ice_cream - Sorbet
https://en.wikipedia.org/wiki/Sorbet - Punch (drink)
https://en.wikipedia.org/wiki/Fruit_punch - https://www.britannica.com/food/ice-cream
https://www.britannica.com/food/ice-cream - https://www.cdc.gov/salmonella/general.html
https://www.cdc.gov/salmonella/general.html - https://www.fda.gov/food/foodborne-pathogens/salmonella
https://www.fda.gov/food/foodborne-pathogens/salmonella - https://www.fda.gov/food/foodborne-pathogens/campylobacter-and-jejuni
https://www.fda.gov/food/foodborne-pathogens/campylobacter-and-jejuni