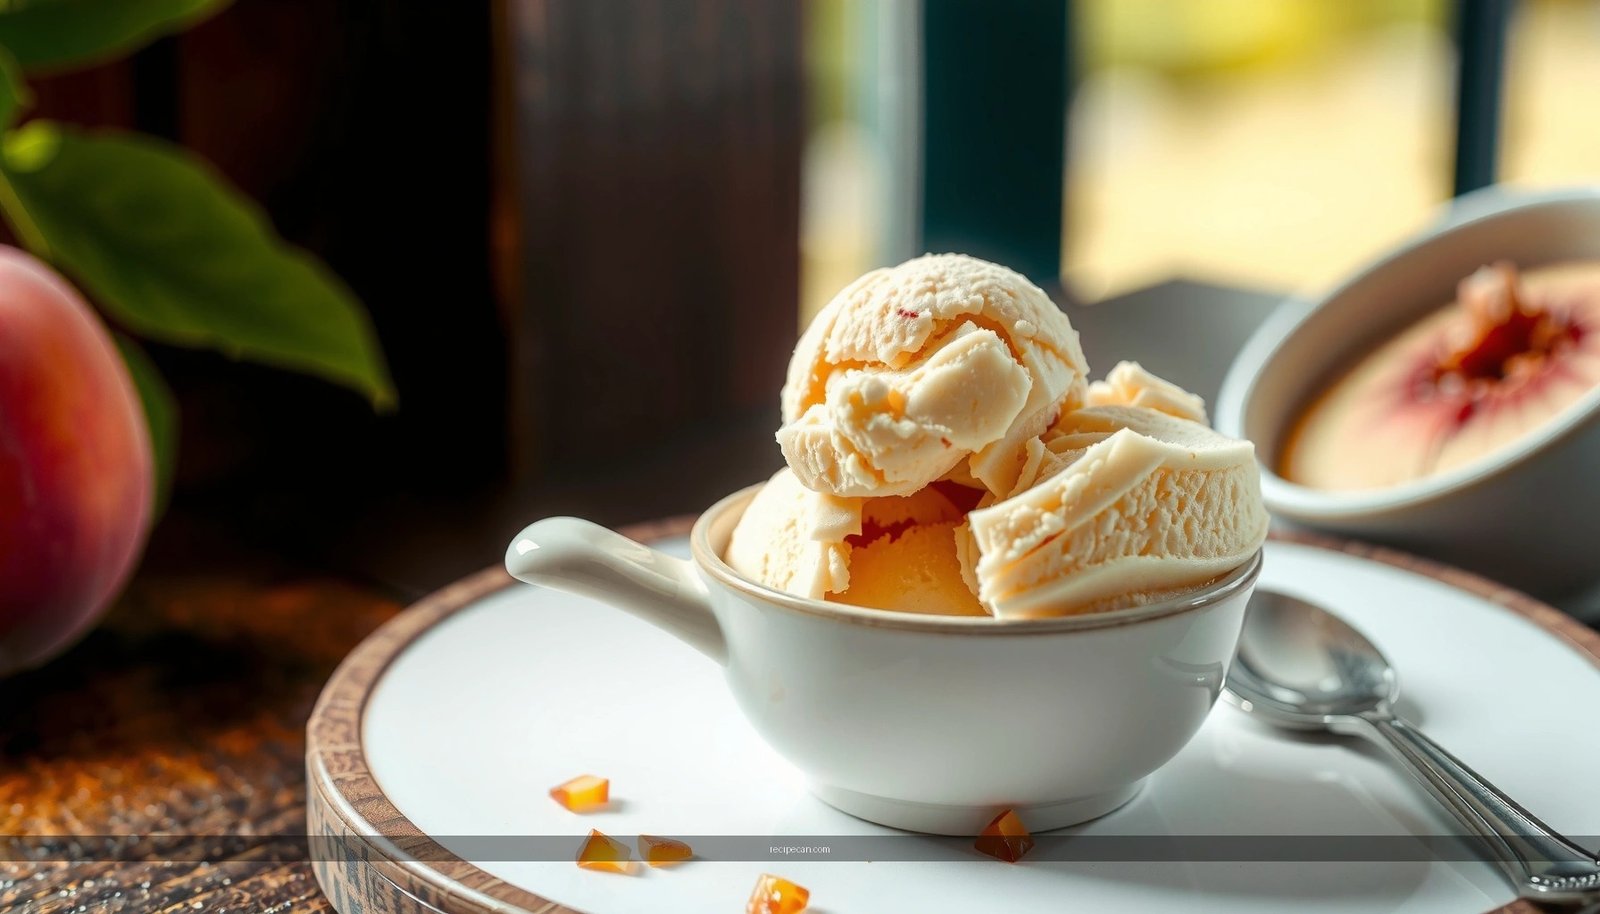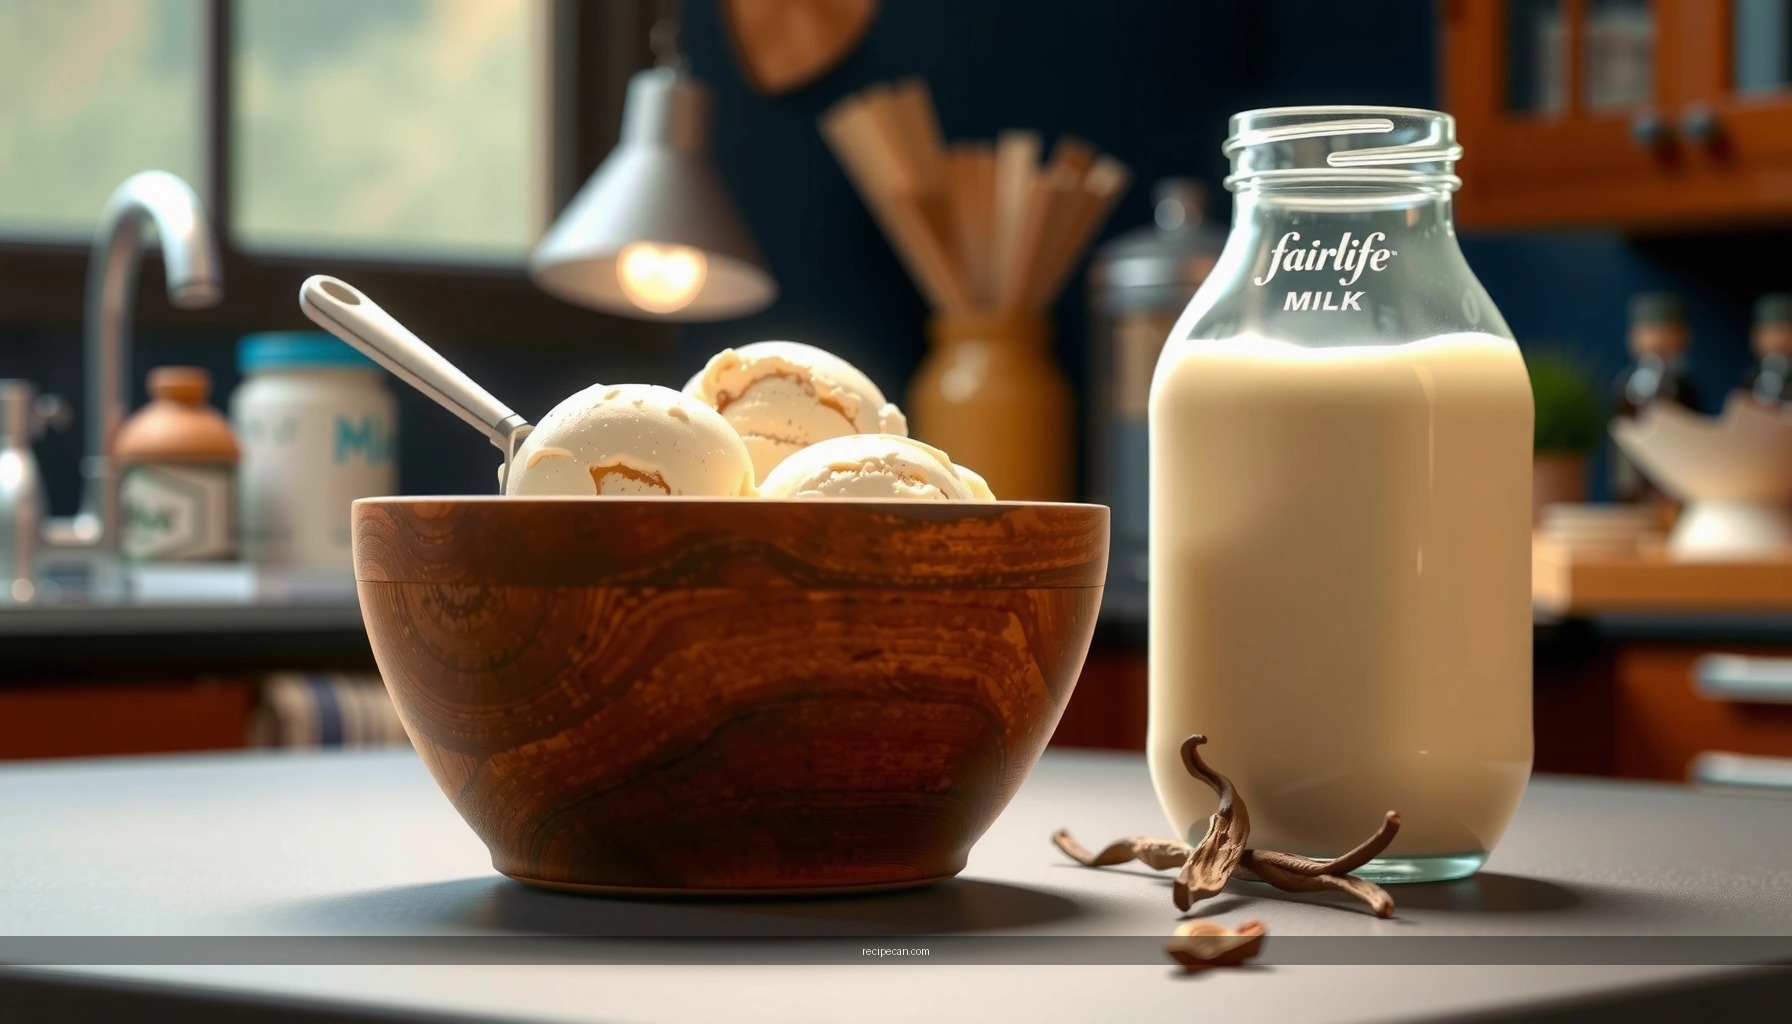
Get a fairlife milk ice cream recipe that actually delivers—smooth, creamy, and churn-ready—using simple homemade steps you can follow today. This guide tells you exactly how to make fairlife milk ice cream from start to finish, with the right mixing and freezing process to avoid icy texture. If you want the clearest path to rich, scoopable results, this is the winning method.
Make creamy fairlife milk ice cream at home by building a smooth base (fairlife milk + sweetener + optional stabilizer), chilling it thoroughly, and then churning or freezing it until scoopable. The key is a light thickening step for body, so you get a texture closer to commercial ice cream without complicated custard work.
Ingredients for fairlife Milk Ice Cream

To keep this recipe practical for home cooks—and consistent with the “no complicated process required” goal—focus on three building blocks: fairlife milk for a creamy dairy foundation, a sweetener for flavor balance, and a gentle thickening step to reduce iciness.
Core ingredients (recommended proportions for ~1 quart / ~4–5 cups):
– fairlife milk: 4 cups (choose your preferred variety—whole for richness, 2% for a lighter result)
– Sweetener: 1/2 to 3/4 cup (granulated sugar is a great baseline; honey/maple work too)
– Vanilla (optional but strongly recommended): 1–2 teaspoons vanilla extract (or 1/2 teaspoon vanilla bean paste)
– Salt: 1/4 teaspoon (improves perceived sweetness and rounds flavor)
– Thickening step (choose one):
– Cornstarch method (simple, eggless): 2 tablespoons cornstarch
– OR use a small amount of store-bought stabilizer if you already have one (but cornstarch keeps this accessible)
Flavor options (pick one direction):
– Classic vanilla: extra vanilla (up to 2 teaspoons extract) and/or a pinch of vanilla bean
– Chocolate: 1/4 to 1/2 cup unsweetened cocoa powder (then add a bit more sweetener if desired)
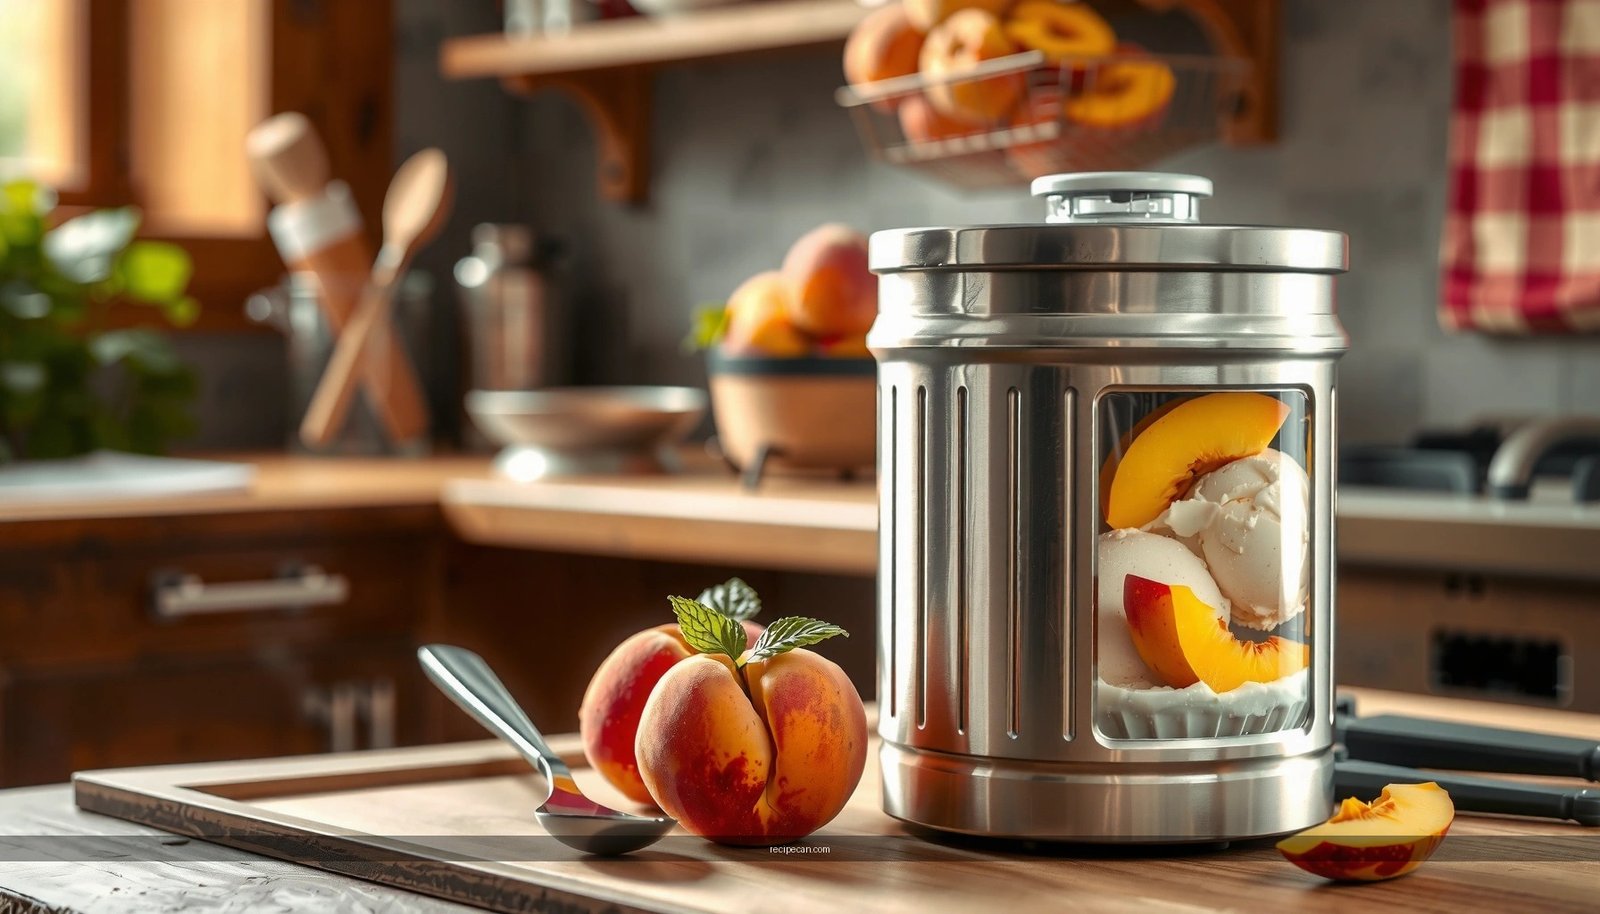
– Strawberry or berry: 1/2 to 3/4 cup fruit puree (cook it briefly to reduce water content, if possible)
Optional add-ins for creaminess and texture:
– Chocolate chunks, cookie crumbles, or berry pieces (fold in after churning)
– Mix-ins for smoothness: 1–2 tablespoons sweetened condensed milk (if you like a richer, “dessert style” mouthfeel)
– Texture-supporting choices: a small amount of neutral syrup (like honey) can help softness in the freezer
Sweetener choices (and how they behave in ice cream)
Because different sweeteners vary in sweetness strength and freezing behavior, the “best” option depends on whether you prioritize flavor intensity or scoopability after freezing. Use the guidance below when deciding how to sweeten your fairlife milk ice cream base.
Sweetener Amounts to Match ~1 Quart Ice Cream Base (Approx.)
| # | Sweetener | Use (for ~1 quart) | Flavor Intensity vs Sugar | Scoopability After 2–3 Days |
|---|---|---|---|---|
| 1 | Granulated sugar | 3/4 cup (~150 g) | Baseline (neutral) | Strong ★★★★☆ |
| 2 | Honey | 2/3 cup (~170 g) | Slightly stronger | Very good ★★★★☆ |
| 3 | Maple syrup | 1/2 cup (~120 g) | Muted sweetness | Good ★★★☆☆ |
| 4 | Light brown sugar | 3/4 cup (~150 g) | Slightly deeper | Strong ★★★★☆ |
| 5 | Agave syrup | 1/2 cup (~160 g) | Mild sweetness | Very good ★★★★☆ |
| 6 | Allulose | 3/4 cup (~170 g) | Sugar-like | Excellent ★★★★★ |
| 7 | Erythritol/monkfruit blend | ~2/3 cup (~120–140 g) | May taste “cooling” | Mixed ★★☆☆☆ |
Step-by-Step Instructions

A professional-quality homemade texture comes from dissolving fully, thickening gently, and chilling long enough before you churn or freeze.
1) Build the base (for smooth dissolution)
1. In a saucepan, whisk together:
– fairlife milk (reserve 1/4 cup if using cornstarch slurry separately),
– sweetener,
– salt,
– vanilla (if using).
2. If using cornstarch, mix it into a small reserved splash of milk until lump-free, then whisk into the pot.
Why this matters: undissolved sugar or dry cornstarch can create graininess and prevent the base from stabilizing during freezing.
2) Thicken with controlled heat
1. Bring the mixture to a gentle simmer, whisking constantly.
2. Cook for 1–2 minutes after it thickens enough to lightly coat the back of a spoon.
Target texture: think “light custard.” It shouldn’t be pudding-thick; it should mainly improve body and reduce ice crystal formation.
3) Finish and chill thoroughly
1. Remove from heat and add your flavor components (cocoa for chocolate, cooked berry puree for fruit flavors).
2. Cool to room temperature, then cover and refrigerate at least 4 hours—overnight is ideal.
Performance note: a colder base freezes faster and more uniformly, which is one of the most reliable ways to improve scoopability in homemade fairlife milk ice cream.
Churning vs. Freezing Methods

Both methods work—your choice depends on equipment, time, and the exact texture you want.
Churning (closest to store-style)
– When to choose: You have an ice cream maker and want a lighter, smoother result.
– How to use: churn according to your machine’s instructions, typically 20–30 minutes.
– Finish: transfer to a container and “ripen” (rest) in the freezer 2–4 hours for best scoop firmness.
Texture outcome: churning incorporates air (overrun) and breaks up early ice crystals, resulting in a creamier bite.
Freezing without a machine (still excellent with technique)
– Method: pour into a shallow freezer-safe container.
– Stir schedule: every 30–45 minutes for the first 2–3 hours, then less frequently until firm.
– Cover tightly to minimize surface ice.
Why it works: periodic stirring disrupts growing ice crystals, compensating for the lack of mechanical churning.
How to Get the Best Texture
Texture is where most homemade attempts succeed or fail. Use these process controls to consistently get smooth, scoopable fairlife milk ice cream.
Cold base + adequate chilling time
– Chill at least 4 hours; overnight is best.
– If you rush to freeze or churn, you’ll often get larger ice crystals and a softer-than-expected structure.
Don’t overfill the container
– For machine-churned ice cream, fill the final freezer container up to ~2/3 full.
– For no-churn freezing, use a wider container (greater surface area helps freezing efficiency).
Ripen briefly for easier scooping
After churning/freezing, let it rest 2–4 hours. Then:
– remove from freezer,
– wait 3–8 minutes (depending on your room temperature),
– scoop and serve.
This brief tempering is the difference between “hard and icy” and “clean scoop.”
Flavor Variations
Once your base is stable, flavor is straightforward. The main adjustment is ensuring fruit/cocoa additions don’t destabilize the mixture.
Classic vanilla
– Use 1–2 teaspoons vanilla extract or vanilla bean paste.
– For a more “bakery” profile, steep vanilla with the milk off-heat for 10 minutes before thickening.
Chocolate (richer, deeper flavor)
– Whisk 1/4–1/2 cup unsweetened cocoa powder into the warm base after the initial thickening.
– Taste before freezing and adjust sweetener slightly if needed (cocoa can make flavor taste less sweet when cold).
Strawberry or berry (bright and creamy)
– Cook fruit puree briefly (about 5 minutes) to reduce excess water.
– Add puree after thickening, then chill thoroughly again.
Practical tip: watery fruit makes ice crystals worse. Reducing water content is one of the simplest “professional” moves you can make at home.
Storage and Serving Tips
Proper storage protects texture—especially for sweet dairy mixtures like fairlife milk ice cream where freezer burn can quickly dull flavor.
Airtight storage is non-negotiable
– Store in an airtight container with minimal headspace.
– Press a piece of parchment or plastic wrap directly onto the surface before sealing.
Freeze with intent
– For best quality, eat within 2–4 weeks.
– If you notice a rough surface, let it temper and scrape the top layer off—then stir/respread if using no-churn methods.
Serve at the right time
Let it sit a few minutes at room temp before serving. This softens the fat and redistributes moisture, improving aroma, mouthfeel, and scoopability.
To sum it up, this fairlife milk ice cream recipe focuses on a smooth, chilled base and the right freezing method for great texture. Pick your flavor, follow the steps closely, and try a batch today—then experiment with your favorite mix-ins next time.
Frequently Asked Questions
What’s the best fairlife milk ice cream recipe for a rich, creamy texture?
For a rich fairlife milk ice cream recipe, use fairlife whole milk or fairlife 2% milk and combine it with sweeteners and a stabilizer like cornstarch or a small amount of gelatin. Heating the mixture briefly helps dissolve sugar and thicken the base for a smoother churn. Chilling the base for at least 4 hours (or overnight) improves the final texture and prevents icy ice cream.
How do I make fairlife milk ice cream without an ice cream maker?
You can make fairlife milk ice cream without an ice cream maker by freezing a churnless base in a shallow container and stirring every 30–45 minutes for the first 2–3 hours. Use a thicker base (often with cornstarch or eggs) to reduce ice crystal formation and keep it creamy. Once it’s mostly set, let it freeze until scoopable, then serve for a classic homemade ice cream feel.
Why does my fairlife milk ice cream turn icy, and how can I fix it?
Icy fairlife milk ice cream is usually caused by a base that’s too thin, not enough chilling time, or insufficient sugar to lower the freezing point. Make sure you heat the base to properly thicken it and chill it thoroughly before churning or freezing. Also avoid over-freezing too quickly; slow temperature changes and regular stirring (if no churn) help create a smoother texture.
Which fairlife milk should I use—whole or 2%—for homemade ice cream?
Whole fairlife milk generally delivers the creamiest results because it has more fat, which improves mouthfeel and helps keep the ice cream soft. If you prefer a lighter option, fairlife 2% can work well, but you may want to adjust your recipe slightly with a thickener or a bit more sugar to maintain scoopability. Either way, the key is a well-chilled, properly thickened fairlife milk ice cream base.
How can I flavor a fairlife milk ice cream recipe with common add-ins (like vanilla, chocolate, or fruit)?
Start with a simple fairlife milk ice cream base, then add vanilla extract for a classic flavor or melted chocolate for a chocolate fairlife milk ice cream twist. For fruit, puree the fruit and strain it if needed to reduce extra water and seeds that can affect texture. Add mix-ins after the base is chilled and, if churning, near the end so they distribute evenly without becoming icy.
References
- Google Scholar Google Scholar
https://scholar.google.com/scholar?q=fairlife+milk+ice+cream+recipe - Google Scholar Google Scholar
https://scholar.google.com/scholar?q=ultrafiltration+milk+ice+cream+formulation - Google Scholar Google Scholar
https://scholar.google.com/scholar?q=homemade+ice+cream+stabilizers+milk+fat+emulsion - Ice cream
https://en.wikipedia.org/wiki/Ice_cream - Ultrafiltration
https://en.wikipedia.org/wiki/Ultrafiltration - Ice cream | Definition, History, & Production | Britannica
https://www.britannica.com/topic/ice-cream - https://pubmed.ncbi.nlm.nih.gov/?term=ultrafiltration+milk+ice+cream
https://pubmed.ncbi.nlm.nih.gov/?term=ultrafiltration+milk+ice+cream - https://pubmed.ncbi.nlm.nih.gov/?term=ice+cream+overrun+air+incorporation+milk
https://pubmed.ncbi.nlm.nih.gov/?term=ice+cream+overrun+air+incorporation+milk - https://www.sciencedirect.com/search?qs=ice+cream+stabilizers+milk+fat
https://www.sciencedirect.com/search?qs=ice+cream+stabilizers+milk+fat - ice cream structure | Nature Search Results
https://www.nature.com/search?q=ice%20cream%20structure