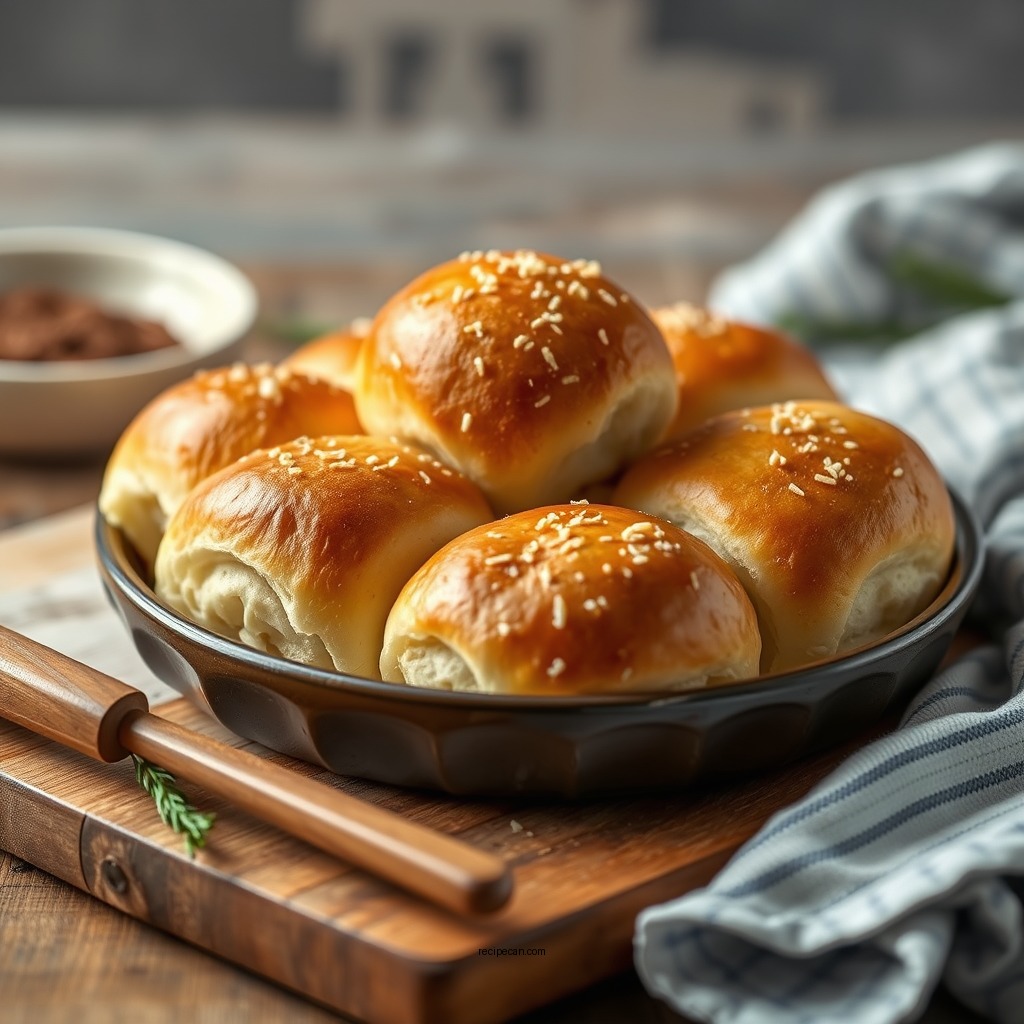
Making soft and delicious yeast rolls is easier than you might think! With just a few simple ingredients and some patience, you can create light, fluffy rolls that are perfect for any meal. In this article, you’ll learn how to prepare yeast rolls from scratch, including tips for kneading, rising, and baking. Whether you’re a novice baker or an experienced chef looking to refine your skills, this easy yeast roll recipe will guide you toward baking success.
Essential Ingredients for Yeast Rolls

To create the perfect yeast rolls, you need to start with the right ingredients. Here’s a breakdown of the essentials:
– Flour: All-purpose flour is ideal for yeast rolls, as it provides the right balance of protein and gluten to achieve a fluffy texture. You can also experiment with bread flour for a chewier bite, but all-purpose flour is the most versatile choice.
– Yeast: Active dry yeast is commonly used for making yeast rolls. It’s essential to ensure that your yeast is fresh; expired yeast can lead to disappointing results. To check freshness, dissolve a teaspoon of sugar in warm water and sprinkle the yeast over it. If it foams within a few minutes, it’s good to use.
– Sugar: While the primary role of sugar is to activate the yeast, it also adds a subtle sweetness to the rolls that enhances their flavor. This small amount helps create a beautiful golden crust during baking.
Step-by-Step Instructions

Now that you have your ingredients ready, follow these simple steps to create your yeast rolls:
– Mixing: Start by combining warm water (about 110°F), yeast, and sugar in a mixing bowl. Allow this mixture to sit for about 5-10 minutes until it becomes bubbly and frothy, indicating that the yeast is alive and active.
– Dough Preparation: Gradually add in the flour and salt, mixing until a dough begins to form. You can use a wooden spoon or a stand mixer with a dough hook for this step. The dough should be slightly sticky but manageable.
– Kneading: Transfer your dough to a floured surface and knead it for about 8-10 minutes. The goal is to develop the gluten, which gives the rolls their structure. You’ll know it’s ready when the dough is smooth and elastic. A good test is to perform the “windowpane test”—stretch a small piece of dough; if it holds together without tearing, it’s well-kneaded.
The Importance of Rising Time

Rising is a crucial step in the yeast roll-making process:
– First Rise: Place your kneaded dough in a lightly greased bowl, cover it with a damp cloth, and let it rise in a warm, draft-free environment until it doubles in size. This typically takes about 1-2 hours, depending on the ambient temperature.
– Second Rise: After shaping your rolls, they’ll need a second rise. Allow them to rest for another 30-45 minutes. This step is essential for achieving that light, airy texture that makes yeast rolls so delightful.
Essential Tools for Making Yeast Rolls
| # | Tool | Purpose | Recommended Brand |
|---|---|---|---|
| 1 | Mixing Bowl | To mix dough | Pyrex |
| 2 | Dough Hook | For easy kneading | KitchenAid |
| 3 | Baking Sheet | For baking rolls | Nordic Ware |
| 4 | Pastry Brush | For egg wash | OXO |
| 5 | Digital Thermometer | To check dough temperature | ThermoWorks |
| 6 | Measuring Cups | For accurate ingredient measurement | Pyrex |
| 7 | Cooling Rack | For cooling baked rolls | Wilton |
Shaping Your Yeast Rolls
Shaping the rolls properly is vital for both aesthetics and even baking:
– Divide: Once your dough has risen, punch it down to release excess air, then transfer it onto a floured surface. Divide the dough into equal portions, typically 12-16 pieces, depending on the desired roll size.
– Forming: Shape each piece into a smooth ball or knot. For traditional rolls, tuck the edges into the center to create a beautiful round shape. If you prefer, you can also twist the dough into knots for a more rustic appearance.
Baking Tips for Perfect Yeast Rolls
Achieving the perfect bake requires careful attention to detail:
– Preheat: Always preheat your oven to 375°F before placing the rolls inside. This ensures that they start baking immediately, leading to a better rise and texture.
– Egg Wash: For a professional finish, brush the rolls with an egg wash (a mixture of beaten egg and water) before baking. This will give them a shiny, golden crust that enhances their visual appeal.
Yeast Roll Baking Process Overview
Serving Suggestions
Once your rolls are baked to perfection, consider these serving suggestions:
– Pairing: Serve your warm yeast rolls with butter for a classic touch. They also complement soups, salads, and hearty dishes beautifully. For added flavor, consider mixing herbs or cheese into the dough.
– Storage: If you have leftovers, store them in an airtight container at room temperature for up to two days. For longer storage, freeze the rolls individually wrapped in plastic wrap and placed in a freezer bag. They can be easily reheated in the oven or microwave.
In summary, mastering the art of making yeast rolls is a rewarding endeavor that can elevate any meal. With the right ingredients, careful technique, and a bit of practice, you can create rolls that are soft, fluffy, and utterly delicious. Don’t hesitate to experiment with flavors or fillings to make them your own. Enjoy your homemade yeast rolls fresh out of the oven! Share your results and join our community of baking enthusiasts!
Frequently Asked Questions
What ingredients do I need for a basic yeast rolls recipe?
To make a basic yeast rolls recipe, you will need all-purpose flour, active dry yeast, sugar, salt, milk, butter, and eggs. These ingredients work together to create soft and fluffy rolls that are perfect for any meal.
How do I ensure my yeast rolls rise properly?
To ensure your yeast rolls rise properly, make sure to use fresh yeast and warm liquids, as temperatures around 110°F (43°C) activate the yeast effectively. Additionally, allow the dough to rise in a warm, draft-free environment until it has doubled in size, which usually takes about 1 to 2 hours.
Why are my yeast rolls dense and not fluffy?
Dense yeast rolls can result from using too much flour or not allowing the dough to rise long enough. To achieve fluffy rolls, measure your flour accurately, avoid over-kneading, and ensure the dough has adequate time to ferment and develop air bubbles.
What is the best way to store leftover yeast rolls?
The best way to store leftover yeast rolls is to let them cool completely, then place them in an airtight container or a resealable plastic bag. You can keep them at room temperature for up to two days, or freeze them for longer storage, ensuring they stay fresh and soft.
Which types of yeast are best for making yeast rolls?
The best types of yeast for making yeast rolls are active dry yeast and instant yeast. Active dry yeast needs to be dissolved in warm water before use, while instant yeast can be mixed directly with the dry ingredients, making it a convenient option for quick recipes.
References
- https://en.wikipedia.org/wiki/Roll_(bread
https://en.wikipedia.org/wiki/Roll_(bread - https://www.britannica.com/topic/roll-bread
https://www.britannica.com/topic/roll-bread - https://www.ncbi.nlm.nih.gov/pmc/articles/PMC5543034/
https://www.ncbi.nlm.nih.gov/pmc/articles/PMC5543034/ - https://scholar.google.com/scholar?q=yeast+rolls+recipe Google Scholar
https://scholar.google.com/scholar?q=yeast+rolls+recipe - Google Scholar Google Scholar
https://scholar.google.com/scholar?q=yeast+bread+history - Google Scholar Google Scholar
https://scholar.google.com/scholar?q=yeast+rolls+nutrition - https://www.nature.com/articles/s41598-021-88293-3
https://www.nature.com/articles/s41598-021-88293-3 - https://www.sciencedirect.com/science/article/pii/S2212670819301326
https://www.sciencedirect.com/science/article/pii/S2212670819301326 - https://www.ncbi.nlm.nih.gov/pmc/articles/PMC4949341/
https://www.ncbi.nlm.nih.gov/pmc/articles/PMC4949341/ - https://www.cdc.gov/foodsafety/communication/yeast.html
https://www.cdc.gov/foodsafety/communication/yeast.html