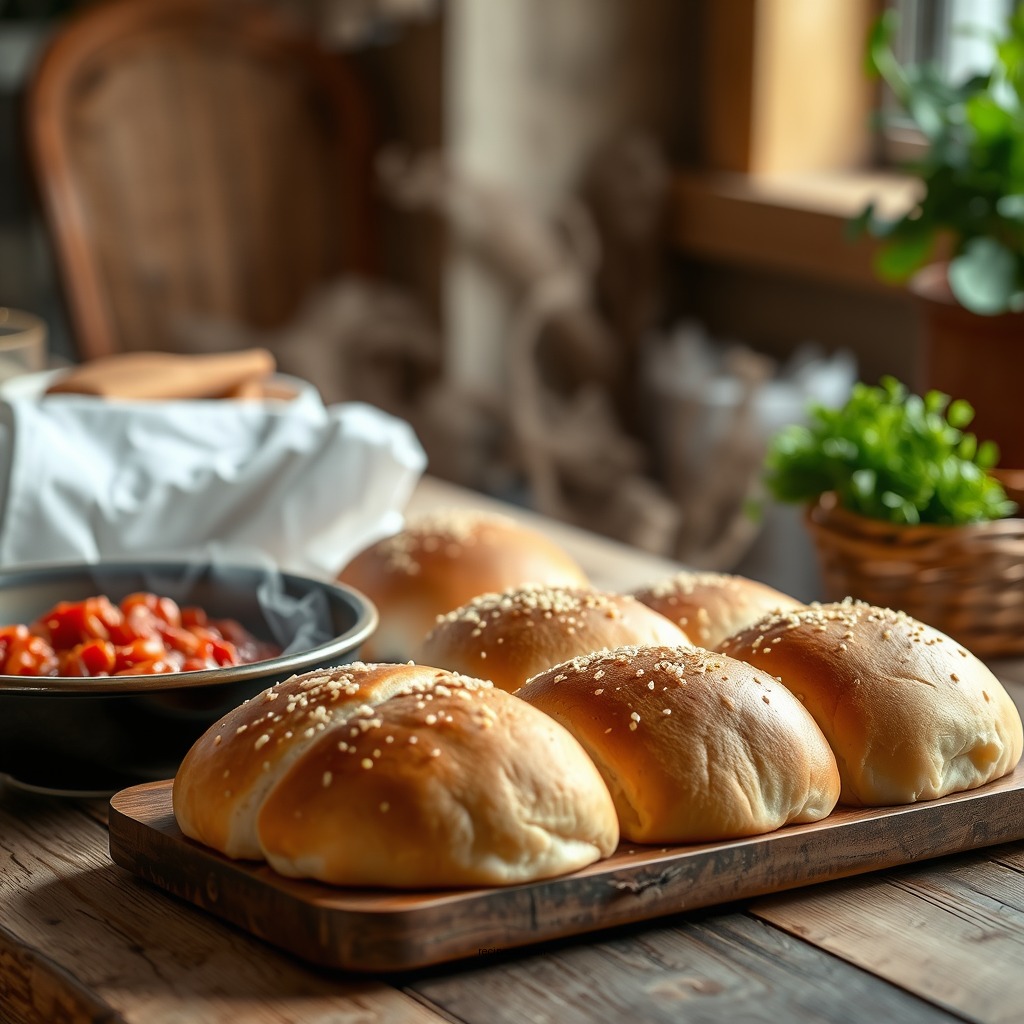
Making homemade yeast rolls is simple and rewarding, allowing you to enjoy fresh, fluffy bread right from your kitchen. This article provides a straightforward recipe that yields perfect yeast rolls every time, along with tips for achieving the best results.
Ingredients You’ll Need

To create delicious homemade yeast rolls, you’ll need a few essential ingredients that work together to produce a soft, fluffy texture and rich flavor.
– Flour, sugar, yeast, salt, and milk: These are the foundational ingredients for the dough. All-purpose flour is typically used, but you can experiment with bread flour for an even chewier texture. Sugar acts as food for the yeast and adds a subtle sweetness. Yeast is the leavening agent that makes the rolls rise, while salt enhances flavor and controls yeast activity. Milk adds moisture and richness to the dough, resulting in a tender crumb.
– Butter: This ingredient is crucial for adding richness and flavor to the rolls. It also contributes to the rolls’ golden color when baked. Using unsalted butter allows you to control the saltiness of your dough better.
– Eggs: Eggs serve multiple purposes in this recipe. They help bind the ingredients together, enrich the dough, add moisture, and contribute to a beautiful golden color in the finished rolls.
Preparing the Dough

Creating the perfect dough is essential for achieving fluffy yeast rolls. Follow these steps for optimal results.
– Activate the yeast: Begin by mixing warm water (about 110°F or 43°C) with sugar and yeast in a bowl. Let it sit for about 5-10 minutes until it becomes foamy. This step is crucial as it confirms that your yeast is active and ready to help the dough rise.
– Combine ingredients: In a large mixing bowl, combine the activated yeast mixture with the dry ingredients (flour, salt). Add softened butter and eggs, and mix until a rough dough forms. Then, knead the dough on a lightly floured surface for about 8-10 minutes until smooth and elastic. A well-kneaded dough will develop gluten, giving the rolls their structure.
– Rise time: Once your dough is ready, place it in a greased bowl and cover it with a clean kitchen towel. Allow it to rise in a warm, draft-free area until it has doubled in size, which usually takes about 1 hour. This process is essential for the rolls to become light and fluffy.
Shaping the Rolls

Shaping your rolls properly helps ensure even baking and an appealing appearance.
– Divide the dough: After the first rise, punch down the dough to release air bubbles. Divide the dough into equal pieces, typically about 2 ounces each, to create uniform rolls. This will help them bake evenly and look appealing when served.
– Shape each piece: Take each piece of dough and roll it into a smooth ball by cupping your hand over it and rotating it against the counter. You can also shape them into knots, crescents, or any desired form for a classic or unique presentation.
– Second rise: Once shaped, place the rolls on a greased baking sheet or in a baking dish, leaving some space between each roll. Cover them again and let them rise for about 30 minutes. This second rise is crucial for achieving a light texture.
Baking the Rolls
Proper baking techniques will ensure your rolls come out perfectly every time.
– Preheat the oven: While the rolls are rising for the second time, preheat your oven to 375°F (190°C). A well-preheated oven will help the rolls rise quickly in the initial baking stage, giving them a lovely texture.
– Bake until golden: Once the rolls have risen and are puffy, place them in the oven. Bake for about 15-20 minutes or until they are a beautiful golden brown. The internal temperature should reach about 190°F (88°C) for fully cooked rolls.
– Brush with butter: For added flavor and a shiny finish, brush the tops of the rolls with melted butter immediately after they come out of the oven. This step enhances the flavor and gives your rolls an appealing sheen.
Top 7 Ingredients for Perfect Yeast Rolls
| # | Ingredient | Quantity (per batch) | Purpose | Importance Rating |
|---|---|---|---|---|
| 1 | All-Purpose Flour | 4 cups | Structure | ★★★★★ |
| 2 | Granulated Sugar | 1/4 cup | Yeast Food | ★★★★☆ |
| 3 | Active Dry Yeast | 2.25 tsp | Leavening | ★★★★★ |
| 4 | Salt | 1.5 tsp | Flavor | ★★★★☆ |
| 5 | Milk | 1 cup | Moisture | ★★★★☆ |
| 6 | Butter | 4 tbsp | Flavor | ★★★★☆ |
| 7 | Eggs | 2 large | Binding | ★★★★★ |
Tips for Perfect Yeast Rolls
Achieving the perfect yeast rolls requires attention to detail and a bit of know-how. Here are some essential tips:
– Use the right temperature: To activate yeast effectively, ensure your liquids are warm (around 110°F or 43°C) but not hot. Too high a temperature can kill the yeast, while too low may prevent it from activating.
– Don’t rush the rises: Allow adequate time for both the first and second rises. This is crucial for creating a light and airy texture. If you’re short on time, consider a warm environment to speed up the process slightly.
– Experiment with flavors: Adding herbs like rosemary or spices such as garlic powder can enhance the flavor profile of your rolls. Consider incorporating cheeses or even sweet ingredients like cinnamon for a unique twist.
Storing and Serving Suggestions
Once your rolls are baked to perfection, it’s essential to know how to store and serve them properly.
– Store properly: To keep your yeast rolls fresh, store them in an airtight container at room temperature for up to three days. If you want to keep them longer, consider freezing them. To freeze, place the cooled rolls in a freezer-safe bag, and they can last up to three months.
– Serve warm: Homemade yeast rolls are best enjoyed warm. Serve them as a side with butter, jams, or alongside your favorite meals like soups, stews, or holiday feasts. They also make excellent sliders or sandwiches.
Yeast Roll Baking Times and Temperatures
Enjoy your delicious homemade yeast rolls! They are perfect for family dinners, special occasions, or just as a treat for yourself. Try this recipe today and impress your loved ones with your baking skills! Whether for a holiday feast or a casual meal, these rolls are sure to be a hit at your table.
Frequently Asked Questions
What ingredients do I need for a homemade yeast rolls recipe?
To make homemade yeast rolls, you will need basic ingredients such as all-purpose flour, active dry yeast, sugar, salt, milk, butter, and eggs. These ingredients work together to create a soft and fluffy texture in the rolls, while the yeast helps them rise beautifully.
How do I ensure my homemade yeast rolls rise properly?
To ensure your homemade yeast rolls rise properly, make sure to activate the yeast by dissolving it in warm water or milk with a bit of sugar before adding it to the dough. Also, allow the dough to rise in a warm, draft-free area, and cover it with a damp cloth to retain moisture. Patience is key, as the first rise should double in size, which may take about 1 to 2 hours.
Why did my homemade yeast rolls turn out dense instead of fluffy?
Dense homemade yeast rolls can result from several factors, including using expired yeast, not allowing the dough to rise long enough, or adding too much flour. It’s crucial to measure ingredients accurately and follow the rising times closely to achieve that light and airy texture you desire in your rolls.
What is the best way to store homemade yeast rolls for freshness?
The best way to store homemade yeast rolls for freshness is to let them cool completely, then place them in an airtight container or wrap them tightly in plastic wrap. For longer storage, you can freeze the rolls, ensuring they’re well-wrapped to prevent freezer burn, and reheat them in the oven when ready to enjoy.
Which homemade yeast rolls recipe is best for beginners?
A simple homemade yeast rolls recipe that is perfect for beginners includes basic ingredients and straightforward steps, such as the one that uses instant yeast and requires no complicated techniques. Look for recipes that emphasize a no-knead method or those that guide you through each step, making the process easy to follow and yielding delicious results.
References
- Bread
https://en.wikipedia.org/wiki/Bread#Yeast_rolls - https://www.sciencedirect.com/topics/agricultural-and-biological-sciences/yeast
https://www.sciencedirect.com/topics/agricultural-and-biological-sciences/yeast - https://www.ncbi.nlm.nih.gov/pmc/articles/PMC4363191/
https://www.ncbi.nlm.nih.gov/pmc/articles/PMC4363191/ - NYT Cooking – Recipes and Cooking Guides From The New York Times
https://www.nytimes.com/recipe/yeast-rolls - https://www.verywellfit.com/yeast-roll-recipe-5089496
https://www.verywellfit.com/yeast-roll-recipe-5089496 - Google Scholar Google Scholar
https://scholar.google.com/scholar?q=homemade+yeast+rolls+recipe - Google Scholar Google Scholar
https://scholar.google.com/scholar?q=yeast+rolls+homemade+recipe - Google Scholar Google Scholar
https://scholar.google.com/scholar?q=yeast+rolls+recipe+history - https://www.britannica.com/topic/yeast
https://www.britannica.com/topic/yeast - homemade yeast rolls recipe – Search results
https://en.wikipedia.org/wiki/Special:Search?search=homemade+yeast+rolls+recipe