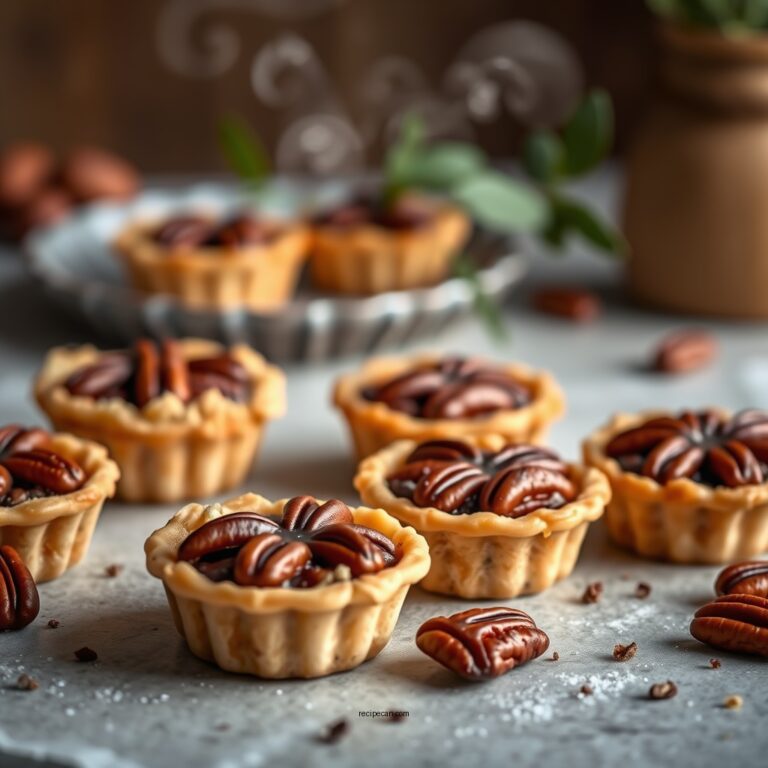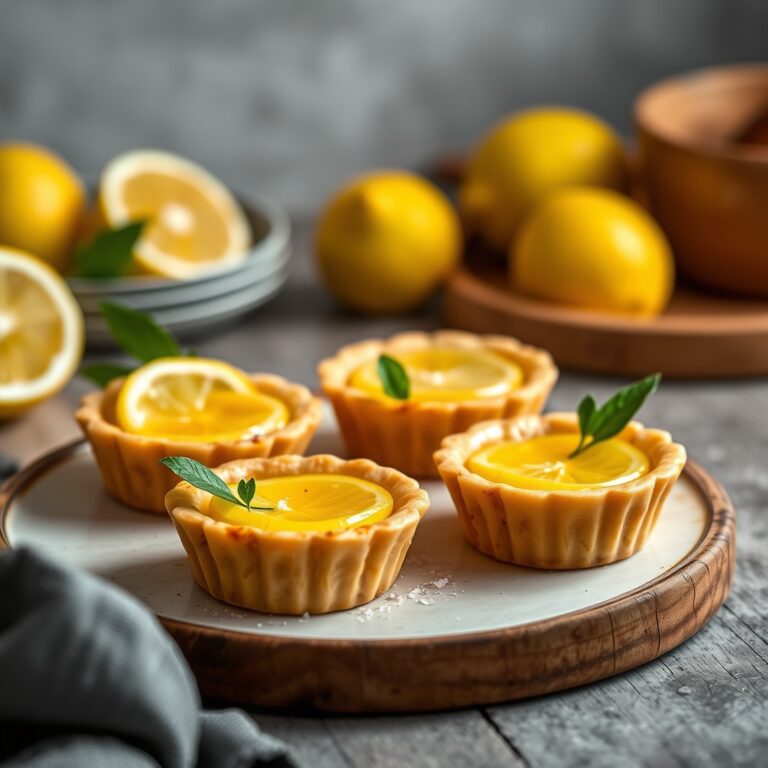
Making a delightful pineapple tart is easier than you think! This recipe walks you through creating a buttery crust filled with sweet, tangy pineapple filling, perfect for any occasion. You’ll learn about the essential ingredients, preparation methods, and baking tips to ensure your tarts come out perfectly every time.
Essential Ingredients for Pineapple Tarts

To create the perfect pineapple tart, you need to gather some essential ingredients. The quality and freshness of these components will significantly influence the flavor and texture of your dessert. Here’s what you’ll need:
– Fresh or Canned Pineapple: Opt for ripe, sweet pineapple to bring out the best flavors. If you use canned pineapple, make sure to choose fruit packed in juice rather than syrup to avoid overly sweet filling.
– Butter and Flour: These are the foundational ingredients for a flaky, tender crust. Unsalted butter is preferred to control the saltiness in the recipe. All-purpose flour works best for achieving the right texture.
– Sugar: Sugar is essential not only for sweetening the filling but also for enhancing the richness of the crust. Granulated sugar is typically used, but you might also experiment with brown sugar for a deeper flavor profile.
Preparing the Pineapple Filling

The filling is the heart of any pineapple tart, and preparing it correctly is crucial for a successful dessert. Here’s how to create a luscious pineapple filling:
– Cooking the Pineapple: Begin by chopping the pineapple into small pieces. If using fresh pineapple, peel, core, and dice it. Place the pineapple in a saucepan along with some sugar. Simmer over medium heat, stirring occasionally until the mixture thickens, which typically takes about 15-20 minutes.
– Adding Flavors: For an elevated taste, consider incorporating additional flavors. A pinch of cinnamon or nutmeg can add warmth, while a splash of lemon juice brightens the filling, balancing the sweetness of the pineapple.
– Cooling the Mixture: Once thickened, transfer the mixture to a bowl and allow it to cool completely. This step is crucial because adding hot filling to the tart crust can lead to sogginess.
Making the Tart Crust
Creating the perfect tart crust is an art. Follow these steps to ensure a delightful base for your pineapple filling:
– Creaming Butter and Sugar: Start by creaming together the softened butter and sugar until the mixture is light and fluffy. This process incorporates air, which is key to a light texture.
– Rolling Out the Dough: After combining the ingredients, roll out the dough on a floured surface. Aim for a thickness of about 1/4 inch to ensure it bakes evenly. A rolling pin dusted with flour will prevent sticking.
– Shaping the Tarts: Use tart tins or molds to shape your crusts. Gently press the dough into the tins and trim any excess. Prick the bottom with a fork to prevent bubbling during baking.
Top 7 Pineapple Tart Ingredients by Popularity
| # | Ingredient | Popularity (%) | Cost ($) | Rating |
|---|---|---|---|---|
| 1 | Fresh Pineapple | 35% | 3.00 | ★★★★☆ |
| 2 | Unsalted Butter | 30% | 4.50 | ★★★★★ |
| 3 | All-Purpose Flour | 25% | 2.00 | ★★★★☆ |
| 4 | Granulated Sugar | 20% | 1.50 | ★★★★☆ |
| 5 | Eggs | 15% | 0.50 | ★★★★★ |
| 6 | Lemon Juice | 10% | 0.75 | ★★★☆☆ |
| 7 | Cinnamon | 5% | 0.30 | ★★★☆☆ |
Assembling the Pineapple Tarts
Now that you have your crust and filling ready, it’s time to assemble your pineapple tarts:
– Filling the Crust: Carefully spoon the cooled pineapple filling into each tart crust. Ensure you fill them generously but avoid overfilling, which can lead to spills during baking.
– Covering the Filling: Depending on your preference, you can leave the tarts open-faced or create a lattice top using additional dough. This not only adds to the aesthetic appeal but also allows steam to escape during baking.
– Egg Wash: For a beautiful golden finish, brush the top of the tarts with a beaten egg before placing them in the oven. This step enhances the visual appeal and adds a slight sheen.
Baking Instructions
Once your tarts are assembled, follow these baking instructions to ensure they are cooked to perfection:
– Preheating the Oven: Preheat your oven to 350°F (175°C). This step is vital as it allows the tarts to bake evenly from the moment they go in.
– Baking Time: Bake the tarts for 20-25 minutes until they turn golden brown. Keep an eye on them to prevent over-baking, which can dry out the crust.
– Cooling the Tarts: After baking, allow the tarts to cool on a wire rack. This step is essential to maintain their crispy texture and prevent sogginess.
Pineapple Tart Baking Time vs. Temperature
Serving Suggestions
Once your pineapple tarts have cooled, it’s time to serve and enjoy them. Here are some serving suggestions to enhance your dessert experience:
– Garnishing: A light dusting of powdered sugar adds a touch of elegance. You could also serve them with a dollop of whipped cream or a scoop of vanilla ice cream to complement the tart filling.
– Pairing: Pineapple tarts pair beautifully with tea or coffee, making them a perfect addition to your afternoon tea gatherings or dessert table.
– Storing: To keep your tarts fresh, store them in an airtight container at room temperature for up to three days. For longer storage, consider refrigerating them, though the crust may lose some of its crispness.
These delicious pineapple tarts are sure to impress your family and friends! With the right ingredients and techniques, you can create a dessert that’s not only tasty but also visually appealing. Don’t hesitate to share your creations or ask questions in the comments!
Frequently Asked Questions
What are the key ingredients for a traditional pineapple tart recipe?
A traditional pineapple tart recipe typically includes a buttery pastry made from flour, sugar, and butter, along with a sweet and tangy pineapple filling. Fresh or canned pineapple is often used, combined with sugar, lemon juice, and sometimes spices like cinnamon for added flavor. This combination creates a delightful balance of sweet and tart in each bite.
How do I achieve the perfect crust for my pineapple tart?
To achieve the perfect crust for your pineapple tart, ensure that you use cold butter and handle the dough as little as possible to prevent it from becoming tough. Chill the dough before rolling it out, and consider blind baking the crust for a few minutes to ensure it remains crisp when filled with the pineapple mixture. This technique helps create a flaky, golden-brown crust that complements the filling beautifully.
Why is my pineapple tart filling too runny, and how can I fix it?
A runny pineapple tart filling is often caused by excess moisture from the pineapple or not using a thickening agent like cornstarch. To fix this, you can cook the pineapple filling on the stove to reduce excess liquid, or add a tablespoon of cornstarch mixed with water to help thicken it before filling the tart. Ensuring the right balance will result in a firmer, more enjoyable filling.
What is the best way to store leftover pineapple tarts?
The best way to store leftover pineapple tarts is to keep them in an airtight container at room temperature for up to three days. If you want to prolong their freshness, you can refrigerate them, but be aware that this may affect the texture of the crust. For longer storage, consider freezing the tarts, wrapped tightly in plastic wrap and placed in a freezer-safe bag, for up to two months.
Which kitchen tools are essential for making pineapple tarts?
Essential kitchen tools for making pineapple tarts include a mixing bowl for combining ingredients, a rolling pin for rolling out the dough, and a tart pan with a removable bottom for easy serving. Additionally, a sharp knife or pastry cutter is useful for cutting the pineapple filling, and a baking sheet is needed for placing the tarts in the oven. Having these tools on hand will streamline the process and help you create perfect pineapple tarts.
References
- Pineapple tart
https://en.wikipedia.org/wiki/Pineapple_tart - https://www.thespruceeats.com/pineapple-tart-recipe-3216794
https://www.thespruceeats.com/pineapple-tart-recipe-3216794 - Google Scholar Google Scholar
https://scholar.google.com/scholar?q=pineapple+tart+recipe - Google Scholar Google Scholar
https://scholar.google.com/scholar?q=pineapple+dessert+recipes - Google Scholar Google Scholar
https://scholar.google.com/scholar?q=pineapple+baking+techniques - https://www.verywellfit.com/pineapple-tart-recipe-5188846
https://www.verywellfit.com/pineapple-tart-recipe-5188846 - https://www.foodnetwork.com/recipes/articles/how-to-make-pineapple-tarts
https://www.foodnetwork.com/recipes/articles/how-to-make-pineapple-tarts - pineapple tart recipe – Search results
https://en.wikipedia.org/wiki/Special:Search?search=pineapple+tart+recipe - https://www.ncbi.nlm.nih.gov/search/research-articles/?term=pineapple+tart+recipe
https://www.ncbi.nlm.nih.gov/search/research-articles/?term=pineapple+tart+recipe