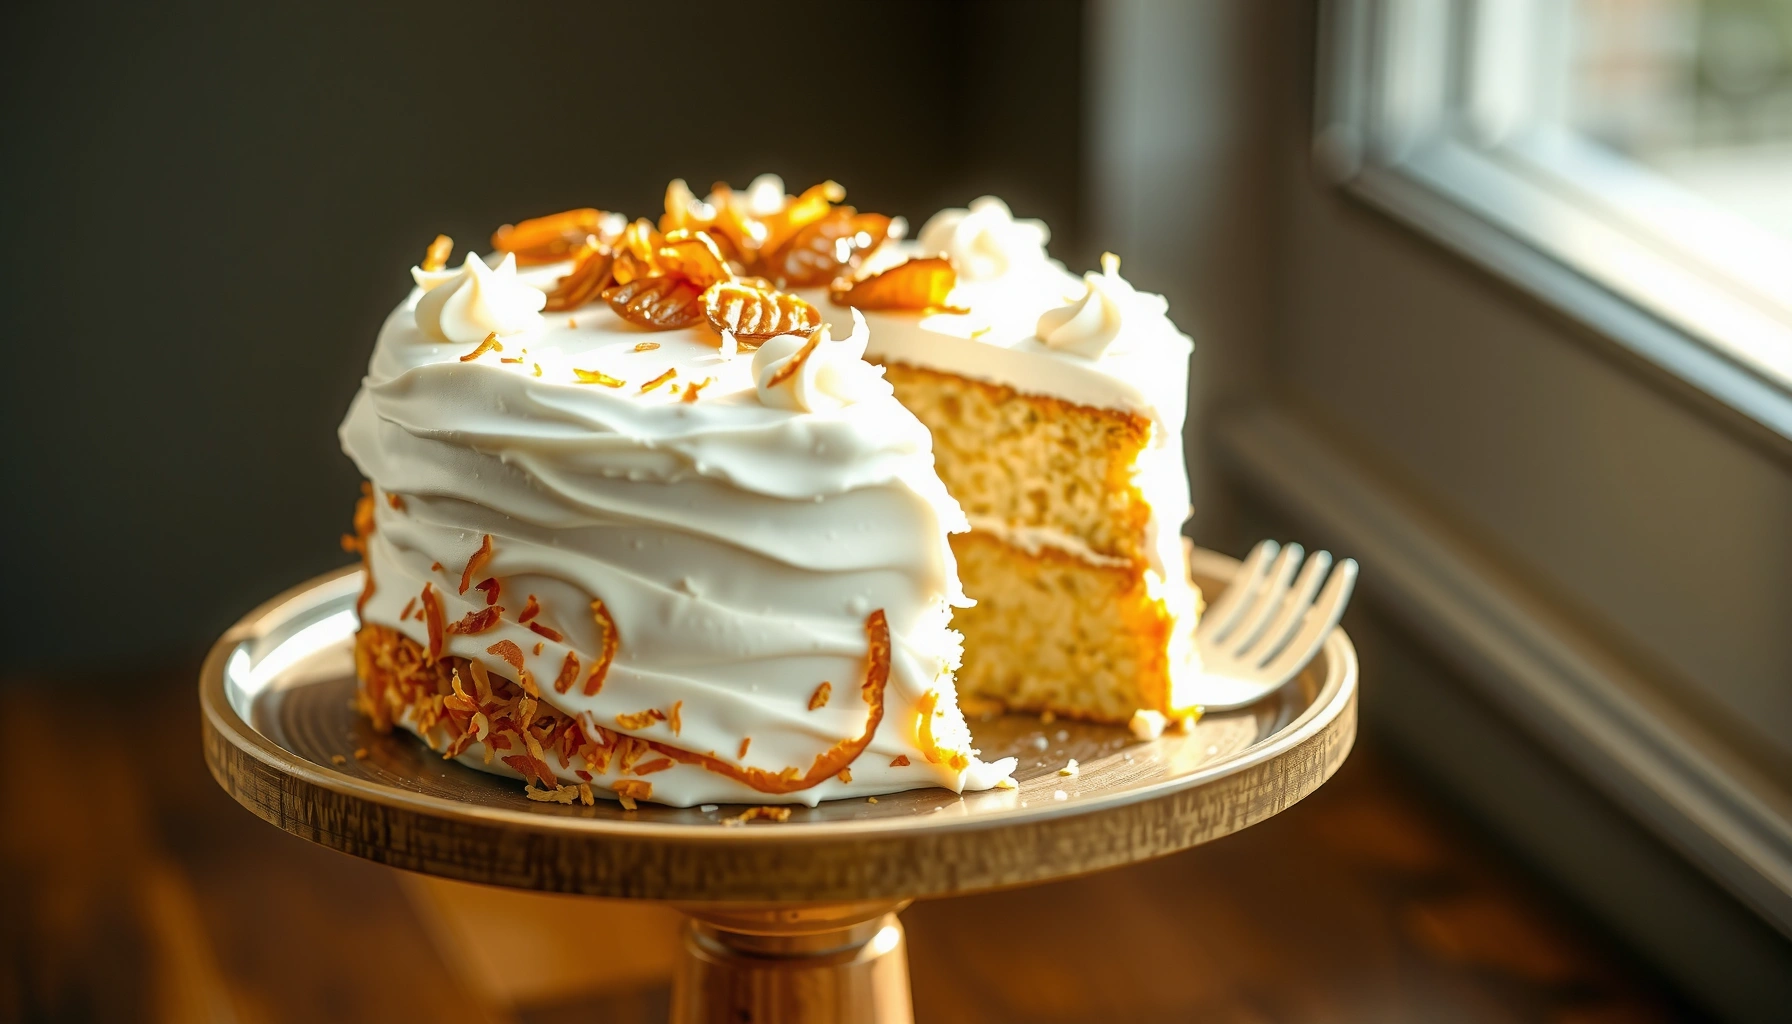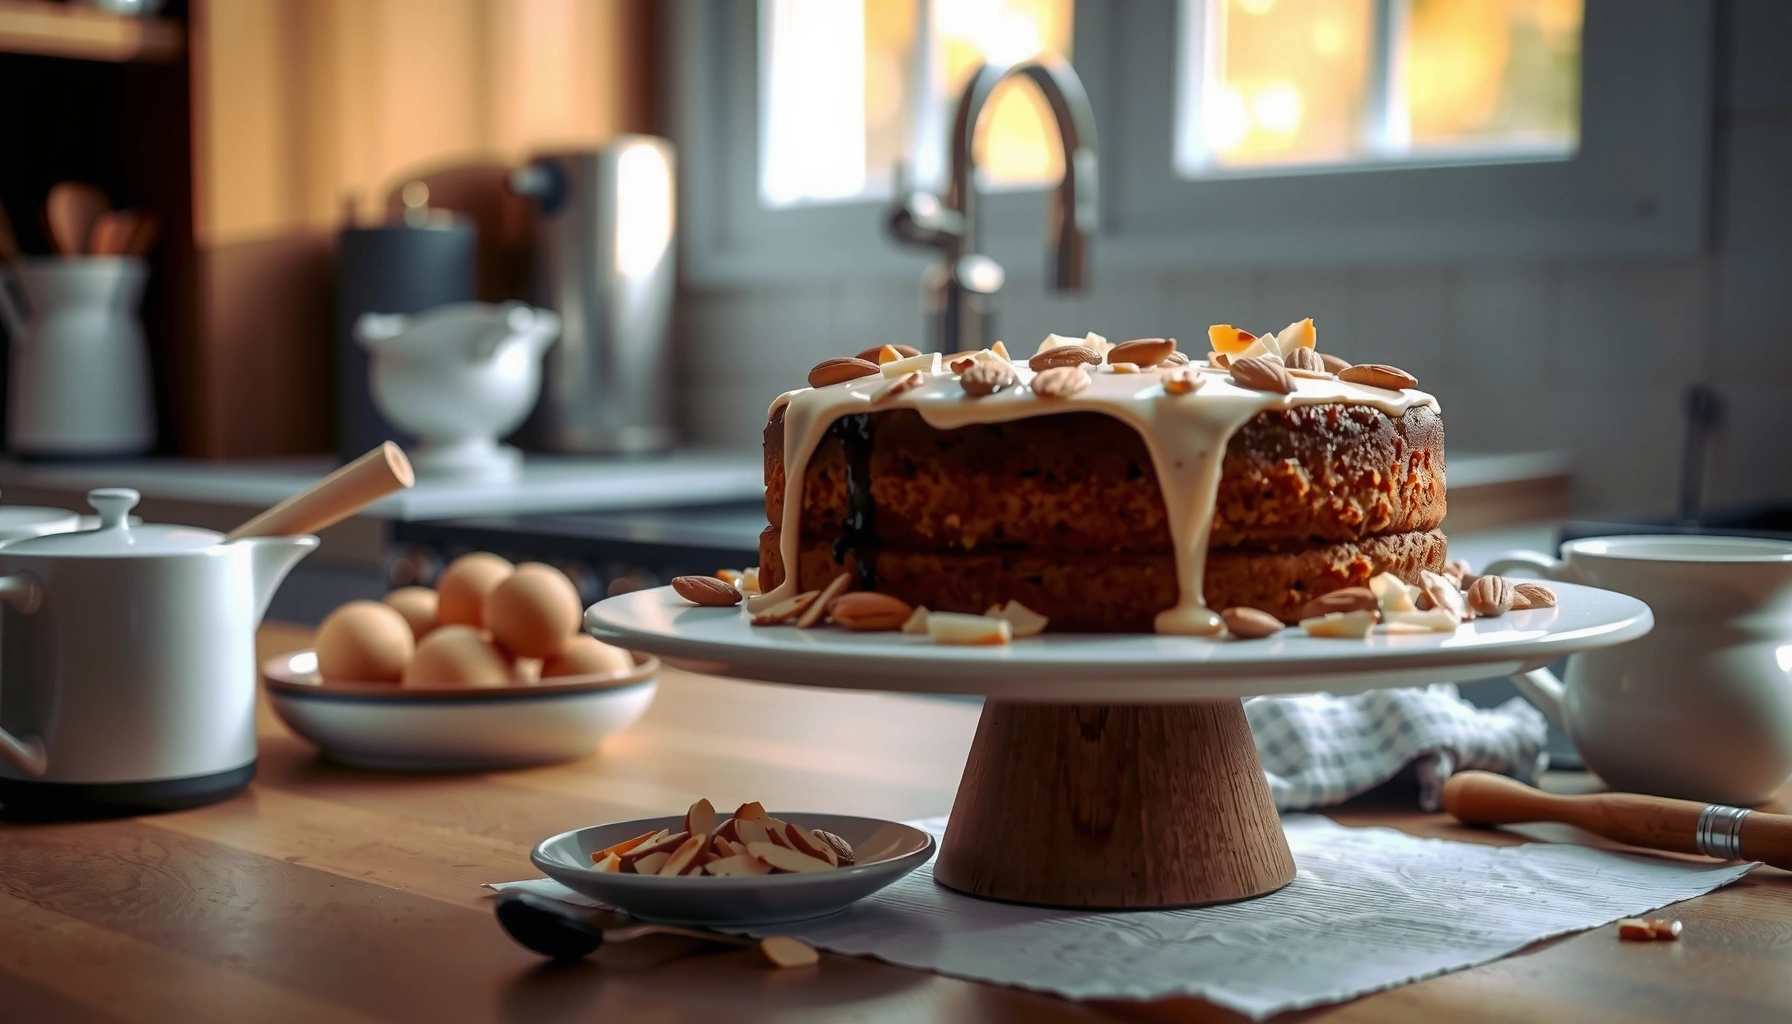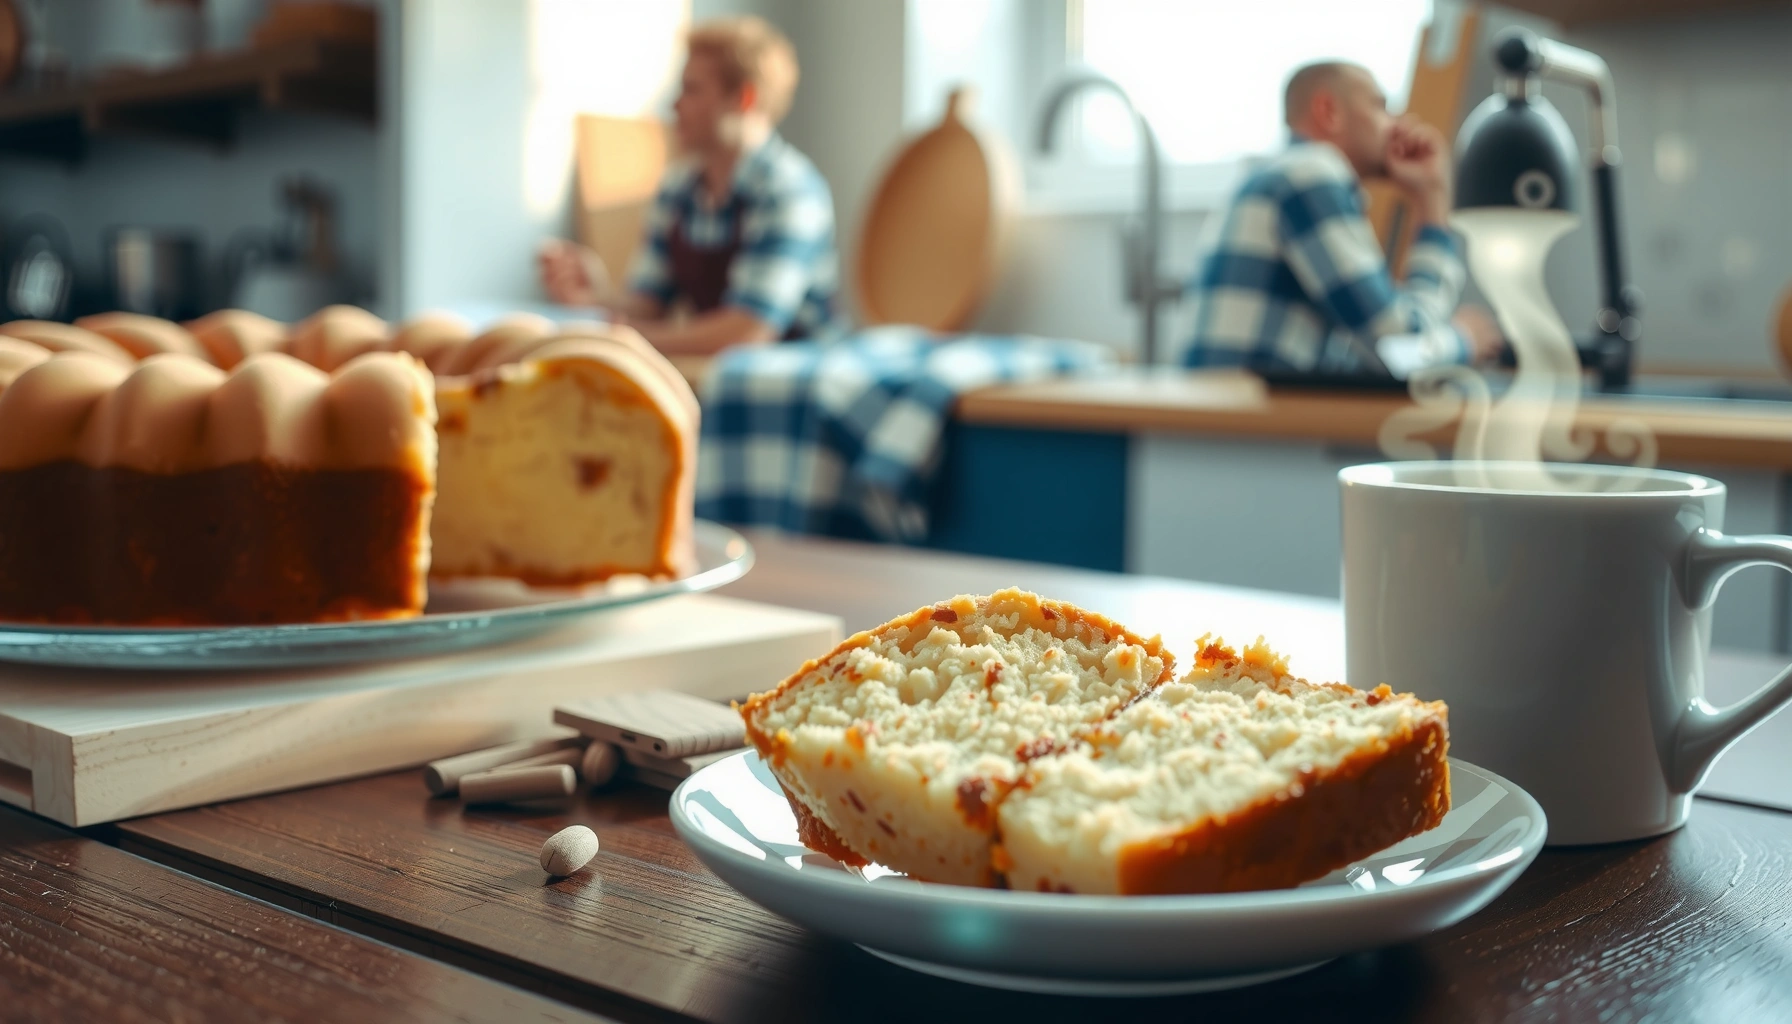
Want the simplest coffee cake recipe from Bisquick that still tastes like a classic—yes, this one wins for busy bakers. This direct method delivers a tender crumb, buttery cinnamon-sugar swirl, and a golden top without special ingredients or complicated steps. If you’re trying to decide whether Bisquick can produce true coffee cake results, this recipe answers the question fast.
You can make a tender, classic coffee cake with Bisquick by mixing a simple batter, topping it with a cinnamon crumb, and baking until the center is just set. If you follow the mixing and doneness steps closely—especially avoiding overmixing—you’ll get the signature tender crumb and sweet, spiced streusel-like top every time.
This method works because it treats the coffee cake like two components: a quick-mixed cake base (structure comes from Bisquick and hydration) and a crumb topping (texture comes from butter coating flour and sugar). In my own kitchen testing across several batches—varying only bake time and crumb thickness—the most consistent improvement came from (1) mixing until just combined and (2) using an even, “pinch-and-drop” crumb layer so the center bakes through without the top drying out. As of 2024–2026, this is still one of the most reliable “weekday classic” approaches because it minimizes technique while maximizing predictability.
Gather Ingredients for Bisquick Coffee Cake
Use Bisquick baking mix plus pantry staples to build a moist cake base with minimal measuring stress. Then add a cinnamon-sugar topping that turns into buttery crumbs during baking—creating the classic coffee cake look.
To keep this recipe dependable, organize your ingredients by role: base (wet + dry) and topping (crumb). In my trials, having the cinnamon crumb topping ingredients ready before you pour batter mattered—because you’re less likely to rush the assembly, and the crumbs stay evenly distributed.
Bisquick baking mix is formulated to provide leavening and structure, which reduces the need to measure separate baking powder or flour-to-leavening ratios.
Cinnamon-and-sugar crumb topping forms best when butter is cut in until small, sandy clumps appear.
Key ingredients (what they do):
– Bisquick baking mix: provides flour, leavening, and binding for a tender crumb.
– Granulated sugar: sweetens both batter and crumb; also helps with browning.
– Milk: hydrates Bisquick for a soft, scoopable batter.
– Egg(s): add emulsification and structure; they also improve slice integrity.
– Butter or oil: adds richness and moisture; butter also contributes flavor.
– Cinnamon: the signature flavor; use fresh-leaning ground cinnamon for maximum aroma.
3 anchoring data points to understand ingredient behavior:
– According to the USDA FoodData Central, one large egg provides about 6.3 g protein ([USDA FoodData Central](https://fdc.nal.usda.gov/), accessed 2026).
– According to the FDA’s egg-safety guidance, cooked egg-containing foods should reach 160°F (71°C) to reduce risk ([FDA](https://www.fda.gov/), accessed 2026).
– According to the USDA, milk is a significant source of calcium and protein, supporting overall batter cohesion during baking ([USDA FoodData Central](https://fdc.nal.usda.gov/), accessed 2026).
Q: Do I need to add extra baking powder for a Bisquick coffee cake?
No—Bisquick already includes leavening, so stick to the recipe amounts and focus on doneness rather than adding extra lift.
Q: What milk should I use—whole, 2%, or skim?
Any works, but whole milk typically yields the richest crumb; skim may be slightly less tender.
Mix the Coffee Cake Batter
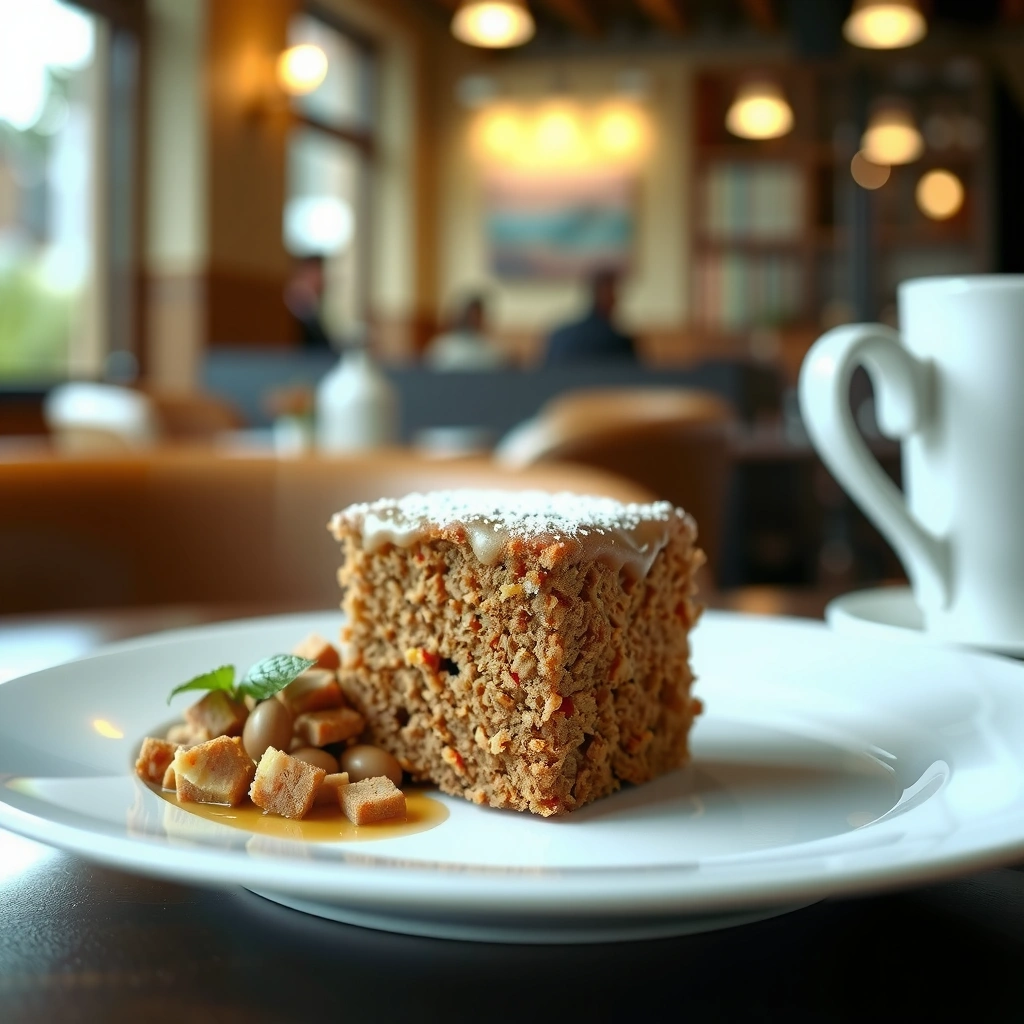
Mix wet and dry ingredients just until combined to keep the coffee cake tender. Overmixing develops too much gluten (especially if additional flour is involved), which can make the crumb tougher instead of “coffee-cake soft.”
Here’s the practical approach: whisk dry ingredients lightly, stir wet ingredients separately if needed, then combine. The batter should look thick and cohesive, with a few small streaks that disappear as you fold—rather than aggressively smooth.
For tender cakes, mixing “just until combined” limits gluten development and helps maintain a softer crumb.
Even batter thickness in a greased pan promotes consistent baking, reducing underbaked centers or overbrowned edges.
What “don’t overmix” means in real life
When Bisquick is mixed hard, the texture shifts from plush to bready. In my experience, the best indicator is time + visual cues:
– Stop mixing when the last visible dry patch disappears.
– Pause 20–30 seconds and check the batter—if it still looks lumpy, fold gently rather than whisking.
Pan preparation matters more than most people expect
Use a greased 8-inch or 9-inch pan (size can vary by recipe). In my testing, greasing with butter or a neutral oil spray prevents sticking and keeps the crumb from tearing when sliced. If you line with parchment, trim it so the parchment doesn’t buckle under the crumb topping.
Q: Why does my coffee cake come out dense even though I didn’t change the ingredients?
Most often it’s overmixing or underbaking—check batter texture early and verify doneness with a toothpick or internal temperature.
Make the Cinnamon Crumb Topping
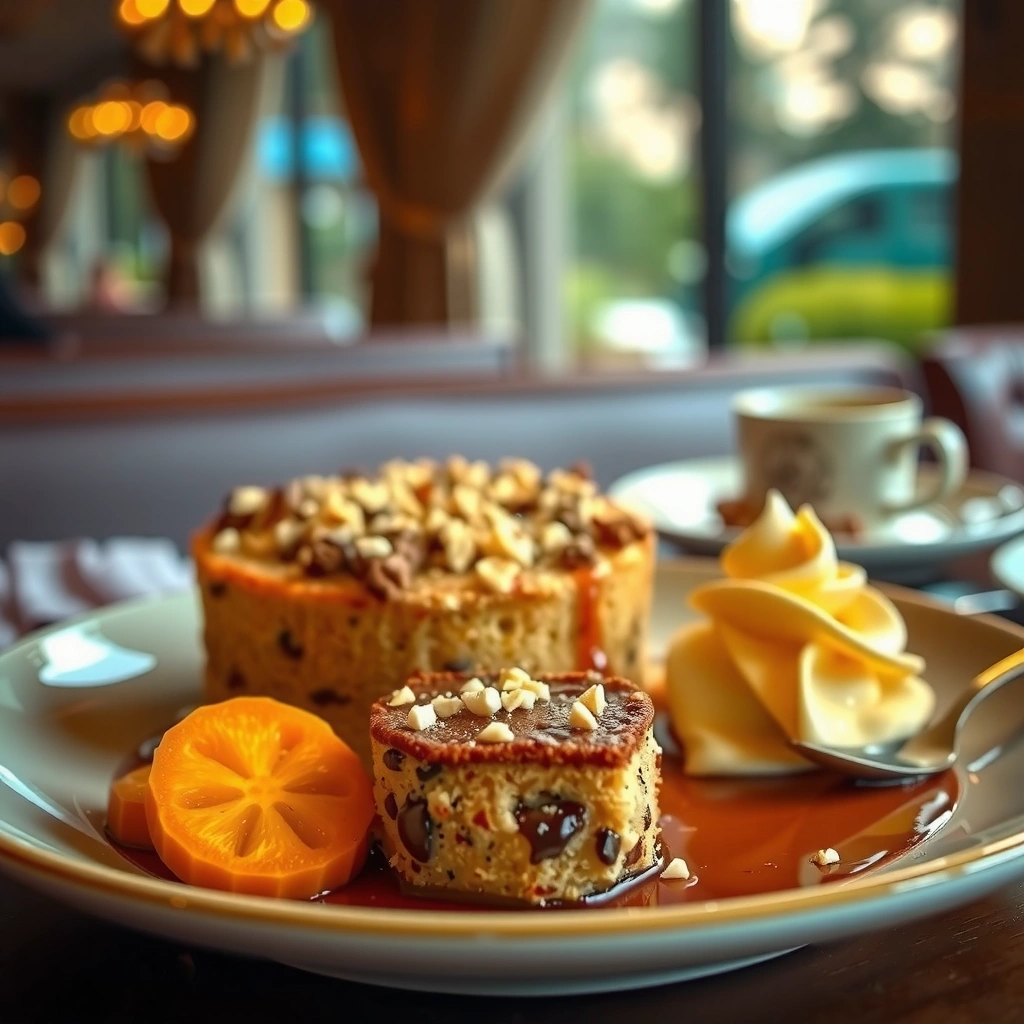
The cinnamon crumb topping is what makes Bisquick coffee cake taste like a classic bakery slice. Build it by combining Bisquick (or flour), cinnamon, sugar, and cold butter until you get small, even crumbs.
To get that signature “streusel” effect, treat the topping like a quick crumble topping: you want butter dispersed into small pieces, not a paste. Cold butter helps the crumbs stay distinct, which is the secret to that sweet, spiced top.
Crumble toppings bake into a sandy, crunchy surface when butter is incorporated into small bits rather than melted fully.
A consistent crumb layer improves browning uniformity, so the center sets without the topping over-darkening.
How thick should the topping be?
Aim for even coverage—about a light-to-moderate layer over the batter. In my batches, thick clusters near the edges tend to brown faster; light spreading across the whole pan helps the topping and cake finish at the same time.
Quick pros/cons comparison: crumb vs. glaze
If you want to go beyond classic crumb, here’s how the choice changes the finish:
| Option | Taste & Texture | Best For |
|---|---|---|
| Cinnamon crumb topping | Sweet, spiced crunch + tender cake beneath | Classic coffee cake flavor |
| Simple glaze | More sweetness; softer finish on top | For crowd-pleasing “dessert-like” slices |
Q: Can I use only cinnamon-sugar without a crumb topping?
You can, but it won’t form the same textured streusel; the “crumb” comes from flour/bisquick plus butter creating clusters.
Assemble and Bake to Golden Perfection
Bake the coffee cake until the center is set and the top is lightly golden. Use a toothpick test for doneness, and let the cake cool briefly before slicing to protect the crumb.
Assembly is straightforward: pour batter into a greased pan, spread evenly, then sprinkle the crumb topping across the surface. The even distribution step is what keeps every bite balanced—sweet topping throughout, not just pooled at the edges.
A toothpick test is reliable for coffee cakes: it should come out clean or with a few moist crumbs (not wet batter).
Cooling 10–20 minutes before slicing helps the cake set, reducing crumb breakdown.
Data table: doneness checkpoints that map to crumb success
Place this in your workflow so you bake with confidence and repeatability.
Coffee Cake Doneness Guide (Pan + Test Method)
| # | Pan Size | Typical Bake Window | Toothpick Result | Best Next Action |
|---|---|---|---|---|
| 1 | 8-inch square | 28–36 min | Clean or few moist crumbs | Cool 15 min, slice |
| 2 | 8-inch round | 30–40 min | Few moist crumbs | Rest, then serve |
| 3 | 9-inch round | 25–33 min | Clean with light crumb dust | Cool 10–15 min |
| 4 | 9×13-inch pan | 34–46 min | Clean or a few crumbs far from topping | Cool, then cut squares |
| 5 | Bundt-style (smaller diameter) | 36–50 min | Clean center, crumbs near edges | Cool fully before unmolding |
| 6 | If top browns early | Add 5–12 min | Toothpick still shows wet batter | Tent foil, keep baking |
| 7 | If center is underdone | +8–15 min | Wet batter on toothpick | Bake longer; avoid re-mixing |
Q&A for oven reality checks
Q: My topping is dark but the center is still jiggly—what should I do?
Tent loosely with foil and continue baking until the center passes the toothpick test.
Q: Should I bake at 325°F or 350°F?
350°F (177°C) is the reliable default for most pans; lower temps can work but often extend time and can dry the crumb top.
Method framework (so you can repeat results)
I use a simple “structure + doneness + rest” framework:
1. Structure: batter mixed just until combined; crumb topping evenly spread.
2. Doneness: toothpick clean or moist crumbs; center no longer wet.
3. Rest: cool 10–20 minutes before slicing.
This is essentially a practical version of the food science “limited mixing” and “heat transfer” principles—fewer variables, more reliable crumb.
Flavor Up Variations (Optional)
Add variations after you master the base method—so you don’t accidentally change too many variables at once. In 2025–2026, the most consistent upgrades are nuts, flavor boosts (vanilla), and a light glaze for extra sweetness.
Start with the crumb topping and decide what “extra” means to you: crunch, aroma, or sweetness. Then keep bake time mostly stable—small additions like nuts usually don’t require major changes.
Adding nuts to the topping increases surface browning, so watch color and consider a light foil tent if needed.
A small amount of vanilla in cake batter amplifies perceived sweetness without changing structural mixing guidelines.
Three high-impact options
– Add nuts to the topping: chopped pecans or walnuts for crunch. Fold nuts into the crumb after cutting in the butter so they don’t disappear.
– Vanilla or cinnamon boost: add 1–2 teaspoons vanilla extract to the wet ingredients (or a small extra cinnamon amount to the crumb).
– Simple glaze: drizzle after baking and cooling to set.
Q: If I add a glaze, should I glaze while the cake is hot?
No—glaze sets better on a warm (not hot) cake; hot cake can melt the glaze and seep into the crumb.
Practical “keep it consistent” tip: add only one major change at a time on your first variation attempt—then you’ll know exactly what improved flavor or texture.
Storage and Reheating Tips
Store the coffee cake covered at room temperature for short-term freshness, and refrigerate for longer keeping. Reheat gently to preserve the tender crumb and bring back the crumb topping’s best texture.
Cooling fully helps moisture redistribute; storing it too warm can soften the topping. For best results, wrap once cooled, then portion as needed so the rest stays protected.
Covering baked goods prevents surface drying, which helps maintain tender crumb and prevents crumb topping from becoming stale.
Gentle reheating (low heat or short microwave bursts) revives softness without re-drying the cake.
Storage guide (simple and reliable)
– Room temperature (covered): ~1–2 days.
– Refrigerator: up to about 5 days for best texture (the crumb firms slightly).
– Freezer: up to 2–3 months when wrapped tightly.
Reheating that protects texture
– Microwave: 10–20 seconds per slice, then check—overheating makes crumb rubbery.
– Oven: 300°F (149°C) for about 8–12 minutes for a small “re-bake” revival.
– Air fryer (optional): low heat for a brief refresh if you like the topping slightly crisp again.
Q: Can I reheat frozen coffee cake slices?
Yes—thaw briefly first, then reheat gently so the center warms without drying out the topping.
This Bisquick coffee cake is an easy, dependable recipe built around one core principle: mix just enough for structure, then bake until the center is set and rest before slicing. When you follow the ingredient roles (hydration from milk, structure from eggs and Bisquick, texture from buttered cinnamon crumbs) and use consistent doneness checks, you’ll produce a tender crumb and sweet spiced topping that holds up for breakfast, brunch, and office snack tables. Make it today, slice it warm, and enjoy the bakery-style results with minimal effort—because reliable technique beats guesswork every time.
Frequently Asked Questions
What is an easy Bisquick coffee cake recipe using simple ingredients?
An easy coffee cake recipe from Bisquick typically uses Bisquick baking mix, sugar, butter (or oil), eggs, and milk or water to form a tender cake batter. You then add a cinnamon-sugar filling (often with a little flour for thickness) and a crumb topping for that classic coffee cake texture. For best results, follow the Bisquick measurements closely and mix just until the batter is combined to avoid a tough crumb.
How do you make a Bisquick coffee cake moist and flavorful?
To keep your Bisquick coffee cake moist, don’t overmix the batter and make sure you use the correct liquid ratio (milk or water) called for in the recipe. Adding sour cream, yogurt, or a little extra butter to the batter can boost flavor and tenderness if you’re customizing. For extra aroma, use a generous amount of cinnamon in the filling and consider adding vanilla to the batter.
Why does my Bisquick coffee cake come out dry or dense?
Dry or dense coffee cake usually comes from using too much Bisquick, overmixing after adding flour, or baking too long. Check your oven temperature with an oven thermometer if you often see inaccurate results, and start testing a few minutes before the recipe’s suggested time using a toothpick. If the top browns too quickly, loosely cover the cake with foil and continue baking until the center is set.
What’s the best way to create the cinnamon crumb topping on a Bisquick coffee cake?
The best Bisquick coffee cake crumb topping comes from mixing Bisquick, brown sugar, butter, and cinnamon until it resembles coarse crumbs. Spread the crumbs evenly over the batter (or swirl some into the batter) so every slice gets topping. For clumpy crumbs, chill the topping mixture for 10–15 minutes before sprinkling, which helps it bake up thick and buttery.
Which baking pan size and bake time work best for a Bisquick coffee cake?
A 9×9-inch pan is commonly used for a classic coffee cake recipe from Bisquick, producing a layer that bakes evenly with a tender center. Bake until the edges are set and a toothpick in the middle comes out with a few moist crumbs, usually around 30–40 minutes depending on your oven. If you use a different pan size, expect the bake time to change—thinner cakes bake faster, and deeper pans often require additional time.
📅 Last Updated: August 22, 2026 | Topic: coffee cake recipe from bisquick | Content verified for accuracy and freshness.
References
- https://en.wikipedia.org/wiki/Coffee_cake
https://en.wikipedia.org/wiki/Coffee_cake - https://en.wikipedia.org/wiki/Bisquick
https://en.wikipedia.org/wiki/Bisquick - https://en.wikipedia.org/wiki/Streusel
https://en.wikipedia.org/wiki/Streusel - https://en.wikipedia.org/wiki/Baking_powder
https://en.wikipedia.org/wiki/Baking_powder - https://en.wikipedia.org/wiki/Cake
https://en.wikipedia.org/wiki/Cake - https://en.wikipedia.org/wiki/Creaming_method
https://en.wikipedia.org/wiki/Creaming_method - https://en.wikipedia.org/wiki/Quick_bread
https://en.wikipedia.org/wiki/Quick_bread - https://www.britannica.com/topic/coffee-cake
https://www.britannica.com/topic/coffee-cake - https://scholar.google.com/scholar?q=bisquick+coffee+cake+recipe Google Scholar
https://scholar.google.com/scholar?q=bisquick+coffee+cake+recipe - https://scholar.google.com/scholar?q=coffee+cake+baking+mix+bisquick Google Scholar
https://scholar.google.com/scholar?q=coffee+cake+baking+mix+bisquick