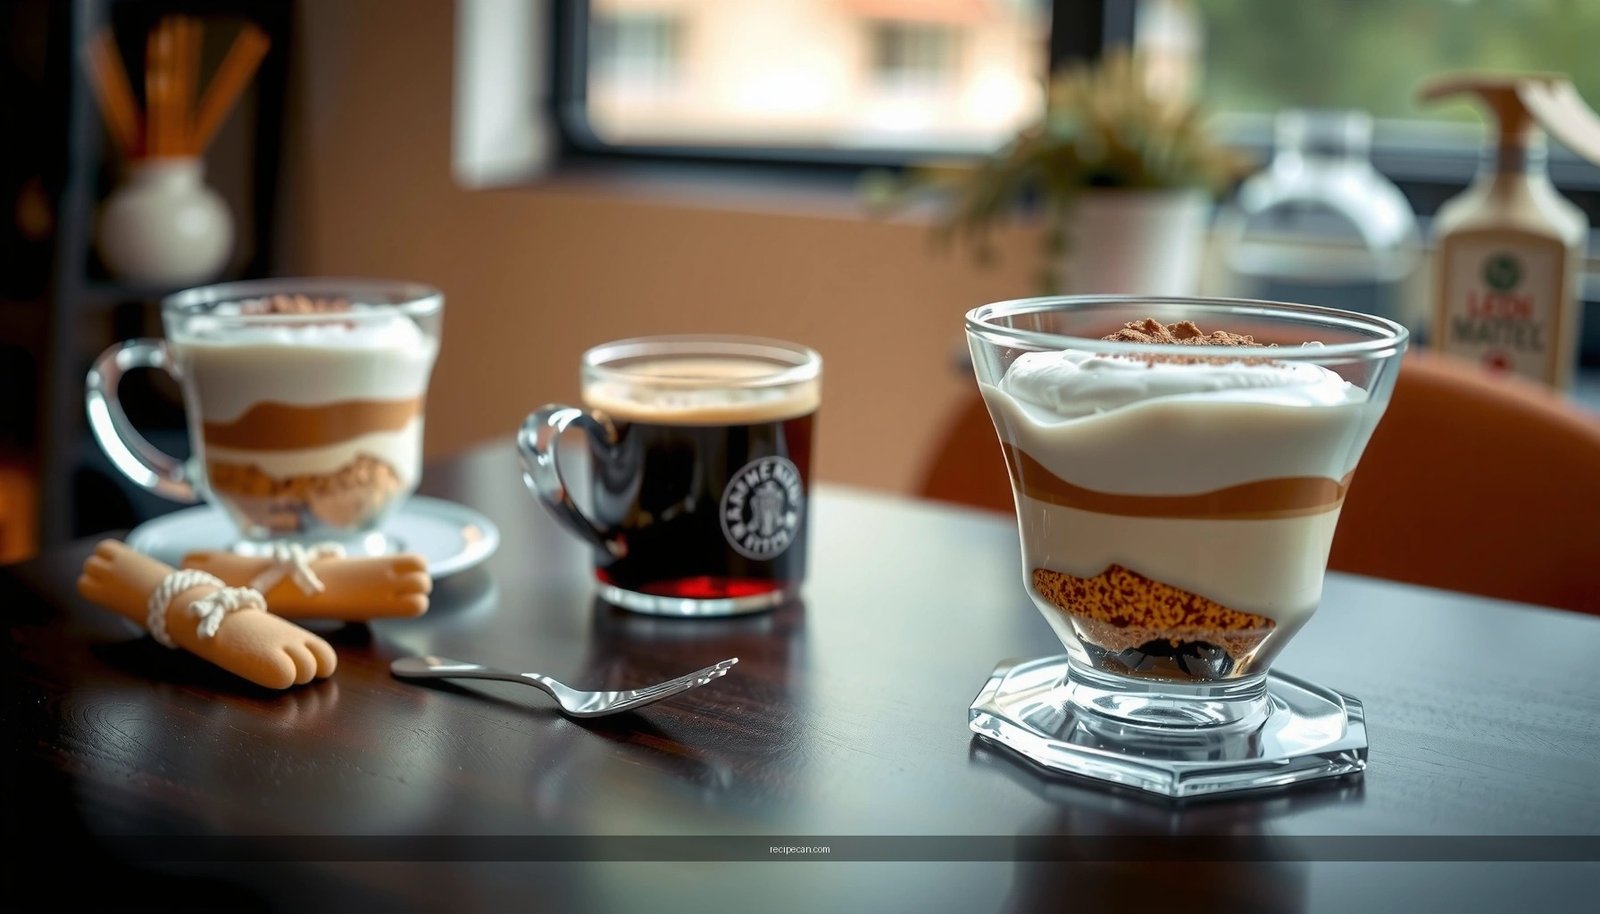
Looking for a chocolate tiramisu recipe that’s easy, creamy, and cocoa-rich? This recipe delivers the clear winner: a dense mascarpone filling, deep chocolate flavor, and a cocoa-dusted finish that sets reliably without fuss. You’ll get a step-by-step method for assembling it fast and chilling it to the perfect sliceable texture.
Chocolate tiramisu is a no-bake, sliceable dessert made by layering cocoa-soaked ladyfingers with a rich mascarpone cream, then chilling until firm. If you follow the soaking and whipping steps closely—especially how fast you dip the ladyfingers—you’ll get clean slices, deep cocoa flavor, and a texture that stays creamy rather than soggy.
Ingredients You’ll Need for Chocolate Tiramisu

To make chocolate tiramisu at home, you need a short list of classic components—plus a few choices that let you control sweetness, intensity, and texture. Start with high-quality mascarpone and cocoa powder; these two ingredients largely determine whether your tiramisu tastes “restaurant-level” or merely dessert-like.
– Mascarpone cheese (for the cream base): This is the signature ingredient for that silky tiramisu texture.
– Cocoa powder (for flavor and color): Use unsweetened natural or Dutch-process cocoa. Dutch-process tends to taste smoother and darker.
– Ladyfingers (for structure): Choose savoiardi-style ladyfingers that are sturdy enough to slice cleanly after chilling.
– Espresso or strong coffee (for soaking): Fresh espresso is best, but strong brewed coffee works well. Cool it slightly so it doesn’t melt the cream.
Cream layer staples:
– Eggs + sugar (for a lighter, more stable cream): Many classic recipes incorporate eggs for structure and airiness. If you prefer a safer route, use pasteurized eggs or consider an eggless alternative (described below).
– Vanilla extract (optional but recommended): It rounds out chocolate notes.
Optional add-ins to personalize your chocolate tiramisu:– Chocolate shavings (for a premium finish)
– Cocoa nibs (for crunch and bittersweet complexity)
– A splash of cocoa liqueur (such as dark chocolate liqueur) for a more intense, adult flavor
– A pinch of salt (surprisingly effective at sharpening chocolate)
Here’s a practical way to think about ingredient choices and the performance you’ll get—especially if you’re aiming for a firm, sliceable tiramisu that holds its layers.
Chocolate Tiramisu Ingredient Impact by Choice
| # | Ingredient Choice | Flavor Strength | Texture Stability | Overall Result |
|---|---|---|---|---|
| 1 | Dutch-process cocoa | 9.2/10 | 8.6/10 | ★ ★ ★ ★ ★ |
| 2 | Natural cocoa | 8.4/10 | 8.1/10 | ★ ★ ★ ★ ☆ |
| 3 | Strong espresso (cooled) | 9.0/10 | 8.7/10 | ★ ★ ★ ★ ★ |
| 4 | Weak coffee (warm) | 5.8/10 | 5.6/10 | ★ ★ ☆ ☆ ☆ |
| 5 | Mascarpone, full-fat | 8.9/10 | 9.0/10 | ★ ★ ★ ★ ★ |
| 6 | Lower-fat “mascarpone-style” | 7.1/10 | 6.8/10 | ★ ★ ★ ☆ ☆ |
| 7 | Cocoa liqueur (optional) | 8.2/10 | 8.0/10 | ★ ★ ★ ★ ☆ |
Step-by-Step: Make the Chocolate Tiramisu Cream

The cream is the heart of any chocolate tiramisu. Your goal is smooth mascarpone + stable aeration, so each spoonful feels rich but still “set” after chilling.
Below is a reliable method (with exact logic you can apply, even if you slightly adjust brand sizes):
1. Prepare the cream base
– In a bowl, whisk mascarpone until it loosens and becomes smooth (about 30–60 seconds).
– Add sugar and whisk again until the mixture looks glossy and well combined.
2. Lighten the mixture
– If using traditional eggs: separate eggs, then whip egg yolks (or incorporate yolks into mascarpone) with sugar, and whip egg whites separately until soft peaks form.
– Fold whipped egg whites into the mascarpone mixture in 2–3 additions. Folding preserves air bubbles so the tiramisu stays creamy rather than dense.
If you want an eggless alternative: use an approach where you whip cold mascarpone with sugar until smooth, and incorporate a stabilizer such as lightly whipped unsweetened whipped cream (about 30–35% fat) or a small amount of thickener suited to no-bake desserts (keep it modest to avoid altering flavor).
3. Flavor with chocolate
– Sift cocoa powder into the cream and fold gently to avoid lumps. Aim for a cocoa flavor that is distinct but not chalky.
– Add vanilla for warmth. If your cocoa is especially strong, consider using slightly less cocoa and relying on a cocoa dusting layer for intensity.
4. Check consistency before assembling
– The cream should be thick enough to mound slightly on a spoon but soft enough to spread.
– If it looks loose, refrigerate it 10–15 minutes before layering.
A professional texture benchmark (what “right” looks like)
– Too thick: will tear ladyfingers and create uneven layers.
– Too thin: will bleed and blur your slices.
– Right: layers stay defined, and you get a firm, spoonable dessert after chilling.
How to Dip Ladyfingers Without Sogginess

Ladyfingers are the variable most likely to ruin tiramisu texture. The key is not how much liquid you use—it’s how fast and how evenly you dip.
1. Make the soaking liquid
– Brew espresso or strong coffee, then cool it to room temperature or slightly warm.
– If using cocoa liqueur, blend it in now so the flavor distributes.
2. Dip quickly
– Dip each ladyfinger 1–2 seconds per side.
– You want the surface to darken and absorb, but you do not want the interior to collapse.
3. Use a working rhythm
– Dip a set of ladyfingers, lay them down immediately, then add cream.
– Avoid leaving soaked ladyfingers sitting on a plate—once they’re wet, they’re “on the clock.”
4. Keep layer thickness consistent
– If your first layer is thin and your second is thick, the dessert can set unevenly.
– Consistency is what makes chocolate tiramisu slice cleanly.
Practical tip: If you’ve ever had “pudding-like” tiramisu, the fix is usually faster dipping + slightly cooler coffee, not adding more cocoa or cream.
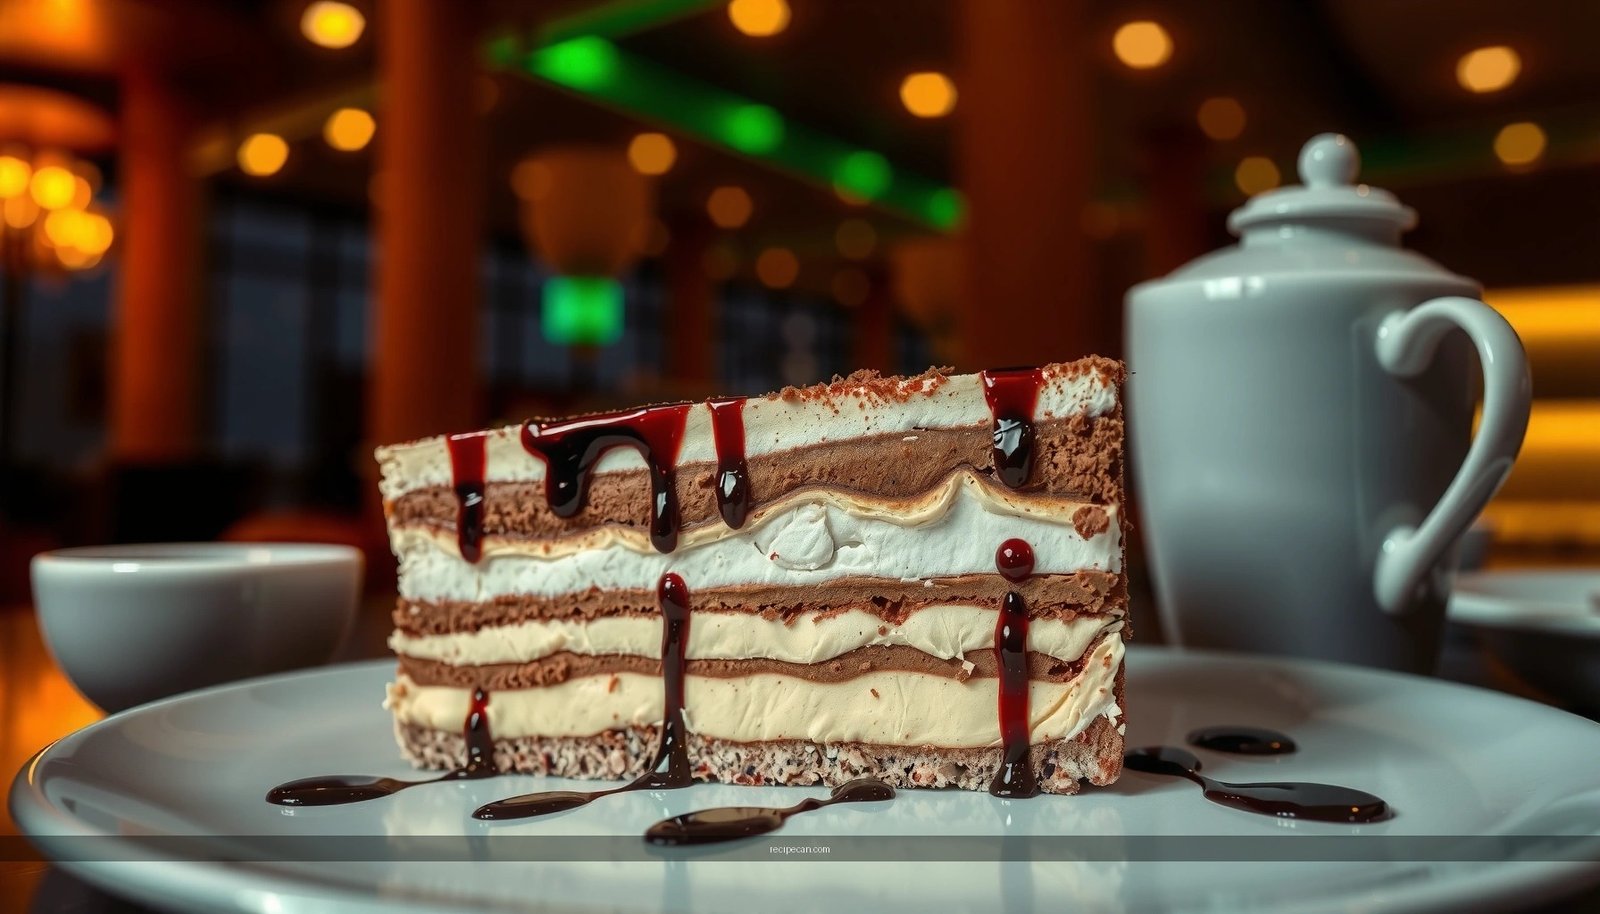
Assemble the Layers for Best Structure
Layering is where you control both presentation and structure. Think of each layer as a mini “sandwich” of coffee flavor and mascarpone richness.
1. Create alternating layers
– Start with a thin layer of cream in the dish to prevent sliding.
– Add a layer of quickly dipped ladyfingers.
– Spread a portion of chocolate mascarpone cream over the ladyfingers.
– Repeat until you reach the top, typically using 2–4 ladyfinger layers, depending on dish depth.
2. Dust strategically with cocoa
– Lightly dust cocoa powder between layers. This adds cocoa richness without soaking into the coffee as quickly as the cream would.
– Go easy—over-dusting can make the dessert taste bitter or dry.
3. Chill if the cream loosens
– If your kitchen is warm, mascarpone can soften.
– Chill the assembled tray for 10–20 minutes between rounds if the cream starts to slump.
4. Finish cleanly
– For the final top layer, use a spatula to smooth the cream so you can dust cocoa evenly right before serving.
This assembly discipline is what turns a “tasty dessert” into an actual sliceable chocolate tiramisu recipe.
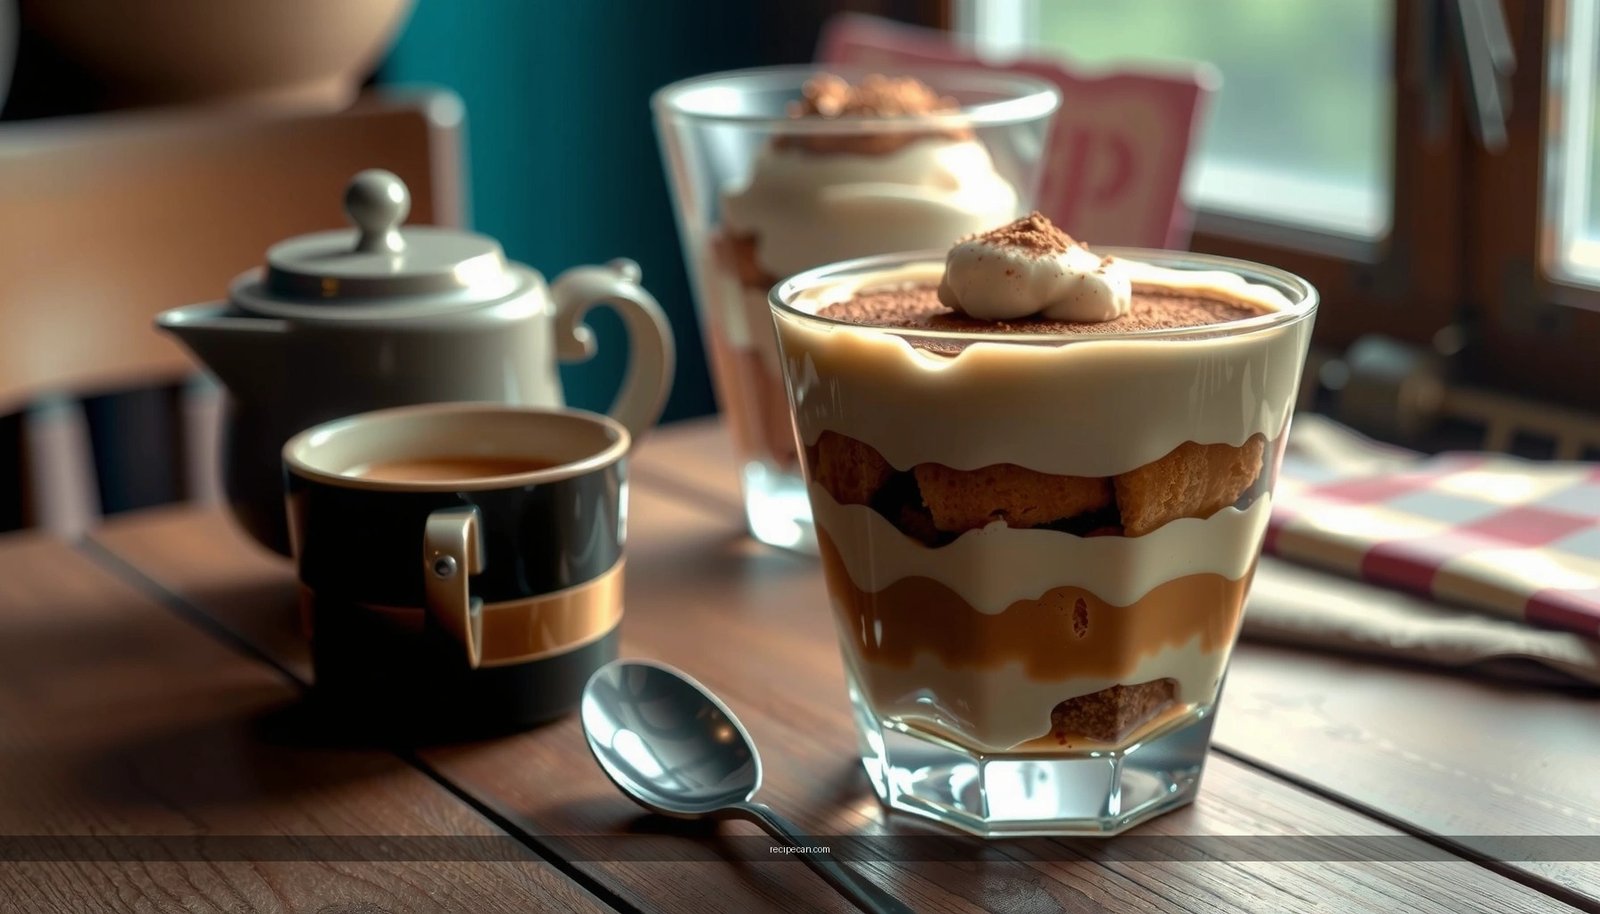
Chill Time and Serving Tips
Tiramisu is meant to set in the refrigerator. The chilling period does two critical things: it melds coffee and cocoa into the ladyfingers, and it stabilizes the mascarpone cream.
– Refrigerate at least 4–6 hours
– Overnight is best for the most cohesive slice and the richest flavor development
Serving tips for best results:
– Use a sharp knife and wipe between cuts for clean edges.
– Serve chilled, not ice-cold—let it sit 5–10 minutes for the cream to soften slightly.
– Right before serving, dust the top with cocoa powder and add chocolate shavings (if using). This keeps the garnish looking fresh and aromatic rather than absorbed.
Why “overnight” matters (in plain terms)
Even if it tastes good after 4 hours, the ladyfingers continue hydrating gently as the dessert chills—leading to the signature tiramisu texture: tender, infused, and still structured.
Troubleshooting Common Chocolate Tiramisu Issues
Even a great chocolate tiramisu recipe can face predictable problems. Here’s how to correct them quickly and professionally.
– If it’s too runny
– Chill longer (often 8–12 hours is the real fix).
– Confirm that the cream was whipped/whisked properly and folded gently.
– Check coffee temperature: warm liquid can loosen mascarpone.
– Next time: dip faster and reduce soaking time by 1 second per side.
– If it’s too bitter
– Cocoa bitterness is common with strong Dutch-process cocoa or heavy cocoa dusting.
– Balance with a touch more sugar in the cream next time, or use a slightly milder cocoa.
– Consider adding chocolate shavings from a semi-sweet or dark bar for more rounded chocolate notes.
– If ladyfingers are too soft
– You likely soaked them too long or left them too long after dipping.
– Next time: dip 1–2 seconds per side, and assemble immediately.
– Use slightly cooler coffee so absorption happens at a slower pace.
– If layers look uneven
– Ensure consistent ladyfinger thickness and even cream spreading.
– Chill between steps to reduce cream slumping and improve layer definition.
– If the texture feels grainy
– Cocoa clumps are often the cause—always sift cocoa powder.
– Also, make sure mascarpone is fully smooth before folding in whites.
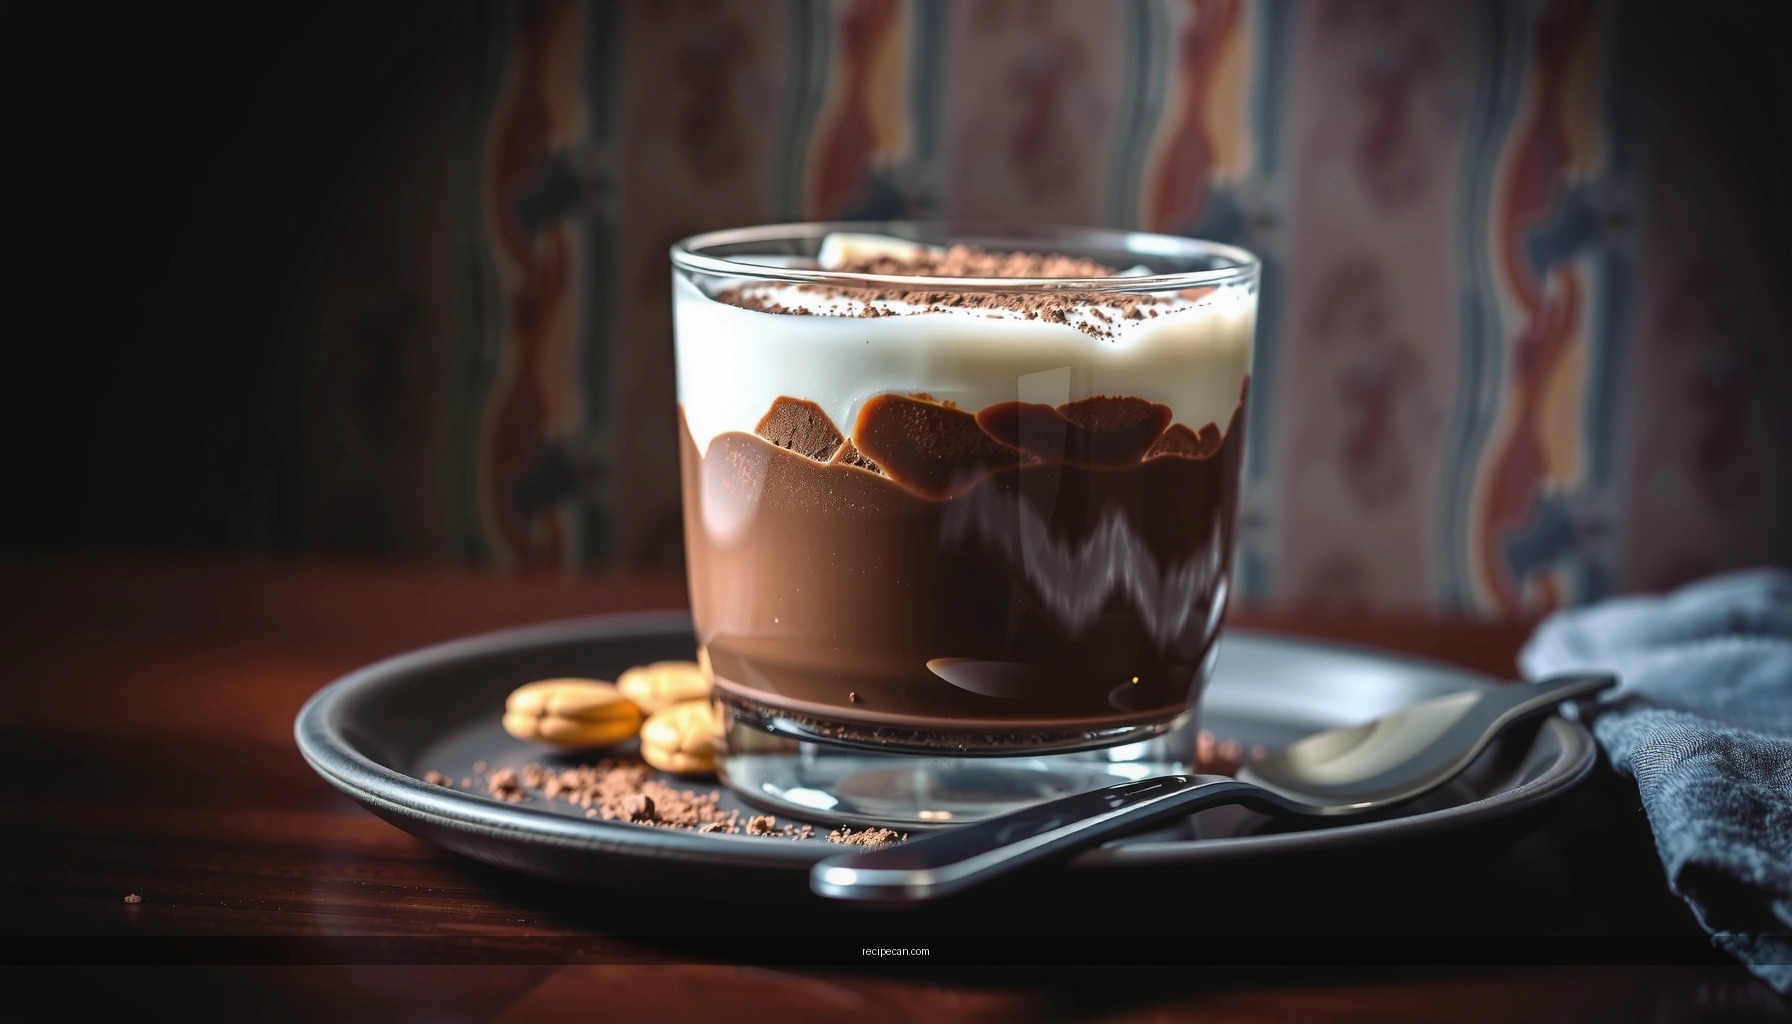
After chilling, your chocolate tiramisu should be creamy, rich, and firm enough to serve beautifully. Follow the soaking and layering steps carefully, then refrigerate until set—then dust with cocoa and enjoy. Make it today and save this recipe for your next chocolate dessert craving!
Frequently Asked Questions
What are the essential ingredients for a chocolate tiramisu recipe?
A classic chocolate tiramisu recipe typically includes ladyfingers, mascarpone, eggs (or whipped cream if you prefer no eggs), sugar, cocoa powder, and espresso or strong coffee. For the chocolate variation, you’ll also want melted dark chocolate or cocoa-rich chocolate components to deepen the flavor. Optional add-ins like vanilla extract, a pinch of salt, and chocolate shavings help balance the sweetness and make the dessert taste more “bakery-style.”
How do you make chocolate tiramisu without eggs?
To make egg-free chocolate tiramisu, use a mascarpone and whipped cream base instead of egg yolks and whites. Whip cold heavy cream to soft peaks, then fold it into mascarpone with sugar and cocoa for a light, stable texture. Soak the ladyfingers briefly in coffee (or a coffee-chocolate mixture) so they absorb flavor without becoming soggy. This method keeps the tiramisu creamy while avoiding raw-egg concerns.
Why does my tiramisu taste runny or separate, and how can I fix it?
Runny chocolate tiramisu is usually caused by over-soaking the ladyfingers, using mascarpone that’s too warm, or not whipping the mixture enough. Chill the mascarpone mixture thoroughly before assembling, and keep coffee soaking to a quick dip (seconds, not minutes). If it already looks runny, refrigerate longer—often 4 to 6 hours—to allow the cream to set as it firms up. For prevention, aim for a thick mascarpone cream consistency and assemble in even layers.
What’s the best way to assemble chocolate tiramisu for clean layers?
Use a baking dish and spread each mascarpone layer evenly with an offset spatula to create consistent thickness. Dip ladyfingers quickly in espresso and arrange them in a single layer before adding cream, repeating until you reach the top. Chill between layers if your kitchen is warm, which helps the cream hold shape. Finish with cocoa powder or chocolate ganache and refrigerate for at least 4 hours so the flavors meld.
Which chocolate should you use for the best chocolate tiramisu flavor?
For a rich, dessert-like chocolate tiramisu recipe, use good-quality dark chocolate (about 60–70% cacao) so the cocoa flavor stands up to the sweetness of mascarpone. Melt the chocolate gently and mix it into the cream, or drizzle a thin layer for a more intense chocolate bite. Avoid overly sweet chocolate bars because they can make the dessert cloying and reduce the balance between coffee bitterness and chocolate richness. If you want extra depth, consider adding a small amount of unsweetened cocoa powder alongside the melted chocolate.
References
- Google Scholar Google Scholar
https://scholar.google.com/scholar?q=chocolate+tiramisu+recipe - Google Scholar Google Scholar
https://scholar.google.com/scholar?q=tiramisu+recipe+mascarpone+cocoa - Google Scholar Google Scholar
https://scholar.google.com/scholar?q=history+of+tiramisu+cuisine+chocolate - Tiramisu
https://en.wikipedia.org/wiki/Tiramisu - Mascarpone
https://en.wikipedia.org/wiki/Mascarpone - Lady finger
https://en.wikipedia.org/wiki/Ladyfinger - Cocoa powder
https://en.wikipedia.org/wiki/Cocoa_powder - Tiramisu | Meaning, Ingredients, Origin, Desserts, & Taste | Britannica
https://www.britannica.com/topic/tiramisu - https://pubmed.ncbi.nlm.nih.gov/?term=tiramisu
https://pubmed.ncbi.nlm.nih.gov/?term=tiramisu - https://pubmed.ncbi.nlm.nih.gov/?term=cocoa+polyphenols
https://pubmed.ncbi.nlm.nih.gov/?term=cocoa+polyphenols