Learn how to make cannoli dough that produces perfect cannoli shells—crispy, blistered, and easy to roll—without collapsing or turning tough. This cannoli dough recipe walks you through the exact dough consistency, resting time, and frying technique that deliver reliable shells every batch. If you want shells that shatter when you bite, follow this method and you’ll know it’s working within the first fry.
A great cannoli dough recipe delivers crisp, golden shells every time by balancing flour-to-fat ratio, adding a small amount of wine or vinegar for tenderness, and resting the dough before rolling. Follow a disciplined process—mix correctly, rest for gluten relaxation, roll thin and even, then fry at the right oil temperature—to produce light, flaky cannoli shells that don’t collapse when you fill them.
Gather Ingredients and Key Tools

Before you start, treat cannoli shells like a precision product: the dough is simple, but the texture depends on a few exact ingredients and the right equipment.
Core ingredients (the “why” matters):
– All-purpose flour: Provides structure via gluten.
– Sugar and salt: Sugar aids browning and helps tenderness; salt strengthens flavor and dough performance.
– Fat (traditionally lard or butter): Fat coats flour particles, limiting excessive gluten formation and promoting flakiness. Lard is classic for a crisp, light shell; butter adds flavor and a slightly different mouthfeel.
– Wine or vinegar (often Marsala or wine): Adds acidity to tenderize the dough, helping it fry into crisp bubbles rather than chewiness.
Key tools for consistent results:
– Cannoli forms/tubes (metal or sturdy molds): These shape the shell and create the signature spiral ridges.
– Thermometer (strongly recommended): Shell quality is highly sensitive to oil temperature; a thermometer prevents under- or over-frying.
– Heavy pot or deep fryer: Use a pot with enough volume for stable temperature control during frying.
– Spider/slot spoon and tongs: For transferring shells and turning them cleanly.
– Cooling rack: Allows steam to escape so shells stay crisp after frying.
To bring the “what to use” and “why it matters” together, here’s a quick reference of fat and acid options you’re likely to encounter when making cannoli dough.
Cannoli Dough Fat & Acid Choices—Impact on Shell Performance
| # | Fat Option | Acid Add-In | Best Use Case | Expected Shell Crispness |
|---|---|---|---|---|
| 1 | Lard | Dry Marsala | Classic, neutral crispness with traditional flavor | ★★★★☆ |
| 2 | Lard | White wine | Slightly brighter aroma, reliable blistering | ★★★★☆ |
| 3 | Butter (unsalted) | Marsala | More buttery flavor, good crispness if dough is rested well | ★★★☆☆ |
| 4 | Butter (unsalted) | Apple cider vinegar | Tolerant substitute; best when dough is chilled briefly | ★★☆☆☆ |
| 5 | Butter (clarified) | White wine | Cleaner frying behavior due to reduced milk solids | ★★★★☆ |
| 6 | Lard + 10–20% butter blend | White vinegar (mild) | Balanced flavor; use when butter-only shells feel too soft | ★★★☆☆ |
| 7 | Shortening (neutral) | Marsala | Very consistent texture for high-volume batches | ★★★☆☆ |
Mix the Cannoli Dough

The mixing stage determines whether your shell will be crisp and flaky or tough and dense. A professional approach is to avoid overworking the flour and to distribute fat evenly so the dough rolls thin without tearing.
1. Combine the dry ingredients
– Whisk flour, sugar, and salt until uniform. Sugar should not be clumpy, and salt should be evenly dispersed for balanced flavor.
2. Cut in the fat until crumbly
– Add lard or butter (cool, firm, and cut into cubes).
– Use your fingertips, a pastry cutter, or the pulse function on a food processor to break fat into small pieces.
– Aim for a coarse, crumbly texture—this creates layers during frying, a key contributor to crispness.
3. Add wine or vinegar
– Add Marsala or wine for tenderness and elasticity.
– If you’re using vinegar, start with a small amount (because vinegar is more assertive). The goal is acidity—not a tang-forward flavor.
4. Mix until pliable, not sticky
– Combine just until the dough comes together and feels smooth.
– If you go beyond “smooth and pliable” into overmixing, you’ll develop extra gluten and lose the delicate shell texture.
Analytical note: The dough’s structure is a careful compromise. Flour must form enough gluten to roll thin and hold shape around the tube; fat and acidity must limit gluten strength so the shell fries into tender, blistered layers rather than turning chewy.
Rest the Dough for Best Texture

Resting is not optional if you want consistent rolling and reliable crunch. During the rest:
– Gluten relaxes, making dough easier to roll thin without springing back.
– Hydration equalizes, so the dough behaves the same from edge to edge.
– Fat firms slightly, especially if your kitchen is warm—helpful for thin rolling.
Follow these best practices:
– Rest time: typically 30–60 minutes.
– Cover tightly: Use plastic wrap or an airtight container. Dry surfaces create weak spots and tears during rolling.
– Work in small portions: If you plan to roll a lot, keep the bulk covered and roll only what you need right away.
If you’re having trouble rolling: Let the dough rest longer. Overworking dough can be corrected by rest, while insufficient rest tends to cause persistent toughness.
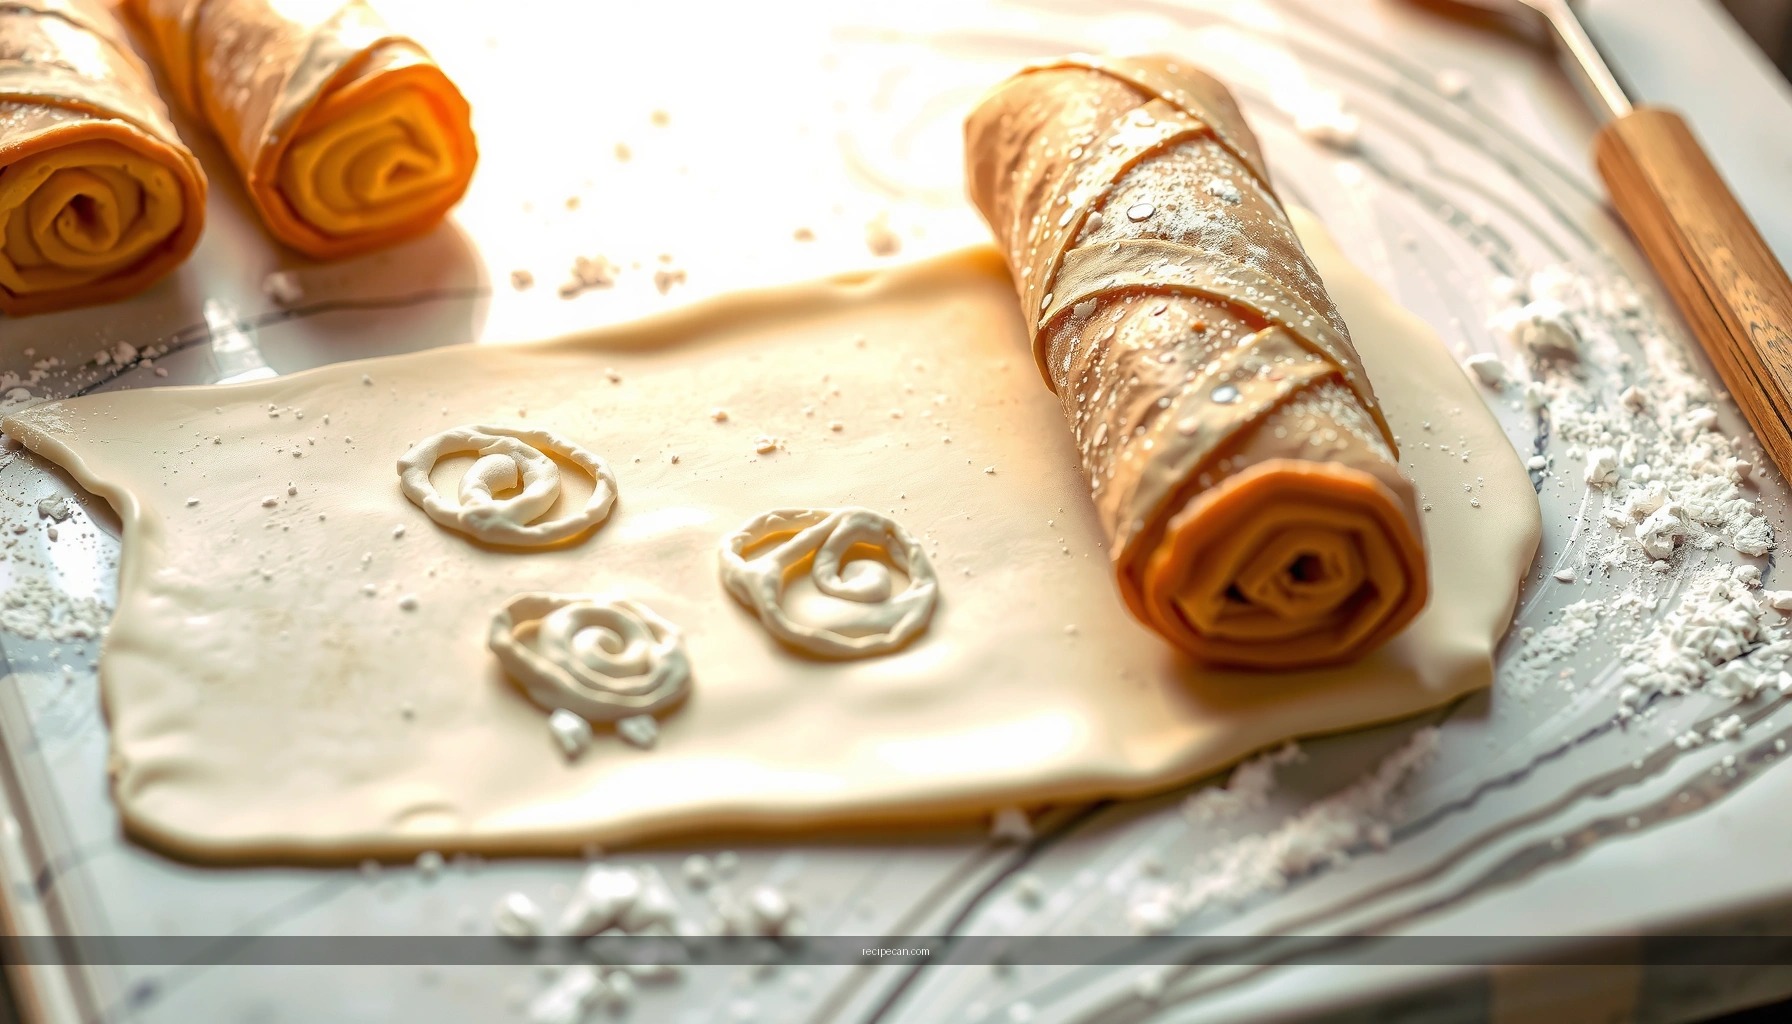
Roll and Cut for Even Shells
Rolling cannoli dough is where technique becomes outcome. Uniform thinness equals uniform frying—and uniform frying equals a clean, crisp shell that releases from the tube without distortion.
– Roll thin but not fragile: If it’s too thick, shells stay pale and soft. If it’s too thin, dough tears and forms weak seams.
– Cut consistent shapes: Use a round cutter or cut strips/rectangles of the same size so the shells fry evenly and match in appearance.
– Wrap tightly around forms: Overlap should be minimal; the dough should cling smoothly to create tidy edges and ridges.
Practical method:
– Lightly dust your work surface with flour only as needed.
– Keep the rolling motion steady and rotate the dough if necessary to avoid thin spots.
– If dough fights you (shrinks back), stop and let it rest 10–15 minutes more.
Fry Until Golden and Crisp
Frying is where the dough’s chemistry becomes visible. The goal is blistering, golden color, and rapid crisp formation—not deep browning or greasy shells.
1. Heat oil to the correct temperature
– A typical effective range is 350–375°F (175–190°C).
– Use a thermometer: cannoli shells are especially sensitive because they’re thin and cook fast.
2. Fry with controlled movement
– Lower wrapped shells carefully to avoid splashing and seam separation.
– Turn as needed for even browning. Don’t disturb constantly—let the shell set.
3. Cool completely before filling
– Filling warm shells traps steam and moisture, causing sogginess.
– Place shells on a rack until they’re fully cool and crisp.
Quality control: If shells taste greasy, your oil was likely too cool or frying time too long. If they’re pale and soft, oil may have been too cool or dough too thick.
Troubleshooting Common Dough Problems
Even with a solid cannoli dough recipe, small variables—humidity, fat temperature, flour brand, and tube size—can impact results. Here’s a practical troubleshooting map.
Dough too tough
Symptoms: difficult to roll, snaps back, dry feel.
Fixes:
– Rest longer (up to another 20–30 minutes).
– Ensure you measured liquid accurately and didn’t add extra flour during mixing.
– Avoid overmixing once the dough comes together.
Dough too sticky
Symptoms: clings to hands, tears when wrapping.
Fixes:
– Dust lightly with flour while rolling (minimal additions).
– Chill the dough 10–20 minutes if fat has softened too much.
– Confirm your fat is cool when incorporated—warm fat can make the dough slack.
Shells not crisp
Symptoms: chewy texture, moisture retention, softness after cooling.
Fixes:
– Check oil temperature with a thermometer before frying.
– Don’t overfill with filling (overhanging ricotta can cause moisture transfer).
– Cool shells fully on a rack—never fill immediately.
Extra perspective: Crispness depends on the balance of structure (gluten), barrier (fat), and tenderization (acid). When shells don’t crisp, it’s often either under-fried (temperature/time) or structurally too resilient (overmixed or under-rested dough).
The Key to Consistent Cannoli Shells
A solid cannoli dough recipe comes down to proper mixing, resting, thin rolling, and frying at the right temperature. Use a consistent fat and acid choice, rest long enough for gluten relaxation, wrap tightly around cannoli forms, and always cool shells completely before filling. Combine those fundamentals with the troubleshooting guidance above, and you’ll be ready to fill your cannoli with your favorite ricotta filling—so make a batch today and enjoy crisp shells straight from the fryer.
If you’d like, tell me which fat and acid you plan to use (lard vs butter; Marsala vs vinegar) and whether you’re frying with a thermometer—I can tailor the dough hydration and frying targets for your setup.
Frequently Asked Questions
What ingredients are best for a classic cannoli dough recipe?
A traditional cannoli dough recipe typically uses all-purpose flour, sugar, salt, white wine (or Marsala), and a small amount of lard or butter plus egg. White vinegar or lemon juice is sometimes added to help tenderize and create a crisp shell. For best flavor and structure, use fresh flour and a fat source that’s solid at room temperature so the dough becomes flaky when fried.
How do you make cannoli dough that’s easy to roll without tearing?
Let your cannoli dough rest at least 30 minutes (often up to 1 hour) after mixing so the gluten relaxes and the dough rolls smoothly. Roll the dough thin and evenly, keeping the surface lightly dusted with flour to prevent sticking. If the dough is cracking, cover it and let it warm slightly, or knead in a teaspoon of wine/water to improve elasticity.
Why is my cannoli shell dough hard after frying, and how can I fix it?
Hard shells usually happen when the dough is rolled too thick, fried at too high a temperature, or over-fried until very dark. Aim for a consistent frying temperature (commonly around 350°F/175°C) and fry until lightly golden, not deep brown. Also, make sure the dough has enough fat and resting time—both help produce a crisp cannoli shell that won’t turn rigid quickly.
Best practice: Should you use lard or butter in a cannoli dough recipe?
Lard is the classic choice because it creates a crisp, flaky cannoli shell with a traditional texture. Butter can work well, but it may give a slightly different flavor and can produce a less traditional crunch depending on its water content. If you want a balance, many bakers use lard for classic results or a blend of lard and butter for flavor while keeping the dough pliable.
Which frying method and cannoli forms work best for a sturdy shell?
Deep-frying in neutral oil is the most common method for a cannoli dough recipe because it cooks the shell quickly and evenly. Use metal cannoli tubes and grease them lightly so the shells slide off cleanly after frying. For the best results, let the fried shells cool fully before filling, since filling too soon can soften the shell.
References
- Google Scholar Google Scholar
https://scholar.google.com/scholar?q=cannoli+dough+recipe - Google Scholar Google Scholar
https://scholar.google.com/scholar?q=cannoli+pastry+shell+recipe+fried+dough - Google Scholar Google Scholar
https://scholar.google.com/scholar?q=sicilian+cannoli+dough+ingredients+recipe - Cannoli
https://en.wikipedia.org/wiki/Cannoli - https://www.britannica.com/topic/cannoli
https://www.britannica.com/topic/cannoli - Fried dough
https://en.wikipedia.org/wiki/Fried_dough - Deep frying
https://en.wikipedia.org/wiki/Deep_frying - Dough
https://en.wikipedia.org/wiki/Dough - https://en.wikipedia.org/wiki/Italian_pastry
https://en.wikipedia.org/wiki/Italian_pastry - List of Italian desserts and pastries
https://en.wikipedia.org/wiki/List_of_Italian_desserts


