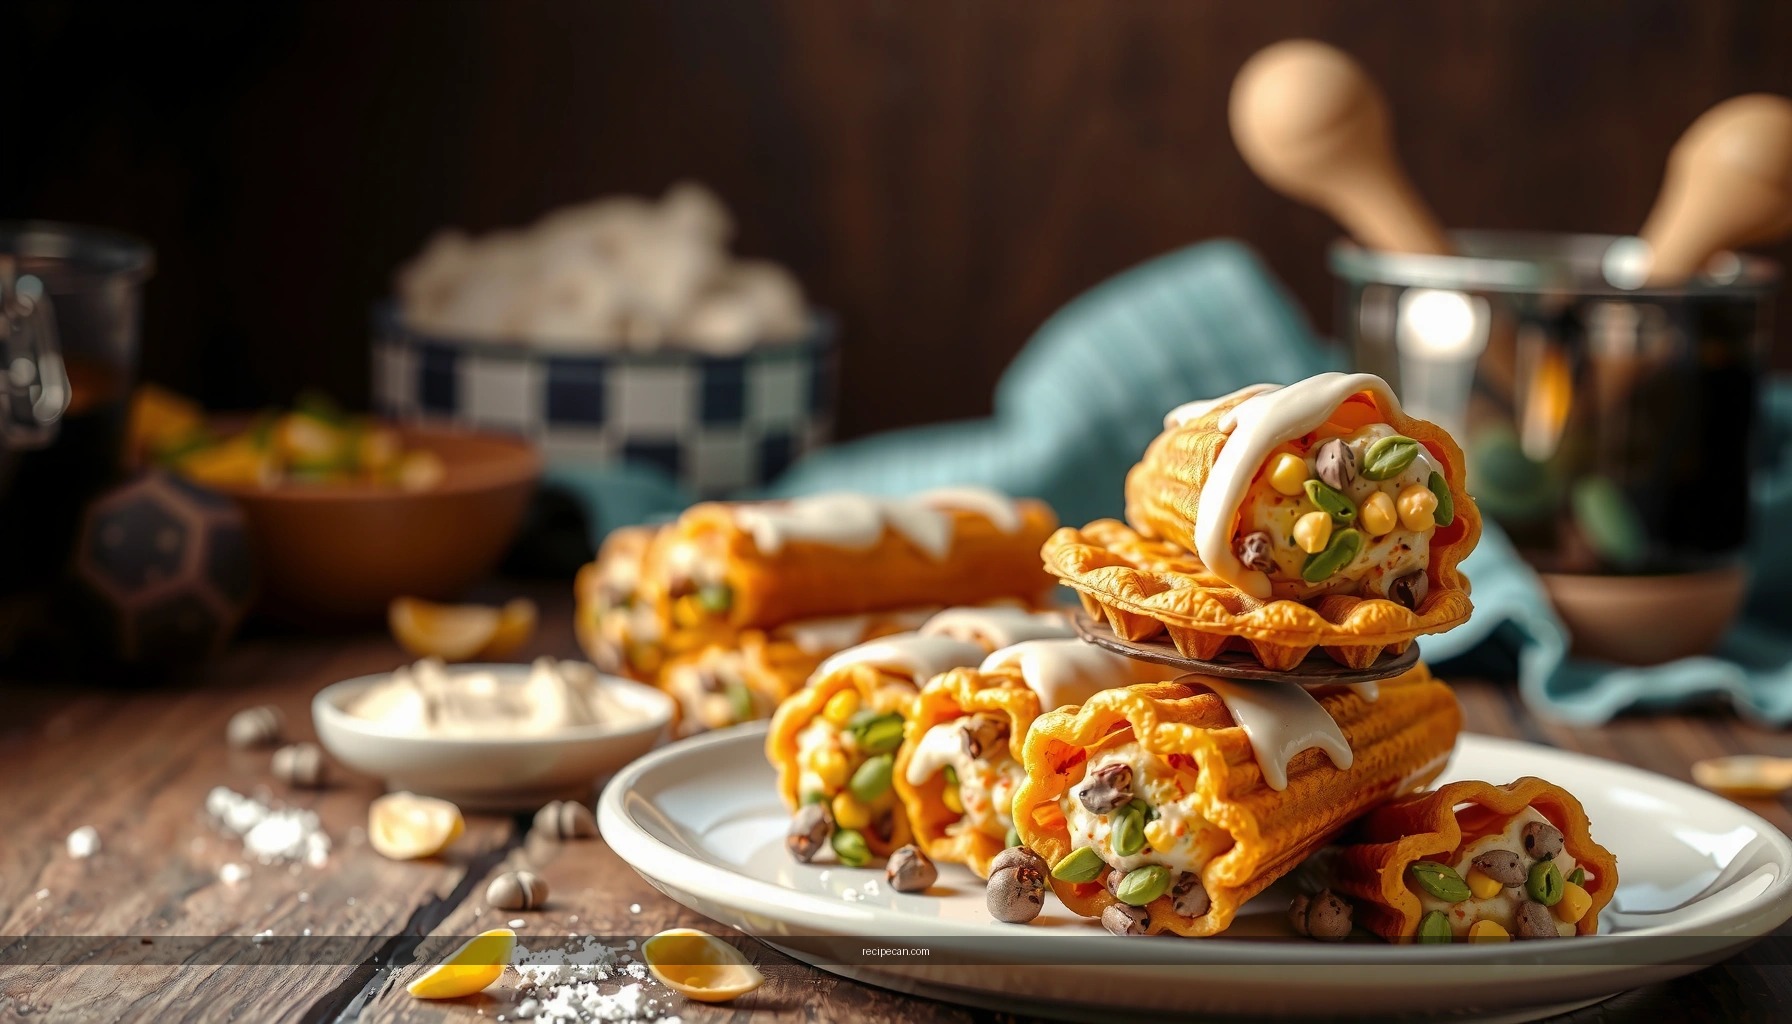
Get a crisp, golden cannoli chip recipe that delivers the crunchy bite you want every time. This recipe tells you exactly how to make homemade cannoli chips—thin dough, the right fry time, and the best finishing so they stay crisp. If you want the fastest route to the crunch, follow this method and you’ll have chips that actually hold up.
Make crispy homemade cannoli chips by rolling cannoli dough very thin, cooking them hot (fry or bake), and finishing only after they’ve cooled—so the sugar coating clings without pulling moisture back into the chips. Below is a complete cannoli chip recipe with precise technique for shaping, cooking, and seasoning to get that signature crunch every time.
What You Need for a Cannoli Chip Recipe

To make cannoli-style chips, you’ll be working with the same general dough components as traditional cannoli dough: flour for structure, a touch of sugar for tenderness and browning, fat for crispness, an egg for binding, and a pinch of salt for balance. The dough is intentionally pliable so it can be rolled paper-thin, which is the single biggest predictor of whether your chips stay crisp.
Ingredients (core dough)
– Flour: all-purpose flour works best for a reliable, crisp finish.
– Sugar: a small amount helps browning and gives the surface a mild “candy” note once fried.
– Fat: either butter or lard (classic for a more traditional cannoli texture). Using fat is what helps the dough crisp rather than go bread-like.
– Egg: binds the dough and creates elasticity for thin rolling.
– Salt: sharpens sweetness and prevents a flat taste.
Optional flavor add-ins
– Cinnamon (into the dough or as a finish)
– Cocoa powder (for chocolate-leaning chips)
– Vanilla powder or a tiny pinch of nutmeg (best when using a sugar glaze)
Tools
– Rolling pin
– Dough cutter (or pizza cutter) and a ruler-style method for consistent sizing
– Baking sheet (if baking)
– Frying thermometer (recommended) or a reliable way to judge oil temperature
– Wire rack (for cooling and airflow)
Cannoli Chip Cooking Targets (Fry vs. Bake)
| # | Method | Temperature | Target Time | Crispness Outcome |
|---|---|---|---|---|
| 1 | Frying | 350°F / 177°C | 35–70 sec | Golden + crackly |
| 2 | Frying (low temp) | 325°F / 163°C | 60–120 sec | Oily, slower crisping |
| 3 | Baking (convection) | 425°F / 218°C | 6–10 min | Light + crisp |
| 4 | Baking (no convection) | 450°F / 232°C | 7–12 min | Crisp with deeper color |
| 5 | Baking (too cool) | 375°F / 190°C | 12–16 min | Drying only, can soften |
| 6 | Oil (high temp) | 370°F / 188°C | 20–45 sec | Can burn before crisping |
| 7 | Cooling window | Room temp 15–25 min | Airflow essential | Max crackle + shelf stability |
Make the Cannoli Dough

The dough is where most “almost there” cannoli chips go off track. If the dough tears, springs back, or rolls too thick, you’ll end up with a chewy cracker instead of a crisp chip.
1) Mix until smooth and elastic
– Combine flour, sugar, and salt first so the seasoning distributes evenly.
– Warm the fat slightly so it blends smoothly with the egg.
– Mix until the dough looks cohesive; then knead (by hand or stand mixer) until smooth and elastic. This elasticity matters because thin rolling stresses the dough.
2) Rest for rollability
– Rest the dough for at least 30 minutes (up to 2 hours, refrigerated if needed).
– Resting relaxes gluten so you can roll thin without shrinking back.
3) Roll very thin
– Roll in sections. Keep the remaining dough covered so it doesn’t dry out.
– Your goal is a thin sheet that lets light pass through slightly. Thinner dough dries and crisps faster, which reduces the time spent in hot oil or the oven—preserving flavor and preventing sogginess.
4) Cut into small rounds or squares
– Use a cutter or pizza wheel. Smaller pieces cook faster and more uniformly, improving batch consistency.
– Aim for similar thickness across the sheet; uneven dough results in soft centers.
Analytical note (why thin wins): Crisp chips are essentially low-moisture, high-surface-area snacks. Thin dough increases surface area and promotes rapid moisture evaporation (baking) or rapid frying-induced dehydration (frying). Either way, the chip gets crunchy because water leaves quickly before the dough can set into a thicker, tender structure.
Frying vs. Baking: Best Method for Crunch

You can make cannoli chips either way, but each method has a different performance profile. For the most analytical decision-making: frying typically yields the crunchiest chip with richer browning, while baking gives a lighter result with less mess and easier scaling.
Frying (best crackle)
– Heat oil to 350°F / 177°C. This target matters more than most people think; oil that’s too cool penetrates the dough and increases oil absorption, which later softens.
– Fry in small batches so the oil returns to temperature quickly.
– Cook until the chips are golden and the edges look set, not pale.
– Drain thoroughly and cool on a wire rack for maximum crispness.
Baking (lighter, lower-fuss)
– Preheat thoroughly. A hot oven is non-negotiable for thin, crisp chips.
– Bake on a preheated sheet or a parchment-lined sheet (parchment helps reduce sticking, but ensure the chips have airflow around them).
– Use convection if possible; convection improves browning and speeds moisture removal.
Flip/rotate if needed
– In either method, uneven browning signals uneven heat transfer.
– If chips brown on one side faster, rotate or flip once for even color and consistent crisp texture.
Practical comparison: If you’re producing chips for a catering tray or dessert topping, frying often produces the longest-lasting crunch. If you’re making a weeknight snack with minimal cleanup, baking is excellent—just ensure full cooling before seasoning.
Shape, Cook, and Season for the Perfect Cannoli Chips
Here’s the workflow that reliably prevents soft spots and “sticky sugar” failures.
Work in batches
– Crowding the pan (in oil or on a sheet) traps heat inconsistently.
– With frying, overcrowding drops oil temperature and increases oil absorption.
– With baking, overcrowding reduces airflow and slows moisture escape.
Drain and cool completely
– For fried chips: drain on a wire rack or layered paper towels briefly, then move to a rack.
– For baked chips: cool directly on a rack so steam doesn’t accumulate under the chips.
– Wait until fully cool before adding powdered sugar or a glaze. Warm chips pull moisture from sugar and can turn gritty or tacky.
Seasoning options (choose based on your serving use)
– Powdered sugar finish: best for immediate serving and dessert plates.
– Cinnamon sugar: mix granulated sugar with cinnamon, then lightly coat once chips cool.
– Light vanilla glaze: whisk powdered sugar with a small amount of vanilla extract and a few drops of milk or water (use sparingly). Apply thinly so the glaze sets without creating sogginess.
Pro-level tip: Apply sugar to the chips you plan to eat soon, and keep uncoated chips for storage. This control prevents the coating from absorbing humidity over time.
Serving Ideas and Pairings
Cannoli chips are versatile because they function as both a crunchy garnish and a stand-alone sweet snack.
Classic serving
– Serve alongside cannoli filling (ricotta mixture with sugar, vanilla, and optional chocolate chips).
– Use chips like edible scoops: it’s visually appealing and portion-controlled for events.
Chocolate pairing
– Dip in melted chocolate, hazelnut spread (lightly warmed), or a quick cocoa ganache.
– For a “cannoli-inspired” dessert board, include a small bowl of chocolate dip and a dusting of cinnamon.
Beverage and texture pairing
– Espresso: balances sweetness with bitterness and enhances caramelized notes from frying or browning.
– Sweet wine (like a late-harvest style) or sparkling dessert wine: complements the vanilla and dairy notes.
– Fresh fruit (strawberries, oranges, or cherries): adds acidity to sharpen richness.
Dessert applications
– Sprinkle over parfaits (ricotta or yogurt layers) for crunch contrast.
– Crumble into tiramisu-style cups as a textured topping.
– Use as a decorative side component on cannoli platters to reduce need for additional garnishes.
Storage Tips and How to Keep Them Crispy
Crispness is time- and humidity-dependent, so storage technique directly impacts quality.
Short-term storage
– Store in an airtight container at room temperature for up to a few days.
– Use parchment between layers to reduce surface moisture transfer.
Re-crisp if softened
– If chips lose crunch, re-crisp briefly in a hot oven (or toaster oven) for a few minutes until they’re crisp again.
– Avoid microwaving; it rehydrates the surface and tends to make chips chewy.
Avoid moisture-heavy storage
– Don’t refrigerate unless fully sealed and even then expect faster staling compared to room-temperature, airtight storage.
– Keep chips away from humid environments (kitchens with steam, near sinks, or uncovered dessert spreads).
Process insight: The best long-term strategy is to store chips uncoated, then sugar-glaze or dust right before serving. That’s how professional bakeries and caterers preserve texture.
Crispy cannoli chips are easy when you roll the dough thin, cook them hot (fry or bake), and cool them fully before serving. Make a batch today, choose your finish (sugar, cinnamon, or glaze), and serve alongside ricotta filling or a quick dip for an instant cannoli-inspired treat.
Frequently Asked Questions
What is a cannoli chip recipe and how is it different from traditional cannoli shells?
A cannoli chip recipe turns the classic cannoli shell concept into crispy, bite-size chips that are easier to serve and dip. Instead of piping filling inside shells, you fry or bake thin dough into chips and serve them with cannoli filling or ricotta dip. This makes the dessert less messy and faster to assemble for parties or grazing tables.
How do I make cannoli chips crispy instead of soggy?
Use thin, evenly rolled dough so the chips fry quickly and develop a crisp texture without absorbing oil. Fry at the correct temperature (about 350–375°F / 175–190°C) and avoid overcrowding so the oil stays hot, which prevents grease and sogginess. Let chips cool completely on a rack, and if you’re making ahead, store them airtight away from moisture and only dip right before serving.
Which dough is best for cannoli chips—store-bought or homemade?
Homemade cannoli chip dough is often preferred because you can control sweetness, thickness, and the classic fried-dough texture. That said, store-bought puff pastry or wonton wrappers can work for quicker versions, especially if you want lighter, crackly chips. For the most “traditional” crunch, a simple homemade dough made with flour, sugar, egg, and a touch of fat typically gives the best results.
Why do my cannoli chips bubble or puff too much when frying?
Excess puffing usually happens when the dough is too thick or not docked, trapping steam and creating bubbles. Roll the dough thinner, and gently pierce or dock the surface with a fork before frying to encourage even cooking. Also confirm your oil temperature isn’t too low—if it’s under 350°F / 175°C, chips can absorb oil and inflate instead of crisping.
What’s the best way to serve a cannoli chip recipe with cannoli filling?
Pair cannoli chips with a lightly sweetened ricotta filling, often combined with powdered sugar and chocolate chips for an easy cannoli dip. Serve chips on a platter with the filling in the center, and offer small forks or a spoon for clean dipping. For maximum crunch, keep chips and filling separate until just before eating, so your cannoli chip recipe stays crispy.
References
- Cannoli
https://en.wikipedia.org/wiki/Cannoli - https://www.britannica.com/topic/cannoli
https://www.britannica.com/topic/cannoli - Fried dough
https://en.wikipedia.org/wiki/Fried_dough - Ricotta
https://en.wikipedia.org/wiki/Ricotta - Pastry
https://en.wikipedia.org/wiki/Pastry - Dough
https://en.wikipedia.org/wiki/Dough - Frying
https://en.wikipedia.org/wiki/Frying - https://en.wikipedia.org/wiki/Crisp_(food
https://en.wikipedia.org/wiki/Crisp_(food - Google Scholar Google Scholar
https://scholar.google.com/scholar?q=cannoli+shell+frying+recipe - Google Scholar Google Scholar
https://scholar.google.com/scholar?q=fried+dough+oil+uptake+texture+study


