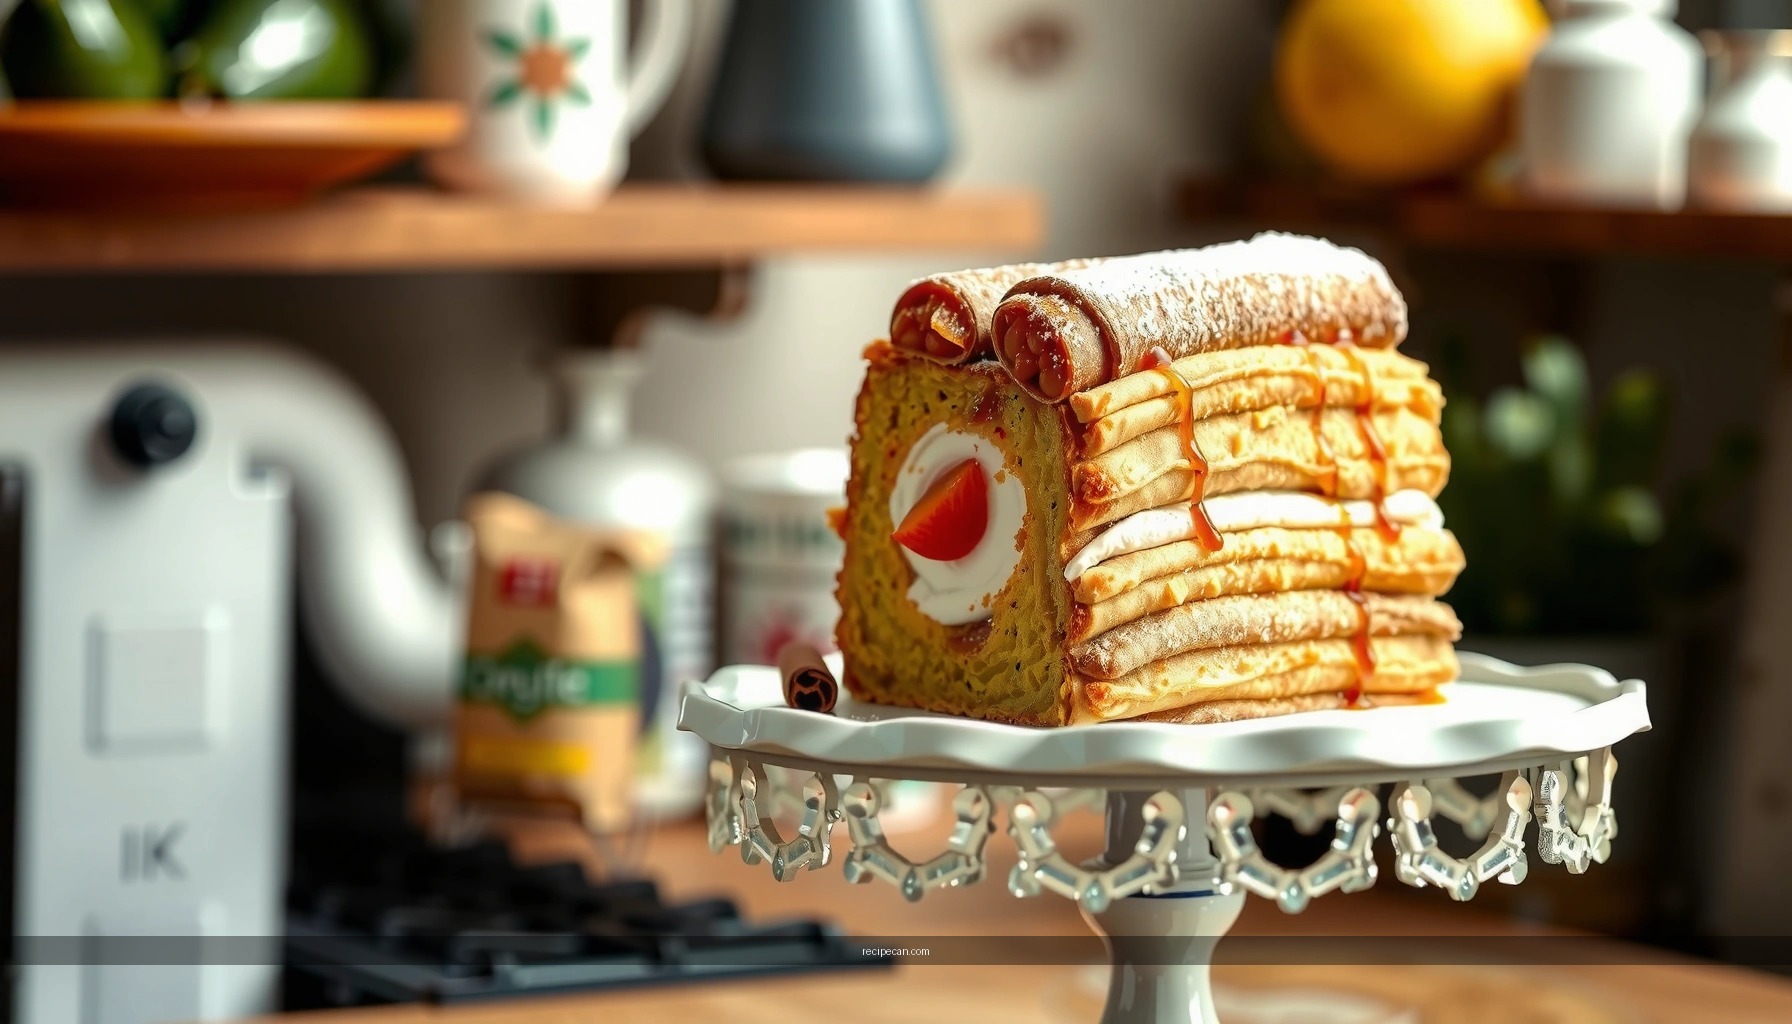
This cannoli cake recipe delivers the classic cannoli flavor you want—sweet ricotta, orange-citrus brightness, and a crisped finish—in a sliceable format that’s simpler than assembling individual shells. If you’re deciding between fussier cannoli-making and a crowd-friendly cake, this version wins for reliability: it bakes cleanly, slices neatly, and tastes unmistakably cannoli. Expect straightforward instructions and a texture that holds up from first cut to the last bite.
Make a cannoli cake by layering a moist vanilla (or yellow) cake base with a smooth ricotta filling, then finishing it with classic cannoli-style toppings like mini chocolate chips and candied fruit. If you follow the key technique—fully cooling and chilling before slicing—you’ll get a rich, creamy cannoli flavor that cuts cleanly instead of collapsing.
—
Cannoli Cake Ingredients

– Gather ricotta, powdered sugar, vanilla, and mini chocolate chips for the classic cannoli filling
– Choose a complementary cake base (vanilla or yellow cake) for a balanced flavor
To make a cannoli cake that tastes authentic and holds its shape, think in three components: the cake base, the ricotta filling, and the cannoli-style toppings.
Cake base (vanilla or yellow cake):
A tender vanilla or yellow layer keeps the dessert familiar while letting the ricotta shine. Store-bought boxed cake works well, but homemade batter is equally good if you bake it carefully and cool it fully. For sliceability, you’ll want a fairly sturdy crumb—a light, tender crumb is ideal, but overly airy cakes can get a little soft when layered with dairy.
Ricotta filling essentials:
Authentic cannoli filling starts with ricotta. If your ricotta is watery, your cake will be too. For the best texture, use either:
– Drainable whole-milk ricotta (commonly sold in tubs), or
– Ricotta that you drain for 10–20 minutes before mixing (best if it looks loose)
Flavor boosters:
– Vanilla extract to round out the sweetness
– Powdered sugar for a smooth mouthfeel (more melting and blending than granulated sugar)
– Mini chocolate chips for the signature cannoli “texture hits”
– Optional candied fruit (often a mix of citron and candied orange peel) for color and classic flavor
Toppings and finish:
Mini chocolate chips, candied fruit, and (optional) crushed cannoli shells or toasted nuts. You can also garnish with a light dusting of powdered sugar for a “bakery-style” presentation.
—
Cannoli Cake Assembly Timing Guide (Refrigeration Targets)
| # | Step | Goal Temperature | Refrigeration Time | Expected Slice Stability |
|---|---|---|---|---|
| 1 | Fully cool baked cake | Room temp | N/A | High |
| 2 | Drain ricotta before mixing | Cold (≈4°C/39°F) | 10–20 min | Better hold |
| 3 | After spreading first filling layer | Refrigerated | 20–30 min | Improved layering |
| 4 | Before final topping | Cold but not frozen | 15–20 min | Clean finish |
| 5 | Chill assembled cake (recommended) | ≤4–5°C (≈39°F) | 3–4 hours | Very high |
| 6 | Chill overnight (best for events) | ≤4–5°C (≈39°F) | 8–12 hours | Excellent |
| 7 | Serve window after chilling | Cold to cool room temp | 20–40 min max | Risk of softness |
—
How to Make the Cannoli Filling

– Mix ricotta with powdered sugar and vanilla until smooth and creamy
– Fold in chocolate chips (and optional candied fruit) without overmixing
Cannoli cake filling is essentially a ricotta cream with the classic cannoli “sprinkles” inside. The two biggest variables are (1) whether your ricotta is properly drained and (2) how gently you mix once the chips and fruit are added.
1) Prepare ricotta for the right texture
Ricotta can vary widely by brand and fat content. If it looks loose or watery, drain it:
– Line a sieve with cheesecloth or a clean kitchen towel
– Refrigerate and drain for 10–20 minutes
– Stir once—this prevents a “dry top, wet bottom” problem
2) Sweeten and flavor
In a mixing bowl, combine:
– Drained ricotta
– Powdered sugar
– Vanilla extract
Mix just until smooth. If you want a perfectly silky filling, you can briefly beat with a hand mixer on medium-low—then stop before it turns fluffy. Cannoli filling should be creamy and thick, not aerated.
3) Fold in chips and fruit gently
Use a spatula and fold in:
– Mini chocolate chips
– Optional candied fruit
Folding rather than beating keeps chocolate evenly distributed and prevents the filling from loosening.
Professional tip: If your filling feels too soft after mixing, chill it for 10–15 minutes before assembly. This small adjustment can be the difference between “sliceable” and “spreadable.”
—
Baking the Cake Base

– Bake the cake until a toothpick comes out clean, then cool completely
– Level the cake if needed for a neat, even layering
A great cannoli cake depends on one non-negotiable: the cake must be cool before filling touches it. Warm cake can melt ricotta slightly, causing uneven absorption and a less stable slice.
1) Bake with slice integrity in mind
If using a boxed mix, bake according to package directions for a 9-inch round (or your chosen size). The toothpick test should come out clean or with only a few moist crumbs—not wet batter.
2) Cool thoroughly
Cool the cake:
– In the pan for 10 minutes (to firm up)
– Then transfer to a rack until fully cool
If you rush cooling, the filling layer will slide as it sets.
3) Level for accurate layers
Use a serrated knife to level the top if it domes. A leveled surface:
– improves layer contact
– prevents “tilt” when slicing
– gives you cleaner edges for decoration
—
Assembling Your Cannoli Cake
– Spread the filling between cake layers and/or on top, smoothing evenly
– Chill briefly to help the filling set before decorating
Assembly is where cannoli cake turns from “tasty” into “presentation-ready.” Keep your motions confident and your timing deliberate.
1) Choose a layering approach
Common options:
– Two layers: cake → filling → cake → filling top
– Three layers: cake → filling → cake → filling → cake → final topping
Two layers are often easiest for home bakers while still delivering classic richness.
2) Apply filling with control
Place the first cake layer on a plate or cake board. Spread filling with an offset spatula:
– Start from the center and work outward
– Keep the thickness consistent (roughly even coverage)
– Leave a small border if you want a clean edge
3) Chill between layers (for sliceability)
After you spread the first layer and place the next cake layer, refrigerate 20–30 minutes. This firms the filling so the top layer doesn’t compress or cause bulging.
Once the cake is fully assembled, chill again before decorating. This “set time” helps the filling hold its shape under toppings and under the weight of a knife.
—
Topping and Decorating Ideas
– Sprinkle extra chocolate chips and candied fruit for a true cannoli look
– Optionally add crushed cannoli shells or toasted nuts for crunch
Cannoli-style topping is more than garnish—it reinforces the flavor profile and provides visual cues that mirror a traditional cannoli.
Classic cannoli toppings (high impact, easy execution)
– Mini chocolate chips: scatter on top and slightly down the sides
– Candied fruit: distribute evenly for color and sweetness balance
– Optional cannoli shell crumbs: crush store-bought shells (or use a cannoli shell-inspired cookie if you have one) and sprinkle sparingly
Crunch layer options
If you want more texture without overwhelming the ricotta:
– Toasted chopped almonds or pistachios
– A light dusting of cinnamon-sugar around the edges (works beautifully with vanilla cake)
– A drizzle of melted dark chocolate in thin lines for a bakery feel
Balance guidance: Candied fruit and chocolate both add sweetness. Keep the toppings moderate if your cake is already sweet—especially if your ricotta is naturally milder.
—
Storage and Serving Tips
– Refrigerate until ready to serve for best texture and flavor
– For clean slices, use a sharp knife and wipe between cuts
Cannoli cake is best served cold, but not icy. Proper storage helps the filling thicken and the flavors meld.
Storage
– Refrigerate covered to prevent moisture loss and odor absorption.
– For best texture, serve within 2–3 days.
– If you’re preparing for an event, overnight chilling often improves slicing because the filling firms fully.
Serving for clean slices
Use the “cake shop” method:
1. Use a sharp knife with a smooth blade.
2. Cut with steady pressure (don’t saw aggressively).
3. Wipe the knife between cuts to prevent ricotta smearing.
4. Let slices sit for 5–10 minutes after cutting—this slightly softens the texture for eating while maintaining structure.
Food-safety note (practical and important)
Because ricotta is dairy-based, keep the cake refrigerated and limit time at room temperature. If serving at a buffet, place only the cut portion out and return the remaining cake to the fridge promptly.
—
Cannoli cake is all about creamy ricotta filling, classic chocolate-chip sweetness, and the right chilling so it slices beautifully. Bake and cool your cake completely, mix your ricotta until smooth, fold in chocolate chips and candied fruit gently, then assemble and chill between layers for structure. Now make your own and share the first slice!
Frequently Asked Questions
What is a cannoli cake and how is it different from traditional cannoli?
A cannoli cake is a dessert inspired by classic Italian cannoli, usually featuring a tender cake layered with a ricotta-based filling flavored with cinnamon, vanilla, and sometimes chocolate chips. Unlike traditional cannoli—where the filling is piped into fried shells—cannoli cake uses cake layers or a single baked cake and serves the ricotta filling in slices. Many recipes also add a drizzle of chocolate and crushed pistachios to mimic the cannoli experience.
How do you make a cannoli cake filling that isn’t runny?
To prevent a runny cannoli cake filling, drain excess moisture from ricotta (and/or use a thicker strained ricotta) before mixing. Beat the ricotta with powdered sugar until smooth, then fold in other ingredients gently so the mixture stays thick and creamy. If your recipe uses chocolate chips or candied fruit, coat them lightly in flour to help them suspend and reduce weeping during chilling.
Why does my cannoli cake crack or sink in the center, and how can I fix it?
Cannoli cakes can crack or sink if the oven temperature is too high, the batter is overmixed, or the cake is underbaked and then cooled too quickly. Bake until the center is set and a toothpick comes out with a few moist crumbs, then cool in the pan briefly before moving to a rack. If you’re assembling a layered cannoli cake, chill the layers fully before adding ricotta cream to help them hold structure.
Which ingredients are best for the ricotta flavor in a cannoli cake recipe?
For the most authentic cannoli flavor, use high-quality ricotta—preferably whole-milk and strained—so it’s thick enough to hold a cake-filling texture. Add vanilla extract and a touch of cinnamon for classic cannoli notes, and consider mini chocolate chips for that signature bite. For topping, chopped pistachios or candied orange peel give the traditional cannoli contrast and boost the overall flavor profile.
Best way to assemble and serve a cannoli cake—should I chill it and for how long?
The best results come from chilling your cannoli cake after assembling so the ricotta filling firms up and the flavors meld. Typically, refrigerate for at least 4–6 hours, or overnight if time allows, then add chocolate drizzle or crushed pistachios right before serving for maximum crunch. Serve cold or at cool room temperature, and keep it refrigerated to maintain the creamy cannoli cake filling.
References
- Google Scholar Google Scholar
https://scholar.google.com/scholar?q=cannoli+cake+recipe - Google Scholar Google Scholar
https://scholar.google.com/scholar?q=cannoli+cake+ricotta+recipe - Google Scholar Google Scholar
https://scholar.google.com/scholar?q=cannoli+recipe+dessert+pastry+history - https://pubmed.ncbi.nlm.nih.gov/?term=cannoli
https://pubmed.ncbi.nlm.nih.gov/?term=cannoli - https://pubmed.ncbi.nlm.nih.gov/?term=ricotta+cake
https://pubmed.ncbi.nlm.nih.gov/?term=ricotta+cake - Cannoli
https://en.wikipedia.org/wiki/Cannoli - Ricotta
https://en.wikipedia.org/wiki/Ricotta - Cake
https://en.wikipedia.org/wiki/Cake - Pastry
https://en.wikipedia.org/wiki/Pastry - https://www.britannica.com/topic/cannoli
https://www.britannica.com/topic/cannoli


