To craft a buttery pie crust, mix 2 ½ cups flour, 1 cup chilled butter (cubed), 2 tablespoons sugar, and ½ teaspoon salt. Add 6-8 tablespoons ice water until the dough comes together. Chill for 30 minutes, then roll it out. Transfer to a pie dish, crimp edges, and blind bake if needed. Keeping the butter cold is key for flakiness. With a few techniques mastered, you’ll elevate your dessert game—discover more tips that can perfect your crust!
Ingredients and Quantity
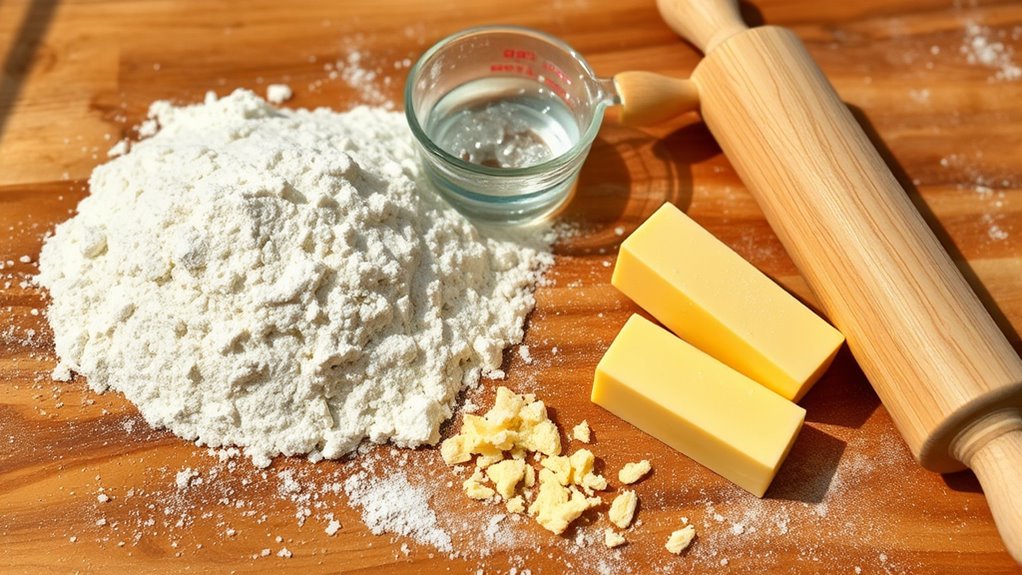
To make a delicious butter pie crust, you’ll need just a handful of essential ingredients. Here’s a quick guide to help you gather what you need. You can always explore butter substitutes, like coconut oil or vegan butter, for a twist on the classic flavor, creating exciting pie crust variations that cater to different tastes.
| Ingredient | Quantity | Notes |
|---|---|---|
| All-purpose flour | 2 ½ cups | For structure |
| Unsalted butter | 1 cup (chilled) | Traditional choice |
| Sugar | 2 tablespoons | Adds sweetness |
| Salt | ½ teaspoon | Enhances flavor |
| Ice water | 6-8 tablespoons | Helps bind the dough |
With these ingredients, you’re on your way to crafting a perfect pie crust!
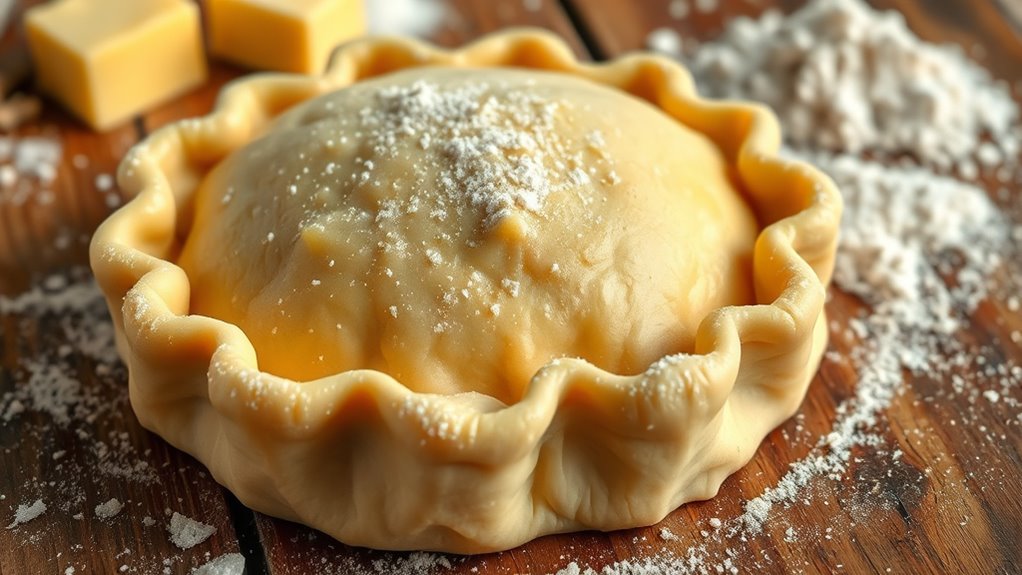
Preparations

Now that you’ve gathered all your ingredients, it’s time to prepare for making the pie crust. Start by chilling your butter and water; this keeps the dough flaky. For effective preparation techniques, cut the cold butter into small cubes and mix it with your flour, using a pastry cutter or your fingertips. Be gentle; you want to keep the butter in small pieces. Next, add the chilled water gradually, mixing until the dough just comes together—avoid overworking it. When handling the dough, use a light touch and form it into a disk. Wrap it in plastic wrap and refrigerate for at least 30 minutes. This resting period allows the gluten to relax, ensuring a tender, flaky crust. Enjoy the freedom of creating!
Tools / Kitchenware Required

Gathering the right tools can make all the difference when creating a perfect butter pie crust. You’ll want to arm yourself with quality kitchenware to release your culinary creativity. Here’s a quick guide to help you out:
| Tool | Purpose | Notes |
|---|---|---|
| Pie Dish | Holds the crust and filling | Choose a deep dish for more filling |
| Rolling Pin | Rolls out the dough | A marble one keeps the dough cool |
| Mixing Bowl | Combines ingredients | Opt for a large size |
| Pastry Cutter | Cuts butter into flour | A fork can work too! |
| Measuring Cups | guarantees accurate portions | Use dry measuring cups for flour |
With these tools at your side, you’re ready to craft that buttery goodness!
How to Cook
- Preheat your oven to 375°F (190°C) to ensure it’s hot enough for a perfectly baked crust.
- Roll out your chilled dough on a floured surface, applying even pressure to maintain consistent thickness.
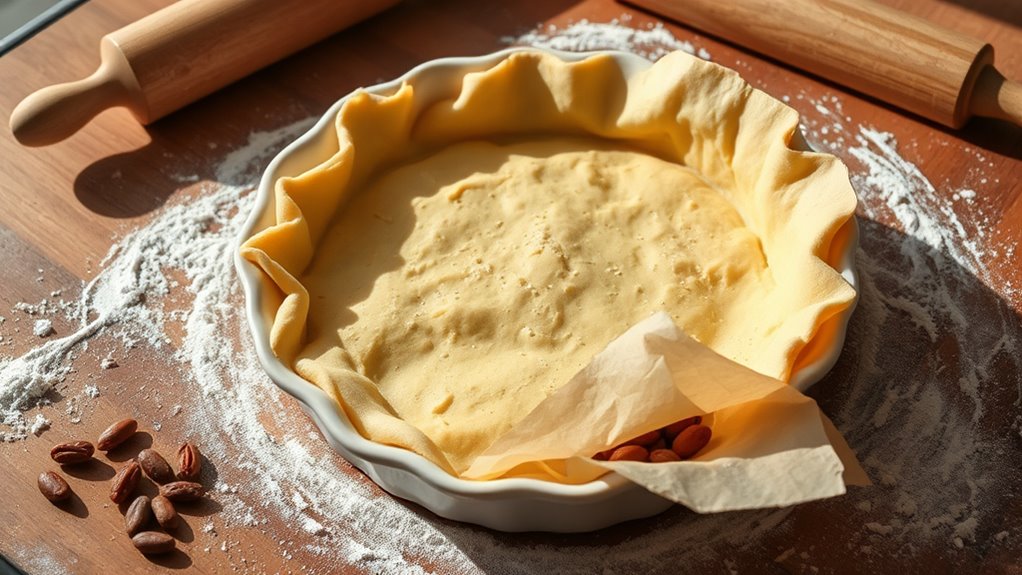
- Gently transfer the rolled dough into your pie dish, pressing it into the corners without stretching.
- Trim any excess dough from the edges.
- Crimp the border of the crust for an appealing finish.
- If your pie filling requires it, use blind baking:
- Line the crust with parchment paper.
- Fill the crust with weights (such as dried beans or pie weights).
- Bake the empty crust for about 15 minutes.
- Remove the weights and parchment paper.
- Let the crust cool before adding your desired filling.
- Enjoy your homemade pie!
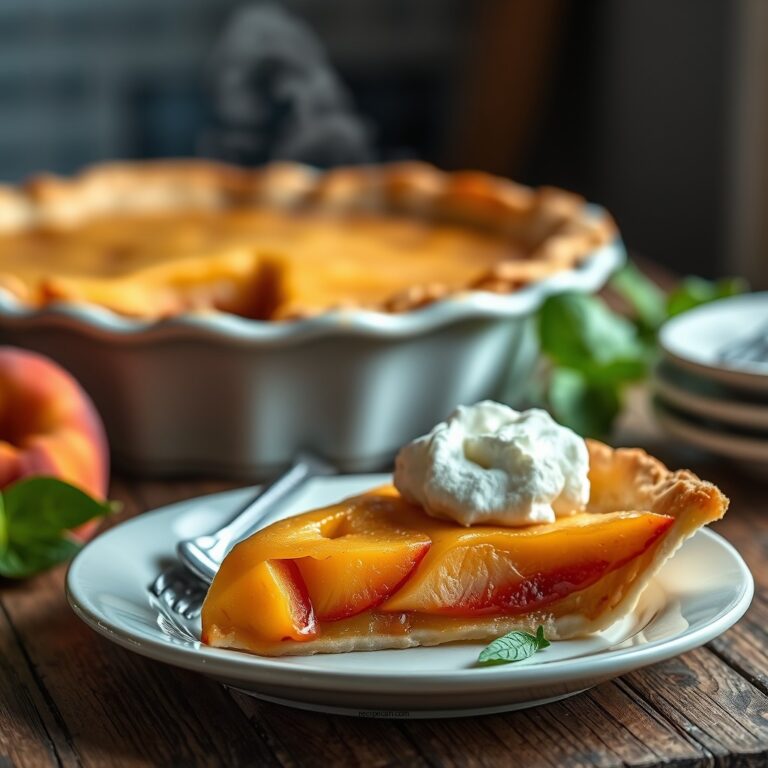
How to Serve
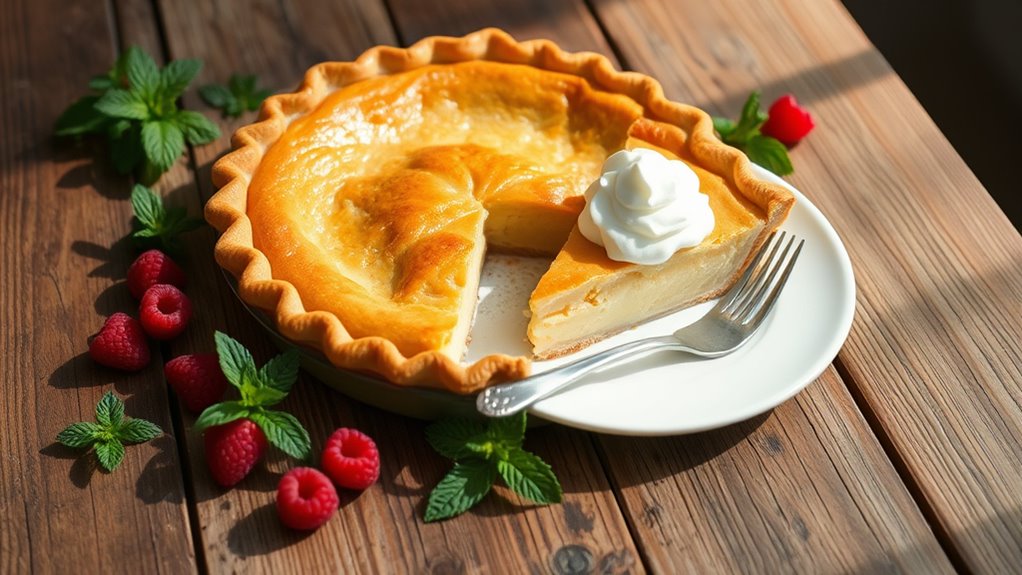
Once your pie is baked to golden perfection, the excitement of serving it can truly elevate the experience. Start by choosing the right pie filling pairings that complement your buttery crust. Whether it’s a rich chocolate ganache or a zesty lemon curd, think about balancing flavors. To enhance your dessert presentation, serve slices on elegant plates, perhaps dusted with powdered sugar or garnished with fresh berries. A dollop of whipped cream or a scoop of ice cream can add that perfect finishing touch. Consider arranging the pie on a decorative stand or using a vibrant tablecloth to make it pop. Remember, the way you serve your pie can turn a simple dessert into a memorable occasion!
Tips
While baking a perfect butter pie crust might seem straightforward, a few key tips can elevate your results. Mastering pie crust techniques is about attention to detail, and a little creativity can go a long way. Here are some suggestions to enhance your crust:
- Keep Your Butter Cold: Chilled butter creates a flakier texture, so don’t skip this step!
- Don’t Overwork the Dough: Mix just until combined to maintain that tender, flaky finish.
- Experiment with Butter Alternatives: Try using coconut oil or chilled lard for a unique flavor twist.
- Chill the Crust Before Baking: This helps prevent shrinkage and guarantees even cooking.
These tips will help you craft a deliciously flaky butter pie crust that’s sure to impress!
Food Value and Benefit
A perfectly crafted butter pie crust offers not only delightful texture and flavor but also valuable nutritional benefits. Made with high-quality butter and quality ingredients, this crust provides essential nutrients that contribute to a balanced diet.
Food Value of Butter Pie Crust:
- Provides a source of energy through healthy fats.
- Contains vitamins A, D, and E.
- Supplies minerals such as calcium and phosphorus.
- Offers moderate amounts of protein and carbohydrates depending on the flour used.
Benefits of Eating Butter Pie Crust:
- Supports cellular functions and energy metabolism thanks to healthy fats.
- Promotes eye health and immune function through vitamin A.
- Assists in calcium absorption and bone health via vitamin D.
- Acts as an antioxidant with vitamin E to protect cells from damage.
- Contributes to overall nutrient intake when paired with nutrient-rich fillings like fruits or nuts.
Enjoying butter pie crust in moderation allows you to indulge in a tasty treat while benefiting from its nutritional components as part of a well-rounded diet.
Frequently Asked Questions
Can I Use Margarine Instead of Butter in the Crust?
Yes, you can use margarine instead of butter in your crust! However, keep in mind that the crust texture might differ slightly. Margarine often contains more water, which can lead to a less flaky crust. To enhance that texture, consider chilling your margarine and mixing it in quickly. Embrace the freedom to experiment! Your pie will still be delicious, and you’ll discover a new twist on a classic favorite. Enjoy your baking adventure!
How Long Can I Store the Pie Crust in the Freezer?
You can store your pie crust in the freezer for up to three months, like a hidden treasure waiting to be unearthed. Imagine opening your freezer to find that perfectly wrapped crust, ready to transform into a warm, flaky delight. For ideal pie crust longevity, make certain it’s tightly wrapped in plastic wrap or stored in an airtight container. This way, you’re free to indulge in homemade goodness whenever the craving strikes!
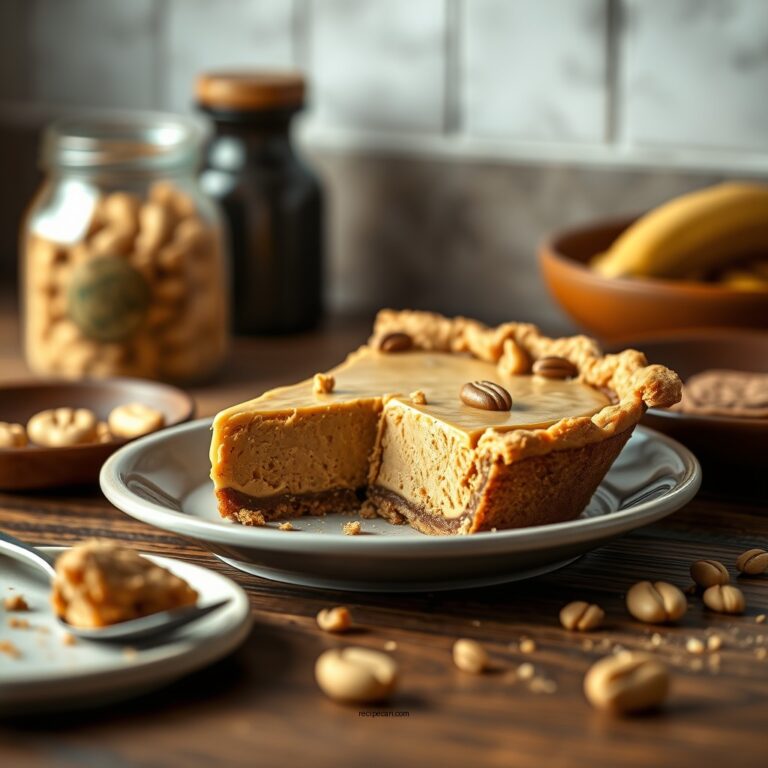
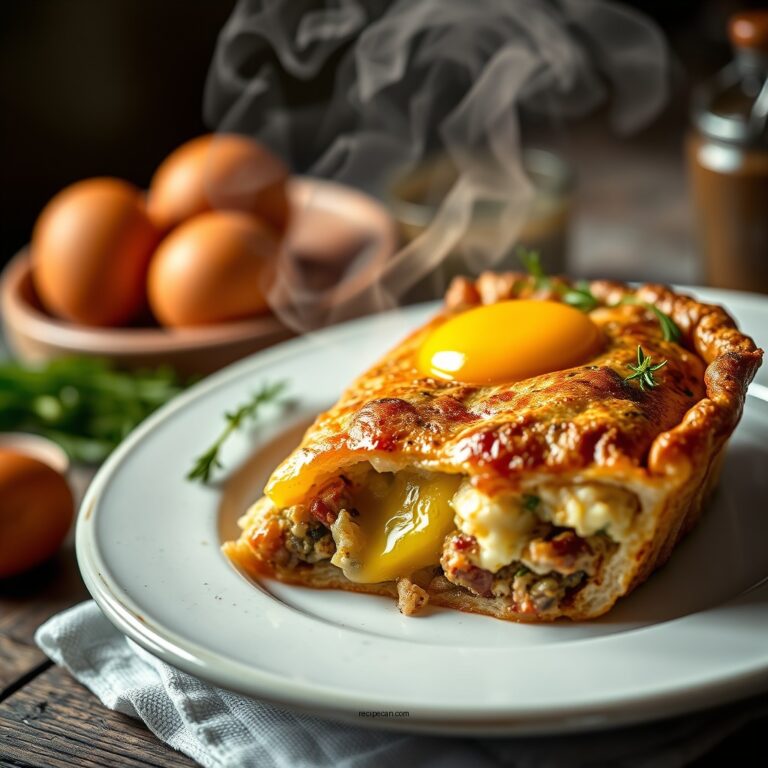
What Types of Pies Work Best With Butter Pie Crust?
You can’t go wrong with a buttery pie crust for a variety of pies! Fruit pies, like apple or cherry, shine with that flaky texture. Cream pies, such as banana or chocolate, benefit from its rich flavor. Savory pies, like quiches, provide a delightful contrast to the creamy fillings. Custard pies, too, are perfectly complemented by this crust, giving you that delicious balance you crave. Enjoy experimenting with all these tasty options!
Can I Make the Crust Ahead of Time?
Absolutely, you can whip up your crust ahead of time! It’s a delightful way to embrace freedom in the kitchen. To keep things fresh, chill it in the fridge for a day or two, or even freeze it for up to a month. Just wrap it tightly in plastic wrap for ideal storage solutions. When you’re ready to bake, let it thaw in the fridge overnight. These make-ahead tips will save you time and stress!
Is It Necessary to Chill the Dough Before Rolling?
Yes, it’s essential to chill the dough before rolling. Chilling benefits the dough texture, allowing the fats to firm up, which prevents shrinkage during baking. This process also helps to relax the gluten, resulting in a tender, flaky crust. When you take the time to chill your dough, you’re giving yourself a better chance at achieving that perfect pie crust, so don’t skip this vital step for a delicious result!
References
- https://en.wikipedia.org/wiki/Pie_crust
- https://www.extension.purdue.edu/extmedia/hn/hn-102.pdf
- https://www.foodsafety.gov/food-safety-charts/cooking-temps
- https://www.americastestkitchen.com/guides/how-to-make-a-pie-crust
- https://www.thekitchn.com/how-to-make-a-flaky-pie-crust-108426
- https://www.simplyrecipes.com/recipes/perfect_pie_crust/