You’re searching for the best buckeye balls recipe, and this one delivers easy homemade peanut butter chocolate bites with a smooth, creamy center and a glossy chocolate coating. Get a reliable step-by-step method that turns simple ingredients into classic Buckeye Balls every time. If you want the fastest path to rich, no-fuss results without sacrificing the signature peanut butter-to-chocolate ratio, this is the recipe to use.
Buckeye balls are simple homemade peanut butter candies coated in melted chocolate—mix the filling, roll into balls, dip, and chill to set. This recipe gives you the classic smooth center and the signature “buckeye” look with practical guidance so your peanut butter bites hold their shape and slice cleanly.
Ingredients for Buckeye Balls

– You’ll need creamy peanut butter, powdered sugar, and melted chocolate
– Optional add-ins: a pinch of salt and vanilla for extra flavor
To keep buckeye balls consistently smooth and easy to form, prioritize creamy (not natural, separated) peanut butter. Natural peanut butter can work, but it’s thinner and can make the filling sticky or harder to dip cleanly. For chocolate, use high-quality melting chocolate or chocolate chips—they melt more predictably than bars that require tempering.
Ingredient quality also affects texture:
– Powdered sugar stabilizes the filling by adding structure. Too little sugar yields a center that slumps during dipping.
– Salt elevates the peanut flavor and balances sweetness—especially with milk chocolate.
– A tiny amount of vanilla enhances aroma without changing the classic profile.
Below is a data snapshot that helps you choose filling thickness targets and chocolate preferences when you’re aiming for professional-style buckeye presentation.
Buckeye Balls: Filling Thickness vs. Dipping Success (Batch Guidelines)
| # | Filling Consistency | Bench Time Before Rolling (min) | Estimated Chocolate Coverage | Expected Dip Outcome |
|---|---|---|---|---|
| 1 | Thick & moldable (holds shape) | 10–15 | 95–100% | Smooth shell with minimal slipping |
| 2 | Firm, slightly tacky | 5–10 | 90–95% | Good shell; wipe excess chocolate cleanly |
| 3 | Soft & holds only briefly | 0–5 | 75–85% | Center warms; chocolate may pool |
| 4 | Crumbly, over-sugared | 15–20 | 85–92% | Possible cracks; press firmly before dipping |
| 5 | Very wet (needs cooling or thickener) | 0–2 | 50–70% | Filling collapses; coating won’t adhere |
| 6 | Cold, slightly drier surface | 20–30 | 92–98% | Excellent adhesion; minimal smearing |
| 7 | Cold but over-frozen (surface condensation risk) | 30–45 | 80–90% | Dull coating if condensation forms |
Make the Peanut Butter Filling

– Mix peanut butter with powdered sugar until thick and moldable
– Shape into balls (use a scoop or spoon for consistent size)
Start by combining peanut butter and powdered sugar in a mixing bowl. Stir until the mixture becomes thick, uniform, and scoopable. This isn’t a “just mix” step—how you combine matters. If you stop early, you’ll end up with pockets of oily peanut butter that can seep out later.
A practical mixing approach
1. Mix peanut butter and vanilla (if using) first to loosen and unify the base.
2. Add powdered sugar gradually—this prevents sudden stiffness and makes it easier to reach moldable consistency.
3. Stir until the mixture clumps together and can be pressed into a smooth mound.
Consistency check (the professional cue)
– If you roll a small test ball and it holds shape with a slightly tacky surface, you’re ready.
– If it slumps or leaves oily smears, add more powdered sugar in small increments.
– If it cracks and won’t compress, your mixture is likely too dry—soften slightly by mixing in more peanut butter 1 teaspoon at a time.
When shaping, use a cookie scoop or a spoon and compact gently. Consistent sizing improves both dipping speed and chocolate thickness, which directly impacts the final mouthfeel of these peanut butter chocolate bites.
Chill and Shape for Perfect Dipping

– Refrigerate the balls until firm so chocolate coating sticks well
– Keep hands cool (or use gloves) to prevent sticking during shaping
Chilling is the difference between “tasty but messy” and “gift-worthy buckeye balls.” Refrigeration firms the filling so it releases cleanly during dipping and doesn’t cause the chocolate to slide off.
Timing guidance
– Chill the formed balls for at least 20–30 minutes. If your kitchen is warm, extend to 45–60 minutes.
– Work in small batches: set a tray in the refrigerator while you roll the next batch.
Prevent sticking
– Keep your hands cool; if needed, rinse under cold water and dry before continuing.
– Food-safe gloves can help maintain a consistent surface without warming the centers.
– Lightly grease your palms or the scoop (use a neutral oil or a tiny bit of cooking spray). Avoid flouring—powdered residue can interfere with how chocolate adheres.
From a food-safety and quality perspective, keep the filling at controlled temperatures. Excessive time at room temperature can make the center oily again, which can create streaks or thin spots in the chocolate shell.
Melt and Dip in Chocolate

– Melt chocolate using a gentle method (microwave in short bursts or a double boiler)
– Dip each ball, leaving a small circle on top for the buckeye look
Melt chocolate slowly to avoid scorching and graininess. Since buckeye balls depend on a smooth, glossy coating, the melting method affects the final appearance.
Best melting method
– Microwave: heat in 15–20 second bursts, stirring between each interval.
– Double boiler: use gentle heat and stir until fully melted.
If chocolate becomes too thick for dipping, adjust with a small amount of neutral oil or shortening (a teaspoon at a time). This improves flow without changing flavor significantly.
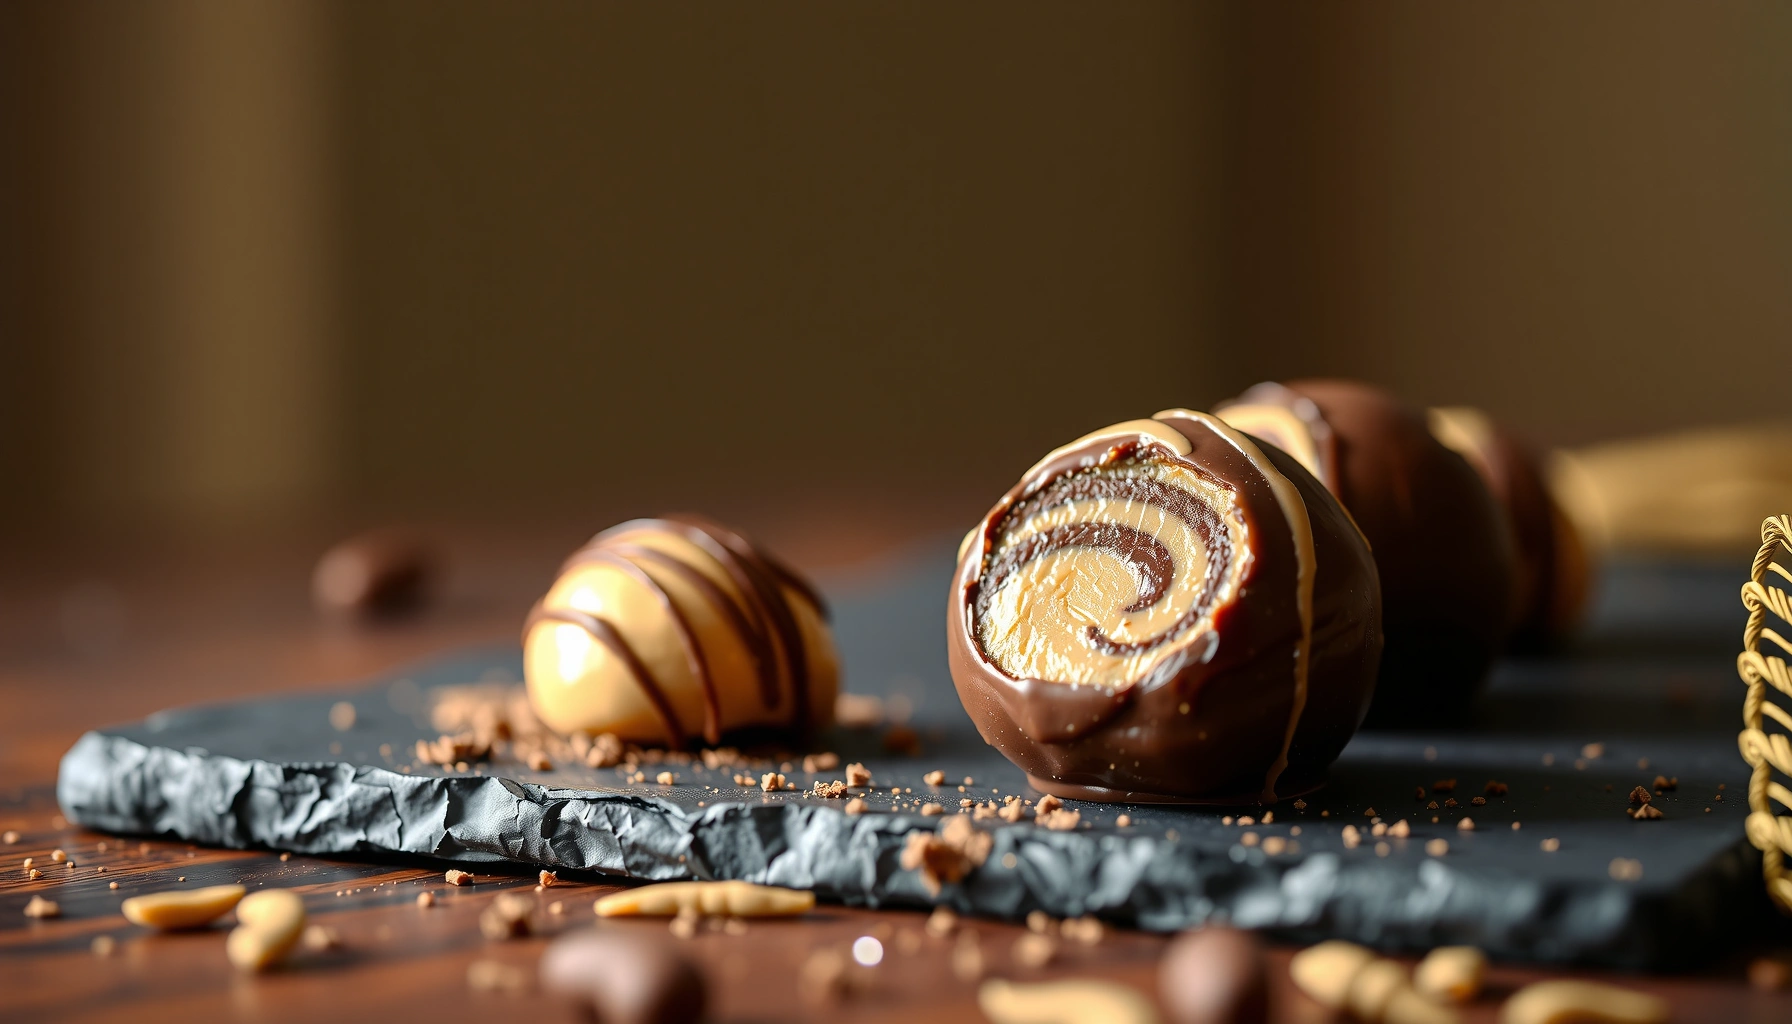
How to dip for the signature “buckeye” top
1. Hold a chilled peanut butter ball by a small pinch or use a fork/skewer.
2. Dip into melted chocolate, then lift and rotate to let excess drip back into the bowl.
3. Place on parchment and gently press/clean the bottom so it rests flat.
4. Leave a small circle uncoated on top. This can be achieved by tapping the dipped ball lightly so chocolate naturally leaves the top exposed.
Professional finish tip
Use a consistent dipping depth and speed. Faster dipping can trap heat in the filling and thin the coating; slow dipping can cause chocolate to cool too much and leave uneven texture.
Set and Store Buckeye Balls
– Place on parchment and refrigerate until the chocolate is fully set
– Store in an airtight container in the fridge; freeze if making ahead
Once dipped, set buckeye balls on parchment paper (or a silicone mat). Refrigerate until the chocolate firms, typically 20–40 minutes depending on temperature and chocolate thickness.
Storage best practices
– Store in an airtight container in the refrigerator. This maintains the structure of the peanut butter center.
– Separate layers with parchment so pieces don’t stick together.
– If making ahead, freeze after full setting. Thaw in the refrigerator before serving for best texture.
Texture reality check
Chocolate and peanut butter are both sensitive to moisture and temperature swings. Avoid repeatedly moving the candy between warm and cold environments. Sudden temperature changes can lead to condensation, which may dull the chocolate finish even if the candy tastes fine.
Troubleshooting Common Issues
– If coating is too thick, thin chocolate slightly with a bit of oil or shortening
– If filling is too soft, chill longer before dipping to prevent slipping
Even a reliable buckeye balls recipe benefits from contingency planning. Here are targeted fixes for the most common failure points:
Problem: Chocolate won’t coat smoothly (thick, draggy dipping)
– Fix: Thin chocolate slightly with 1 teaspoon at a time of neutral oil or shortening. Stir until glossy and fluid.
– Avoid: Adding water. It can cause seize and graininess.
Problem: Balls slip or lose shape during dipping
– Fix: Chill longer before dipping. If the filling feels warm to the touch, refrigerate until firm throughout.
– Also check: Kitchen temperature. In hot environments, dip one batch at a time and keep the rest chilled.
Problem: Chocolate develops a dull surface or streaking
– Fix: Minimize temperature swings. Ensure balls are chilled but not frozen solid. If they were over-frozen, allow them to sit briefly in the fridge before dipping.
– Optional: Keep chocolate warm during dipping so it stays fluid.
Problem: Coating cracks when set
– Fix: Overheating chocolate can make it less flexible. Melt gently next time. Also, ensure filling isn’t too dry/crumbly—press balls firmly so they form a smooth exterior.
Problem: Filling tastes greasy or separates
– Fix: Likely too little powdered sugar or peanut butter too loose. Add powdered sugar in small increments and remix until consistently moldable.
Buckeye balls come together quickly with a peanut butter filling, a simple chocolate dip, and a good chill to lock in shape. Follow the steps for firm balls and smooth chocolate coating, then store them properly for best texture—make a batch today and share them at your next gathering!
References
- https://en.wikipedia.org/wiki/Buckeye_(candy
https://en.wikipedia.org/wiki/Buckeye_(candy - Google Scholar Google Scholar
https://scholar.google.com/scholar?q=buckeye+candy+recipe - Google Scholar Google Scholar
https://scholar.google.com/scholar?q=buckeye+balls+peanut+butter+chocolate+recipe - Google Scholar Google Scholar
https://scholar.google.com/scholar?q=confectionery+peanut+butter+chocolate+truffle+recipe - https://www.foodnetwork.com/recipes/buckeye-candy-recipe-2010135
https://www.foodnetwork.com/recipes/buckeye-candy-recipe-2010135 - Google Scholar Google Scholar
https://scholar.google.com/scholar?q=buckeye+balls+recipe - buckeye balls recipe – Search results
https://en.wikipedia.org/wiki/Special:Search?search=buckeye+balls+recipe - https://www.ncbi.nlm.nih.gov/search/research-articles/?term=buckeye+balls+recipe
https://www.ncbi.nlm.nih.gov/search/research-articles/?term=buckeye+balls+recipe