You’ll whip up Buc Ee’s banana pudding using ripe bananas for sweet, tropical notes, instant vanilla pudding for silky creaminess, and crunchy vanilla wafers for texture contrast. Start by selecting yellow bananas with brown spots, then whisk the pudding mix into cold milk until thick and dreamy. Layer wafers, sliced bananas, and pudding neatly in a dish, finishing with a dollop of whipped cream. Explore enhancements and tips waiting just ahead to customize your treat.
Essential Ingredients
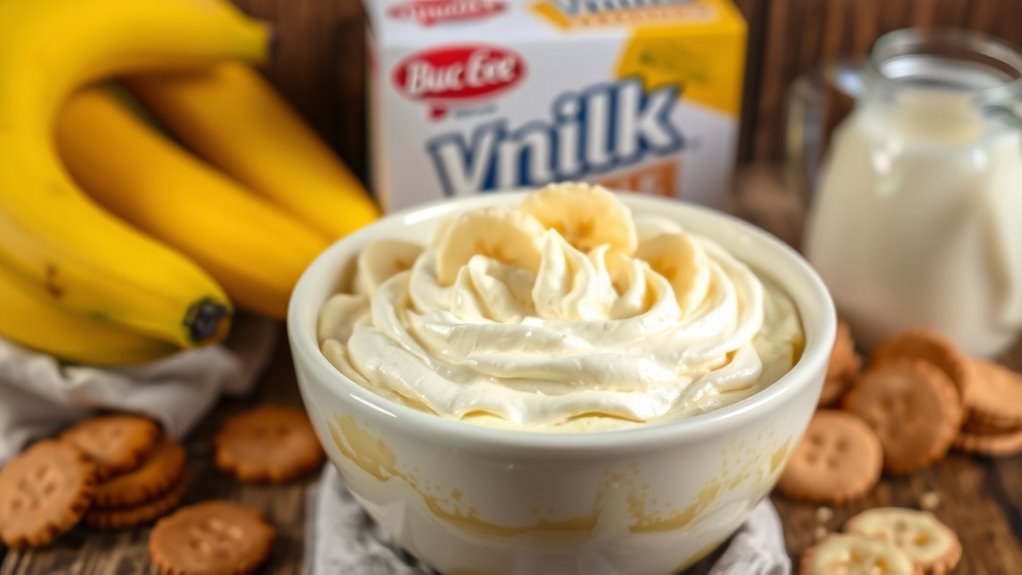
To whip up Buc Ee’s irresistible banana pudding, you’ll need just a handful of fresh, quality ingredients that blend creamy textures with sweet, tangy flavors. Start with ripe bananas, their natural sweetness offering a freeing burst of tropical freedom in every bite. You’ll grab instant vanilla pudding mix for that silky base, letting you escape cookie-cutter recipes with ease. Add crisp vanilla wafers for a liberating crunch that contrasts the smooth creaminess, while fresh whipped cream brings light, airy indulgence. Don’t forget a dash of essential flavors like vanilla extract and a hint of lemon zest, releasing banana pudding’s bold, harmonious profile. These elements empower you to craft a dessert that’s unbridled and uniquely yours, embracing culinary liberty without constraints. With these, you’re set to savor pure, unrestricted delight.
Step-by-Step Instructions

Now that you’ve gathered your essential ingredients, grab a large mixing bowl and start by whisking the instant vanilla pudding mix with 2 cups of cold milk until it’s smooth and creamy—you’ll feel the mixture thicken quickly. This forms the heart of your banana pudding, a timeless favorite in dessert recipes that lets you craft freedom in your kitchen, layer by layer.
To build your banana pudding masterpiece with ease, follow these steps:
- Slice and layer bananas: Cut ripe bananas into even slices and arrange them at the bottom of your serving dish for that fresh, tropical burst that’ll make your dessert recipes pop.
- Add the pudding base: Gently pour the thickened mixture over the bananas, ensuring even coverage to lock in those creamy flavors you deserve.
- Incorporate toppings: Sprinkle crushed vanilla wafers and dollop whipped topping on top, creating a delightful contrast that empowers your sweet creation.
- Chill and serve: Refrigerate for at least 2 hours, then dig in—your banana pudding is ready to savor on your own terms.
Mixing the Pudding Base
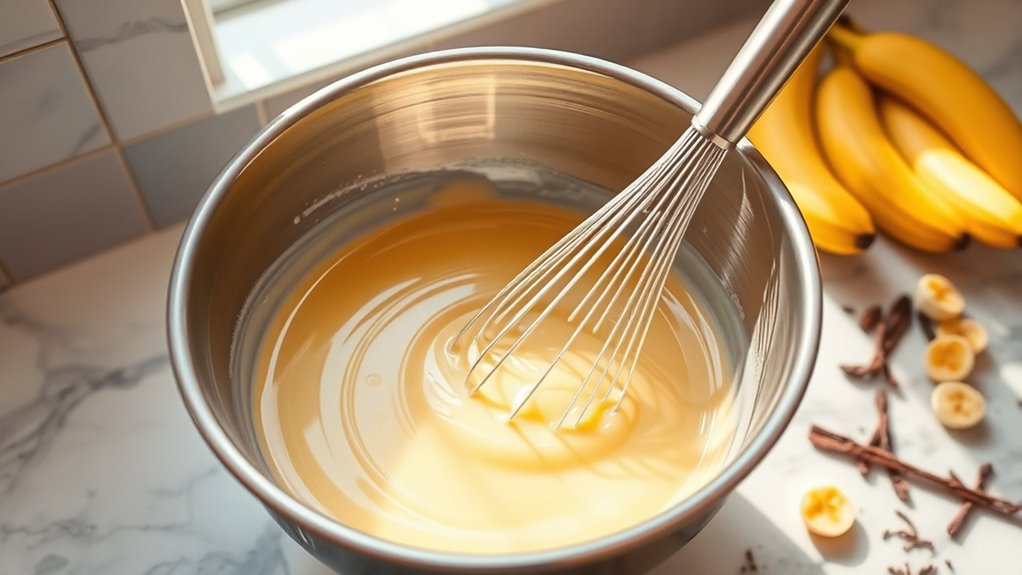
With your ingredients ready, you’ll whisk the instant vanilla pudding mix into 2 cups of cold milk, watching it transform into a silky, creamy base that anchors your banana pudding’s rich flavors. To master mixing techniques, grab a wire whisk and stir vigorously in smooth, circular motions for about 2 minutes—this guarantees even distribution and prevents lumps, giving you full control over your creation. Focus on achieving the ideal pudding consistency: thick yet pourable, like velvet ready to embrace layers of goodness. Don’t rush; let the mixture set briefly in the fridge if it’s too thin, empowering you to tweak it freely. These steps liberate your kitchen adventure, turning simple ingredients into a decadent base that screams personalized perfection. Remember, precise whisking releases that flawless, dreamy texture you crave.
Selecting and Preparing Bananas

You’ll want to choose bananas that are perfectly ripe—yellow with a few brown spots for that sweet, creamy burst of flavor. Once you’ve got them, peel carefully to keep the fruit intact and avoid any messy bruises. Now, slice them evenly so they layer smoothly in your pudding for the best texture.
Choose Ripe Bananas
When choosing ripe bananas for your pudding, aim for those with a bright yellow peel and a few brown spots, as this signals perfect sweetness and creaminess without any unwanted tartness. You’ll enhance your recipe by focusing on banana ripeness indicators like peel color and firmness, while selecting organic bananas guarantees a natural, pesticide-free choice that lets you embrace culinary freedom.
To make the best selection:
- Check banana ripeness indicators: Look for yellow peels with brown spots for best sweetness.
- Select organic bananas: Opt for certified organic ones to enjoy pure, chemical-free flavors and ingredient autonomy.
- Assess texture: Gently squeeze to verify they’re firm yet yielding, promising a creamy pudding texture.
- Inspect for flaws: Avoid bananas with green tips or excessive bruising to maintain that perfect, liberating taste.
Peel Bananas Properly
After picking your ripe bananas, peel them by starting at the stem and easing off the skin in one smooth motion, keeping the creamy flesh intact to preserve its natural sweetness for your pudding. You’ll discover banana peel techniques that release the fruit’s essence, like gently pinching the stem to avoid bruising, which enhances texture and flavor freedom in your dessert. Explore banana peel benefits, such as reducing waste by composting peels or using them for natural polishing, letting you craft pudding with unbridled creativity.
| Banana Peel Technique | Banana Peel Benefits | Freedom Tip |
|---|---|---|
| Stem-first gentle pull | Preserves fruit’s moisture | Ease off skin without force |
| Finger-pinch method | Minimizes bruising for sweetness | Feel the peel slip away freely |
| Twist and slide approach | Keeps flesh creamy and intact | Embrace a smooth, effortless flow |
| Avoid knife cuts | Reduces contamination risk | Let your hands guide naturally |
| Cool water rinse option | Enhances peel removal ease | Rinse away constraints lightly |
This method empowers your pudding prep, releasing banana’s full potential. (124 words)
Slice Bananas Evenly
Once you’ve peeled your bananas, aim for precise, even slices to guarantee uniform texture in your pudding. Mastering banana slicing techniques liberates you to create layers that soak up flavors perfectly, letting you explore your banana thickness preferences for a customized treat—whether you crave thin, melt-in-your-mouth pieces or thicker ones with a satisfying bite.
To nail this step and release your culinary independence, follow these essentials:
- Select a sharp knife: Opt for a straight blade to confirm clean, effortless cuts that minimize bruising and maintain freshness.
- Determine thickness preferences: Aim for 1/4-inch slices for balanced creaminess, or go bolder with 1/2-inch for a firmer feel—it’s your freedom to choose.
- Use steady techniques: Hold the banana firmly on a cutting board and slice perpendicularly for even, uniform pieces every time.
- Check for consistency: Line up slices side by side to verify they’re identical, confirming your pudding layers harmonize flawlessly.
With these tips, you’ll slice like a pro, embracing the joy of homemade perfection.
Assembling the Layers
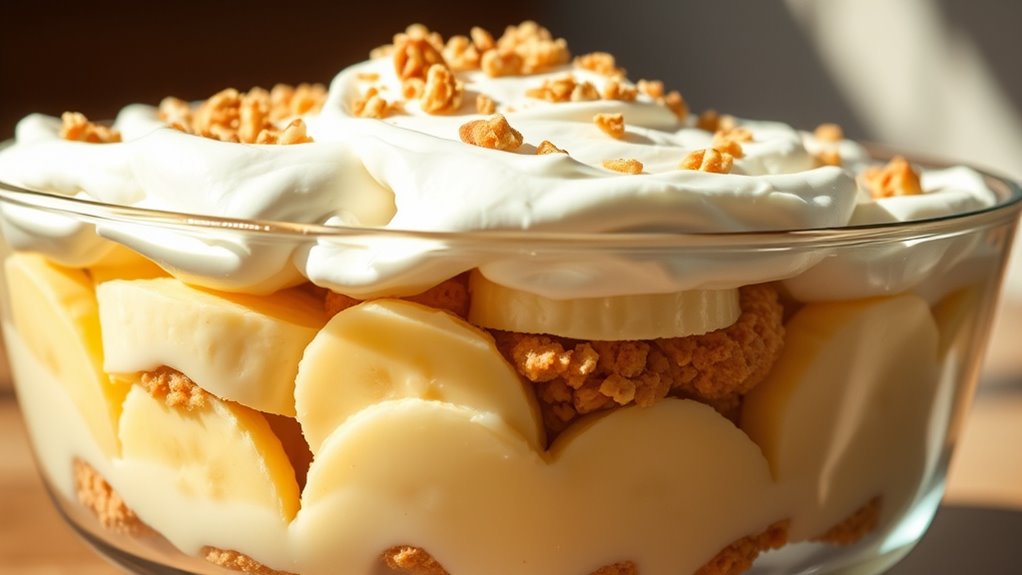
Now that your pudding is prepped, you’ll layer this Buc Ee’s delight in a clear dish for maximum appeal. Start with a base of vanilla wafers, creating a crisp foundation that anchors the dessert’s freedom of flavors. Employ effective layering techniques by adding an even layer of sliced bananas, ensuring they’re arranged neatly to enhance natural sweetness and texture contrast. Follow with a generous pour of the creamy pudding mixture, smoothing it out to seal in the freshness below. Repeat these steps, alternating wafers, bananas, and pudding for balanced, mouthwatering results. For presentation tips, focus on straight edges and uniform layers to let the vibrant colors shine through the glass, giving you the liberty to showcase your creation’s artistry without restraint. This method builds a pudding that’s as inviting as it is liberating to assemble.
Adding Toppings and Garnishes
With layers neatly stacked, you’ll crown your Buc Ee’s Banana Pudding by selecting toppings that amplify its charm and flavor. Now, plunge into creative topping ideas and garnishing techniques to make your dessert a personal masterpiece, giving you the freedom to experiment and impress.
To grab your attention and spark inspiration, here’s a quick guide:
- Classic Nilla Wafer Crumble: Top with crushed wafers for a crunchy contrast, using a light sprinkle technique to maintain even distribution.
- Whipped Cream Swirls: Dollop fresh whipped cream and swirl gently with a spoon for elegant peaks, enhancing visual appeal effortlessly.
- Fresh Banana Slices: Arrange thin slices in a circular pattern for a natural garnish, letting their sweetness shine without overwhelming.
- Nutty Finishes: Scatter chopped pecans or almonds using a pinch method, adding texture while keeping it simple and liberating.
These touches turn your pudding into a customizable delight, ready to serve with pride. (124 words)
Flavor Enhancement Tips
While your banana pudding forms a solid base, it’s easy to boost its flavors with simple tweaks that transform it into a more irresistible treat. Immerse yourself in spice infusions by stirring in a pinch of cinnamon or nutmeg during mixing; these warm, aromatic additions infuse depth and a hint of exotic allure, elevating the creamy sweetness without overwhelming it. For texture contrasts, incorporate finely chopped nuts or a light crumble of cookies into layers, creating a playful crunch that dances against the pudding’s smoothness and banana’s softness. These enhancements permit you to experiment boldly, revealing new dimensions of taste that feel uniquely yours. Embrace this liberty to refine your creation, making every spoonful a liberated delight. Remember, subtle adjustments keep harmony intact, ensuring your pudding shines with balanced, vibrant flavors.
Custom Variations
Once you’ve experimented with basic enhancements, plunge into custom variations that let you reinvent your banana pudding as a personal masterpiece. You’ll release your creativity with banana flavoring options like infusing extracts or fresh fruit purees for a bolder twist, while unique toppings add your personal flair. Embrace this freedom to craft desserts that reflect your spirit.
Dive into custom variations to reinvent your banana pudding, unleashing creativity with bold flavors and unique toppings.
Here are four ways to customize with flair:
- Amp up banana flavoring options: Swap in caramelized bananas or banana liqueur for deeper, more exotic notes that dance on your tongue.
- Layer with unique toppings: Top with crushed nuts, chocolate shavings, or toasted coconut for a textural adventure that elevates every bite.
- Mix in adventurous add-ins: Incorporate spices like cinnamon or ginger to create a fusion that breaks from tradition.
- Play with bases: Experiment with alternative milks or yogurts for a lighter, personalized base that suits your dietary freedom.
Storage Guidelines
To preserve the luscious creaminess and fresh banana notes in your banana pudding, store it promptly in the refrigerator. Choose airtight storage containers to seal in that irresistible, velvety texture and prevent any fridge odors from intruding on your creation’s freedom. You’ll maintain full control over its shelf life, ensuring the pudding stays delightfully smooth and banana-forward without sogginess creeping in.
For fridge duration, it’ll keep its prime quality for up to three days—ideal for savoring at your own pace. Monitor for any changes in color or consistency; bananas naturally oxidize, so transfer leftovers into a fresh container if needed. This approach lets you enjoy the pudding’s sunny flavors on your timeline, empowering your kitchen adventures with ease and precision. Always label your containers for quick access, giving you the liberty to indulge whenever the mood strikes.
Serving Suggestions
With your banana pudding chilling in the fridge, it’s time you bring it to the table in style—serve it chilled for that cool, creamy bite, or let it sit out for a few minutes if you prefer a softer texture. Now, explore presentation ideas to make your dessert pop, while keeping serving sizes flexible for your freedom-loving lifestyle.
To elevate your banana pudding game, here’s a simple guide:
- Choose serving sizes wisely: Portion into individual cups for 4-6 people, or scale up for larger crowds, letting you control the vibe.
- Get creative with presentation ideas: Layer pudding in clear glasses to showcase bananas and wafers, adding a rustic, eye-catching twist.
- Enhance flavors freely: Top with whipped cream, crushed nuts, or fresh fruit, encouraging you to mix and match based on your mood.
- Pair for ultimate enjoyment: Serve alongside coffee or iced tea, making it easy to adapt to any gathering without constraints.
This approach lets you savor every bite on your terms, blending simplicity with delicious innovation.
Frequently Asked Questions
What are the main ingredients in Buc Ee’s Banana Pudding Recipe?
The main ingredients for Buc Ee’s Banana Pudding Recipe include ripe bananas, vanilla pudding mix, sweetened condensed milk, whipped cream, and Nilla wafers. Some variations may also include cream cheese for added richness and flavor.
How long does it take to prepare Buc Ee’s Banana Pudding?
Preparing Buc Ee’s Banana Pudding typically takes about 20-30 minutes. However, it’s recommended to let it chill in the refrigerator for at least 2 hours before serving to allow the flavors to meld and the pudding to set properly.
Can I make Buc Ee’s Banana Pudding in advance?
Yes, Buc Ee’s Banana Pudding can be made in advance. In fact, making it a day ahead is ideal, as it allows the flavors to develop and the texture to improve. Just be sure to cover it tightly with plastic wrap to prevent the bananas from browning and to keep the pudding fresh.
What can I substitute for Nilla wafers in the recipe?
If you don’t have Nilla wafers on hand, you can substitute them with other types of cookies such as chessmen cookies, shortbread cookies, or even homemade vanilla cookies. Just keep in mind that the flavor and texture may vary slightly depending on the type of cookie used.
How can I make Buc Ee’s Banana Pudding healthier?
To make Buc Ee’s Banana Pudding healthier, consider using sugar-free pudding mix and reduced-fat whipped topping. Additionally, you can use whole bananas and opt for whole grain or low-sugar cookies. This will help reduce the overall sugar and fat content while still maintaining a delicious taste.