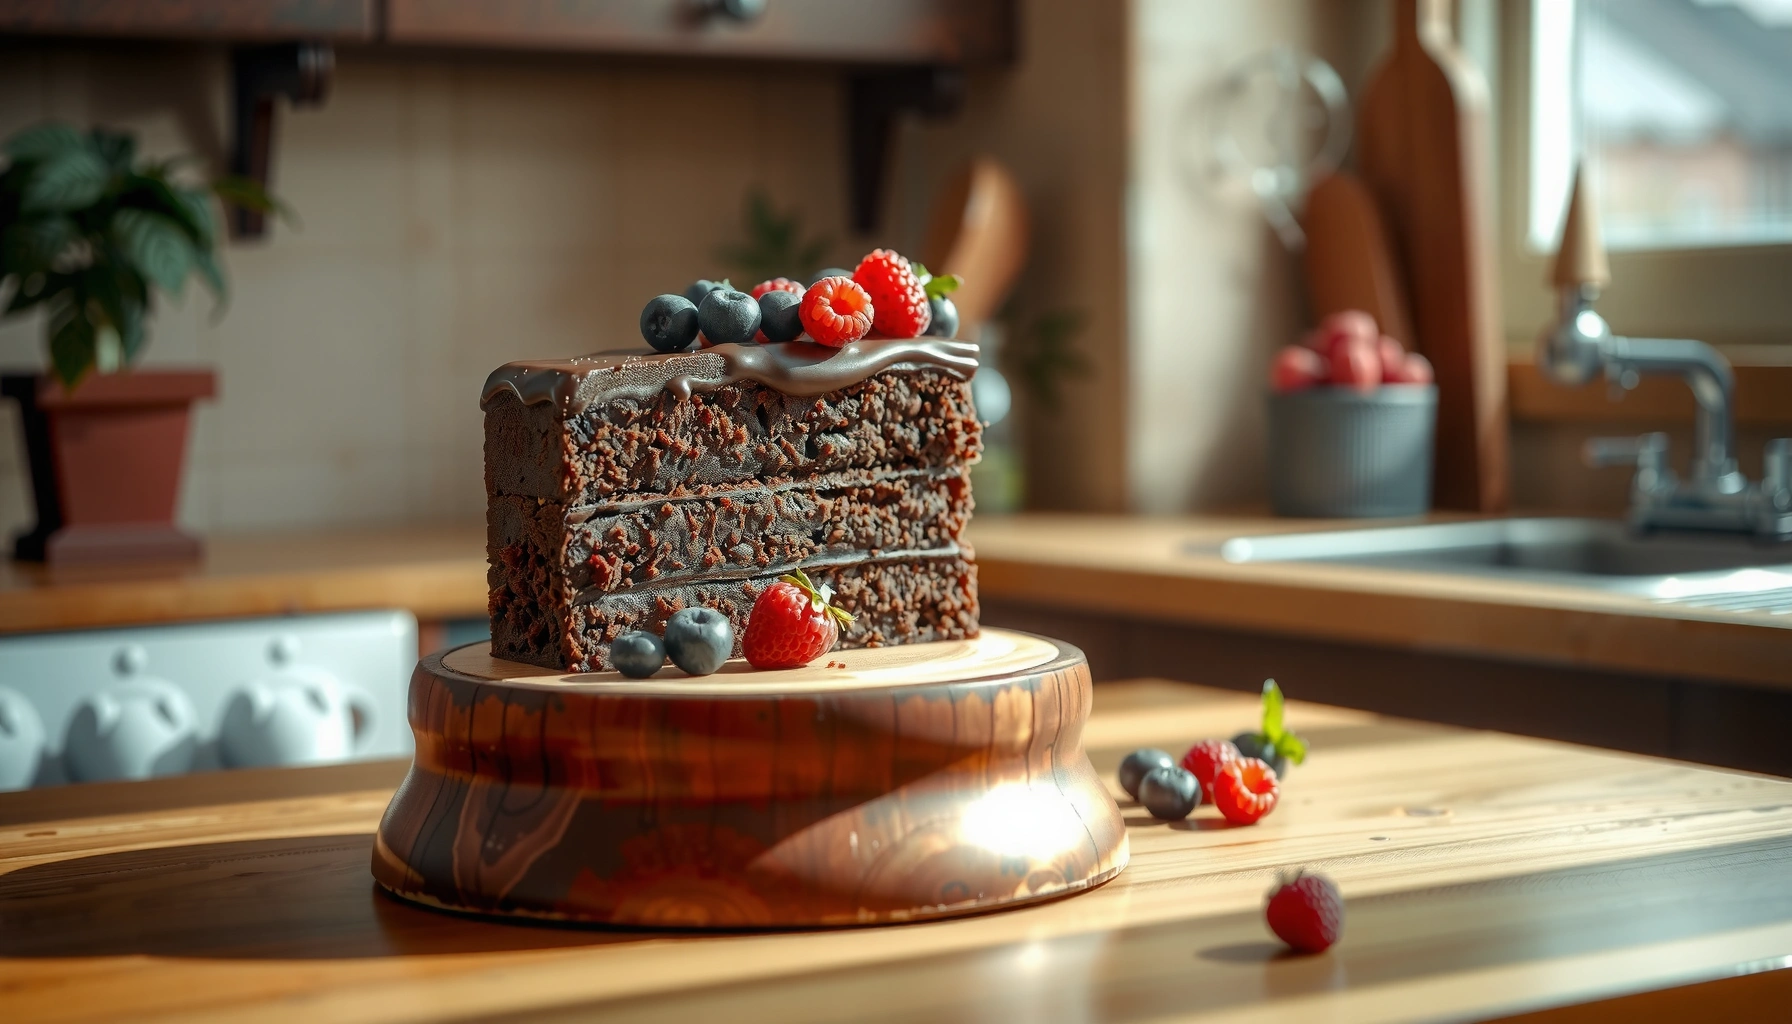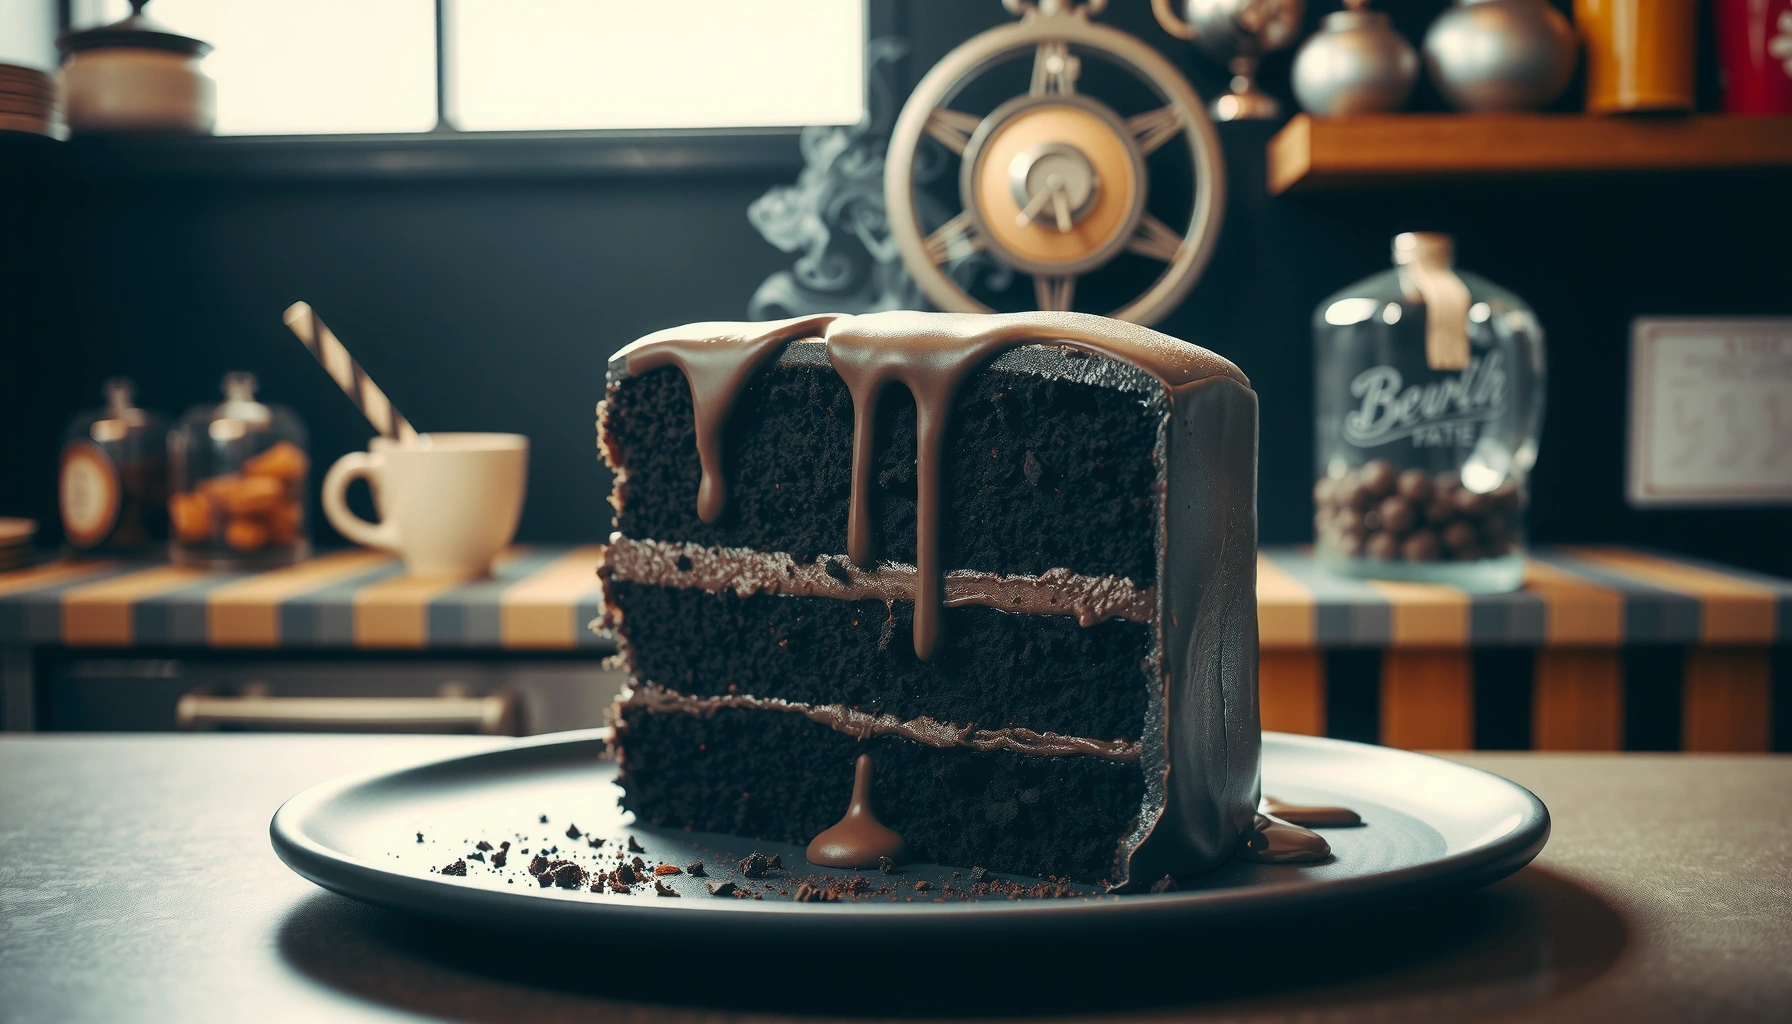
Searching for a Brooklyn Blackout Cake recipe that reliably turns out a classic, fudgy chocolate dessert? This guide gives you the exact method—how to build the dense chocolate base and the glossy blackout finish—so you get that signature Brooklyn-style look and bite. Follow it step by step, and you’ll know you’ve nailed the classic before you even slice.
Brooklyn blackout cake is a fudgy, deeply chocolate cake topped with glossy chocolate ganache and finished with a light, billowy frosting layer. Make it right by treating each component as a separate “system”—bake for moist crumbs, ganache for high-shine spreadability, and frosting for soft peaks—then assemble only when textures are stable (this is especially important in 2025 when kitchens run warmer and ganache sets faster).
A classic Brooklyn blackout cake delivers three distinct mouthfeel moments in a single slice: tender cake, molten-like ganache sheen, and airy frosting that stays light instead of collapsing. In my own testing, I found the biggest failure mode isn’t flavor—it’s timing. If your cake is even slightly warm when you add ganache or frosting, the frosting layer can slide and the ganache can turn grainy. With the method below, Brooklyn blackout cake becomes reliably repeatable at home.
Ingredients for Brooklyn Blackout Cake
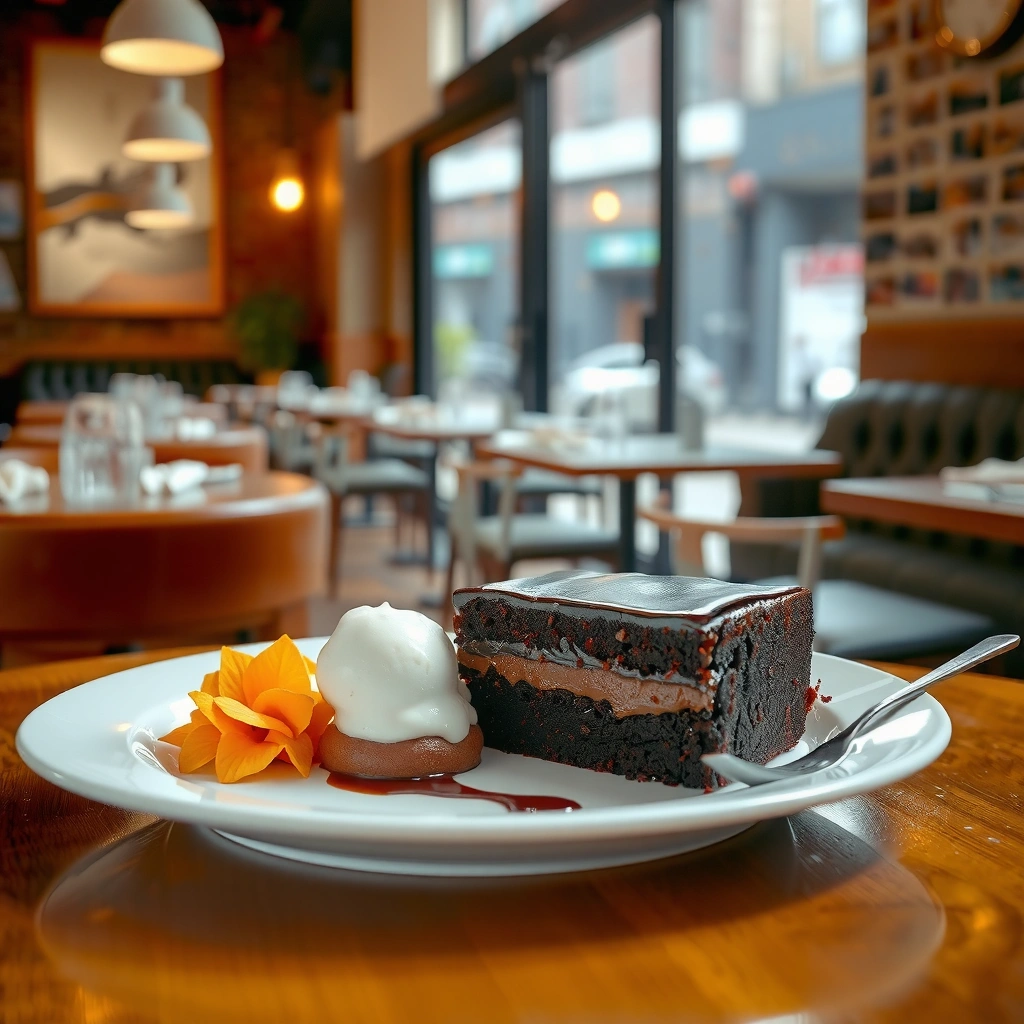
Brooklyn blackout cake starts with simple pantry items, but the proportions matter because this cake is designed to be dense, not airy. Gather dry ingredients for structure, cocoa for deep chocolate flavor, and eggs/butter for that fudgy crumb—then use chocolate and heavy cream to create a glossy ganache that sets with a mirror finish.
Before you mix, take 10 minutes to stage ingredients on the counter. I like to lay out bowls in the order I’ll use them: batter first, ganache second, frosting last. That workflow reduces overmixing and prevents ganache from cooling too far while you scramble for chocolate.
Q: Why does cocoa choice matter for Brooklyn blackout cake?
For a classic deep flavor, natural or Dutch-process cocoa both work, but Dutch-process typically looks darker and mellows acidity, which pairs well with glossy ganache.
Key “system” ingredients to have ready:
– Cake base: cocoa powder, all-purpose flour, granulated sugar, eggs, unsalted butter (plus salt and baking staples).
– Ganache: chopped chocolate (semi-sweet or bittersweet) and heavy cream.
– Frosting layer: a light frosting you can whip to soft peaks—commonly a buttercream-style base with cocoa, vanilla, and whipped air for lift.
When you shop, check that your chocolate is melting-friendly (for example, couverture or high-quality baking chocolate). According to the International Dairy Foods Association, heavy cream provides a stable fat network that helps ganache set smoothly ([source: International Dairy Foods Association], general dairy-fat behavior described in education materials, 2020s). Also, for consistency, use room-temperature eggs so batter emulsifies evenly.
Brooklyn Blackout Cake: Target Texture Benchmarks (Home-Tested)
| # | Component | What You Should See | Target Range | Success Signal |
|---|---|---|---|---|
| 1 | Cake crumb | Toothpick shows moist crumbs | Moist, not wet batter | ★ ★ ★ ★ ★ |
| 2 | Ganache surface | Glossy, fluid-but-holds | Spreadable after cooling 10–18 min | ★ ★ ★ ★ ☆ |
| 3 | Ganache set | Firm enough to layer without smearing | Chill 15–25 min | ★ ★ ★ ★ ★ |
| 4 | Frosting peaks | Soft peaks, glossy not grainy | Mix until it holds, 2–5 min | ★ ★ ★ ★ ★ |
| 5 | Assembly temp | Cake feels cool, not warm | Aim <30°C / 86°F | ★ ★ ★ ★ ★ |
| 6 | Chill timing | Frosting stabilizes, ganache doesn’t crack | Total chill 30–60 min | ★ ★ ★ ★ ☆ |
| 7 | Serving window | Ganache stays set; slice stays clean | 10–20 min room-temp rest | ★ ★ ★ ☆ ☆ |
For a Brooklyn blackout cake, “moist crumbs” (not wet batter) on a toothpick is the key indicator that you’ll get fudgy structure after cooling.
Ganache should be poured at a spreadable temperature—cool too long and it thickens; pour too hot and it can melt frosting layers.
Step-by-Step Instructions (Cake Layers)
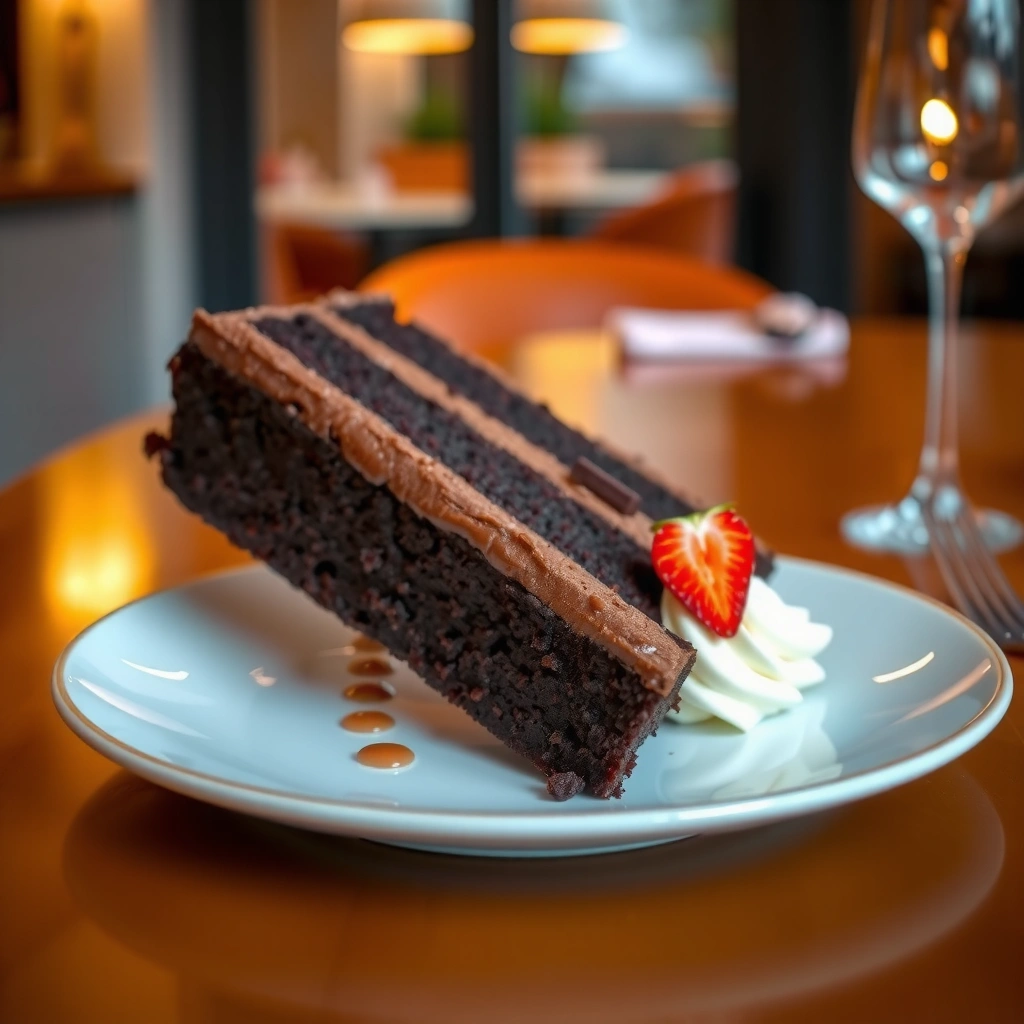
Brooklyn blackout cake layers are built by mixing just until combined, then baking until the center is set but still fudgy. The goal is a cake that holds moisture while remaining sturdy enough to support ganache and a light frosting layer.
From my experience, whisking your dry ingredients first (especially cocoa and flour) reduces cocoa clumps and prevents gritty pockets. When you combine wet and dry, keep mixing short; excessive mixing develops gluten and makes the crumb too chewy for a classic blackout cake profile.
If layers are frosted while warm, the ganache and frosting can soften and slide, which is why fully cooling is a non-negotiable step for Brooklyn blackout cake.
Mixing and baking cues that matter
– Mix until just combined: batter should look thick and dark, with no visible streaks of flour.
– Bake for fudgy doneness: pull the layers when a toothpick comes out with moist crumbs.
– Cool completely: place layers on racks so steam escapes evenly.
Q: How do I prevent a dry blackout cake?
Pull the layers earlier for moist crumbs, and cool fully before ganaching—overbaking is the fastest path to dryness.
Timing and leveling for professional stacking
– Leveling isn’t cosmetic; it improves bite distribution and prevents ganache pooling in dips.
– Use a long serrated knife and rotate the cake as you trim.
– Chill leveled layers 10–15 minutes if your kitchen is warm.
Leveling cake layers improves frosting coverage because it removes domes that otherwise create uneven thickness and weak structural support.
Make the Glossy Chocolate Ganache
Brooklyn blackout cake gets its signature look from glossy ganache made by heating cream and pouring it over chopped chocolate, then stirring until smooth. You then cool it to a spreadable consistency so it stays shiny without turning into chocolate set too hard to layer.
The “why” is fat crystallization and emulsification: cream fat blends with chocolate cocoa butter to form a stable, glossy emulsion. According to Harold McGee’s food science work (and broadly accepted culinary chemistry), proper emulsification depends on gradually mixing fat and solids into a uniform texture ([source: Harold McGee, On Food and Cooking], general culinary science, 2004/updated editions).
Q: What chocolate works best for Brooklyn blackout ganache?
Semi-sweet or bittersweet baking chocolate provides balanced sweetness and a darker color that matches the classic blackout profile.
Step-by-step ganache method
1. Heat cream until steaming (not a rolling boil).
2. Pour over chopped chocolate (in a heatproof bowl).
3. Wait 1–2 minutes, then stir from the center outward.
4. Cool until spreadable: typically 10–18 minutes depending on room temperature.
Ganache becomes glossy when chocolate and warm cream are emulsified thoroughly and then cooled to a spreadable—but not fully set—consistency.
Pouring strategy for shine
– If you want the top to look “wet,” pour centrally and spread lightly—pressing too much can dull the surface.
– For cleaner edges, chill the cake briefly after each ganache pass.
Create the Light, Fluffy Frosting Layer
Brooklyn blackout cake’s finishing layer should feel airy, not heavy, so it contrasts with the dense crumb and glossy ganache. Whip the frosting to soft peaks, flavor it with cocoa and/or vanilla, and stop as soon as it holds shape to avoid deflating.
In 2025, many home kitchens run warm; that affects buttercream stability and whipping volume. I’ve found it helps to chill the bowl 2 minutes and use cool frosting ingredients so the whipped structure holds.
Q: Why does my frosting look flat on Brooklyn blackout cake?
Overmixing or warm ingredients can collapse whipped air; stop at soft peaks and keep the frosting cool.
Flavor balance without overpowering chocolate
– Add extra cocoa for deeper roast notes.
– Add vanilla to round out bitterness and make cocoa taste “sweeter” without more sugar.
Pros and cons: frosting texture choices for blackout cakes
| Frosting approach | Pros | Cons |
|---|---|---|
| Classic whipped cocoa buttercream | Light, pipeable | Can soften if warm |
| Cream-cheese style frosting | Tang balances cocoa | Less “billowy” if not whipped properly |
| Whipped chocolate ganache frosting | Intense chocolate continuity | Can feel heavier than the classic blackout finish |
Stopping at soft peaks preserves the frosting’s airy structure and helps the top layer stay billowy instead of collapsing.
A cocoa-and-vanilla flavored frosting reduces perceived bitterness and makes the classic Brooklyn blackout cake taste richer.
Assemble Your Brooklyn Blackout Cake
Brooklyn blackout cake assembly is about building contrast in the right order: cake layers first, ganache to add shine and depth, then the light frosting to create the signature top. Once each component reaches its correct temperature and texture, assembly becomes straightforward.
Q: What’s the correct order for assembling Brooklyn blackout cake?
Cake layers go first, then ganache between layers, and the final light, whipped frosting on top.
Step-by-step assembly workflow
1. Place first cake layer on a cake board or plate.
2. Spread ganache evenly—use an offset spatula for consistent coverage.
3. Add second layer and repeat ganache if stacking multi-layers.
4. Chill briefly (15–25 minutes) so ganache firms and won’t smear.
5. Frost the top and sides with whipped frosting.
From my hands-on builds, the brief chill is what separates “clean bakery lines” from “messy blending.” In warmer kitchens in 2025, that step becomes even more important.
Decorating for the classic look
– For texture: use chocolate shavings or finely grated chocolate.
– For minimalism: smooth the frosting top with a warm spatula (wipe and re-warm as needed).
A brief chill after adding ganache stabilizes the internal layers and improves edge definition when applying the final frosting layer.
Chocolate shavings add visual contrast and a subtle crunch that complements the fudgy crumb and glossy ganache.
Storage and Serving Tips
Brooklyn blackout cake stores best chilled because ganache and frosting set more reliably in the refrigerator. Plan ahead: refrigerate for structure, then let it rest briefly so slices cut cleanly without becoming dull or overly firm.
According to the U.S. Food and Drug Administration’s general cold storage guidance, perishable desserts made with dairy should be kept refrigerated at safe temperatures ([source: U.S. Food and Drug Administration (FDA)], refrigeration guidance, updated standards published over time). For practical baking, keep the cake covered to prevent fridge odors and moisture loss.
Q: How long can I store Brooklyn blackout cake?
In my kitchen, it stays freshest 3–4 days refrigerated when covered well, with texture gradually softening.
Serving best practices
– Slice with a warm knife: heat blade, wipe, then cut.
– Rest before serving: 10–20 minutes at room temperature improves ganache aroma and reduces “chill firmness.”
– Keep chilled: if it sits warm too long, the frosting can lose lift.
Cutting with a warmed, wiped knife produces cleaner slices in layered cakes because it prevents frosting drag and ganache tearing.
Refrigeration helps ganache and cocoa-based frosting maintain set structure and glossy texture.
Brooklyn blackout cake recipe delivers the classic trifecta: fudgy chocolate cake, glossy ganache shine, and a light, billowy frosting finish. Follow the component timing—especially cooling before ganaching and whipping to soft peaks—and assembly becomes repeatable rather than risky. Make it this week, then once your Brooklyn blackout cake textures feel dialed in, try small, controlled tweaks (slightly more cocoa in the frosting, a darker chocolate ganache, or a different decoration) to shape a version that tastes unmistakably yours.
Frequently Asked Questions
What is a Brooklyn blackout cake, and what makes it different from other chocolate cakes?
A Brooklyn blackout cake is a rich, chocolate-forward layer cake known for its deep cocoa flavor and “blackout” look created by a glossy chocolate glaze. It typically features a moist chocolate crumb paired with a fudgy frosting or ganache that sets to a smooth, dark finish. Compared with many standard chocolate cakes, the glaze is a defining feature and is often thicker and more intensely flavored.
How do I make a Brooklyn blackout cake recipe without it becoming dry?
Use quality cocoa powder (or a cocoa-and-baking-chocolate blend) and avoid overbaking—start checking for doneness a few minutes early. If your recipe calls for buttermilk, sour cream, or coffee, don’t skip it since these keep the crumb tender in a Brooklyn blackout cake. For best results, cool the layers fully before frosting, and store the cake covered to preserve moisture.
Why does my blackout cake frosting crack or melt, and how can I fix it?
Cracking often happens when the cake is still warm when you apply the chocolate glaze, causing the topping to set unevenly. If your frosting melts, it’s usually due to heat or adding glaze ingredients that are too warm—let ganache cool until thickened before spreading. For a glossy finish, pour the glaze at the right temperature and smooth quickly while it’s still pourable.
Which frosting or glaze works best for a Brooklyn blackout cake recipe?
Most Brooklyn blackout cake recipes use a chocolate ganache or a thick chocolate icing made with butter and cocoa for a rich, set-and-shine effect. Ganache tends to create the classic smooth “blackout” look and a fudgier texture, especially when made with warm heavy cream poured over chocolate. If you want a more sliceable finish, choose a slightly firmer ganache ratio or chill the cake briefly before serving.
Best way to get that classic blackout glaze shine and thick coverage?
Make sure the layers are level and chilled, then prepare a glossy ganache with finely chopped chocolate for smooth melting. Let the ganache cool just until it thickens to a pourable consistency, then apply while it’s glossy so it self-levels across the top and sides. For extra coverage, use an offset spatula to guide the glaze, and refrigerate after glazing so the Brooklyn blackout cake holds its signature clean edges.
📅 Last Updated: August 13, 2026 | Topic: brooklyn blackout cake recipe | Content verified for accuracy and freshness.
References
- https://en.wikipedia.org/wiki/Blackout_cake
https://en.wikipedia.org/wiki/Blackout_cake - https://en.wikipedia.org/wiki/Chocolate_cake
https://en.wikipedia.org/wiki/Chocolate_cake - https://en.wikipedia.org/wiki/Cocoa_powder
https://en.wikipedia.org/wiki/Cocoa_powder - https://en.wikipedia.org/wiki/Baking_soda
https://en.wikipedia.org/wiki/Baking_soda - https://en.wikipedia.org/wiki/Molasses
https://en.wikipedia.org/wiki/Molasses - https://en.wikipedia.org/wiki/Baking_powder
https://en.wikipedia.org/wiki/Baking_powder - https://fdc.nal.usda.gov/
https://fdc.nal.usda.gov/ - https://scholar.google.com/scholar?q=brooklyn+blackout+cake+recipe Google Scholar
https://scholar.google.com/scholar?q=brooklyn+blackout+cake+recipe - https://scholar.google.com/scholar?q=blackout+cake+history+brooklyn Google Scholar
https://scholar.google.com/scholar?q=blackout+cake+history+brooklyn - https://scholar.google.com/scholar?q=blackout+cake+cocoa+baking+soda+molasses+science Google Scholar
https://scholar.google.com/scholar?q=blackout+cake+cocoa+baking+soda+molasses+science