Get the blueprint nutty pudding recipe you can follow start to finish, with clear steps that reliably produce a rich, set dessert. This easy step-by-step method tells you exactly how to measure, mix, bake, and rest the pudding so the nuts stay toasted and the custard holds its shape. If you want a dependable nutty pudding with minimal guesswork, this is the winning approach.
A blueprint nutty pudding recipe is the simplest way to consistently get a rich, custardy center with a crunchy nut layer—without guesswork. By using dependable measurements, toasting the nuts for aroma, then baking only until the center is just set, you’ll produce a dessert with the right sliceable texture and balanced sweetness every time.
In this guide, you’ll get a practical framework: clear ingredient guidance, a reliable method for preparing the nut mixture and pudding base, and baking doneness checks that prevent the two most common failures—runny pudding and overly toasted/soft nuts. Think of this as your repeatable “process recipe,” not just a one-off dessert.
Ingredients for Blueprint Nutty Pudding

A strong blueprint starts with the right components—enough structure to form a custard, plus nuts and sugar to create a distinct topping layer. While variations exist (some bakers fold nuts into the base; others layer them), your ingredient choices should support a stable bake.
Core ingredients you’ll need (4–6 servings):
– Milk (whole or 2%): provides the custard body and a silky mouthfeel
– Eggs: the main set factor for custard-style pudding
– Sugar: sweetens and helps browning on the nut layer
– Flour or cornstarch (depending on your base): thickens the pudding so it slices cleanly
– Mixed nuts (walnuts, almonds, pecans): creates crunch and toasty aroma
Flavor and performance boosters:
– Butter (optional but recommended): increases richness and helps nuts toast evenly
– Vanilla extract (or vanilla bean paste): rounds out the dessert flavor
– Pinch of salt: sharpens sweetness and makes the nut flavor taste more “alive”
A practical ingredient target (blueprint style):
Use a “custard-thickening” component (flour or cornstarch) plus eggs. If you try to rely on eggs alone, the texture can swing between under-set (soft/loose) and over-set (rubbery). Flour or cornstarch gives you a predictable set, especially for home ovens.
Nut Selection for Blueprint Nutty Pudding (Texture Profile)
| # | Nut Type | Crunch Rating | Toasting Aroma | Best Use | Result Impact |
|---|---|---|---|---|---|
| 1 | Pecans | ★★★★☆ (4/5) | High | Nutty crunch layer | +Cohesive bite |
| 2 | Almonds | ★★★★☆ (4/5) | Medium-High | Balanced texture | +Clean, crisp finish |
| 3 | Walnuts | ★★★☆☆ (3/5) | High | Deep flavor base | +Robust, earthy notes |
| 4 | Hazelnuts | ★★★☆☆ (3/5) | Very High | Aromatic topping | +Warm, toasted perfume |
| 5 | Cashews | ★★★☆☆ (3/5) | Medium | Softer, buttery crunch | +Creamy mouthfeel lift |
| 6 | Mixed “Nut & Seed” Blends | ★★☆☆☆ (2/5) | Variable | Use with caution | -Crunch consistency |
| 7 | Macadamias | ★★★☆☆ (3/5) | Medium-High | Rich, buttery layer | +Luxurious richness |
Prep the Nut Mixture

This is where a nutty pudding becomes truly “nutty” rather than just “nuts on top.” The blueprint is toasting + size control + (optional) sweetness in the nut layer.
1. Toast nuts lightly to enhance aroma and crispness
– Toast in a dry skillet over medium heat for 3–6 minutes, or in a 175–180°C / 350°F oven for 6–8 minutes.
– Watch for a color shift and a strong toasted smell; nuts burn quickly once the surface oils warm.
2. Chop or roughly break nuts so they distribute evenly throughout
– Aim for pieces roughly 2–6 mm (varied is good). Too fine can disappear into the pudding; too large can create hard pockets.
3. Mix nuts with a sweetener (if needed) to create the signature “nutty” layer
– Toss nuts with 1–2 tablespoons sugar (or brown sugar) and a tiny amount of melted butter (optional).
– This helps the nut layer “adhere” to itself and forms a more cohesive crunchy top during baking.
Why this works (the analytical view): toasted nuts lose some moisture and become more brittle, so they hold crunch even when surrounded by warm custard. Even distribution prevents the dessert from being crunchy in only one bite and soft in the next.
Make the Pudding Base

A custardy center is all about smooth mixing and controlled thickening. If your base is lumpy or thin, the final texture will drift—and no nut layer can compensate for poor custard structure.
1. Whisk wet ingredients thoroughly to prevent lumps
– Whisk eggs + sugar until glossy.
– Add milk gradually.
– If using flour or cornstarch as a thickener, whisk it into the milk first to ensure it dissolves evenly.
2. Cook or mix until the base thickens to a pourable, smooth consistency
– For a classic stovetop approach: cook over medium heat, stirring constantly, until it thickens like thin custard.
– You should be able to pour it without it being runny.
3. Stir in vanilla (and any spices) for a warm, dessert-like flavor
– Add vanilla extract off the heat to protect aroma.
– Optional: a pinch of nutmeg or cinnamon for warmth. Keep spices subtle—nuts already bring strong flavor.
Texture control tip:
If your base coats the back of a spoon and leaves a clean line when you draw a finger through it, you’re close. Over-thickening can lead to a dense dessert; under-thickening can make it too loose.
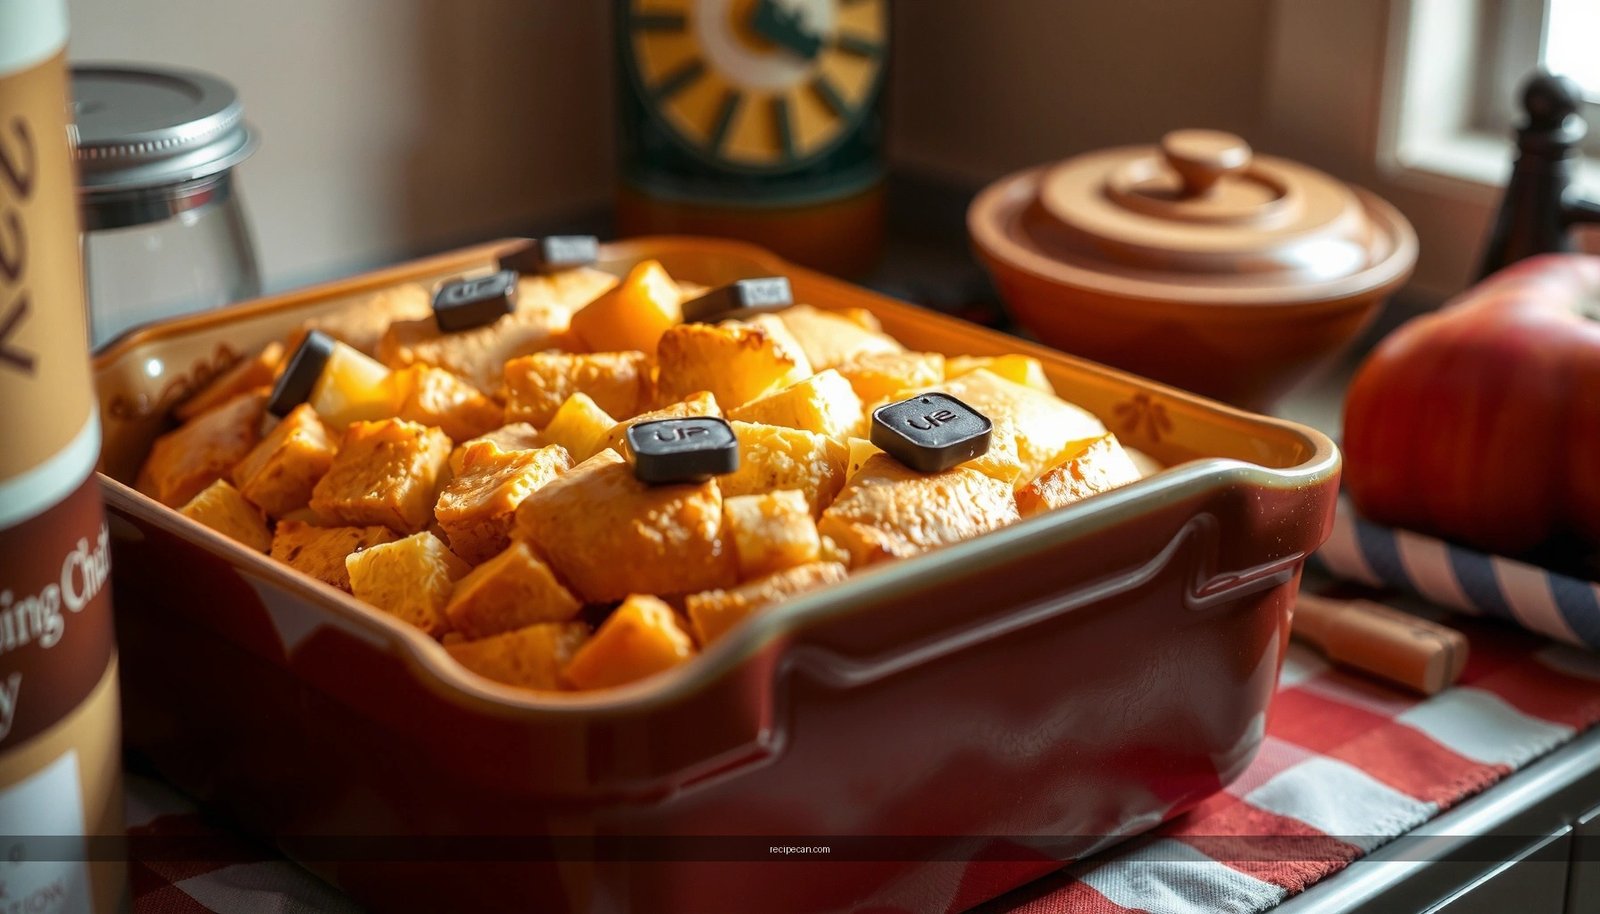
Assemble and Layer for Best Texture
Layering is the blueprint’s “system”—it determines how the nut crunch interacts with the custard during baking.
– Spread the nut mixture in the bottom (or fold in, depending on your blueprint)
– Bottom-layer nutting is ideal if you want a crunchy “belt” and visually distinct texture.
– Fold-in nutting is better if you prefer consistent nut presence without a single crunchy band.
– Pour pudding base over nuts so it bakes into a cohesive dessert
– Pour gently to avoid dislodging the nuts.
– Tap the pan lightly to settle any trapped air.
– Smooth the top so it bakes evenly and sets cleanly
– A level surface helps prevent over-browned edges and under-set centers.
Recommended pan choice (practical):
A 20–23 cm / 8–9 inch baking dish works well for this blueprint. Smaller dishes produce thicker layers (longer bake, higher risk of over-browning); larger dishes can make pudding too thin to set nicely.
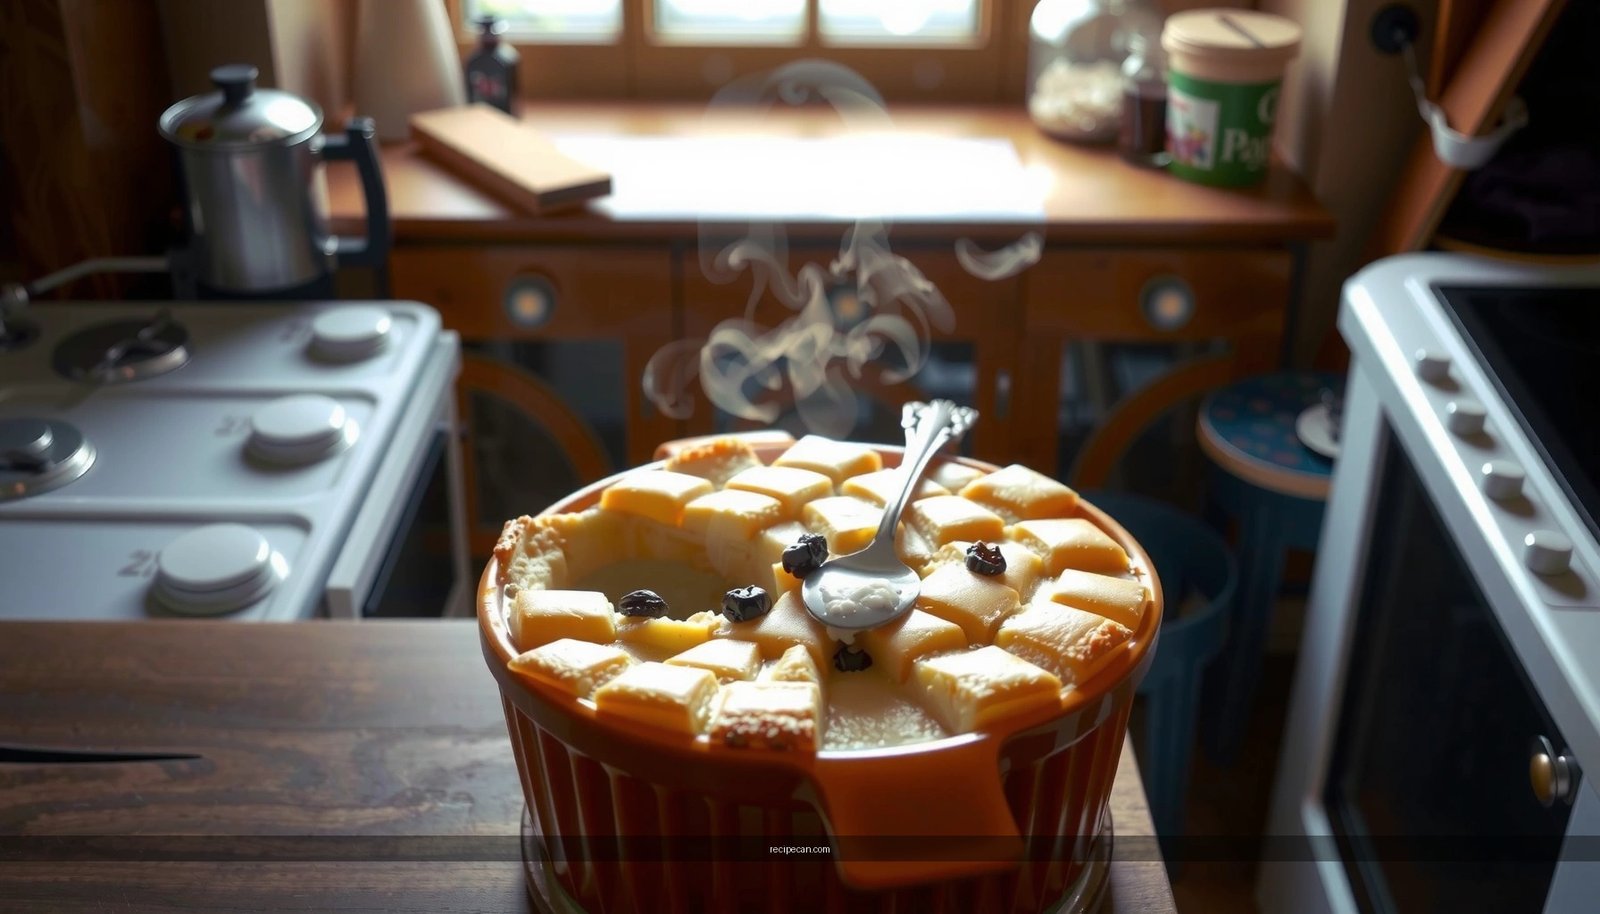
Baking Instructions and Doneness Checks
Baking is where you convert ingredients into structure. The blueprint is not “bake until fully firm”—it’s “bake until set but still alive.”
– Bake at a steady temperature until the center is set but still slightly jiggly
– A dependable target is 160–175°C (325–350°F), typically 35–50 minutes depending on pan depth.
– The custard should jiggle like set gelatin, not slosh like liquid.
– Check doneness by lightly shaking the dish—edges should be firm
– You’re aiming for:
– Edges: set, minimal wobble
– Center: gentle wobble (about 2–3 cm wide zone)
– Let it cool to finish setting and prevent a loose texture
– Cool at room temperature first, then chill if you want firmer slices.
– Cooling completes the custard set as residual heat redistributes.
Common failure modes (and fixes):
– Runny pudding: bake 5–10 minutes more next time; also verify your thickener (flour/cornstarch) is accurate.
– Dry, over-set pudding: pull earlier; next time reduce bake time by 5–8 minutes.
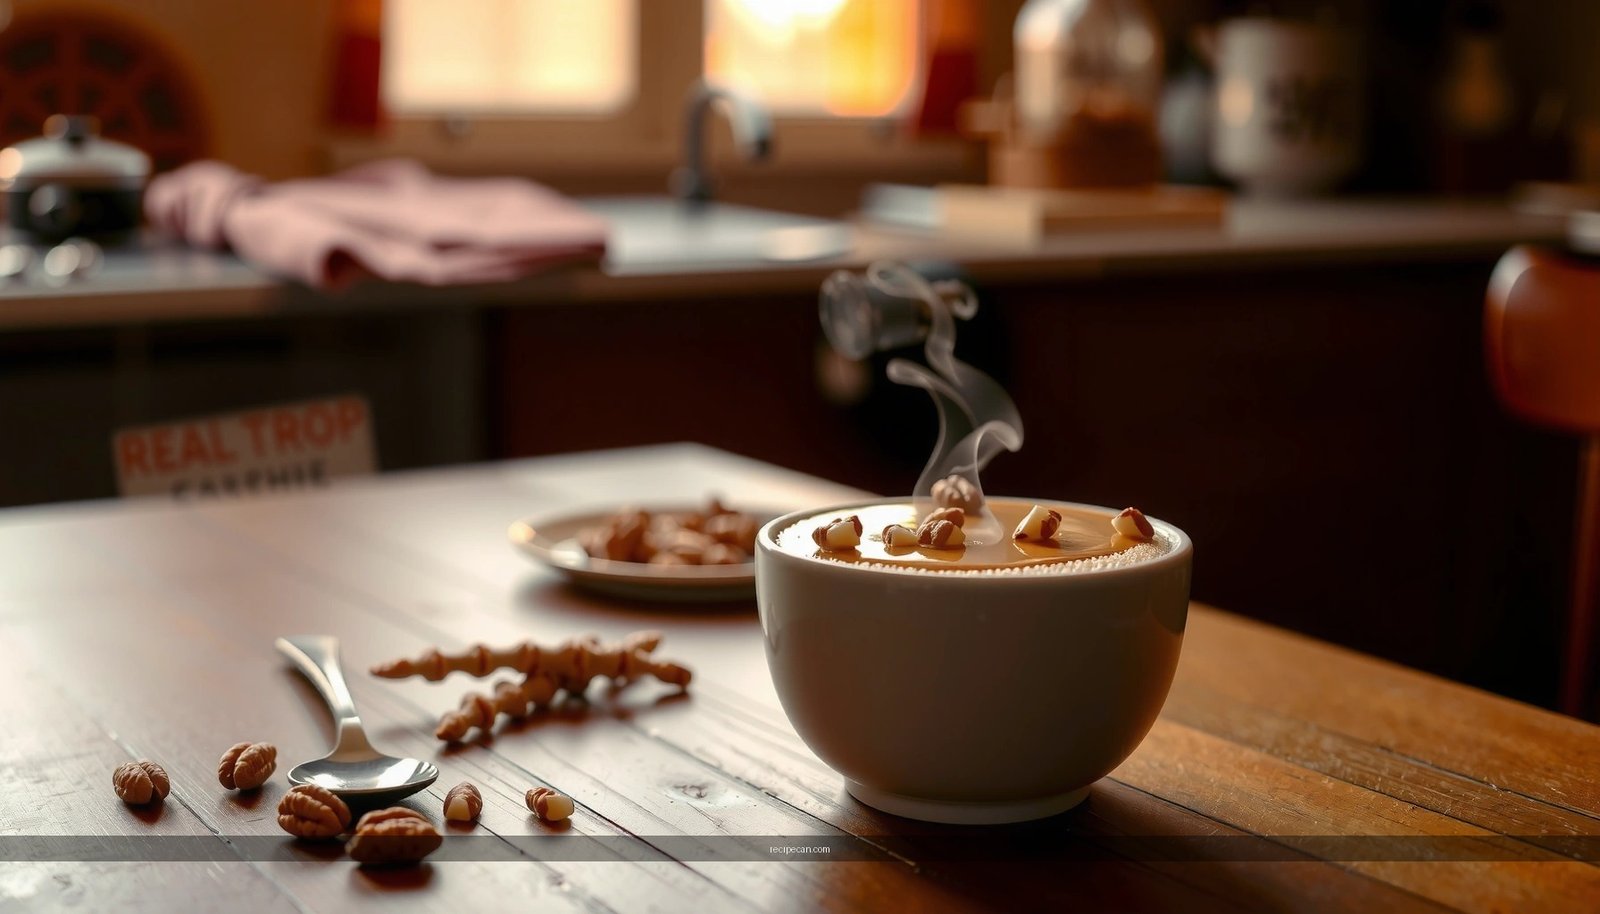
Serving and Storage Tips
A blueprint recipe should be easy to execute in real life—including serving timing and storage, which affect texture significantly.
– Serve warm with extra nuts or a drizzle of sauce if desired
– Warm nutty pudding tastes “fresh”—the custard is more aromatic and the nut crunch is most noticeable.
– Chill for firmer slices if you prefer a denser pudding
– Refrigeration firms the custard and makes clean slices possible.
– If your audience prefers a softer slice, serve after cooling only to room temperature.
– Store covered in the fridge and rewarm gently to refresh the texture
– Cover and refrigerate up to 3–4 days.
– Rewarm at low heat (around 150–160°C / 300–320°F for 10–15 minutes) to avoid re-solidifying the custard into an overly firm mass.
Serving ideas that align with the blueprint:
– Fresh fruit (especially berries) for acidity contrast
– Caramel or honey drizzle for sweetness rounding
– A spoonful of crème fraîche or lightly sweetened whipped cream for added richness
If you’re baking for a group, label your serving approach: “warm for custard softness” vs. “chilled for slice stability.” That way, expectations match the texture.
A blueprint nutty pudding recipe works because it focuses on consistent measurements, a properly toasted nut layer, and baking until the pudding is just set. Use the method above once as written—toast, layer, bake to a gentle jiggle—and then adjust only one variable at a time (nut mix for crunch, sugar level for sweetness, or bake time for firmness). Start now by toasting your nuts and following the base steps for the best results, and you’ll quickly develop a repeatable nutty pudding workflow you can rely on for everyday desserts or special occasions.
Frequently Asked Questions
What is a blueprint nutty pudding recipe, and what does it typically include?
A blueprint nutty pudding recipe is a structured dessert plan that uses a base custard or pudding base plus chopped nuts for texture and flavor. Most versions include dairy (milk or cream), sugar, eggs (for custard-style pudding), a thickener like cornstarch, and nutty additions such as walnuts, pecans, almonds, or mixed nuts. Some recipes also add vanilla, cinnamon, and a hint of salt to balance sweetness.
How do you make a nutty pudding that sets properly (not runny or too firm)?
To get the right set, follow the blueprint ratios and cook the pudding until it reaches a thick, “coating the back of a spoon” consistency. If you’re using cornstarch, whisk it fully into cold milk first to prevent lumps, then heat steadily without boiling aggressively. After cooking, cover the surface with a thin layer of parchment or plastic wrap to reduce skin, and chill until fully firm.
Why do nuts sink to the bottom in nutty pudding, and how can you prevent it?
Nuts often sink because they’re heavier than the pudding base and the mixture isn’t thick enough when they’re added. To prevent this, toast the nuts lightly for better flavor and to reduce excess moisture, then stir them in only after the pudding has slightly thickened off the heat. You can also reserve a portion of nuts to fold in gently near the end for more even distribution.
What is the best way to flavor a blueprint nutty pudding—vanilla, cinnamon, or chocolate?
The best flavor choice depends on the nut mix and desired profile: vanilla and cinnamon pair especially well with walnuts, pecans, and almonds for a warm, classic nutty pudding. For a richer option, chocolate (cocoa powder or melted chocolate) complements darker nuts like walnuts and adds depth without overpowering the custard. Use small amounts first and taste the base carefully—nutty pudding can become overly sweet if you’re not careful with add-ins.
Which nuts work best in a blueprint nutty pudding recipe, and should you chop them or keep them whole?
Chopped nuts work best because they distribute evenly throughout the nutty pudding and create consistent bites in every spoonful. Pecans and walnuts give a bold, buttery flavor, while almonds add a lighter crunch; mixing two or three nuts often produces the most balanced texture. Toasting nuts briefly before folding them into the pudding improves aroma and helps them stay crispier after chilling.
References
- Pudding
https://en.wikipedia.org/wiki/Pudding - Bread pudding
https://en.wikipedia.org/wiki/Bread_pudding - Rice pudding
https://en.wikipedia.org/wiki/Rice_pudding - https://en.wikipedia.org/wiki/Custard_(food
https://en.wikipedia.org/wiki/Custard_(food - https://en.wikipedia.org/wiki/Steamed_pudding
https://en.wikipedia.org/wiki/Steamed_pudding - Christmas pudding
https://en.wikipedia.org/wiki/Christmas_pudding - Pudding | Definition, Types, & Ingredients | Britannica
https://www.britannica.com/topic/pudding - Google Scholar Google Scholar
https://scholar.google.com/scholar?q=blueprint+nutty+pudding+recipe - Google Scholar Google Scholar
https://scholar.google.com/scholar?q=nutty+pudding+recipe+nuts+custard - Google Scholar Google Scholar
https://scholar.google.com/scholar?q=bread+pudding+nuts+recipe+study