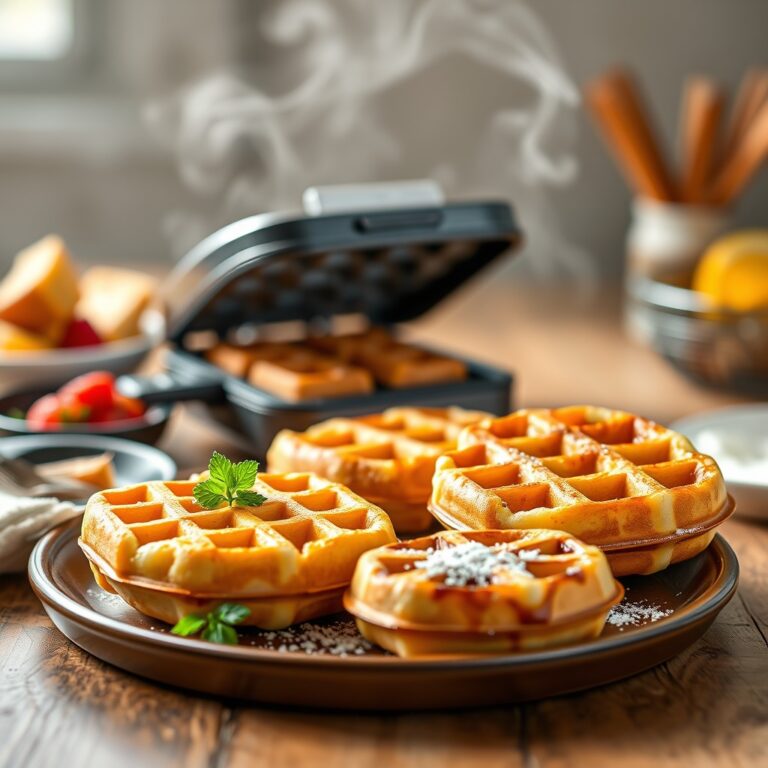
To make perfect Betty Crocker waffles, start by gathering your ingredients—2 cups flour, 1 3/4 cups milk, and 2 eggs—and mixing them until just combined. Preheat and lightly grease your waffle iron, then pour in the batter without overloading. Close the lid and wait for 4-5 minutes until your waffles are golden and crispy. Serve with classic toppings like butter and syrup or get creative! Stick around, and you’ll discover tips to make them next-level delicious.
Ingredients and Quantity
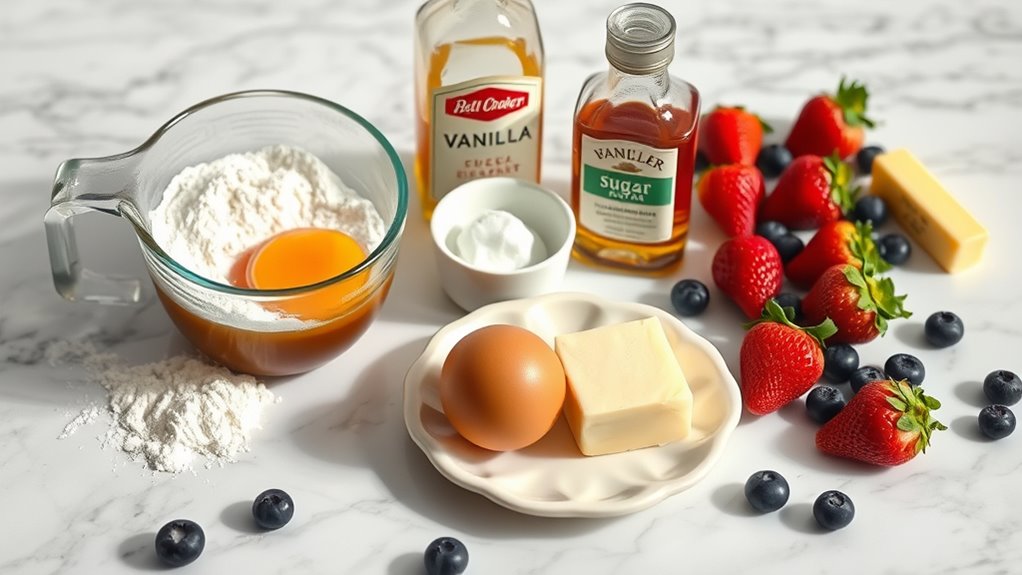
Getting your ingredients right is the first step to nailing Betty Crocker’s waffle recipe. You want to keep things simple but flexible—because freedom in the kitchen means playing with waffle variations and ingredient substitutions. Here’s a quick look at what you’ll need to get started:
| Ingredient | Quantity | Possible Substitutions |
|---|---|---|
| All-purpose flour | 2 cups | Whole wheat, gluten-free |
| Milk | 1 3/4 cups | Almond milk, oat milk |
| Eggs | 2 large | Flaxseed egg, applesauce |
Preparations
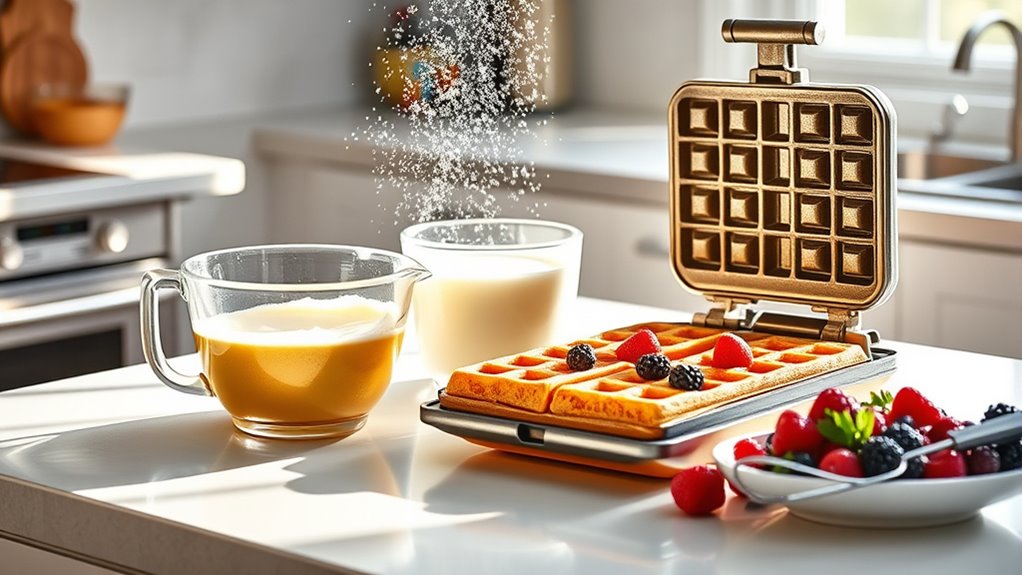
Before you plunge into mixing, make certain you’ve got all your tools and ingredients ready to go. This prep step sets the tone for your waffle adventure. Measure your waffle batter ingredients precisely—too much or too little can throw off the texture. Whisk everything until smooth but don’t overdo it; a few lumps won’t hurt. When it comes to cooking techniques, preheat your waffle iron fully to guarantee even browning and that perfect crispy edge. Lightly grease it to prevent sticking but avoid excess oil that can make waffles greasy. Keep your batter at room temperature for fluffier results. Once you start pouring, resist the urge to overfill—let the batter spread naturally. These prep moves make the difference between just okay waffles and ones you’ll crave again and again.
Tools / Kitchenware Required
With your ingredients measured and batter prepped just right, the next step is to gather the right tools and kitchenware that’ll make your waffle-making smooth and enjoyable. You’ll definitely need a trusty waffle maker to get those golden, crispy edges. Don’t forget a couple of mixing bowls to whisk your batter effortlessly. Plus, simple tools like a spatula and measuring cups will keep things tidy and precise. Here’s a quick glance at what you’ll want nearby:
| Tool | Purpose | Tip |
|---|---|---|
| Waffle Maker | Crispy, evenly cooked waffles | Preheat before pouring batter |
| Mixing Bowls | Combine and mix ingredients | Use different sizes for ease |
| Spatula | Flip and remove waffles | Silicone ones avoid scratches |
With these, you’re all set to waffle like a pro!
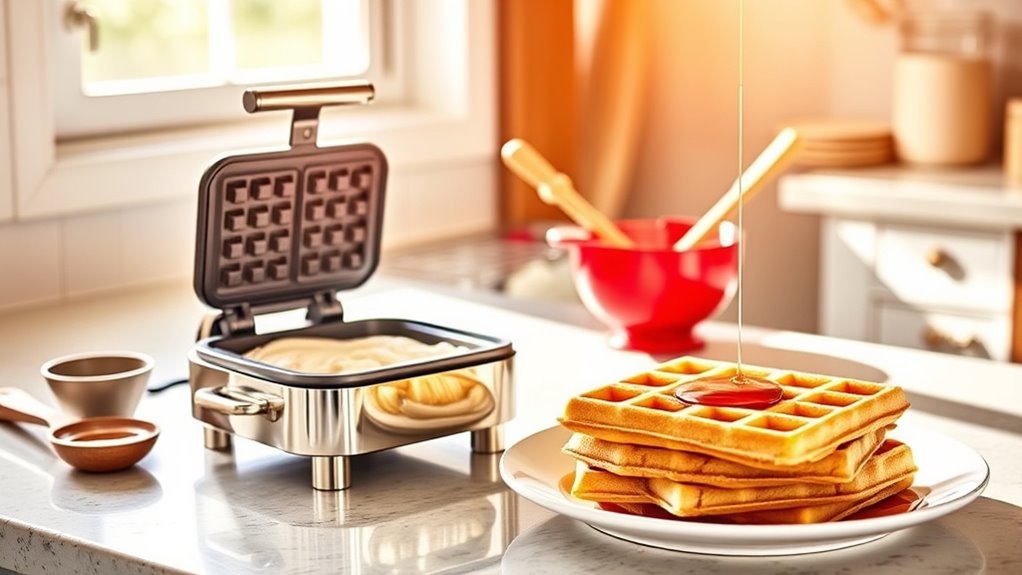
How to Cook
- Preheat your waffle maker fully before starting.
- Prepare your waffle batter according to your recipe.
- Pour the right amount of batter into the waffle maker:
- Avoid overloading to prevent batter from spilling.
- Avoid using too little to prevent thin waffles.
- If needed, gently spread the batter evenly with a spatula.
- Close the lid and avoid opening it during cooking to ensure even cooking and crispiness.
- Wait for the waffle maker’s signal, or cook for about 4-5 minutes until steam decreases.
- When done, carefully open the lid.
- Use a non-metal tool to release the waffle without damaging the surface.
- Enjoy your perfectly cooked, golden waffles!
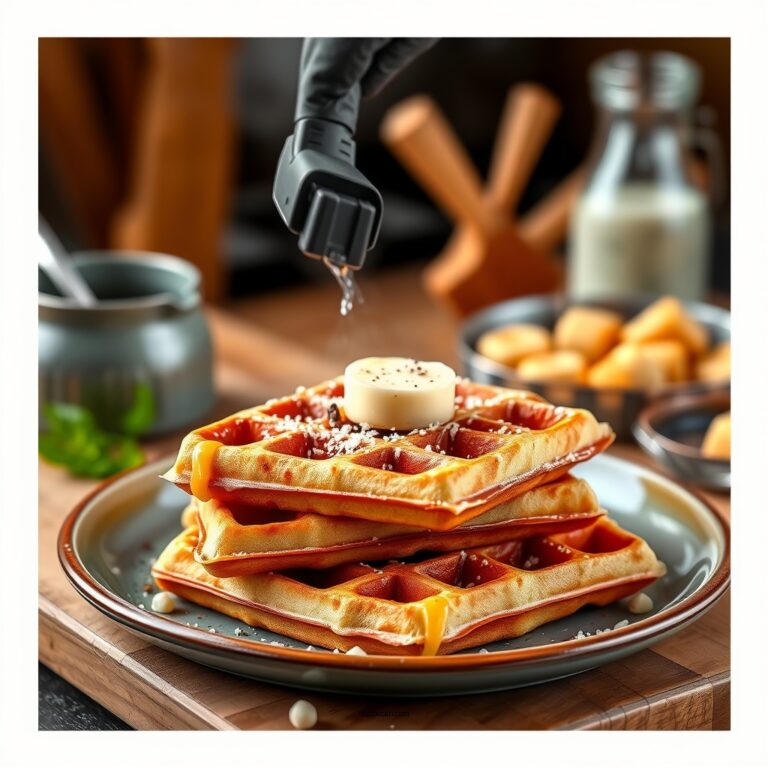
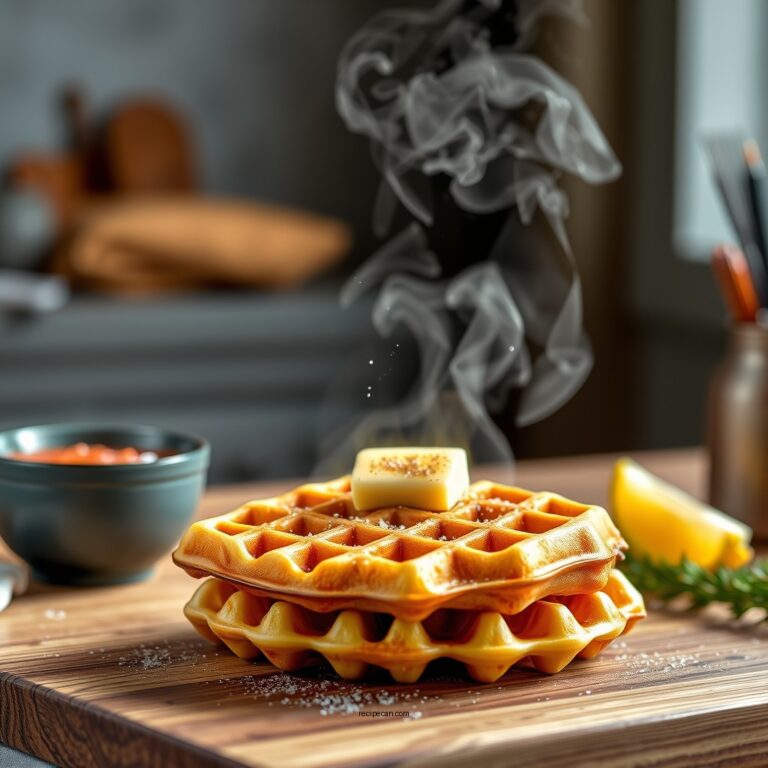
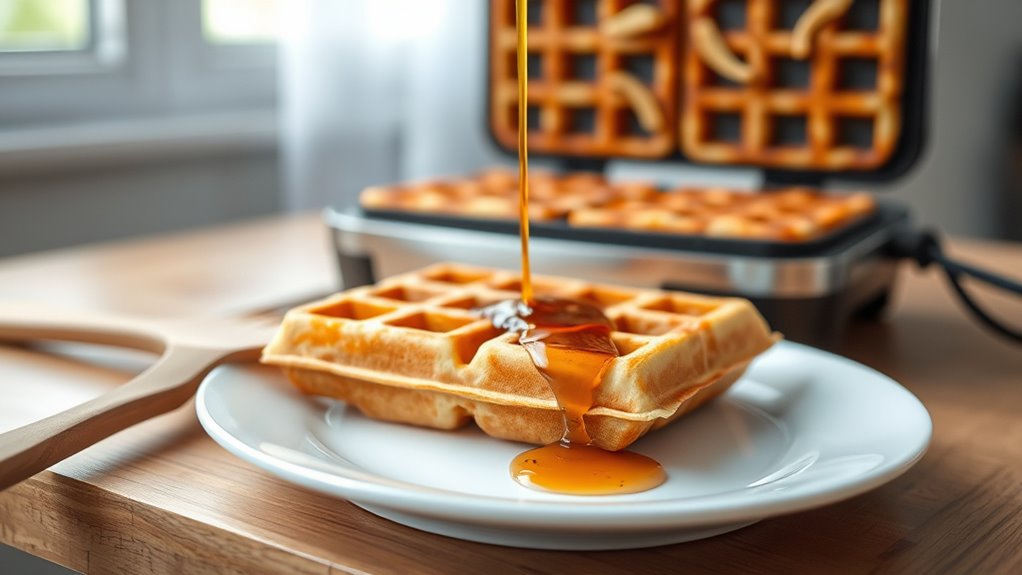
How to Serve

After you’ve cooked your waffle to golden perfection, it’s time to think about how you’ll serve it up. You’ve got endless freedom here—go classic with butter and maple syrup or mix it up with fresh berries, whipped cream, or even a drizzle of chocolate. For topping suggestions, consider nuts or a sprinkle of powdered sugar to add texture and flair. Serving styles vary too: stack waffles high for a bold breakfast statement, or keep it simple with a single waffle topped just right. Feeling adventurous? Try savory toppings like fried chicken or avocado for a twist. Whatever you pick, serving your waffle is your chance to get creative and make breakfast truly yours. So, embrace the freedom and enjoy every bite exactly how you want it!
Tips
Even if you’re new to waffle making, a few simple tips can make all the difference between a good waffle and a great one. First, don’t rush the cooking—perfect waffles need the right balance of heat and time to get that crisp outside and fluffy inside. Experiment with your waffle iron’s settings and keep it well-greased. When it comes to waffle toppings, don’t hold back—think fresh berries, whipped cream, maple syrup, or even a sprinkle of nuts for texture. Feel free to get creative and tailor your toppings to whatever mood you’re in. Finally, try mixing your batter just enough to combine ingredients without overworking it—this little cooking technique keeps your waffles light and airy. These tips will set you free to enjoy every crispy, flavorful bite!
Food Value and Benefit
The prepared Betty Crocker waffle recipe provides a well-rounded meal that combines essential nutrients to start your day with energy and nourishment. Each serving delivers carbohydrates for immediate energy, protein from added eggs or milk to support muscle repair and growth, and healthy fats to promote satiety and sustained energy release.
Food Value:
- Rich in carbohydrates for quick and sustained energy
- Contains protein from eggs and milk, aiding muscle maintenance
- Includes healthy fats for prolonged fullness
- Can be enriched with fruits, nuts, or seeds to increase fiber, vitamins, and minerals
Vitamins and Minerals:
- Vitamin B complex (from flour and eggs), which supports metabolism and energy production
- Calcium (from milk), essential for bone health
- Iron (from enriched flour), important for oxygen transport in the blood
- Potassium (from added fruits or nuts), which helps maintain healthy blood pressure levels
Benefits of Eating This Recipe:
- Provides a balanced source of macronutrients to fuel your day effectively
- Supports muscle repair and growth through quality protein
- Enhances satiety, reducing mid-morning hunger and snacking
- Offers flexibility to boost nutrient density by adding fresh fruits and nuts
- Supplies key vitamins and minerals that contribute to overall health and well-being
Enjoying these waffles as part of your breakfast routine is a delicious and functional way to nourish your body while satisfying your taste buds.
Frequently Asked Questions
Can I Use Gluten-Free Betty Crocker Waffle Mix?
Yes, you can totally use gluten-free Betty Crocker waffle mix! Just keep in mind, gluten free options sometimes need a bit more love when mixing—try not to overmix the batter to keep those waffles light and fluffy. Adding a splash of milk or a touch of oil can help improve texture too. You’ll enjoy freedom from gluten without sacrificing that crispy, golden waffle goodness you crave!
How Long Can Leftover Waffles Be Stored?
They say, “Waste not, want not,” and when it comes to waffle storage, that couldn’t be truer. You can store your leftover waffles in the fridge for up to 3 days, or freeze them for 1-2 months to keep that crispy goodness intact. When you’re ready, just toast or reheat them for quick, delicious leftover recipes. It’s all about preserving that freedom to enjoy waffles anytime you want!
Are Betty Crocker Waffles Suitable for Freezing?
You bet, Betty Crocker waffles are great for freezing waffles! Just let them cool completely, then pop them in a freezer-safe bag or container. When you’re ready to enjoy, reheat them in a toaster or oven for that crispy, fresh-from-the-iron feel. Avoid the microwave if you want to keep them crispy—reheating tips like these help you savor your waffles whenever you want without losing that perfect texture. Easy freedom!
Can I Substitute Milk With a Non-Dairy Alternative?
Absolutely, you can swap out milk for dairy alternatives like almond, soy, or oat milk! Imagine the warm aroma of waffles filling your kitchen, with that golden crispness and fluffy inside you love. Using dairy alternatives won’t mess with your waffle texture much—they keep things light and tender. So go ahead, choose your favorite non-dairy milk and enjoy freedom from dairy without sacrificing deliciousness or that perfect waffle crunch!
What Is the Shelf Life of an Unopened Mix Box?
You’ll find that the shelf life of an unopened mix box usually lasts about 12 to 18 months from the date it’s made. Just keep it stored in a cool, dry place, and it’ll stay fresh and ready whenever you’re craving waffles. So, no rush—grab your freedom to whip up delicious waffles whenever, knowing your mix is good to go well into the future!
References
- https://www.wikihow.com/Make-Waffles
- https://www.npr.org/sections/food/2018/04/26/604975985/the-secret-to-making-perfect-waffles
- https://www.extension.iastate.edu/foodsafety/food-safety-tips-waffles
- https://www.cdc.gov/foodsafety/communication/fact-sheets/waffles.html
- https://www.seriouseats.com/how-to-make-waffles-5111324
- https://www.foodsafety.gov/food-safety-charts/waffles
- https://www.tasteofhome.com/recipes/waffles/
- https://www.bbcgoodfood.com/recipes/waffles
- https://www.thekitchn.com/how-to-make-perfect-waffles-221694
- https://www.cookinglight.com/recipes/perfect-waffles