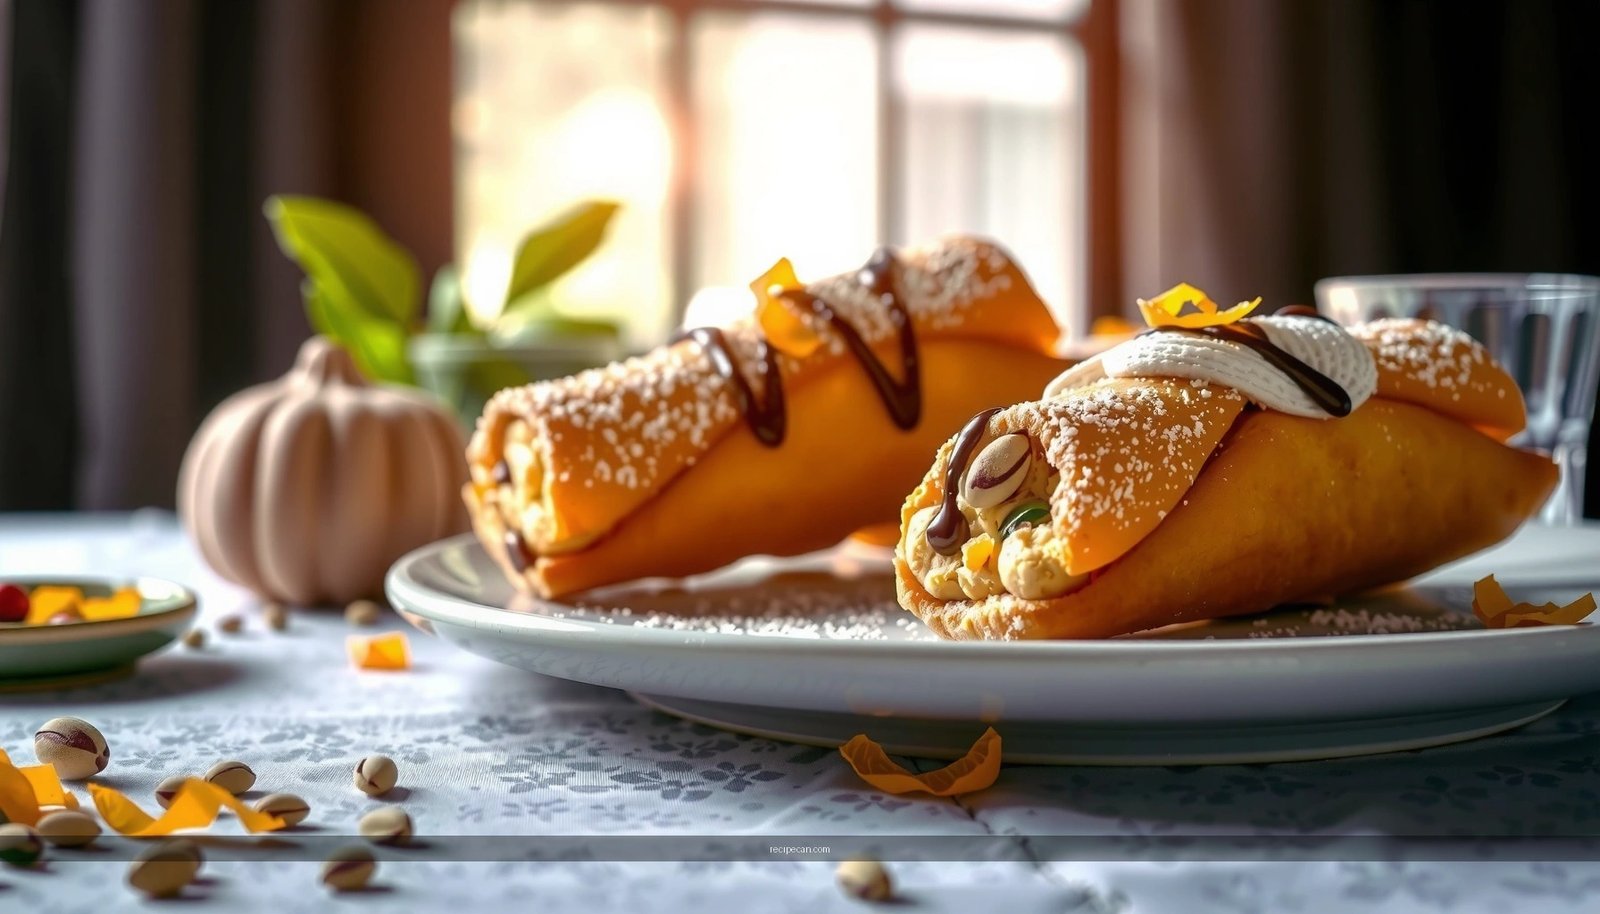
Looking for the best cannoli cookies recipe that delivers crispy edges and a sweet, classic cannoli-style filling? This guide gives you a single, proven method with clear steps for achieving the right crunch, rich flavor, and clean shapes every time. You’ll know exactly what to do to make cannoli cookies that look impressive, taste authentic, and come together easily.
The best cannoli cookies recipe delivers crisp, golden edges with a creamy ricotta-style filling that tastes unmistakably like classic cannoli—without requiring professional pastry skills. Use well-drained ricotta (or a ricotta substitute prepared correctly), shape the dough to the same thickness every time, and assemble right before serving so the cookies stay crisp and never turn soggy.
In other words: the “secret” isn’t one exotic ingredient—it’s control. Control the moisture in the filling, the thickness of the dough, and the timing of assembly. Do that, and you’ll get cookies that are crunchy, sweet, and reliably consistent whether you’re baking for a family gathering or prepping a dessert table.
What You Need for the Best Cannoli Cookies

To make cannoli cookies, you’re essentially building two components: (1) a sturdy, crisp cookie dough and (2) a ricotta-style filling that holds its flavor and texture. Below is a practical ingredient list with optional add-ins that enhance classic cannoli notes (chocolate, citrus, and warm spice).
Cookie Dough (key for crispness)
– All-purpose flour (structure; helps the dough bake crisp rather than cakey)
– Granulated sugar (for sweetness and caramelization)
– Butter (cold butter creates crisp layers and better bite)
– Egg (binds and supports structure)
– Milk or water (a splash only, if needed for workable dough)
– Baking powder (gentle lift; use modest amounts to avoid soft cookies)
– Salt (balances sweetness and makes flavors taste “restaurant-level”)
Flavor Base (cannoli character)
– Vanilla extract (a classic pastry flavor anchor)
– Ground cinnamon (optional but traditional in many cannoli-inspired desserts)
– Orange or lemon zest (brightens the filling and makes the flavor “pop”)
– Mini chocolate chips (optional but strongly recommended for cannoli authenticity)
Filling (ricotta-style, not runny)
– Ricotta cheese (or part-skim ricotta; whole milk versions feel richer)
– Powdered sugar (smooth sweetness and easy mixing)
– Vanilla extract
– Citrus zest (orange and/or lemon)
– Cinnamon (optional, but great)
– Mini chocolate chips (optional, for the cannoli “dots”)
> Practical note: For the best cannoli cookies, the single most important “ingredient quality” factor is ricotta moisture. Even great dough can lose crispness if the filling is too wet.
Key Baking Targets for Crisp Cannoli Cookies (Best-Result Ranges)
| # | Baking Factor | Target | Why It Matters | Outcome |
|---|---|---|---|---|
| 1 | Ricotta drain time | 20–45 min | Reduces seepage and sogginess | ★ ★ ★ ★ ★ |
| 2 | Cookie dough thickness | 3–5 mm | Balances crispness and hold | ★ ★ ★ ★ ★ |
| 3 | Bake temperature | 350°F / 177°C | Even browning without drying out | ★ ★ ★ ★ ★ |
| 4 | Total bake time | 10–13 min | Stops before cookies soften | ★ ★ ★ ★ ★ |
| 5 | Cooling before filling | Fully cooled | Prevents condensation and melt | ★ ★ ★ ★ ★ |
| 6 | Filling rest time (after mixing) | 10–20 min | Lets flavors meld and thickens slightly | ★ ★ ★ ★ ★ |
| 7 | Assembly timing for crispness | Serve within 2 hours | Minimizes cookie-softening | ★ ★ ★ ★ ★ |
How to Make the Cannoli Cookie Dough

Great cannoli cookies start with a dough that bakes into crisp, self-supporting shells. The goal is a cookie that can hold a dollop of filling without collapsing.
Step-by-step mixing and shaping
1. Cream butter and sugar until smooth and slightly lighter in color. This step helps distribute fat evenly for a crisp bite.
2. Add the egg and vanilla, mixing just until combined. Overmixing can toughen dough and reduce tenderness where you want crispness.
3. Whisk dry ingredients separately (flour, baking powder, salt, and any spices). This ensures consistent leavening.
4. Combine wet and dry, mixing until the dough is cohesive. If the dough feels sticky, add 1–2 tablespoons flour gradually (don’t dump all at once).
5. Chill the dough for 20–30 minutes. Chilling firms the butter, improving shape retention and browning.
6. Roll to 3–5 mm thickness and cut shapes (rounds or rectangles both work). Keep your thickness uniform for even baking.
7. Arrange on parchment-lined trays with spacing for airflow.
Key tips for crisp edges and right thickness
– Don’t use too-thick dough. Thick cookies bake longer and can brown on the outside while staying soft at the center.
– Docking is optional. Lightly pricking with a fork can reduce puffing and help cookies bake flatter (especially if your baking powder is active).
– Watch the color, not just the timer. Cannoli cookies should bake until edges are lightly golden—then pull them for carryover crisping.
– Use cool trays between batches. Warm metal can over-brown the next batch before the center sets.
If you want the most “cannoli shell” vibe, consider shaping cookies slightly thicker at the center (like a shallow dome) and thinner at the edges. That geometry helps the cookie remain crisp while giving you a receptacle for filling.
Make the Creamy Cannoli Filling

A classic cannoli flavor depends on ricotta’s texture: creamy, lightly sweet, and not watery. The filling should pipe or spoon easily while holding shape.
How to prepare ricotta (and drain it properly)
1. Drain ricotta in a fine-mesh sieve lined with cheesecloth or paper towels.
2. Refrigerate while draining (preferred) for 20–45 minutes. If your ricotta is very wet, drain longer.
3. Press out excess moisture gently. You want creamy ricotta, not dry crumbly cheese.
4. Mix in powdered sugar slowly to avoid lumps.
5. Fold in flavorings and chocolate chips last to prevent overmixing.
Why this matters: watery filling migrates into the cookie, causing softening and surface shine that can look underbaked.
Best flavor boosters: vanilla, cinnamon, and citrus zest
– Vanilla extract adds pastry-like depth; use a modest amount so it complements rather than overwhelms.
– Cinnamon provides warmth and authenticity—especially if you remember cannoli’s often-spiced profile.
– Orange or lemon zest brightens the whole dessert. Citrus zest also offsets the richness of ricotta and butter in the cookie.
Professional tip: microplane zest directly into the filling. Avoid zest from a zester that includes too much pith; the bitter edge can dull cannoli flavor.
Assemble and Fill Without Mess
Assembling is where you get the “wow” factor—but it’s also where cookies can become messy or soggy if handled incorrectly. The goal is clean, even filling that stays put.
How to pipe or spoon filling evenly into the cookies
– Use a piping bag (or a zip-top bag with a corner snipped) for consistent dollops.
– Or spoon filling into the center and gently press outward to create a neat perimeter.
– Aim for a thin ring or central mound, depending on cookie shape. Overfilling increases leakage and softening.
Simple tricks to keep the filling from leaking
– Fill only cooled cookies. Warm cookies trap moisture and melt the filling’s structure.
– Let the filling rest 10–20 minutes after mixing. It thickens slightly and holds shape better.
– Leave a cookie “rim.” If your dough forms a raised edge, keep filling away from the outer perimeter to reduce ooze.
– Stabilize with texture. If your filling looks loose after draining, add 1–2 tablespoons extra powdered sugar or fold in a small amount of finely crumbled drained ricotta—incrementally, taste-testing as you go.
If you’re serving at an event, consider assembling in two stages: bake and cool cookies ahead, then fill close to serving time. This approach protects the crispness while still looking abundant.
Baking Tips for Perfect Color and Texture
Cannoli cookies should be crisp, sweet, and golden—never pale, and never overbaked to the point of bitterness. Texture is also a timing game.
Recommended bake time and how to tell when they’re done
– Typical bake time: 10–13 minutes at 350°F / 177°C
– Visual cues:
– Edges turn light golden brown
– Centers look set, not glossy
– Bottoms show gentle browning without dark spots
Because ovens vary, use color as your primary indicator. If your cookies are consistently browning too fast, rotate the pan halfway through.
Cooling guidance so cookies stay crisp and not soggy
– Cool on the tray for 3–5 minutes, then transfer to a rack.
– Fully cool before filling. Even slight warmth can cause condensation.
– Avoid covering the cookies with a lid or plastic wrap during cooling; trapped steam softens crisp surfaces.
If you’re prepping for a party, store baked cookies separately from the filling (or fill only right before serving). This single workflow change solves most “why did they get soft?” complaints.
Storage, Freezing, and Serving Ideas
Proper storage is what keeps your cannoli cookies from losing their crisp edge and flavor integrity.How to store cannoli cookies for maximum freshness
– Store baked cookies unfilled in an airtight container at room temperature for up to 3–4 days.
– If filled, refrigerate and plan to serve quickly. Filled cookies are best within 24 hours for optimal texture.
– To reduce moisture transfer, layer with parchment between stacks.
Make-ahead and freezing tips for easier hosting
– Make-ahead (best practice):
– Bake cookies up to 3 days in advance (unfilled).
– Mix filling 1 day ahead, keeping it covered and refrigerated.
– Assemble the same day you serve.
– Freezing:
– Freeze baked cookies (unfilled) in freezer-safe bags or containers for up to 2–3 months.
– Thaw at room temperature, then fill once fully thawed.
– Freezing filled cookies is possible, but crispness may drop due to moisture migration—so it’s better to freeze unfilled.
Serving ideas that feel “cannoli-inspired”
– Dust lightly with powdered sugar right before serving.
– Add a small side of sweetened citrus zest (very finely chopped) for a bright garnish.
– For a dessert table, serve with a bowl of extra mini chocolate chips so guests can “customize” their cannoli flavor profile.
The best cannoli cookies recipe comes down to well-drained filling, properly shaped dough, and careful assembly. Follow the steps above, taste-test the filling, and bake a batch tonight—then share your results (and any favorite add-ins) with friends or family.
Frequently Asked Questions
What are the best cannoli cookies to make at home?
The best cannoli cookies usually balance crisp cookie edges with a creamy ricotta filling that tastes like classic cannoli. Look for recipes that use mini chocolate chips (or chopped candied fruit) and include tips for draining ricotta so the filling isn’t watery. For the cookie base, a buttery dough and a short bake time help you get that signature tender-crisp texture.
How do you make cannoli cookies with the right ricotta filling consistency?
To avoid soggy cannoli cookies, drain ricotta well using cheesecloth or a fine strainer for at least 30 minutes before mixing. Add sweetener gradually and ensure the mixture is thick enough to hold a shape when piped or spooned. If the filling seems too loose, mix in a small amount of powdered sugar or use a ricotta with a lower moisture content.
Which dough method gives the best texture for cannoli cookies?
For the best cannoli cookies recipe results, start with a well-chilled cookie dough so the cookies hold their shape and bake evenly. Rolling the dough to a consistent thickness and using an offset spatula to transfer them to the tray helps prevent uneven browning. Bake until the edges are lightly golden, then cool completely so the centers set and remain crisp.
Why do my cannoli cookies taste dry or crumbly, and how can I fix it?
Dry or crumbly cannoli cookies are often caused by overbaking or too much flour, which can happen if the dough is measured too heavily. Try weighing ingredients if possible, and remove cookies when the edges look set but the centers still look slightly soft. If you’re piping filling into cookies, make sure the shells are fully cool so moisture doesn’t compromise the texture.
Best cannoli cookies recipe tips for preventing filling from leaking?
The key is assembling cannoli cookies at the right time and using a thick filling—drained ricotta and a firm ricotta mixture are essential. Use a piping bag or a small spoon to portion filling evenly, and don’t overfill the cookie centers. If you want the cleanest look, fill just before serving or store cookies and filling separately, then assemble when ready.
References
- Cannoli
https://en.wikipedia.org/wiki/Cannoli - Ricotta
https://en.wikipedia.org/wiki/Ricotta - https://www.britannica.com/topic/cannoli
https://www.britannica.com/topic/cannoli - Cannoli recipe | Good Food
https://www.bbcgoodfood.com/recipes/cannoli - https://www.theguardian.com/food/2019/feb/23/cannoli-recipe
https://www.theguardian.com/food/2019/feb/23/cannoli-recipe - https://cooking.nytimes.com/recipes/1015604-cannoli
https://cooking.nytimes.com/recipes/1015604-cannoli - Cookie
https://en.wikipedia.org/wiki/Cookie - Google Scholar Google Scholar
https://scholar.google.com/scholar?q=cannoli+cookies+recipe - Google Scholar Google Scholar
https://scholar.google.com/scholar?q=cannoli+shells+recipe+italian+pastry - Google Scholar Google Scholar
https://scholar.google.com/scholar?q=ricotta+filling+cannoli+traditional+recipe


