Get the basic tiramisu recipe you can make at home with the simplest classic steps—no fancy technique required. This guide walks you through layering espresso-soaked ladyfingers with mascarpone cream and finishing with cocoa for the unmistakable tiramisu taste. Follow these steps and you’ll get a clean, set dessert that cuts properly and tastes like the real thing.
Yes—you can make classic tiramisu at home with reliable results by using strong, slightly cooled espresso, quick-dipping the ladyfingers, and chilling long enough for the layers to set. This step-by-step basic tiramisu recipe walks you through exact measurements and the key techniques (cream texture, dip timing, and assembly) that determine whether your tiramisu tastes like the real thing—or turns soggy.
Ingredients for Basic Tiramisu

– Gather mascarpone, eggs, sugar, espresso (or strong coffee), ladyfingers, and cocoa powder
– Have vanilla and a pinch of salt optional for extra flavor
– Choose good cocoa for the final dusting
To make a “no-fuss” yet classic tiramisu, keep the ingredient list simple—but choose quality where it matters. Mascarpone should be thick and smooth (not watery). Ladyfingers should be crisp enough to hold structure after brief dipping. For espresso, use freshly brewed espresso if possible; if not, strong coffee works well, but it should taste robust on its own (tiramisu is essentially espresso + cream + cocoa).
Recommended classic pantry list (for one 8×8-inch / 20×20 cm dish; ~8 servings):
– Mascarpone: 16 oz / 450 g
– Eggs: 4 large (separate yolks and whites)
– Sugar: 3/4 cup / 150 g
– Espresso or strong coffee: 1 1/4 cups / 300 ml
– Ladyfingers: about 24–30 pieces (or 1 standard 7–8 oz / 200–225 g pack)
– Unsweetened cocoa powder: 2–4 tbsp for dusting
– Optional: 1/2 tsp vanilla extract, pinch of salt, and coffee liqueur (1–2 tbsp)
A quick note on eggs: classic recipes often use raw or lightly handled yolks. For food-safety-conscious kitchens, you can use pasteurized eggs or a pasteurized yolk/white product when available.
Tiramisu Quality Checklist: What Each Component Must Do
| # | Component | Target Texture/Flavor | Typical Mistake | Result Severity |
|---|---|---|---|---|
| 1 | Espresso/Coffee | Bold and slightly cooled (~35–45°C) | Too hot → cream loosens | Medium |
| 2 | Ladyfinger Dipping | Quick dip (≈1–2 seconds), not soaked | Over-dipping → watery layers | High |
| 3 | Mascarpone | Thick, spreadable, smooth | Cold/curdled or mixed too hard | High |
| 4 | Egg Yolks + Sugar | Creamy and slightly lighter | Under-whipped → grainy cream | Medium |
| 5 | Whipped Egg Whites | Soft peaks that hold | Over-whipped or deflated → dense layer | Medium |
| 6 | Layer Thickness | Even cream-to-biscuit ratio | Too much biscuit → dry bite | Medium |
| 7 | Chill Time | 4–6 hours minimum; overnight best | Untimed set → slice falls apart | Low to Medium |
Make the Espresso Base

– Brew strong espresso and let it cool slightly
– Keep it moist, not soggy: quick-dip each ladyfinger
– Add a splash of coffee liqueur if desired (optional)
Start with a base that has enough intensity to stand up to mascarpone. Brew espresso (or strong coffee) and let it cool until it’s warm but not hot—think “comfortable to touch” rather than steaming. When coffee is too hot, it can soften or destabilize the cream while you’re assembling.
Quick-dip technique (the difference between “classic” and “messy”):
1. Pour espresso into a shallow bowl for easy access.
2. Hold each ladyfinger horizontally.
3. Dip briefly—about 1–2 seconds per side—then let excess drip off.
4. Place immediately in the baking dish.
If you want extra depth, add 1–2 tablespoons of coffee liqueur to the espresso. Keep it restrained: the goal is to complement, not overpower. You can also replace the liqueur with an equivalent amount of strong coffee for a fully alcohol-free version.
Flavor control tip: taste your espresso before assembly. If it’s bitter, it will become aggressively bitter in tiramisu. Consider using a slightly sweeter coffee blend or adding a teaspoon of sugar to the espresso (and reduce sugar in the yolk mixture if desired).
Prepare the Mascarpone Cream

– Whisk yolks with sugar until lighter and creamy
– Fold in mascarpone until smooth
– Fold in whipped whites (or substitute with a simple method if preferred)
This cream is where professional-style tiramisu either locks in or goes off-track. Work methodically: mix yolks properly, then incorporate mascarpone gently, then lighten with whipped whites.
Step-by-step cream method
1. Whisk yolks + sugar:
In a mixing bowl, whisk 4 egg yolks with 3/4 cup (150 g) sugar until the mixture looks paler and slightly thicker—about 2–4 minutes (speed depends on your mixer).
2. Add mascarpone:
Add 16 oz / 450 g mascarpone and whisk until smooth and creamy. Scrape the bowl so no lumps remain.
3. Whip whites (for classic lift):
In a separate bowl, whip 4 egg whites (clean bowl, no yolk contamination) until you get soft peaks—the meringue should hold shape but still look glossy.
4. Fold gently:
Fold whipped whites into mascarpone mixture in 2–3 additions using a spatula. Stop when no streaks remain. Overmixing removes the airy structure that helps tiramisu set with a “silky spoon” texture.
Simple substitution (if you prefer)
If you’re avoiding raw-whites folding, you can still get structure by using pasteurized eggs or by using an already stabilized whipped cream (e.g., lightly whipped heavy cream) folded in gently. That changes the “classic” profile slightly, but it can improve reliability. The core idea remains: keep the mixture light and stable before chilling.
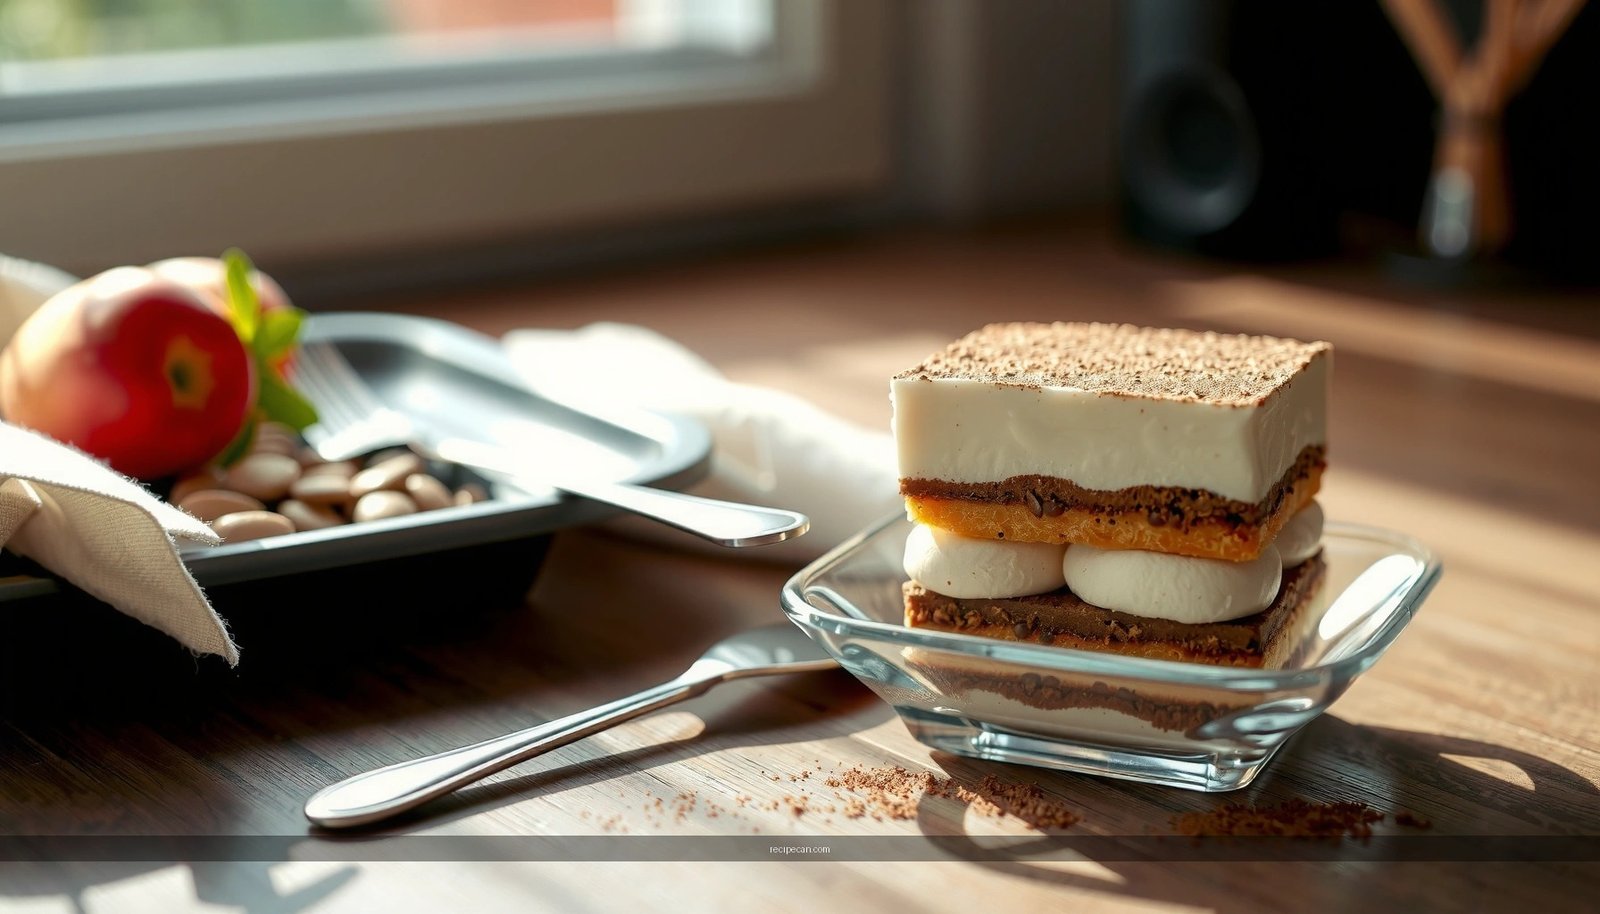
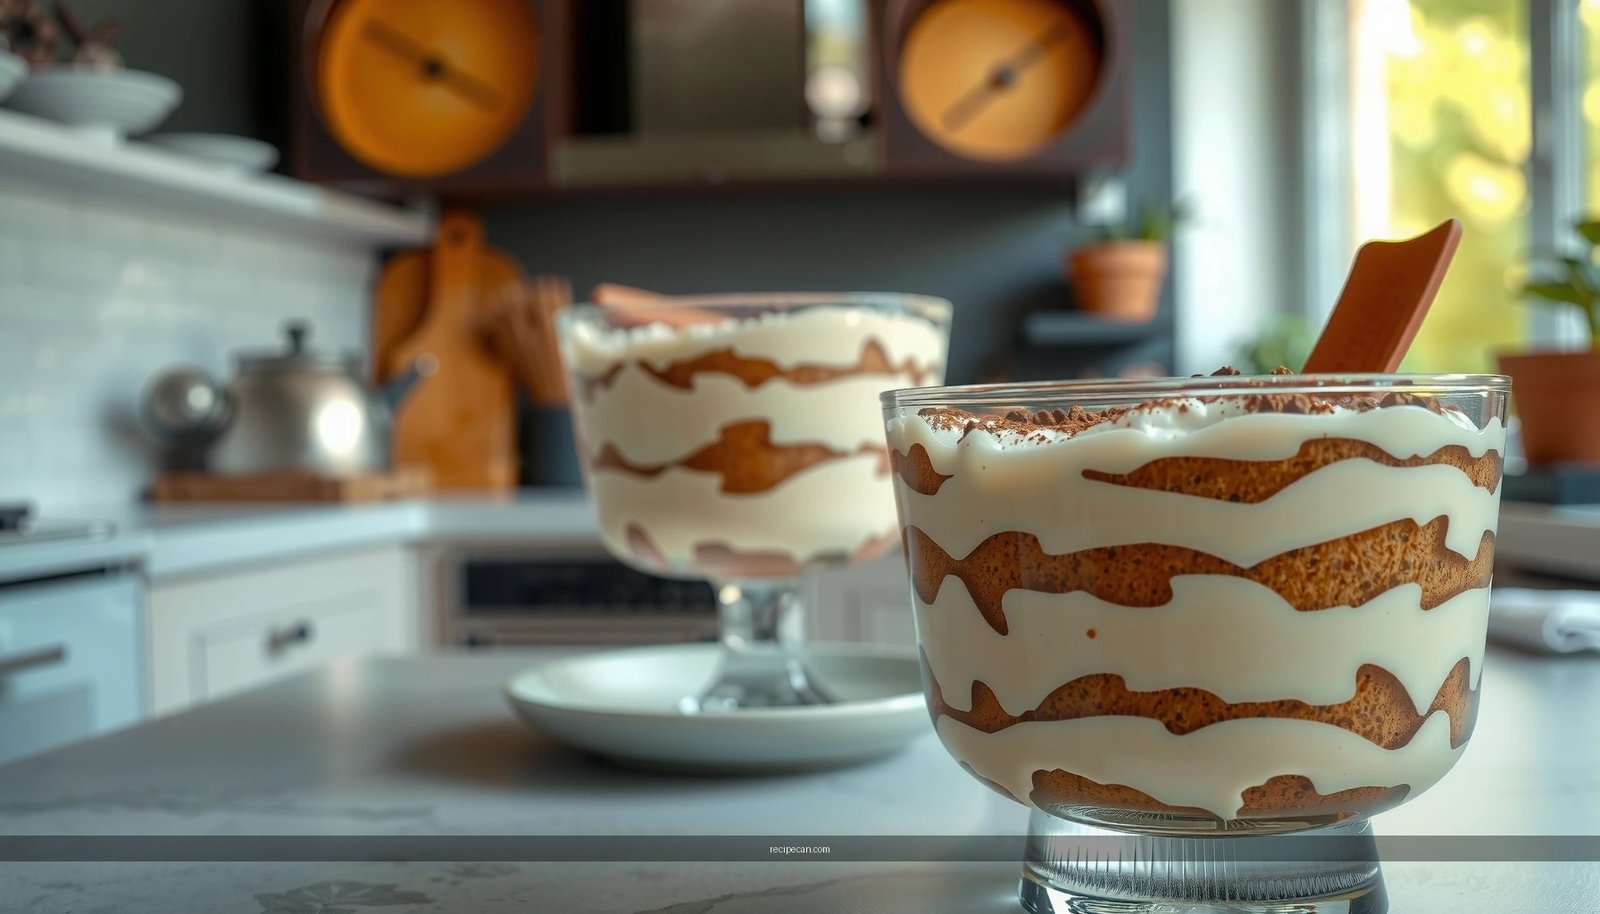
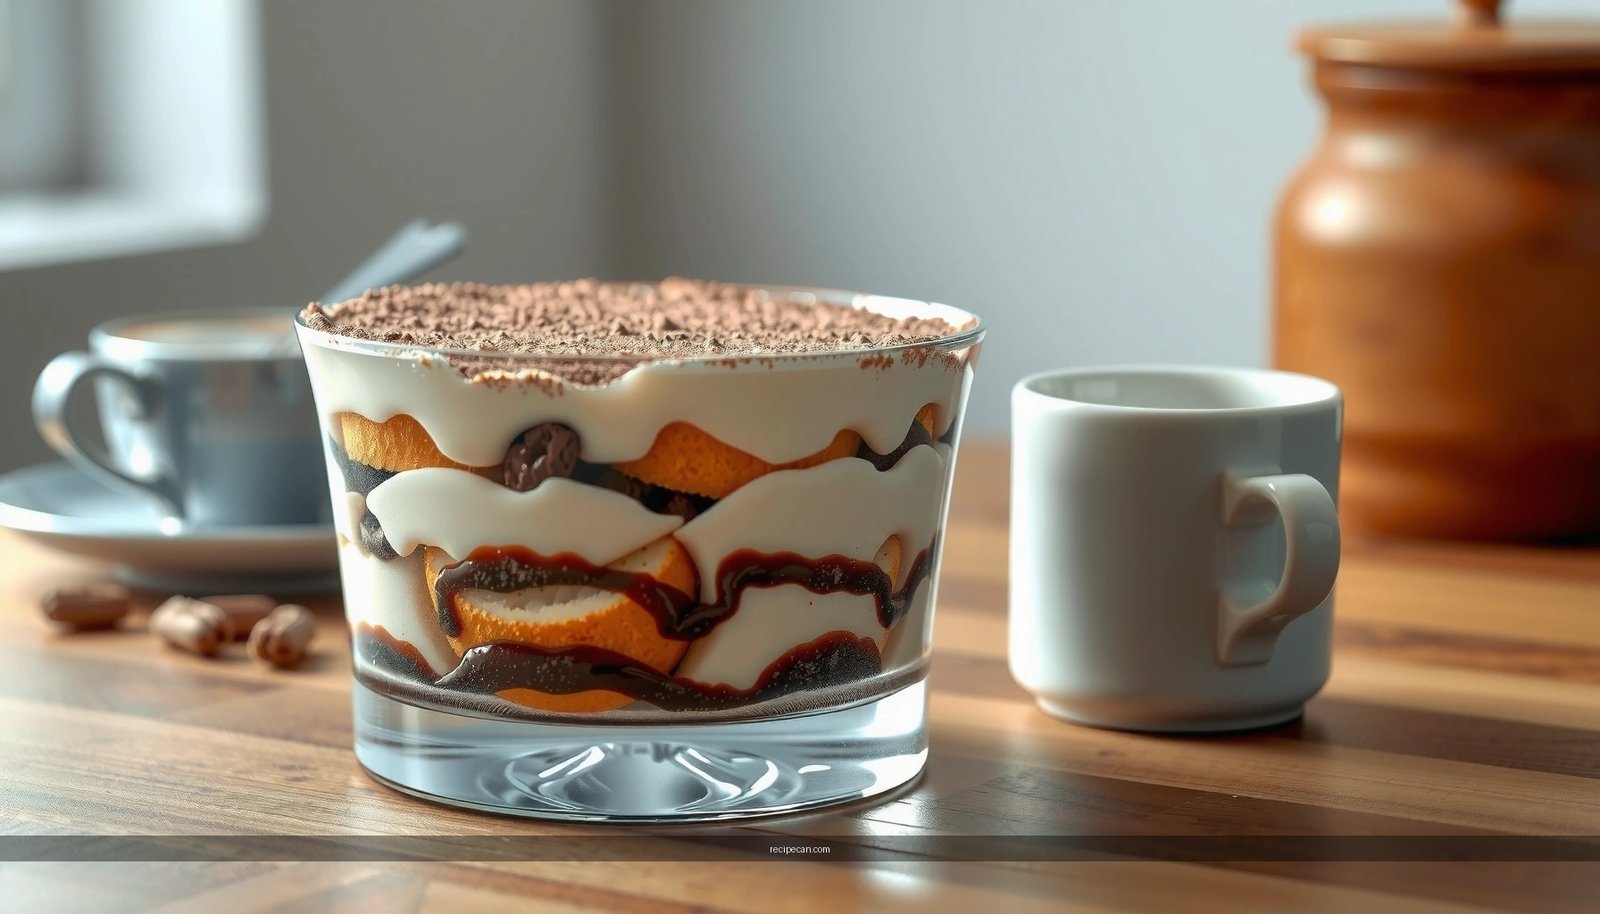
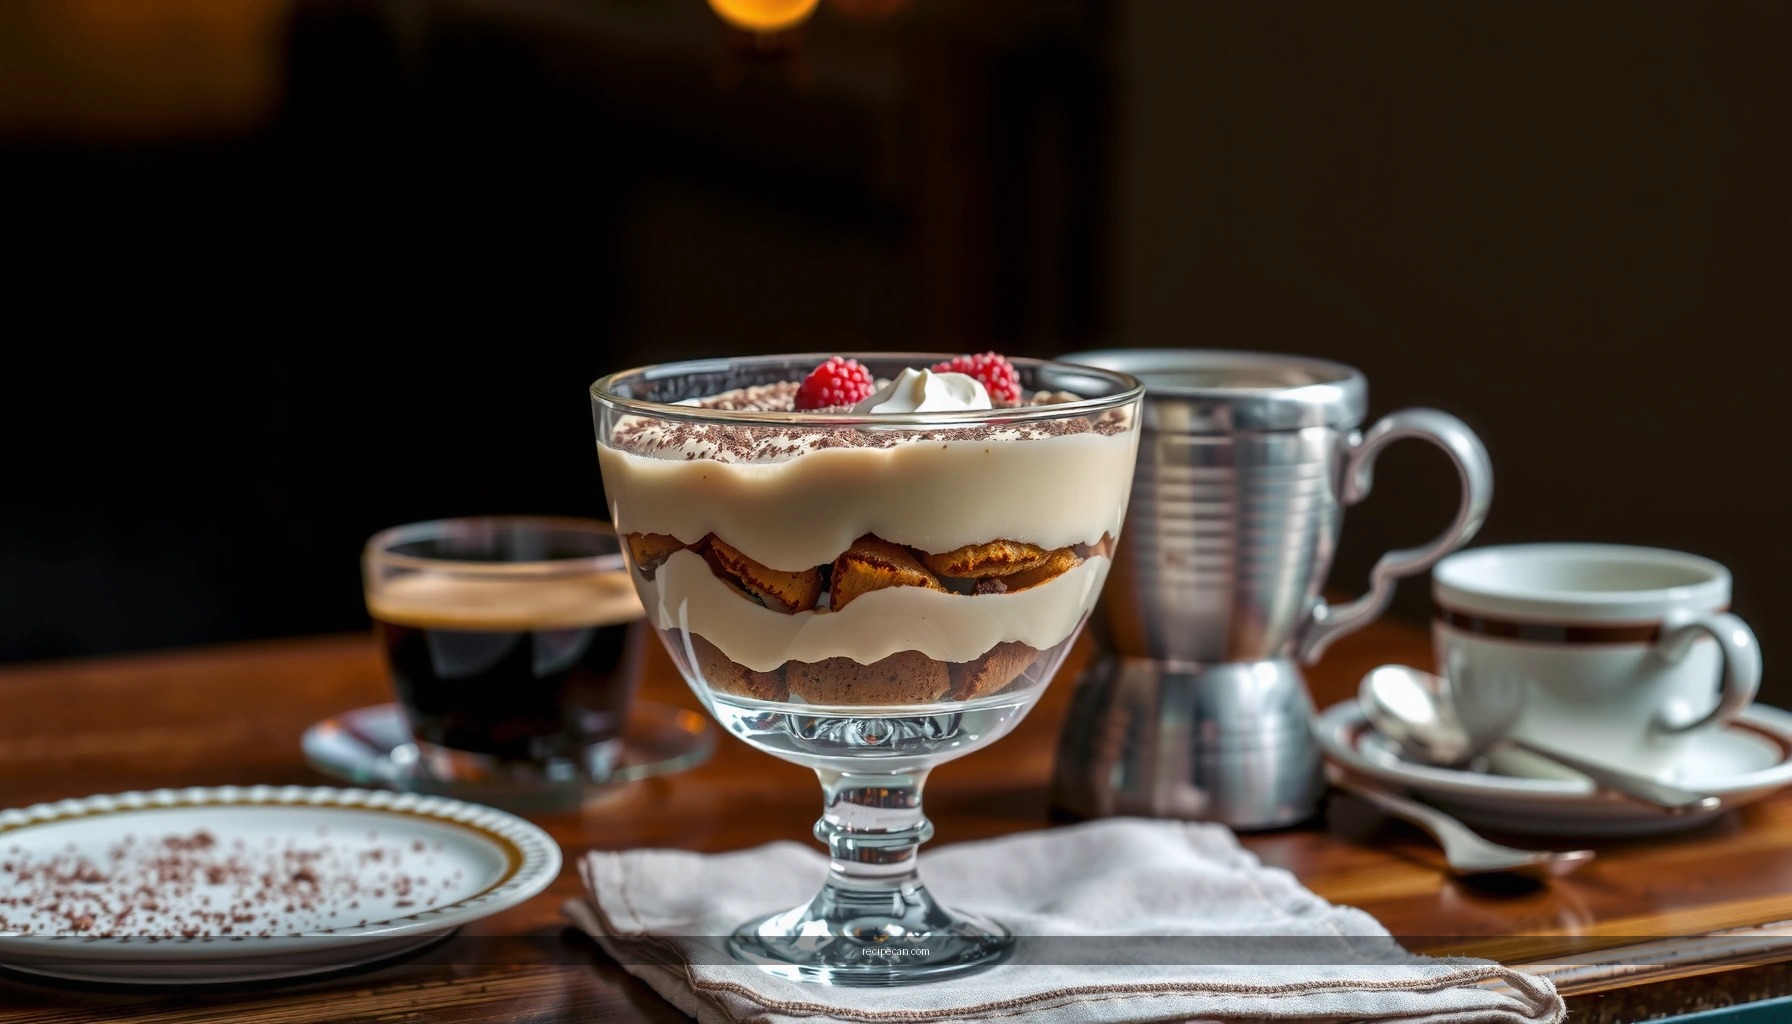
Assemble Your Tiramisu Layers
– Layer ladyfingers, then mascarpone cream, then repeat
– Smooth the top layer for even coverage
– Keep layers consistent for best texture
Assembly is straightforward, but consistency is what creates a clean slice and classic mouthfeel. Plan for a layered structure that balances biscuit and cream so each spoon contains both.
Classic layering order (repeat once)
1. First layer of ladyfingers:
Arrange dipped ladyfingers in a single layer to cover the bottom. Trim pieces to fit if needed.
2. First cream layer:
Spread about half of the mascarpone mixture evenly.
3. Second layer:
Repeat with another layer of dipped ladyfingers.
4. Final cream layer:
Spread the remaining cream over the top. Smooth the surface so it’s level—this also helps cocoa dusting look even.
Critical technique: press gently. Use the back of a spoon to even out surfaces without compressing too hard. If you compress the biscuits, you can end up with uneven coffee distribution.
How to judge “done” during assembly
Before chilling, the tiramisu should look creamy and thick, not runny. If the cream seems overly loose, stop and chill the mixture briefly (10–15 minutes) before finishing assembly.
Chill and Set for the Best Texture
– Refrigerate at least 4–6 hours (overnight is even better)
– Cover to prevent odors from soaking in
– Dust cocoa right before serving for maximum freshness
Tiramisu is a “time-based” dessert. The chilling period allows the espresso to distribute through the biscuits while the mascarpone firms up into a sliceable, creamy structure. Most home versions fail when chilled too briefly.
Recommended chilling timeline
– Minimum: 4–6 hours in the refrigerator
– Best: overnight (8–12 hours)
Cover the dish tightly with plastic wrap or a lid. This prevents refrigerator odors from affecting the delicate cocoa-and-coffee aroma.
Cocoa timing
Dust cocoa right before serving, not early. Cocoa powder can dissolve slightly and darken as it sits in moisture, reducing the fresh, slightly bitter top note that balances mascarpone sweetness.
Serving-ready test: the edges should look set; the center should wobble only slightly when you gently move the dish, not like liquid.
Serving Tips and Common Fixes
– Slice with a warm knife for cleaner portions
– If too runny, chill longer; if too firm, lighten your dipping and cream mixing
– Store covered in the fridge for up to 2–3 days
How to slice clean portions
For clean edges:
– Use a warm, clean knife. Run it under hot water, wipe dry, and slice.
– Wipe the blade between cuts for crisp layers and neat presentation.
Tiramisu layers can look messy in the first cut; that’s normal. The warmed knife helps it hold together once the internal moisture redistributes.
If your tiramisu is too runny
Most runniness comes from over-dipping or under-chilling.
– Fix now: cover and refrigerate another 2–4 hours.
– Next time: dip ladyfingers for a shorter time (closer to 1 second per side), and ensure your whites reach soft peaks instead of flat foam.
If it’s too firm or dense
This is usually from cream handling—often overmixing whites, or folding too aggressively.
– Fix next time: fold whites in gently with larger, slower movements.
– Also review coffee base: if your ladyfingers were barely dipped, the interior can feel tight instead of creamy. Slightly extend dip time next batch (still not soggy).
Storage guidance
– Store covered in the refrigerator for up to 2–3 days.
– For best flavor and texture, dust fresh cocoa right before serving each time (or re-dust lightly if it loses its surface look).
Serving & Presentation Ideas
– Make it “classic” with a single large dish, or portion into cups for easy serving
– Garnish lightly to keep the flavor focused on coffee and cocoa
If you’re serving a crowd, consider assembling tiramisu in individual glasses. The method stays the same, but the presentation is easier and the slicing problem disappears.
For visual appeal:
– Dust the top with cocoa using a fine-mesh sieve held 6–10 inches above the dish.
– Add a few coffee beans or a thin dark chocolate shard for garnish only if you want a more upscale look—avoid heavy toppings that compete with espresso and mascarpone.
If you’re preparing ahead for an event, assemble the day before. Tiramisu actually improves as flavors mingle, making it a practical choice for hosting.
[CONCLUSION PARAGRAPH – NO HEADING]
This basic tiramisu recipe gives you the classic espresso-and-mascarpone layers with an easy, reliable method: make the cream, dip the ladyfingers quickly, assemble, and chill. Follow the chilling and layering tips for the best texture every time—then dust with cocoa and serve. Make it today, and try a second version tomorrow with your favorite flavor twist.
Frequently Asked Questions
What is a basic tiramisu recipe I can make at home?
A basic tiramisu typically layers espresso-soaked ladyfingers with a creamy mixture of mascarpone, eggs (or eggless alternatives), sugar, and vanilla, then finishes with a dusting of cocoa powder. The core steps are brewing strong coffee, whipping mascarpone with sweetened egg mixture, assembling layers, and chilling until set. This simple no-bake dessert is best served cold after at least a few hours of refrigeration.
How do I make tiramisu without raw eggs?
If you’re avoiding raw eggs, use pasteurized eggs or opt for an eggless tiramisu method that whips mascarpone with sugar and flavorings, then folds in whipped cream for structure. Another approach is to heat the egg mixture gently over a bain-marie until it thickens, then chill before assembling. Either way, you’ll still get the classic tiramisu texture while reducing food-safety concerns.
How long should you chill a basic tiramisu before serving?
For best flavor and texture, chill tiramisu for at least 4 hours, though overnight is ideal. Chilling allows the mascarpone cream to firm up and the ladyfingers to fully absorb the espresso, creating that signature soft-yet-structured bite. If you serve too soon, the layers may taste watery and the dessert won’t slice cleanly.
Which cocoa powder is best for finishing tiramisu?
Use unsweetened cocoa powder for a rich chocolate finish that balances the sweetness of the mascarpone. Dutch-process cocoa is popular because it’s smoother and darker, but natural cocoa also works well if you prefer a slightly sharper chocolate flavor. For the prettiest presentation, dust the cocoa through a fine sieve right before serving to prevent clumping.
Why did my tiramisu turn out watery or too soggy?
Watery tiramisu usually happens when ladyfingers soak too long in espresso, so dip them briefly—just 1 to 2 seconds per side. Make sure the coffee is strong and not overly diluted, and avoid assembling directly in warm conditions that can soften the layers too quickly. Also, chill long enough for the mascarpone cream to set; if the cream is too loose, your mixture may need firmer whipping or more thorough refrigeration.
References
- Google Scholar Google Scholar
https://scholar.google.com/scholar?q=basic+tiramisu+recipe - Google Scholar Google Scholar
https://scholar.google.com/scholar?q=tiramisu+mascarpone+egg+coffee+cocoa+preparation - Google Scholar Google Scholar
https://scholar.google.com/scholar?q=tiramisu+ladyfingers+syrup+coffee+recipe+method - Tiramisu
https://en.wikipedia.org/wiki/Tiramisu - Tiramisu | Meaning, Ingredients, Origin, Desserts, & Taste | Britannica
https://www.britannica.com/topic/tiramisu - https://pubmed.ncbi.nlm.nih.gov/?term=tiramisu
https://pubmed.ncbi.nlm.nih.gov/?term=tiramisu - https://www.sciencedirect.com/search?qs=tiramisu&show=25
https://www.sciencedirect.com/search?qs=tiramisu&show=25 - https://pubmed.ncbi.nlm.nih.gov/?term=mascarpone+coffee+tiramisu
https://pubmed.ncbi.nlm.nih.gov/?term=mascarpone+coffee+tiramisu - tiramisu – Search Results – PMC
https://www.ncbi.nlm.nih.gov/pmc/?term=tiramisu - https://www.sciencedirect.com/search?qs=coffee+ladyfingers+cocoa+tiramisu&show=25
https://www.sciencedirect.com/search?qs=coffee+ladyfingers+cocoa+tiramisu&show=25