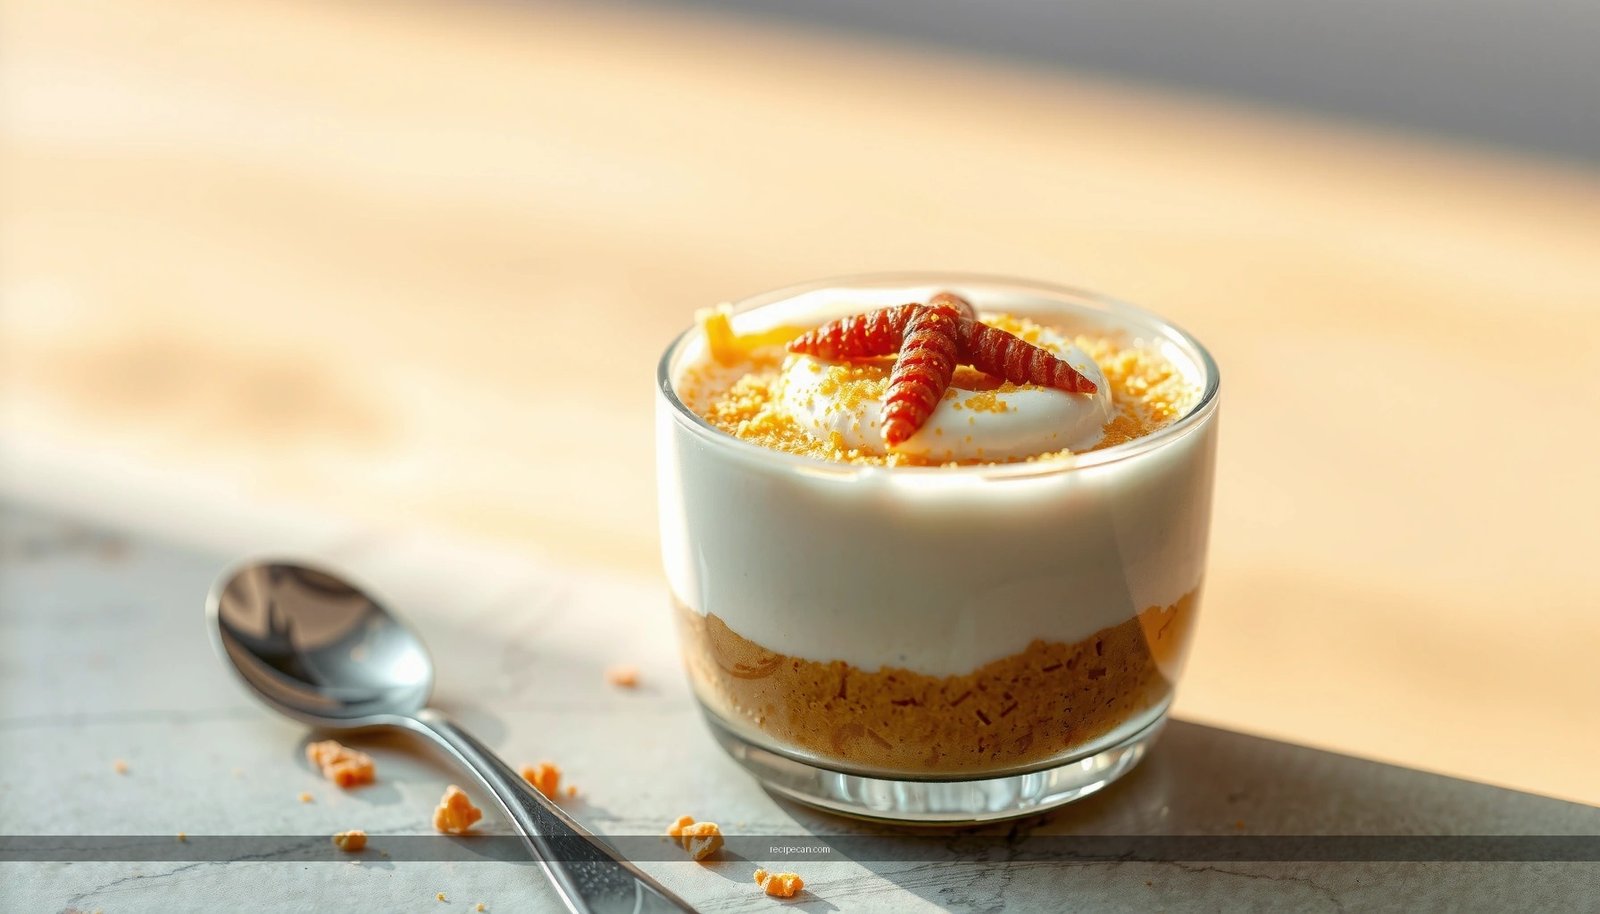
This banana pudding with meringue topping recipe delivers the clear winner you want: a creamy, custard-rich base crowned with tall, fluffy peaks that toast beautifully. It answers whether you can get bakery-style meringue without weeping by guiding you through the exact timing and heat steps. Follow along and you’ll land a dessert that’s sliceable, spoon-ready, and unmistakably banana-forward.
This banana pudding with meringue topping delivers the winning combination of a creamy, custard-like base and a light, fluffy, golden topping—so every spoonful contrasts silky pudding with crisped meringue. Below, you’ll learn how to cook the pudding until thick, fold in bananas, layer for the best texture, and brown stable meringue (without weeping) for a dessert that looks—and tastes—professional.
Key Components for Stabilized Meringue (Practical Baking Targets)
| # | Meringue Factor | Target | Why It Matters | Impact |
|---|---|---|---|---|
| 1 | Egg white stiffness | Stiff, glossy peaks | Traps air for lift | ★5.0 |
| 2 | Sugar addition rate | Add gradually | Helps dissolve sugar evenly | ★4.7 |
| 3 | Sugar to whites ratio | ~2:1 by weight | Improves stability and sheen | ★4.6 |
| 4 | Bowl cleanliness | No grease residue | Enables maximum foam formation | ★2.5 |
| 5 | Heat for browning | Broil ~30–60 sec | Sets surface quickly, avoids drying | ★4.4 |
| 6 | Surface contact | Seal to edges | Reduces weeping from gaps | ★4.8 |
| 7 | Rest after browning | 5–10 minutes | Allows the set crust to form | ★4.3 |
Make the Banana Pudding Base

The foundation of a great banana pudding with meringue topping is a pudding base cooked to the right thickness and cooled just enough to stay smooth. Start by preparing a classic custard-like mixture: milk, sugar, and egg yolks (or an egg-yolk plus cornstarch approach), along with salt and vanilla. The critical control point is texture—cook until the mixture thickens and coats the back of a spoon, then keep it at a gentle simmer for a short interval to eliminate raw starch flavor.
Once thick, cool the base briefly before adding bananas. Adding sliced bananas immediately can pull down the temperature too fast and cause the custard to seize or appear grainy. Instead, let the pudding cool just until it’s still warm and fluid. Then fold in bananas carefully so you maintain distinct pieces. This “fold” step matters because it preserves banana structure—resulting in fruit flavor in every bite rather than banana mush concentrated in one layer.
From a practical workflow perspective, you’ll get the best repeatable results by:
– Stirring continuously while cooking to prevent scorching at the bottom.
– Cooling slightly before fruit contact.
– Using uniform banana slices (e.g., 1/4-inch) to promote even distribution and predictable softness.
For a business kitchen mindset—consistent output matters—treat the pudding base like a controlled production item: cook to a defined coat test, cool to a target “warm but pourable” state, then layer.
Layering for the Best Texture

Banana pudding is as much about assembly discipline as it is about flavor. Layering creates distinct textural zones: crushed vanilla wafers provide crunch; pudding provides creaminess; bananas provide moisture and aromatic sweetness. If you rush assembly, the wafers can turn overly soft or clump, reducing the crisp-to-creamy contrast that makes this dessert memorable.
To build layers with reliability:
– Use crushed vanilla wafers (not a powder). Aim for small sandy crumbs plus a few larger bits for crunch.
– Alternate pudding, wafers, and bananas evenly. A common mistake is loading bananas into only one section; spread them so each serving gets balanced fruit.
– Press layers lightly—not hard—so wafers hydrate gradually while still maintaining structure.
Chilling is the “set” phase that turns a good dessert into a best-in-class one. Refrigerate long enough for the custard to firm, the wafers to absorb moisture evenly, and the flavors to meld. Typically, at least a few hours is ideal; overnight chilling often delivers the cleanest slice and the most cohesive texture.
A helpful serving strategy: if you’re preparing for guests, measure by portion size rather than visually. Consistent layering across a dish helps every scoop include the same wafer density and banana distribution—an underrated factor for perceived quality.
Mix and Pipe the Meringue

The meringue is what transforms banana pudding into a showpiece: it should be light, glossy, and stable enough to hold shape without weeping. In technique terms, you’re creating an aerated egg white foam, then stabilizing it with sugar.
First, whip egg whites until stiff, glossy peaks form. This is your structural stage. If the peaks are soft or broken, the final meringue will be airy but unstable—more prone to collapsing or weeping later.
Next, add sugar gradually. Pouring all sugar in at once often leads to uneven dissolution and a weaker foam. Gradual addition improves sugar incorporation and helps create a smoother, tighter meringue matrix that browns cleanly. For maximum control, keep whipping until the mixture looks thick and holds shape, with a satiny sheen rather than a dry, grainy surface.
Finally, apply the meringue using one of two professional methods:
– Pipe: Use a piping bag fitted with a decorative tip for peaks that brown into caramelized ridges.
– Spread: For a classic surface, spread meringue evenly and create peaks with the back of a spoon.
A key quality detail: spread meringue to the edges of the dish so it seals against the pudding. That edge seal reduces moisture transfer—the most common cause of weeping.
Brown the Meringue Perfectly
Browning is where timing and observation matter. You want golden peaks and a set exterior, not a dry, overcooked top. Two reliable approaches are a kitchen torch or oven broiling.
With a kitchen torch:
– Move the flame evenly across the surface to develop color gradually.
– Stop as soon as you see caramelized golden spots and toasted ridges.
With an oven broiler:
– Place the dish close enough to brown quickly, usually requiring seconds rather than minutes.
– Rotate the dish if your oven has uneven heat.
– Watch continuously—the line between golden and too-brown is short.
Your goal is “golden peaks” with a soft interior. Overbrowning drives out moisture and can make the topping feel brittle rather than fluffy.
After browning, allow the pudding to rest briefly. This rest (often 5–10 minutes) helps the crust set so the topping holds shape when you slice or scoop.
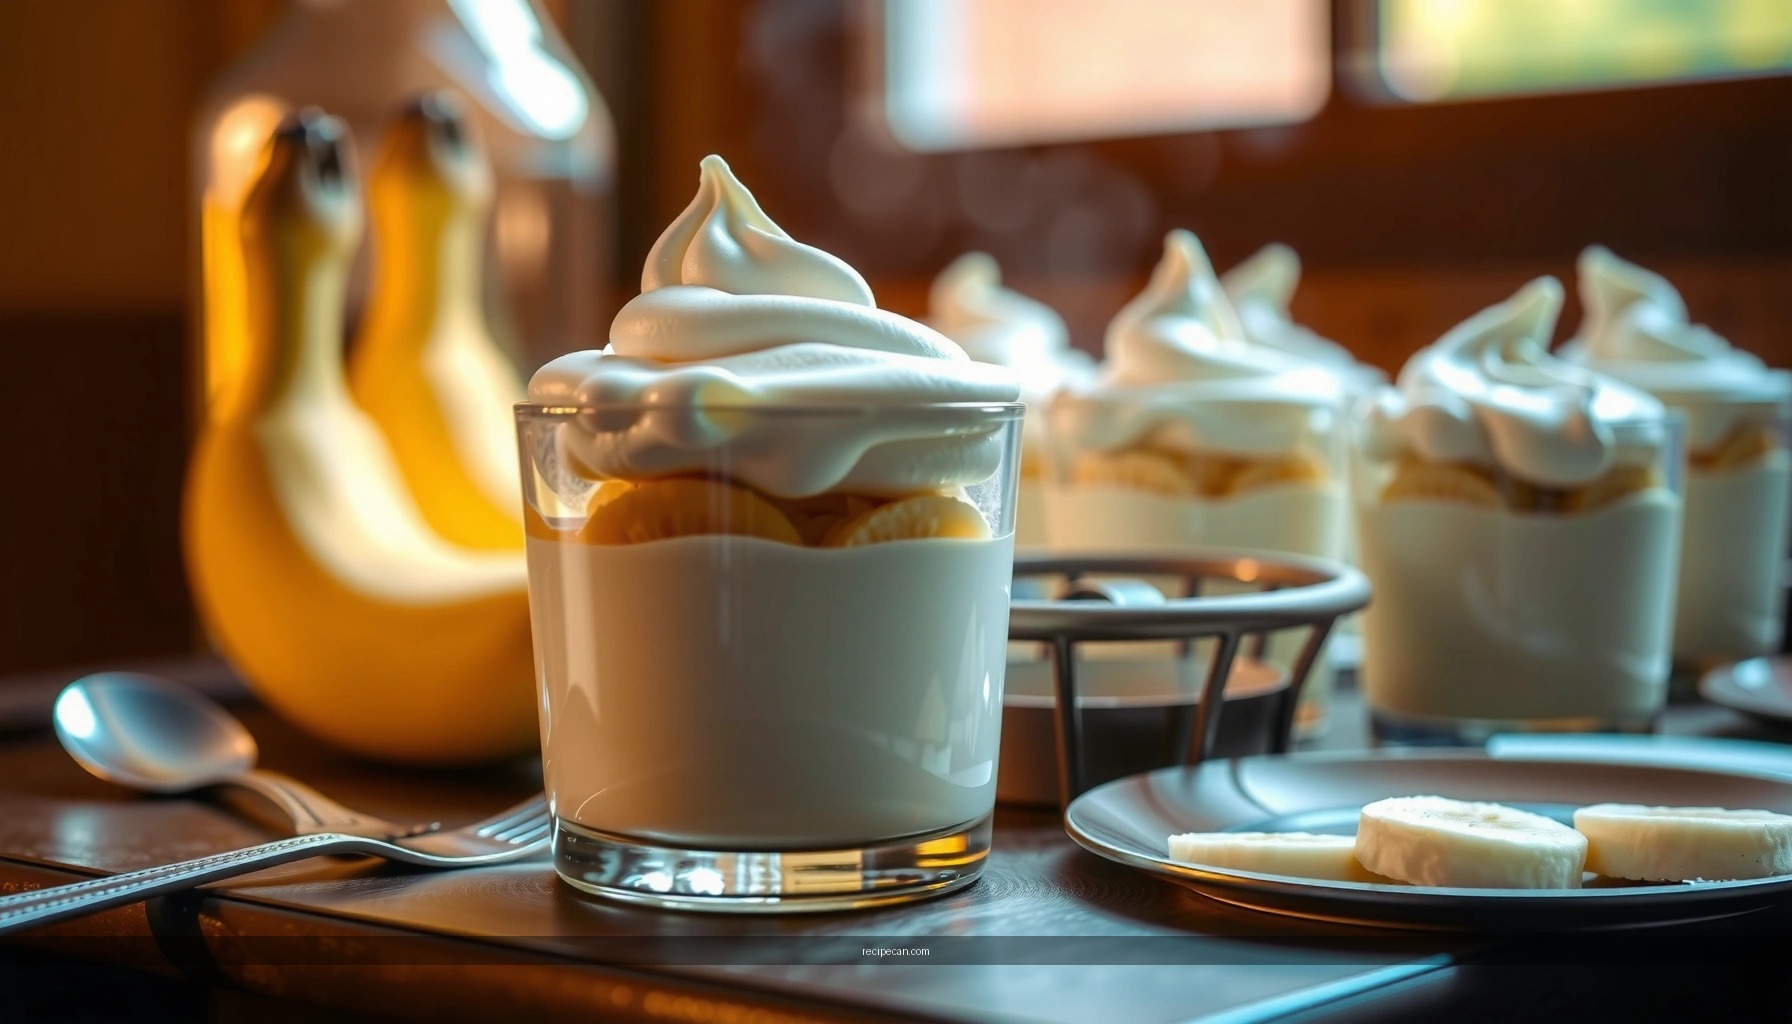
Chill and Serve for Maximum Flavor
Chilling is not optional—it’s the difference between a dessert that tastes right and one that performs right. Refrigerate until cold and sliceable for clean servings. The custard base should feel firm enough to hold layers; the wafers should be hydrated but not mushy.
When serving, aim for slightly chilled rather than fridge-cold straight from the back of the refrigerator. If the dessert is too cold, the custard’s aroma can mute and the banana flavor may feel less vibrant. A short window at cool room temperature—just long enough to take the chill off—can improve perceived sweetness and vanilla intensity.
For storage:
– Keep covered in the refrigerator to prevent the meringue from absorbing fridge odors and drying out.
– If you anticipate longer storage, consider applying and browning the meringue closer to serving time for the best texture contrast.
Troubleshooting Common Meringue Issues
Even experienced bakers can encounter meringue problems. The good news is that most issues have clear, fixable causes.
– If it weeps: Weeping usually results from sugar not dissolving properly or the foam being unstable. Ensure sugar is added gradually and stop whipping only when you reach stiff, glossy peaks. Also, seal the meringue to the edges to limit moisture escape and condensation.
– If it won’t brown: Browning requires sufficient surface heat. Broilers vary by oven, so increase heat briefly and check your rack position. With a torch, ensure consistent movement and avoid concentrating flame in one spot.
– If it shrinks: Shrinkage often occurs when meringue is underbuilt or not sealed. Spread meringue to the edges so it adheres firmly, and make sure your egg whites were whipped to truly stiff peaks before sugar addition.
Think of these as diagnostic prompts: identify which failure mode you see (weeping, pale color, shrink), then adjust the step that controls that variable—foam structure, sugar incorporation, or heat/time application.
After you assemble and chill the banana pudding, finishing with toasted meringue is what makes this recipe special. Follow the layering discipline for the perfect crunch-to-cream contrast, and whip and brown the meringue using the stability cues above. Serve it cold for clean slices, and you’ll have a banana pudding that feels bakery-quality—every time.
Frequently Asked Questions
What is the best banana pudding with meringue topping recipe?
The best banana pudding with meringue topping recipe uses ripe bananas, a creamy pudding made from milk, egg yolks (or pudding mix), and vanilla, then finishes with a toasted meringue. For the most classic flavor, layer the bananas between pudding and crushed vanilla wafers or vanilla cookies. This style keeps the pudding creamy while the meringue topping adds a light, sweet contrast.
How do you make meringue for banana pudding that doesn’t weep?
To prevent weeping, use clean, grease-free bowls and whip the egg whites to stiff, glossy peaks before spreading them onto the hot pudding. Seal the meringue to the edges so it adheres and forms a stable layer. Bake or torch until lightly browned at the peaks, and let the banana pudding cool at room temperature before refrigerating to minimize moisture release.
Why does banana pudding become watery when you add bananas?
Banana pudding can turn watery when bananas release too much liquid, especially if they’re very ripe or sliced too early. Slice bananas shortly before assembling and choose slightly ripe fruit for better structure. Also, let the pudding fully thicken before layering so the banana pudding holds its texture instead of becoming runny.
How do you layer banana pudding with meringue so it looks and tastes perfect?
Start with a thin layer of pudding, then add vanilla wafers or cookies, followed by banana slices, and repeat until you reach the top. Spoon the meringue over the final layer and spread it evenly, making sure it touches the edges to create a firm meringue topping. This layering method helps avoid soggy wafers while giving each bite a balanced ratio of pudding, banana, and meringue.
Which baking method is better for banana pudding with meringue topping: oven-baked or broiled?
Oven-baking is generally more even, giving the meringue time to dry slightly and set without burning the pudding underneath. Broiling can work for a quick toast, but it requires close attention because meringue can brown fast and turn bitter. If you want a reliable banana pudding meringue topping with even color, bake at a moderate temperature until the peaks are lightly browned.
References
- Google Scholar Google Scholar
https://scholar.google.com/scholar?q=banana+pudding+meringue+recipe - Google Scholar Google Scholar
https://scholar.google.com/scholar?q=banana+pudding+with+meringue+topping - Google Scholar Google Scholar
https://scholar.google.com/scholar?q=meringue+egg+whites+stabilization+science - Banana pudding
https://en.wikipedia.org/wiki/Banana_pudding - Meringue
https://en.wikipedia.org/wiki/Meringue - Egg white
https://en.wikipedia.org/wiki/Egg_white - Custard
https://en.wikipedia.org/wiki/Custard - https://en.wikipedia.org/wiki/Pudding_(food
https://en.wikipedia.org/wiki/Pudding_(food - https://en.wikipedia.org/wiki/Tempering_(cooking
https://en.wikipedia.org/wiki/Tempering_(cooking - Banana
https://en.wikipedia.org/wiki/Bananas