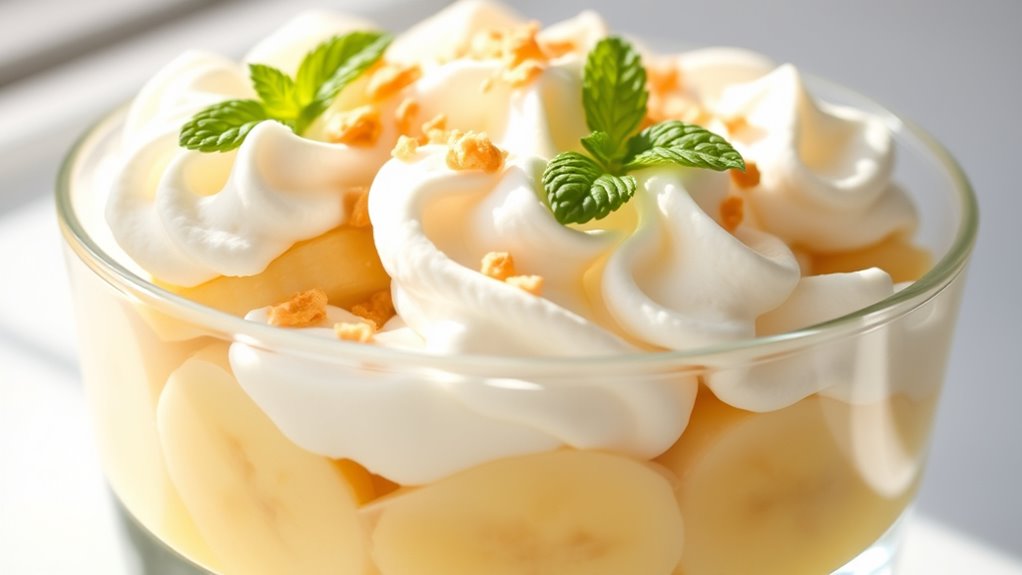
You’ll love making banana pudding with your Creami machine using ripe bananas, vanilla, a creamy base like Greek yogurt or coconut cream, and a touch of sugar. Blend these ingredients smoothly, freeze the mixture for 24 hours in an airtight container, then churn it using the Ice Cream setting for that perfect creamy texture. Want tips on toppings, freezing tricks, and serving ideas? Keep going for helpful details to make your banana pudding irresistibly smooth and delicious.
Ingredients Needed for Banana Pudding Creami
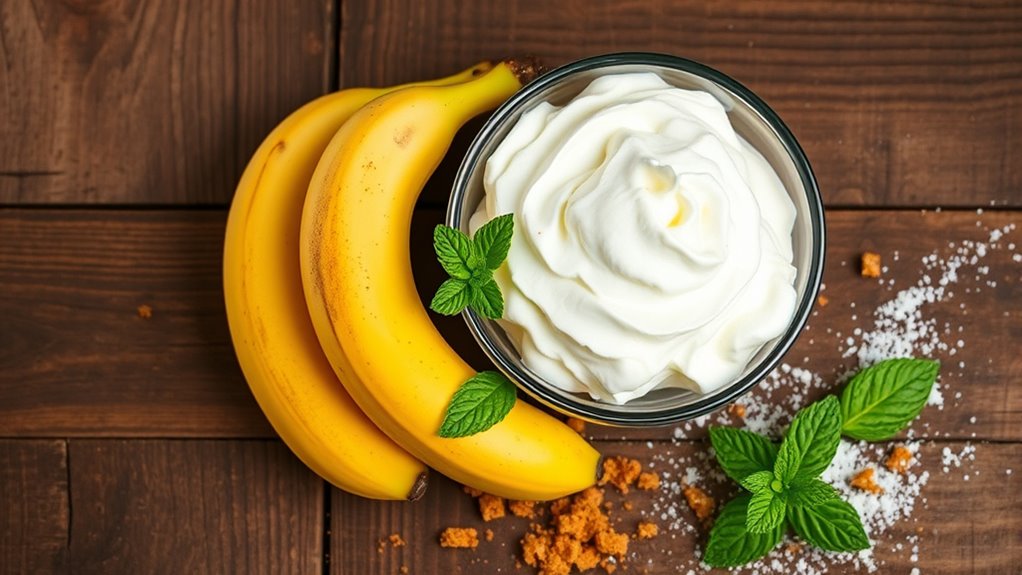
To whip up your Banana Pudding Creami, you’ll need just a handful of simple ingredients that come together to create a luscious, creamy dessert. Start with careful banana selection—choose ripe bananas with vibrant yellow skins and a few brown spots for maximum sweetness and flavor. This will guarantee your dessert has the perfect natural sweetness and smooth texture. Alongside bananas, consider pudding alternatives like Greek yogurt or coconut cream if you want to avoid traditional pudding mixes or dairy. These options maintain creaminess while offering a fresh twist. You’ll also want vanilla extract, sugar or a sweetener of your choice, and a pinch of salt to balance flavors. With these core ingredients, you’re set to create a delicious Banana Pudding Creami that celebrates freedom in flavor and simplicity.
Preparing the Banana Pudding Base
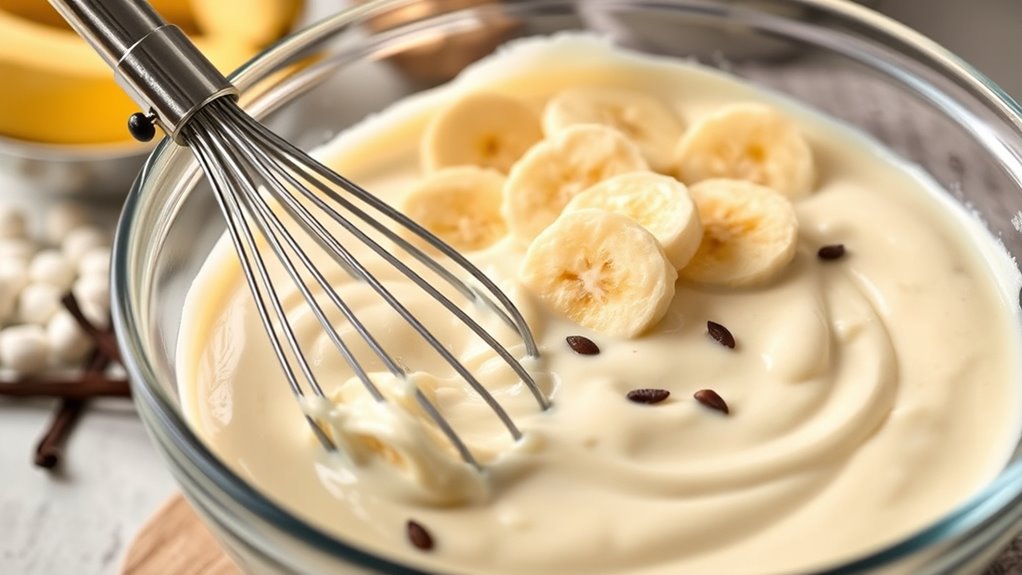
You’ll want to pick bananas that are perfectly ripe—soft with a few brown spots—to bring out the sweetest flavor. Then, carefully mix your pudding ingredients to create a creamy, well-blended base. The key is to achieve a smooth texture that will make your Banana Pudding Creami irresistibly silky.
Choosing Ripe Bananas
Although it might seem simple, choosing the right bananas is essential for a creamy, flavorful banana pudding base. When it comes to banana selection, you want to look for ripeness indicators that promise natural sweetness and smooth texture. Aim for bananas with yellow skins speckled with small brown spots—this signals peak ripeness. Avoid overly green bananas, which lack sweetness, and ones that are mushy or heavily bruised. The soft spots on ripe bananas break down easily, blending seamlessly into your pudding for that luscious, velvety consistency you crave. Trust your senses—sniff for a sweet aroma and feel for slight softness without any slimy patches. By picking perfectly ripe bananas, you open up the freedom to create a pudding base bursting with natural flavor and creamy delight.
Mixing Pudding Ingredients
Four key ingredients come together to create the smooth, rich base of your banana pudding. You’ll need milk, sugar, instant pudding mix, and vanilla extract. As you combine them, focus on your mixing techniques to reveal the full pudding flavor. Start by whisking the sugar and pudding mix into cold milk, ensuring no lumps form. Then, add vanilla for that warm, inviting aroma. Mixing well is essential—you want a consistent blend without overworking it. This step sets the foundation, so take your time and savor the process. Mastering these techniques gives you the freedom to customize your pudding’s sweetness and texture before chilling. With this base ready, you’re one step closer to creamy, dreamy banana pudding perfection.
Achieving Smooth Texture
Achieving a smooth texture in your banana pudding base hinges on gentle, deliberate stirring combined with the right chilling time. You want to focus on smooth blending to avoid lumps and guarantee a creamy consistency. Letting the pudding rest in the fridge allows the flavors to meld and promotes texture enhancement.
Here’s a quick guide to perfect your base:
| Step | Tip |
|---|---|
| Stirring | Use a whisk, stir slowly |
| Blending | Avoid overmixing |
| Chilling Duration | Chill for 2-3 hours minimum |
Freezing the Mixture for Optimal Texture
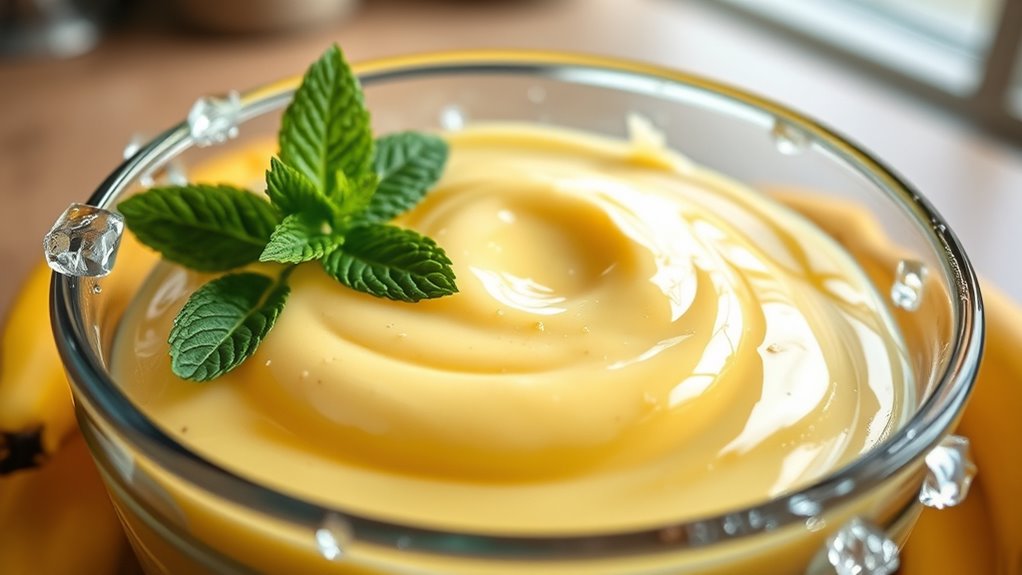
To get that perfect creamy texture, you’ll want to freeze your banana pudding mixture for about 24 hours in an airtight container. Using the right storage container helps prevent ice crystals from forming, keeping your dessert smooth. Also, setting your freezer to a consistent, cold temperature guarantees the mixture freezes evenly every time.
Ideal Freezing Duration
Although freezing times can vary slightly depending on your Creami machine, letting your banana pudding mixture freeze for about 24 hours usually gives you the perfect creamy texture. This ideal freezing duration allows the mixture to solidify evenly, ensuring texture enhancement without ice crystals. Freezing less than 24 hours might leave the mixture too soft, while longer freezing risks hardness.
| Freezing Duration | Texture Result |
|---|---|
| 12-18 hours | Slightly soft |
| 24 hours | Perfectly creamy |
| 30+ hours | Firmer, less smooth |
Stick to around 24 hours for the best balance. This simple timing tweak maximizes your dessert’s luscious feel, giving you freedom to enjoy rich, silky banana pudding whenever you crave it.
Storage Container Tips
Getting the freezing time just right is only part of the equation—how you store your banana pudding mixture can make a big difference in texture. Choosing the right storage container types with airtight seals helps prevent ice crystals and freezer burn, preserving that creamy consistency you crave.
Here’s what to keep in mind:
- Opt for shallow, wide containers to freeze the mixture evenly and speed up the process.
- Use airtight lids or wrap tightly with plastic wrap to lock in freshness and avoid moisture loss.
- Avoid glass jars; they can crack, whereas BPA-free plastic or silicone containers offer flexibility and durability.
Temperature Settings Impact
While freezing your banana pudding mixture, the temperature you set can make all the difference in achieving that perfect creamy texture. If it’s too cold, ice crystals form, making the texture icy rather than smooth. Too warm, and the mixture won’t freeze properly, leaving you with a slushy mess. The temperature impact is essential: aim for a consistent setting around -10°F to -15°F. This range balances freezing time and texture, ensuring your pudding firms up just right without losing its luscious creaminess. Remember, the freezing time depends on your freezer’s efficiency and the mixture’s volume—usually, 8-12 hours works best. By controlling these factors, you gain freedom to enjoy a silky, dreamy banana pudding whenever you crave it, without compromise.
Using the Creami Machine Step-by-Step
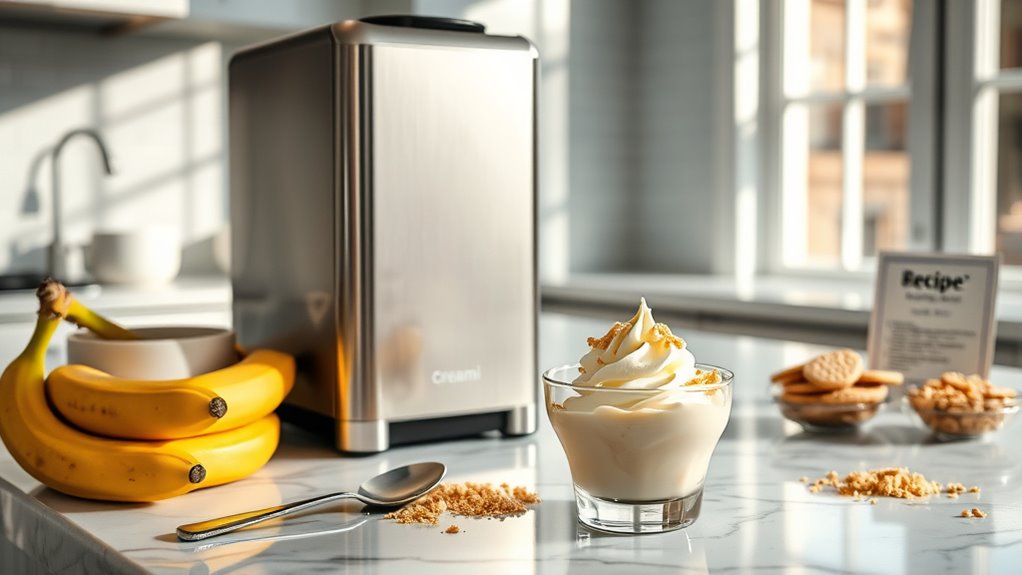
Before you plunge into making your banana pudding ice cream, you’ll want to make sure your Creami machine is properly prepped and ready to go. This guarantees that each batch achieves that perfect creamy consistency you crave. Here’s how to get started:
- Freeze your banana pudding mixture in the pint container for 24 hours until solid.
- Remove the pint from the freezer and place it into the Creami machine’s outer bowl.
- Select the “Ice Cream” setting to begin the churning process, which releases rich flavor enhancements and smooth texture.
Tips for Perfectly Creamy Banana Pudding
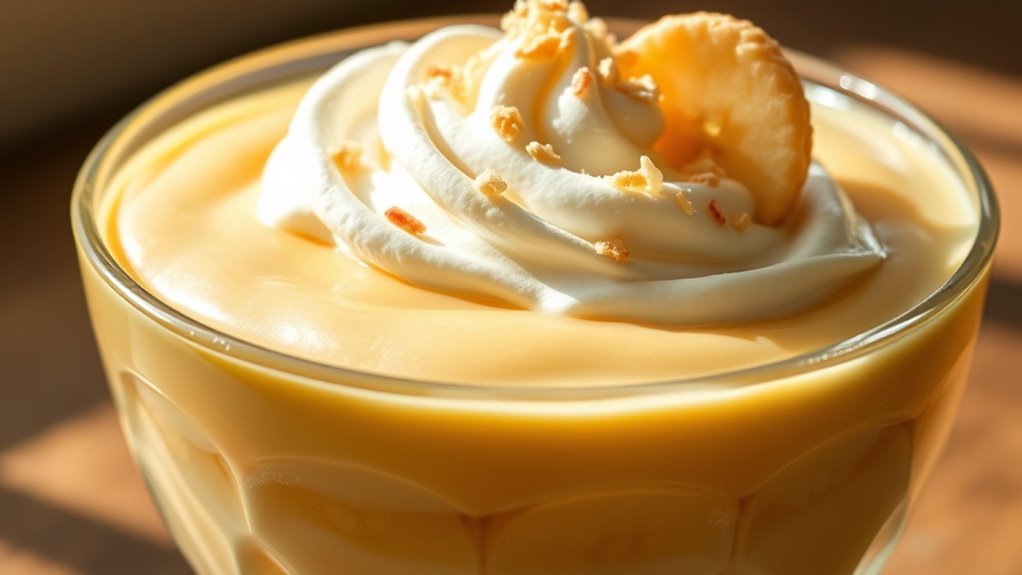
Although the Creami machine does most of the work, a few simple tips can elevate your banana pudding to silky perfection. Start by choosing ripe bananas with just a few brown spots—this banana selection guarantees natural sweetness and a rich banana flavor. Avoid underripe fruit, as it can make your pudding taste dull. Next, focus on pudding consistency; if it’s too thick before freezing, the Creami might struggle to churn it smoothly. Thin your base slightly with milk or cream to achieve that ideal creamy texture. Don’t rush the freezing process—let it freeze fully to prevent icy chunks. Finally, give the machine a gentle shake midway to help mix ingredients evenly. With these tips, you’ll enjoy a luscious, perfectly creamy banana pudding every time.
Creative Variations and Add-ins
If you’re looking to elevate your banana pudding Creami beyond the classic flavor, there are plenty of creative variations and add-ins that can transform your dessert into something truly special. You can play with flavor infusions and creative toppings to craft a unique treat every time.
Elevate your banana pudding Creami with creative flavors and toppings for a truly unique and delicious treat.
- Swirl in caramel or peanut butter for a rich, nutty twist that melts into the creamy base.
- Add crushed cookies or graham cracker crumbs for a delightful crunch that contrasts perfectly with the smooth pudding.
- Mix in fresh berries or toasted coconut flakes to brighten the flavor and add texture.
Serving Suggestions and Storage Guidelines
When you’re ready to serve your banana pudding Creami, consider pairing it with fresh banana slices or a sprinkle of toasted nuts to enhance both flavor and presentation. These serving ideas add texture and a fresh twist, making each bite delightful. For storage tips, keep your pudding in an airtight container in the freezer to preserve its creamy texture. When you want to enjoy it again, just let it soften in the fridge for 10-15 minutes.
| Serving Ideas | Description |
|---|---|
| Fresh Banana Slices | Adds natural sweetness and freshness |
| Toasted Nuts | Provides crunch and nuttiness |
| Whipped Cream | Light, airy complement |
| Caramel Drizzle | Sweet, rich accent |
| Crushed Graham Crackers | Adds texture and crunch |
What ingredients do I need for a Banana Pudding Creami?
To make Banana Pudding Creami, you will need the following ingredients: ripe bananas, vanilla pudding mix, milk, heavy cream, and crushed vanilla wafers. Optionally, you can add whipped cream for topping and a sprinkle of cinnamon for extra flavor.
How do I prepare the Banana Pudding Creami?
To prepare Banana Pudding Creami, start by mixing the vanilla pudding mix with milk in a bowl, following the package instructions. Once combined, fold in the heavy cream for added richness. Layer the mixture in a dish with sliced bananas and crushed vanilla wafers. Chill in the refrigerator for at least 2 hours before serving to allow the flavors to meld.
Can I make Banana Pudding Creami ahead of time?
Yes, you can make Banana Pudding Creami ahead of time. In fact, preparing it a day in advance allows the flavors to develop further. Just ensure you cover it well with plastic wrap or a lid to prevent the top from browning. When ready to serve, you can add fresh whipped cream and additional banana slices for garnish.
Can I substitute any ingredients in the Banana Pudding Creami recipe?
Absolutely! If you prefer a healthier option, you can use almond milk or coconut milk instead of regular milk. For a dairy-free version, substitute the heavy cream with coconut cream. Additionally, if you want to reduce sugar, consider using a sugar-free pudding mix. Just keep in mind that these substitutions may slightly alter the texture and flavor.
How long can I store leftover Banana Pudding Creami?
Leftover Banana Pudding Creami can be stored in the refrigerator for up to 3 days. It’s best to keep it in an airtight container to maintain freshness. However, be aware that bananas may brown over time, so it’s advisable to add fresh banana slices just before serving if you plan to store leftovers.
References
- https://en.wikipedia.org/wiki/Banana_pudding
- https://www.foodtimeline.org/foodpuddings.html
- https://www.ncbi.nlm.nih.gov/pmc/articles/PMC6007166/
- https://www.extension.purdue.edu/extmedia/FNR/FNR-491-W.pdf
- https://www.americastestkitchen.com/articles/203-what-is-banana-pudding
- https://www.cooksillustrated.com/how_tos/6834-how-to-make-banana-pudding
- https://www.bbcgoodfood.com/recipes/banana-pudding
- https://www.thekitchn.com/how-to-make-banana-pudding-229877
- https://www.npr.org/sections/food-for-thought/2021/08/10/1027048359/how-to-make-the-best-banana-pudding
