Indulging in the rich, creamy delight of Portuguese custard tarts, or pastéis de nata, is easier than you think. This recipe will guide you step-by-step to create these irresistible treats at home, capturing their signature flaky crust and luscious filling. Get ready to impress your friends and family with this classic dessert!
Ingredients You’ll Need

To successfully recreate authentic Portuguese custard tarts, you will need the following ingredients:
For the Pastry Dough:
– 2 cups all-purpose flour
– 1/2 cup unsalted butter, chilled and cubed
– 1/4 cup granulated sugar
– 1/2 teaspoon salt
– 1/2 cup cold water
For the Custard Filling:
– 1 cup whole milk
– 1 cup heavy cream
– 3/4 cup granulated sugar
– 1/4 cup cornstarch
– 6 large egg yolks
– 1 teaspoon vanilla extract
– Zest of 1 lemon (optional for flavor)
Preparing the Pastry Dough

Making the pastry dough from scratch is crucial for achieving the perfect flaky texture that characterizes pastéis de nata. Begin by combining the flour, sugar, and salt in a large mixing bowl. Cut in the chilled butter using a pastry cutter or your fingers until the mixture resembles coarse crumbs. Gradually add cold water, mixing until the dough just comes together.
Once your dough is formed, shape it into a disc, wrap it in plastic wrap, and refrigerate for at least 30 minutes. This resting period allows the gluten in the flour to relax, which is essential for creating the desired flakiness.
Tips for Achieving the Perfect Flaky Texture
– Ensure your butter is very cold before incorporating it into the flour.
– Avoid overworking the dough; mix just until it comes together.
– For additional flakiness, consider folding the dough several times to create layers before rolling it out.
Making the Custard Filling

The custard filling is the star of the show, and getting it right is essential. Begin by heating the milk and heavy cream in a saucepan over medium heat until just below boiling. In a separate bowl, whisk together the sugar, cornstarch, and egg yolks until smooth. Gradually whisk in the hot milk mixture, ensuring that you temper the eggs to prevent curdling.
Once combined, return the mixture to the saucepan and cook over low heat, stirring continuously until it thickens. Remove from heat and stir in the vanilla extract and lemon zest, if using. Allow the custard to cool slightly before filling the tart shells.
Importance of Tempering the Eggs for the Right Consistency
Tempering the eggs is critical to achieving a smooth custard. By gradually introducing the hot milk mixture to the egg yolks, you raise their temperature without cooking them, ensuring a creamy and velvety filling.
Assembling the Tarts
With the dough and custard prepared, it’s time to assemble your tarts. Roll out the chilled pastry dough on a lightly floured surface to about 1/8 inch thickness. Using a round cutter, cut out circles that are slightly larger than your tartlet molds.
Press the dough into the molds, ensuring it hugs the sides well. Fill each pastry shell with the custard mixture, leaving a little room at the top for expansion during baking.
Techniques for Filling the Tart Shells with Custard
– Use a ladle or a small measuring cup to pour the custard into the shells for precision.
– Aim for a smooth surface on top to promote even baking and a beautiful finish.
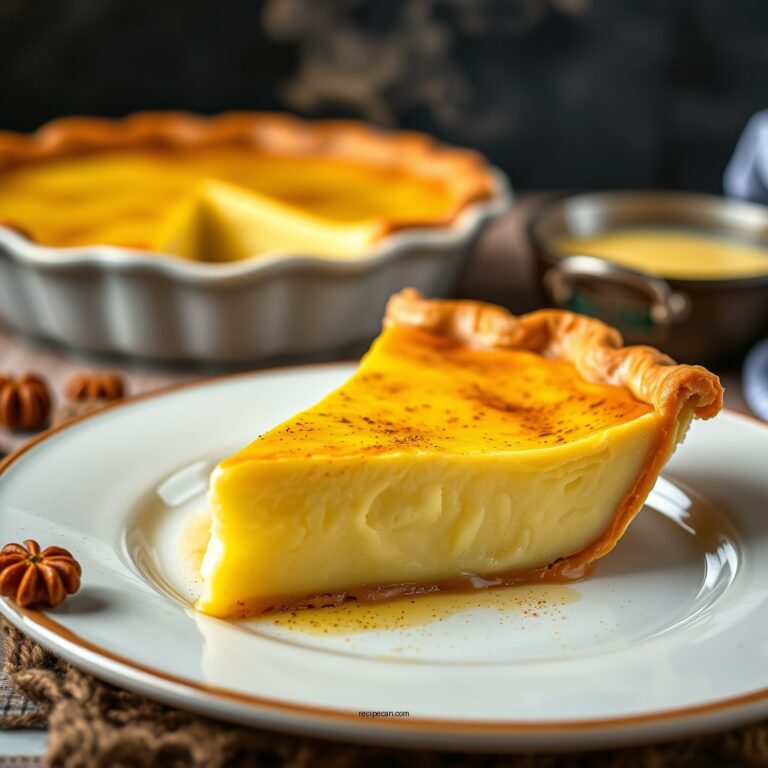
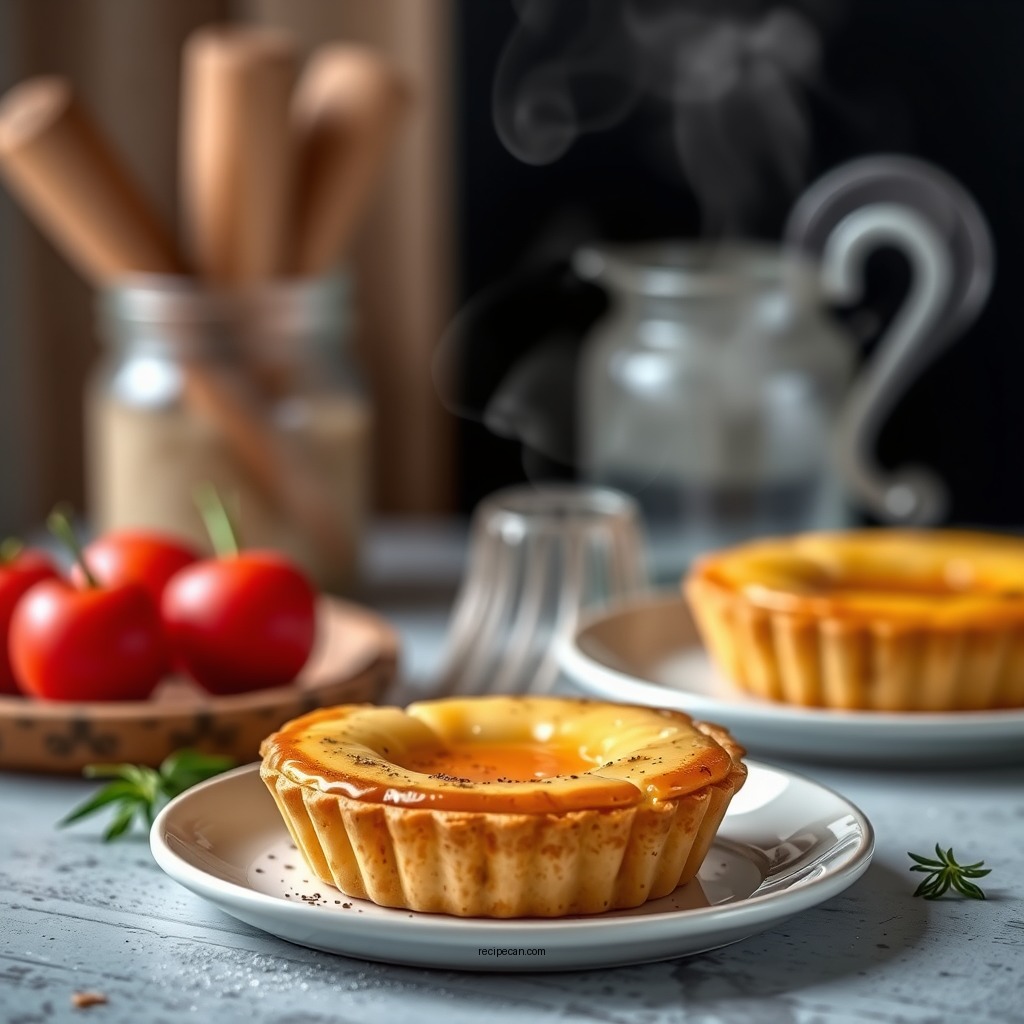
Baking the Tarts
Preheat your oven to 475°F (245°C). Place your filled tarts on a baking sheet and bake for about 15-20 minutes, or until the tops are golden brown and slightly caramelized. The high temperature is essential for achieving the characteristic blistered tops.
Signs That the Tarts Are Done Baking and Ready to Cool
– Look for a golden-brown color on the custard surface.
– The edges of the pastry should also be a light golden hue.
– Let the tarts cool in the molds for 10 minutes before transferring them to a wire rack to cool completely.
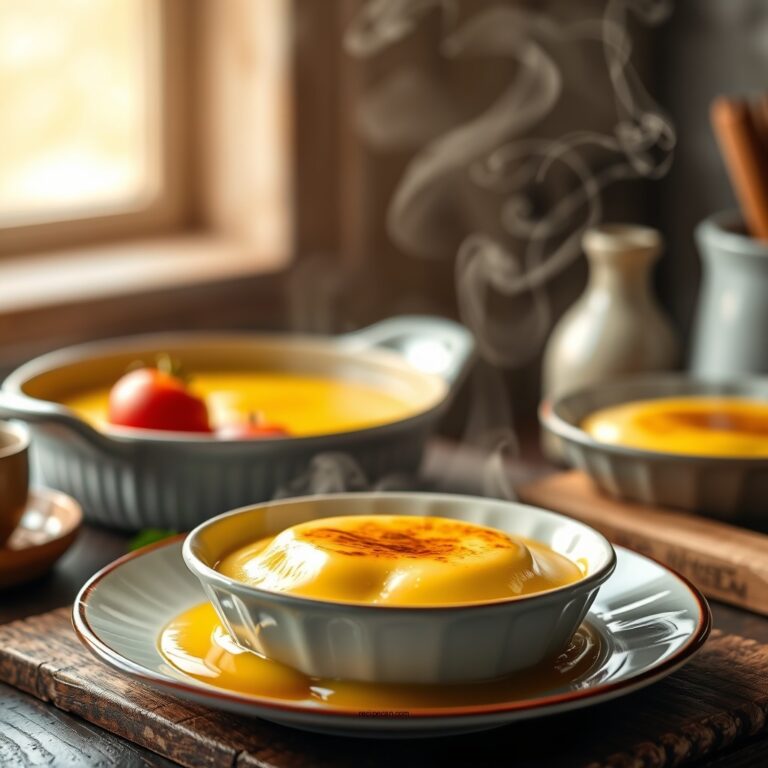
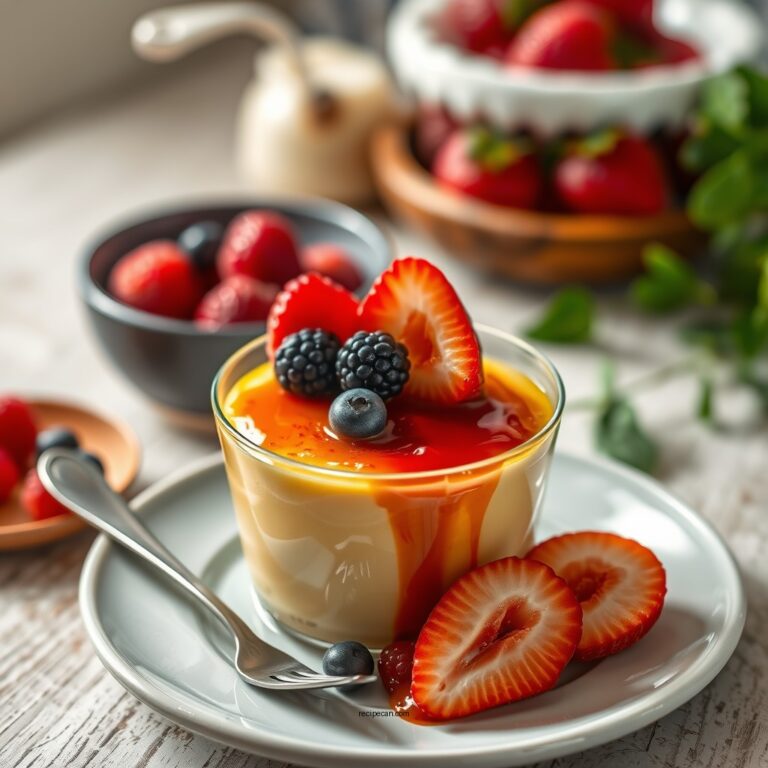
Serving Suggestions
Once your pastéis de nata have cooled, they are ready to serve! For an extra touch, dust them lightly with powdered sugar or a sprinkle of cinnamon.
Best Ways to Enjoy Them, Including Pairing with Beverages
These delightful tarts are best enjoyed warm or at room temperature. Pair them with a robust espresso or a sweet dessert wine to balance the richness of the custard.
Storage Tips
If you have any leftover tarts, proper storage is key to maintaining their deliciousness. Place them in an airtight container in the refrigerator.
Duration for Which They Remain Fresh
When stored correctly, these tarts can last up to 3 days in the fridge, although they are best enjoyed fresh. Reheating them briefly in the oven can help restore their crispness.
Top 7 Ingredients for Authentic Portuguese Custard Tarts
| # | Ingredient | Quantity | Purpose |
|---|---|---|---|
| 1 | All-purpose flour | 2 cups | Base of pastry |
| 2 | Unsalted butter | 1/2 cup | Adds richness |
| 3 | Granulated sugar | 3/4 cup | Sweetens filling |
| 4 | Egg yolks | 6 | Thickens custard |
| 5 | Whole milk | 1 cup | Base for custard |
| 6 | Heavy cream | 1 cup | Adds richness |
| 7 | Cornstarch | 1/4 cup | Stabilizes custard |
Flavor Profiles of Popular Portuguese Tarts
Enjoy your homemade Portuguese custard tarts and share them with loved ones! This recipe not only brings the authentic taste of Portugal right to your kitchen but also offers a rewarding baking experience. Don’t forget to experiment with different toppings and share your creations on social media!
Frequently Asked Questions
What ingredients do I need for a traditional Portuguese custard tart recipe?
To make authentic Portuguese custard tarts, known as “Pastéis de Nata,” you will need puff pastry, milk, heavy cream, sugar, egg yolks, vanilla extract, and ground cinnamon. These key ingredients create the rich, creamy custard filling and flaky crust that are essential to this beloved dessert.
How do I achieve the perfect flaky crust for my Portuguese custard tarts?
To achieve a perfect flaky crust for your Portuguese custard tarts, it’s crucial to use high-quality puff pastry and to keep it cold until baking. Roll the pastry thinly and layer it in the tart molds, allowing the layers to separate during baking. Bake at a high temperature to create steam, which helps puff up the layers for that ideal texture.
Why do my custard tarts crack on top while baking?
Cracking on the surface of your Portuguese custard tarts can occur if the custard is overcooked or if the oven temperature is too high. To prevent this, ensure that you bake the tarts until the custard is just set but still slightly wobbly in the center. Additionally, avoid opening the oven door frequently, as this can cause temperature fluctuations that lead to cracking.
What is the best way to serve Portuguese custard tarts?
The best way to serve Portuguese custard tarts is warm, dusted with a light sprinkle of powdered sugar and a dash of cinnamon. This enhances the flavors and provides a delightful contrast to the creamy custard. Pairing them with a cup of coffee or tea adds to the experience, making it a delightful treat for any occasion.
Which baking method is recommended for making Portuguese custard tarts at home?
The recommended baking method for making Portuguese custard tarts at home is to use a combination of baking in a hot oven and broiling to achieve that signature caramelized top. Preheat your oven to 475°F (245°C) and bake the tarts until the edges are golden brown. Then, briefly broil the tops for a few minutes to achieve a beautiful, charred finish, mimicking the look of those found in Lisbon bakeries.
References
- Pastel de nata
https://en.wikipedia.org/wiki/Pastéis_de_nata - https://www.bbc.co.uk/food/recipes/pasteis_de_nata_12140
https://www.bbc.co.uk/food/recipes/pasteis_de_nata_12140 - https://www.theguardian.com/food/2020/jun/02/how-to-make-pasteis-de-nata-portuguese-custard-tarts-recipe
https://www.theguardian.com/food/2020/jun/02/how-to-make-pasteis-de-nata-portuguese-custard-tarts-recipe - https://www.nytimes.com/2020/06/01/dining/pasteis-de-nata-recipe.html
https://www.nytimes.com/2020/06/01/dining/pasteis-de-nata-recipe.html - https://www.sciencedirect.com/topics/food-science/pasteis-de-nata
https://www.sciencedirect.com/topics/food-science/pasteis-de-nata - Google Scholar Google Scholar
https://scholar.google.com/scholar?q=portuguese+custard+tarts+recipe - Google Scholar Google Scholar
https://scholar.google.com/scholar?q=pasteis+de+nata+recipe - Google Scholar Google Scholar
https://scholar.google.com/scholar?q=traditional+portuguese+custard+tarts - https://www.britannica.com/topic/pasteis-de-nata
https://www.britannica.com/topic/pasteis-de-nata - https://www.cdc.gov/nutrition/index.html
https://www.cdc.gov/nutrition/index.html