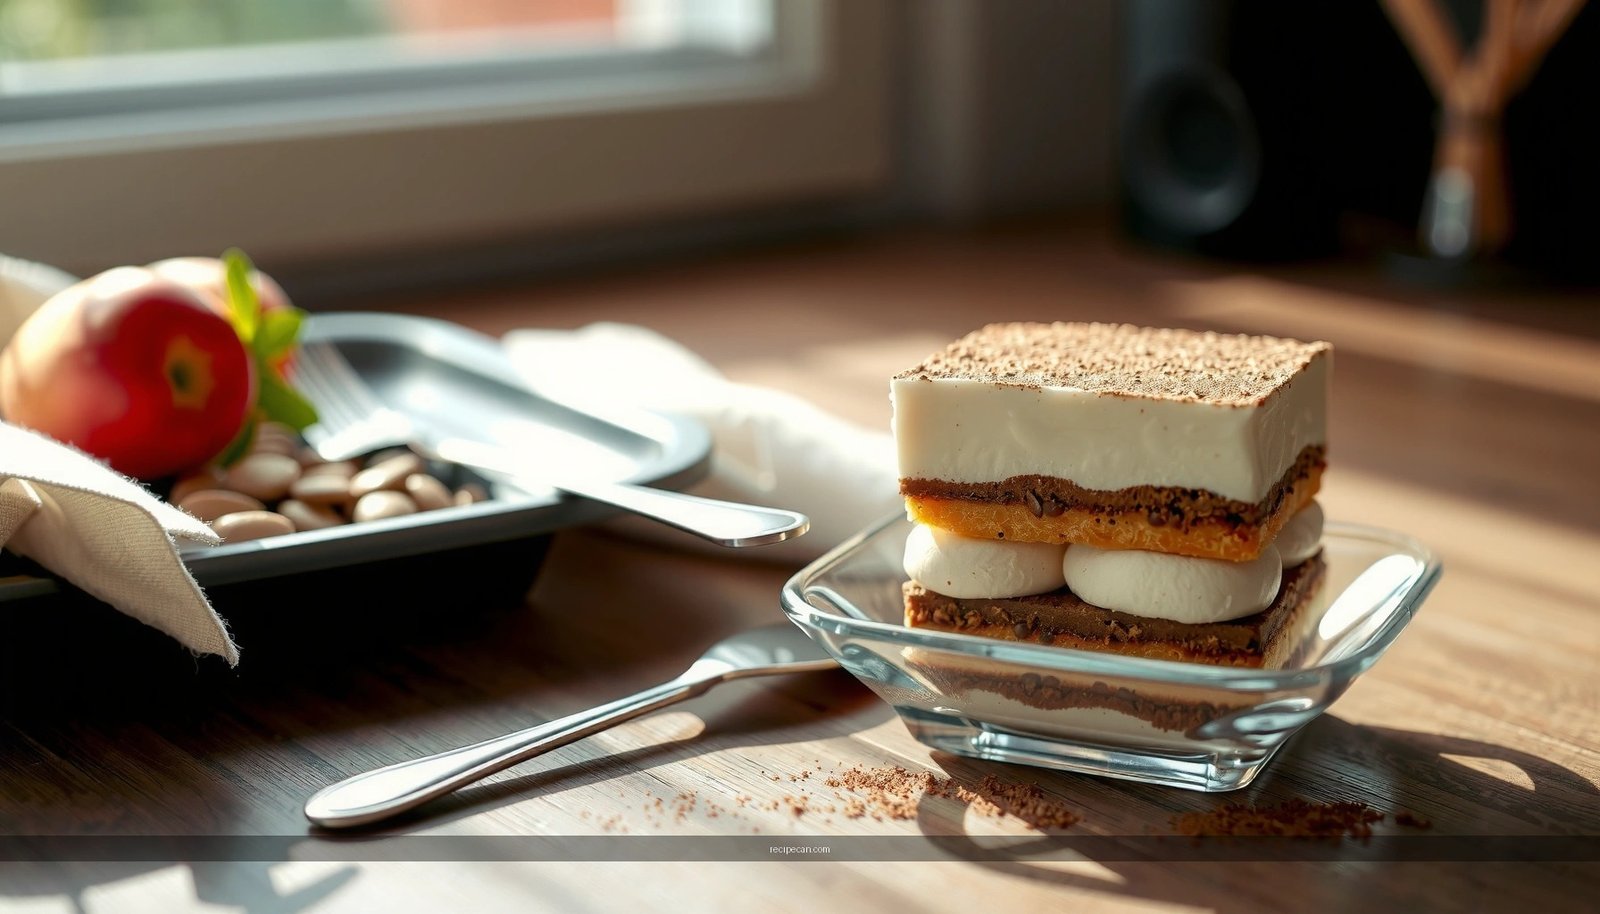
This authentic Italian tiramisu cake recipe delivers the closest thing to a classic café-style slice, with the right balance of espresso-soaked layers, mascarpone richness, and cocoa finish. Follow it exactly and you’ll get a stable, sliceable tiramisu cake—never watery, never grainy, and never overly sweet. If your goal is the most reliable “true” tiramisu cake method, this is the one to make first.
This authentic Italian tiramisu cake recipe delivers true tiramisu taste—espresso-soaked ladyfingers layered with a creamy mascarpone filling—while staying reliable for home bakers. You’ll get the exact ingredient ratios, clear assembly technique, and chilling guidance needed for a tender, sliceable cake that holds its shape.
Classic Ingredients for Authentic Italian Tiramisu Cake

An authentic tiramisu cake starts with the right “flavor foundation” rather than extra bells and whistles. Traditional tiramisu is built on three core elements: mascarpone, strong espresso, and ladyfingers (savoiardi). From there, cocoa provides the final aromatic signature.
What to prioritize for authenticity (and best results):
– Mascarpone: Choose a high-quality mascarpone (not the low-fat versions). True mascarpone is creamy and stable, which helps the filling set without turning grainy or watery.
– Espresso: Use freshly brewed strong espresso or very strong coffee. The goal is intensity, because the cream and cocoa soften bitterness.
– Ladyfingers: Look for classic Italian savoiardi-style ladyfingers (dry, crisp, and able to absorb liquid without collapsing instantly).
– Cocoa powder: Use unsweetened Dutch-process or natural cocoa for that deep chocolate finish. Sift it right before serving to keep it aromatic and smooth-looking.
Recommended ingredient set (for one 9×9 inch / 23×23 cm cake, ~9–12 slices):
– Ladyfingers: 24–28 pieces (depends on thickness and your pan)
– Mascarpone: 16 oz / 450 g
– Espresso: 1 cup / 240 ml, cooled
– Eggs: 3 large (or 4 yolks if you prefer richer custard style; see notes below)
– Granulated sugar: 3/4 cup / 150 g
– Cocoa powder (unsweetened): 2–3 tbsp, plus more for dusting
– Salt: a pinch, to sharpen chocolate/coffee perception
– Optional flavor: 1 tsp vanilla extract (use sparingly—tiramisu should taste like coffee, cocoa, and mascarpone)
Key ratios that prevent “runny” tiramisu cake outcomes
If you’ve struggled with sloppy layers before, it’s usually due to mismatched cream-to-liquid volume or over-soaking the ladyfingers. For this classic-style cake:
– Mascarpone 450 g pairs well with ~240 ml espresso for a strong flavor without waterlogging.
– Cream structure comes from aeration + chilling, not baking.
To help you calibrate your build, here’s a practical comparison of choices that directly affect texture.
Tiramisu Build Parameters (9×9-inch Cake)
| # | Parameter | Typical Target | Why It Matters | Quality Signal |
|---|---|---|---|---|
| 1 | Mascarpone | 450 g | Base cream density | Stable + silky |
| 2 | Espresso Volume | 240 ml | Flavor strength vs sogginess | Coffee-forward |
| 3 | Ladyfinger Dip Time | 1–2 sec/side | Tender vs waterlogged | Holds form |
| 4 | Sweetened Component | 150 g sugar | Balances bitterness + cocoa | Balanced sweetness |
| 5 | Chill Time (Min.) | 4 hours | Cream sets + layers firm | Clean slice |
| 6 | Chill Time (Best) | 8–12 hours | Espresso and cream meld | Peak flavor |
| 7 | Cocoa Dust Timing | Before serving | Prevents dissolving + dullness | Fresh cocoa aroma |
Make the Mascarpone Cream (Texture First)

In a classic Italian tiramisu cake, the mascarpone cream is the structural backbone. If it’s mixed aggressively or warmed too much, it can become loose or grainy. If it’s aerated correctly, it stays thick, spoonable, and slice-friendly.
Step-by-step approach (reliable texture method):
1. Separate eggs (3 large eggs) and ensure everything is cool and clean.
2. Whip yolks with sugar until the mixture looks paler and slightly thickened. This step dissolves sugar so the cream doesn’t feel gritty.
3. Beat mascarpone briefly just to loosen it (don’t keep beating; stop once smooth).
4. Combine gently: Fold the yolk mixture into mascarpone, using slow, deliberate strokes.
5. Optional but common for lift: Whip the whites with a pinch of salt to soft peaks, then fold into the mascarpone base. This improves lightness and helps layers hold.
Texture cues (what “right” looks like):
– The cream should be glossy, thick, and able to mound on a spoon.
– When folded, it should flow slowly rather than pour like a sauce.
– Avoid “overmixing” once egg components are in—overworking can deflate air or warm the dairy.
Chill the cream before assembly. A short refrigeration period—about 20–30 minutes—helps the filling firm up slightly, so it behaves when layered.
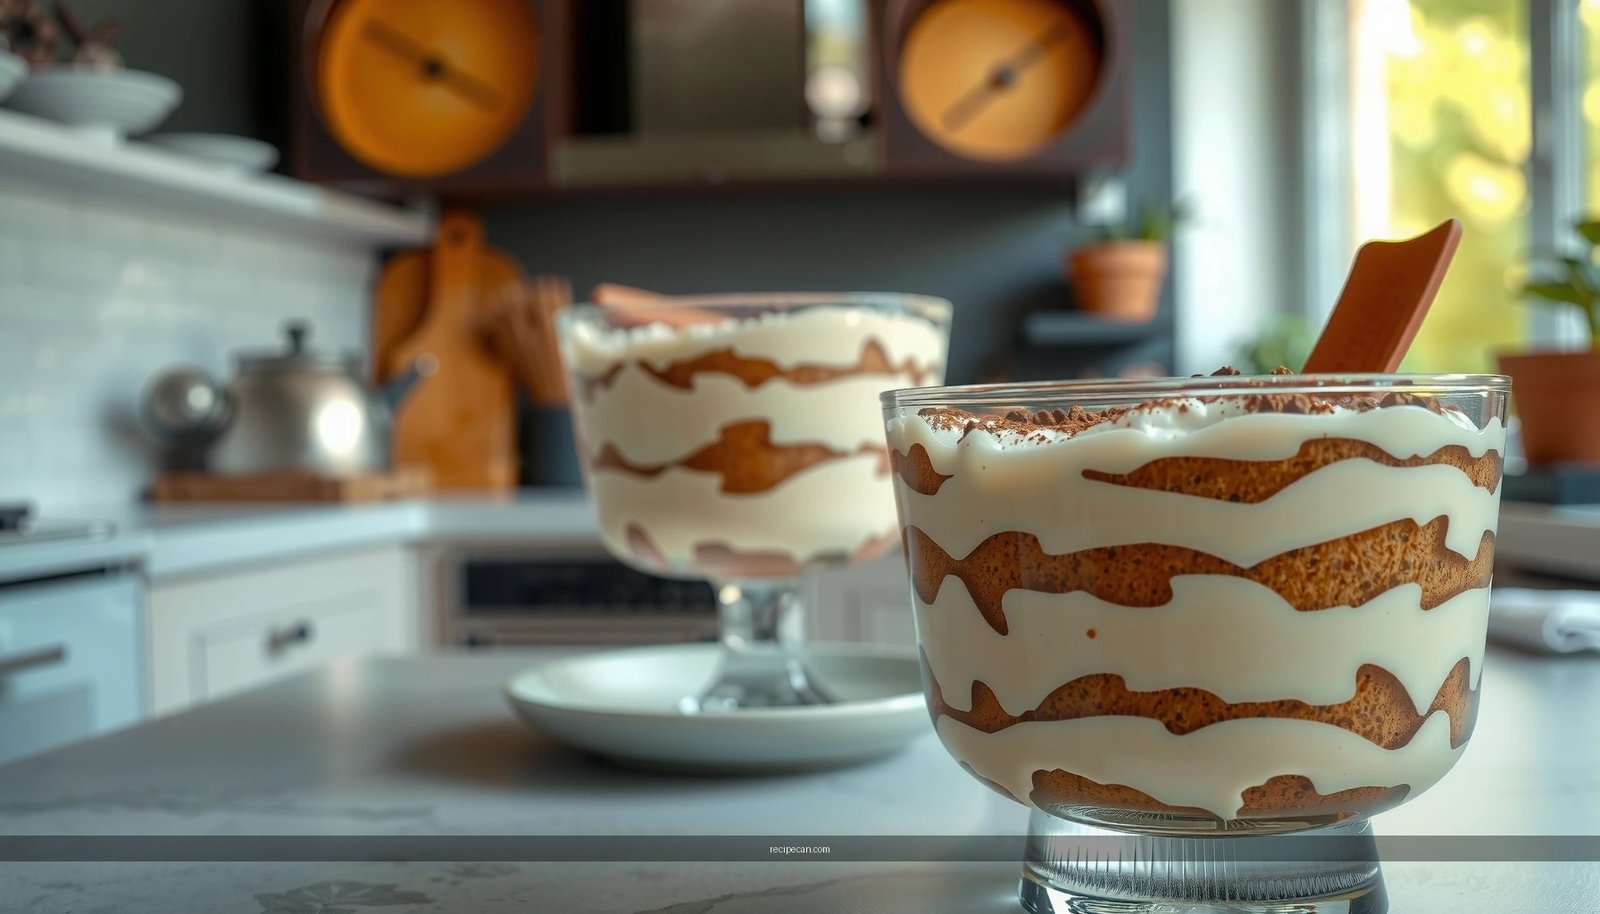
Assemble Layers Like Traditional Tiramisu

Assembly is where tiramisu becomes either elegant or disappointing. The goal is tender ladyfingers with clean structure, meaning you must control moisture absorption.
How to dip ladyfingers correctly:
– Dip each side of a ladyfinger into cooled espresso for about 1–2 seconds per side.
– You’re aiming for a “surface soak,” not a full saturation.
– If you see the cookie immediately breaking apart in the bowl, your espresso is too hot or you’re dipping too long.
Layering strategy for a cake pan:
– Use a lined pan (or a square insert) so you can lift and slice cleanly.
– Start with a thin layer of cream, then add the first row of espresso-dipped ladyfingers.
– Spread cream evenly—use an offset spatula to keep thickness consistent.
– Repeat: ladyfingers → cream until you reach the pan height.
– Finish with cream on top, smooth it, and cover.
Practical example for even slices:
– Arrange ladyfingers tightly so there are no major gaps. Gaps can create weaker “cuts” where the cake collapses.
– Ensure the final top layer is even; uneven cream thickness makes slicing inconsistent.
If your tiramisu cake uses any baked base (some versions do), bake first and chill completely before adding tiramisu layers. Moisture control is still essential even with a crust.
Bake (or Chill) for the Best Tiramisu Cake Structure
Classic tiramisu is typically no-bake, but “tiramisu cake” formats sometimes include a cake base. The best structural outcome depends on which approach you choose.
Option A: Traditional no-bake tiramisu cake
– After assembly, chill until the layers firm up: minimum 4 hours, best 8–12 hours.
– Refrigeration allows mascarpone and egg components to set, and it gives time for espresso and cream flavors to integrate.
Option B: Bake a base, then chill
If your “cake” requires a baked layer (like a sponge or thin cake sheet), bake it first and let it cool completely.
– Then assemble tiramisu layers over the base.
– Chill afterward for the same structural reason: to stabilize the filling.
Checking for set before slicing:
– Press gently on the top cream with a spoon. It should feel firm and cohesive, not jiggly like pudding.
– For extra assurance, slice with a very sharp knife that you wipe between cuts.
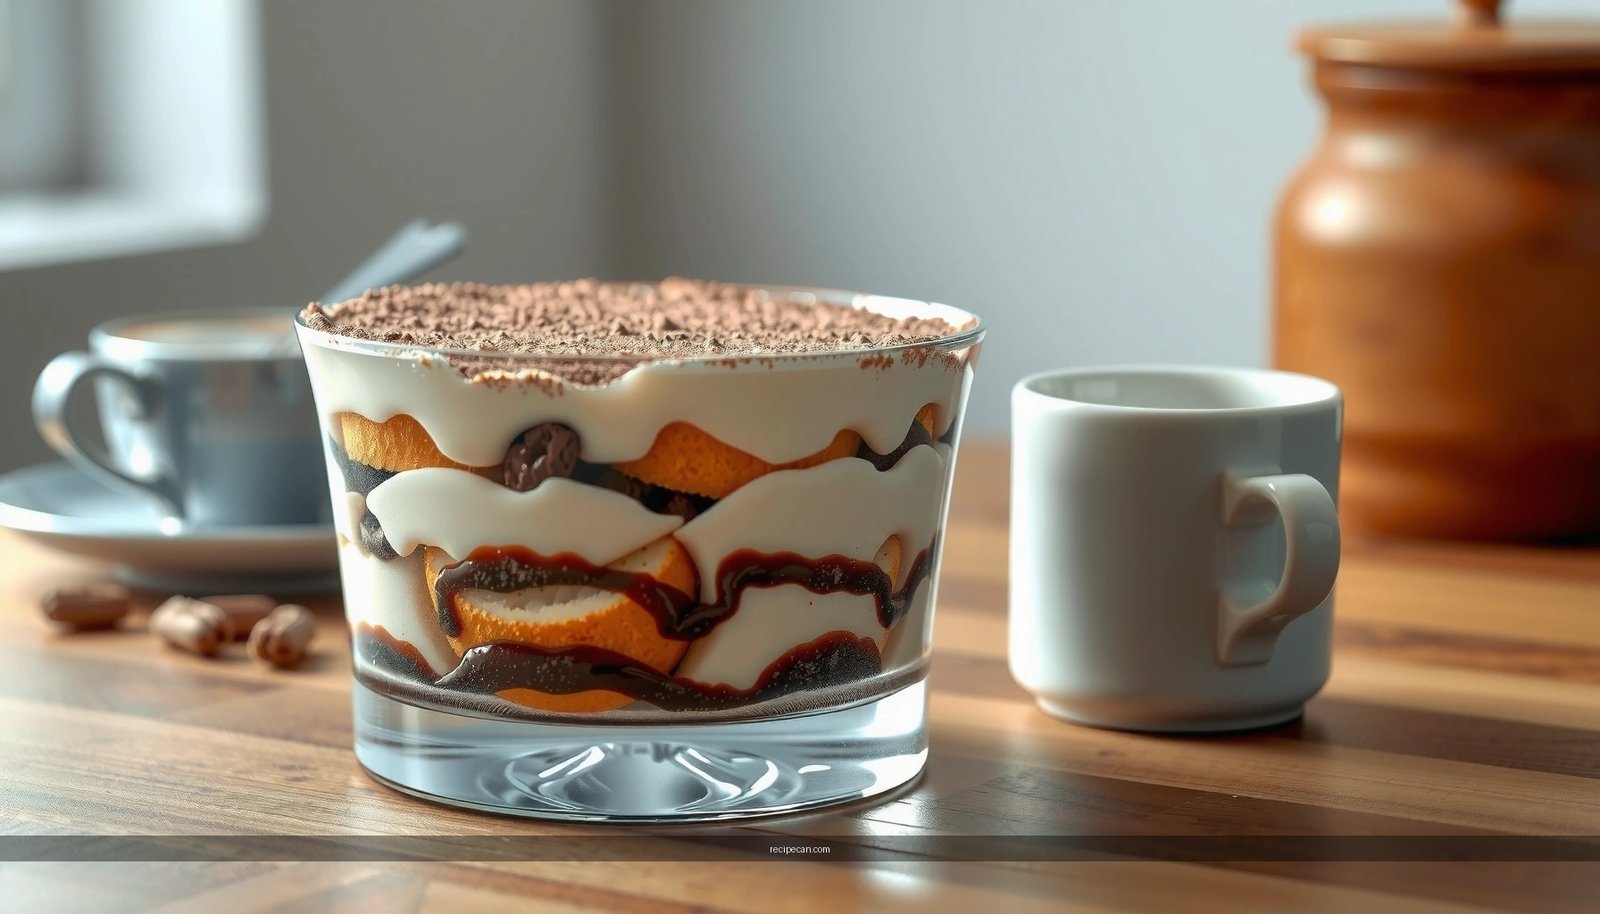
Cocoa, Resting Time, and Serving Tips
Even if your tiramisu cake tastes perfect, presentation and serving technique determine whether it feels “authentic.”
Cocoa finish:
– Sift cocoa powder right before serving. Cocoa absorbs moisture and can dissolve into the cream if left too long.
– Use a light hand for a professional, traditional look—too much cocoa can overwhelm the espresso aroma.
Resting time:
– The cake improves after chilling because espresso flavor diffuses slightly into the ladyfingers and cream.
– For the most balanced taste, chill overnight. Short chill times often taste sharper and less integrated.
Serving for clean slices:
– Chill the cake well, then slice with a sharp knife using one decisive motion.
– Clean the blade between cuts to avoid dragging cocoa and cream.
– Serve chilled—tiramisu is at its best when the cream is set and the texture is dense yet creamy.
Troubleshooting Common Tiramisu Cake Problems
Even with correct technique, small variables—brand of mascarpone, espresso strength, ladyfinger thickness—can change results. Use these fixes to diagnose quickly.
– If it’s too wet:
Reduce dipping time (stick closer to 1 second/side), and spread cream slightly thicker between layers. Also ensure espresso is fully cooled; warm espresso accelerates absorption.
– If it’s too runny:
Chill longer (aim for 8–12 hours) and avoid overmixing the cream once eggs are combined. If you used whipped egg whites, ensure you folded gently to preserve structure.
– If it lacks flavor:
Use stronger espresso or brew concentrated coffee. Also use real cocoa powder (not sweetened drink mixes), and sift it fresh right before serving.
– If the layers collapse when slicing:
Confirm your cake is fully set. Slice with a sharp knife and wipe between cuts. If needed, chill an additional hour before cutting.
This authentic Italian tiramisu cake recipe is all about the right cream texture, quick espresso dipping, and proper chilling for clean slices. Follow the assembly and resting steps, then finish with a light cocoa dusting—then make your next batch and share a slice while it’s perfectly chilled.
Frequently Asked Questions
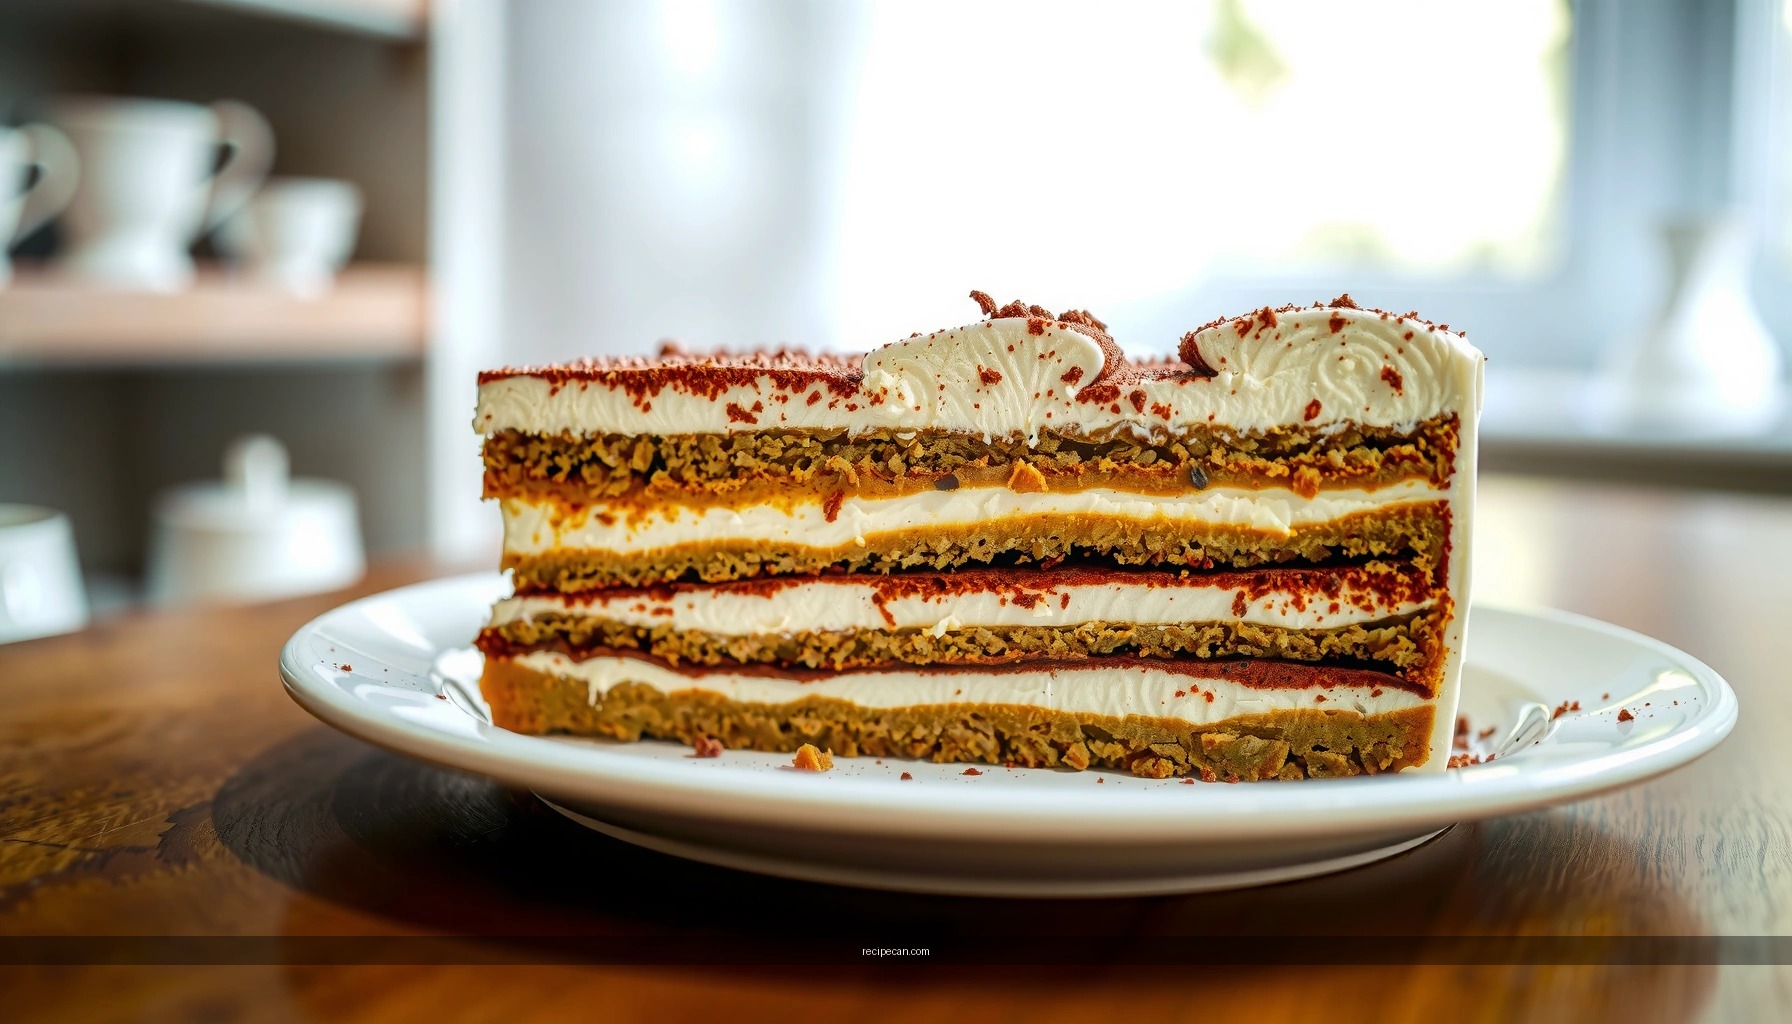
What makes an authentic Italian tiramisu cake different from regular tiramisu?
An authentic Italian tiramisu cake keeps the classic tiramisu flavor profile—espresso-soaked layers and a mascarpone-based cream—while using cake-style structure instead of simple ladyfinger stacking. Traditional Italian recipes also rely on high-quality mascarpone, fresh eggs (or carefully balanced substitutes), and a lighter, less gummy texture. If you’re trying to make it “cake-like,” focus on evenly portioned layers and stable cream consistency so the tiramisu cake slices cleanly.
How do you prepare the espresso for an authentic Italian tiramisu cake?
Brew strong espresso and let it cool slightly so it doesn’t melt the mascarpone cream. For soaking, you want enough liquid to flavor the sponge or cake layers without making them soggy—light, quick dips or brief drizzle works best. Many authentic Italian tiramisu cake recipes add a small splash of Marsala (optional) to deepen the flavor, but keep the coffee as the star.
Why does my tiramisu cake turn out runny, and how can I fix it?
Runny tiramisu cake usually comes from overly wet soaking, mascarpone that wasn’t properly mixed, or cream that wasn’t chilled long enough. Make sure your mascarpone is at the right temperature (not too warm) and whip gently until smooth, then refrigerate for several hours so the Italian tiramisu cream sets. If your layers are too saturated, reduce soaking time and aim for a firm sponge or cake crumb that absorbs without collapsing.
Which eggs method is best for authentic Italian tiramisu cake—raw or pasteurized?
Authentic Italian tiramisu cake often uses raw egg yolks for a silky custard-like mascarpone cream, but food safety matters. If you want the classic texture with less risk, look for pasteurized eggs or use a cooked “sabayon” style method that heats yolks gently with sugar. Either way, whisk thoroughly until the mixture turns pale and creamy, which helps stabilize the cream and improve sliceable results.
What is the best way to assemble and serve an Italian tiramisu cake for clean slices?
Assemble tiramisu cake in layers, keeping the coffee component controlled—soak or drizzle just enough for flavor and then chill. After assembly, refrigerate at least 4–6 hours (or overnight) so the mascarpone cream firms up and the layers meld into an authentic Italian tiramisu texture. Serve chilled and dust with cocoa right before serving to maintain a fresh, non-wet cocoa finish.
References
- Google Scholar Google Scholar
https://scholar.google.com/scholar?q=authentic+italian+tiramisu+recipe - Google Scholar Google Scholar
https://scholar.google.com/scholar?q=tiramisu+mascarpone+savoiardi+coffee+egg+yolks+study - Google Scholar Google Scholar
https://scholar.google.com/scholar?q=classic+italian+tiramisu+recipe+origin - Tiramisu
https://en.wikipedia.org/wiki/Tiramisu - Mascarpone
https://en.wikipedia.org/wiki/Mascarpone - Ladyfingers (biscuits)
https://en.wikipedia.org/wiki/Savoiardi - Espresso
https://en.wikipedia.org/wiki/Espresso - Coffee
https://en.wikipedia.org/wiki/Coffee - Tiramisu | Meaning, Ingredients, Origin, Desserts, & Taste | Britannica
https://www.britannica.com/topic/tiramisu - Google Scholar Google Scholar
https://scholar.google.com/scholar?q=authentic+italian+tiramisu+cake+recipe