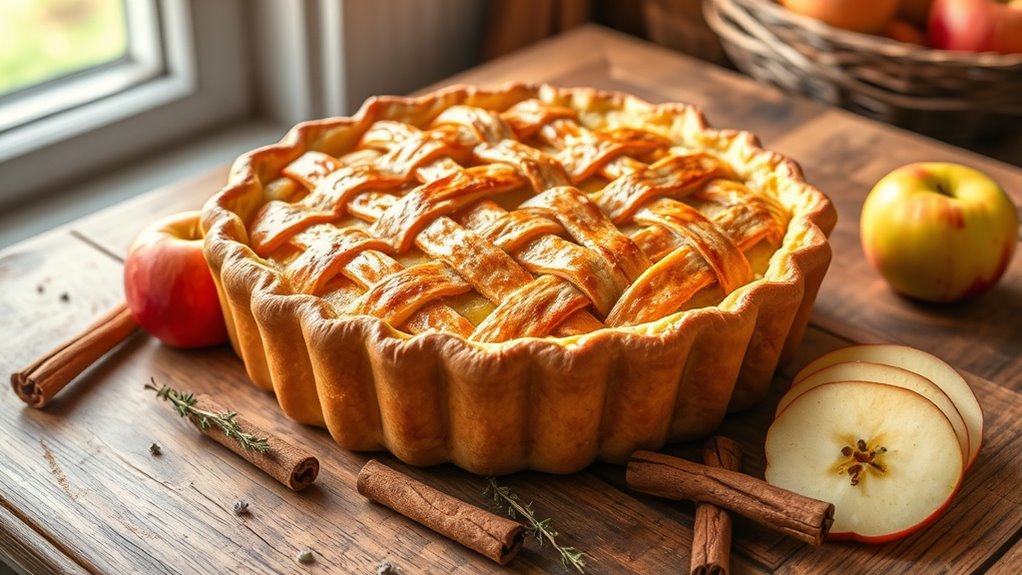
If you’re craving a delicious apple pie, start by gathering 6 cups of sliced apples, ¾ cup of sugar, and 1 tsp of cinnamon. Use Granny Smith for tartness and Honeycrisp for sweetness. Prepare your crust with chilled butter and roll it out on a floured surface. Mix the apples with sugar and cinnamon for a tasty filling. Bake until golden brown, and let it cool before serving. Discover more tips and tricks to make it even better!
Ingredients and Quantity
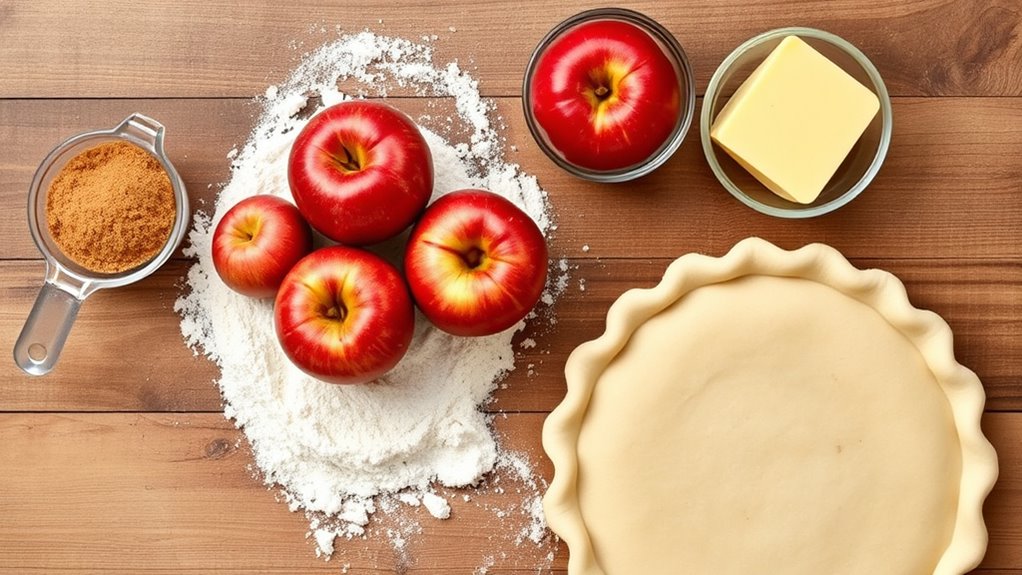
When you plunge into making a classic apple pie, you’ll want to gather a few essential ingredients to guarantee it turns out just right. The beauty of apple pie lies in its classic ingredients, with each one playing a crucial role in creating that perfect balance of sweet and tart. Seasonal variations can add a unique twist, so feel free to experiment!
| Ingredient | Quantity |
|---|---|
| Apples (Granny Smith or Honeycrisp) | 6 cups (sliced) |
| Sugar | ¾ cup |
| Cinnamon | 1 tsp |
With this simple foundation, you’re set to create a delightful masterpiece. Remember, the freedom to adjust flavors is what makes baking exciting! Enjoy the process and let your creativity shine.
Preparations
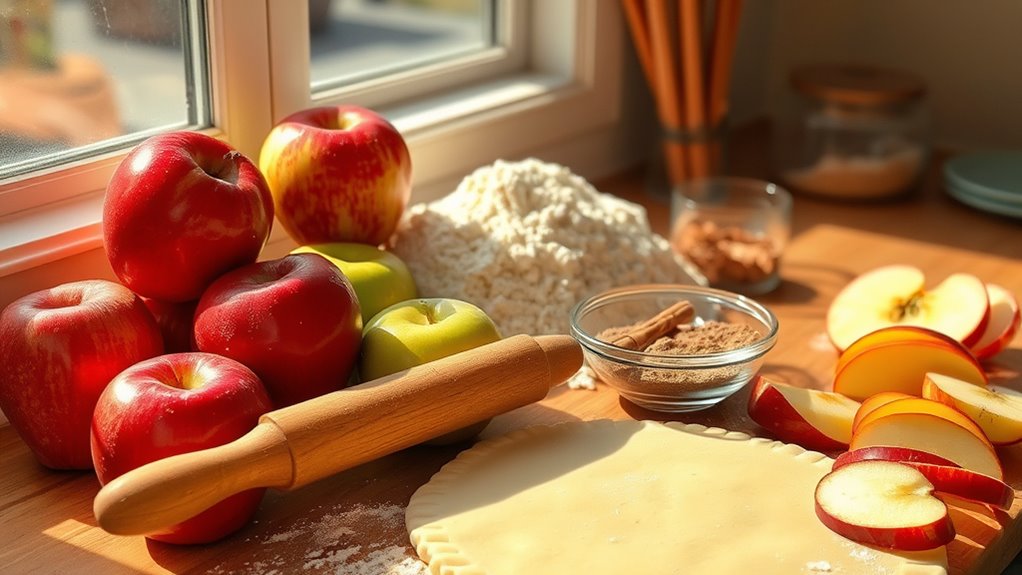
Before you plunge into the baking process, it’s essential to prep your ingredients and tools for a seamless experience. Start by selecting your favorite apple varieties—Granny Smith for tartness, Honeycrisp for sweetness, or a mix for depth. Once you’ve got your apples, peel, core, and slice them evenly to guarantee uniform baking.
Next, focus on your crust techniques. Whether you’re going for a flaky pastry or a crumbly topping, make sure to chill your butter and work with cool ingredients to achieve that perfect texture. Don’t forget to sprinkle a bit of flour on your surface to prevent sticking when rolling out your dough. With everything prepped, you’re ready to create an unforgettable apple pie that celebrates freedom and flavor!
Tools / Kitchenware Required

To create that perfect apple pie, having the right tools and kitchenware at your fingertips makes all the difference. You’ll want to gather a few essentials that help you craft a delicious dessert without a hitch. Here’s a handy list to guide you:
| Tool/Kitchenware | Purpose | Notes |
|---|---|---|
| Rolling Pin | For rolling out pie crust | Opt for a sturdy wooden one |
| Pie Dish | Holds your pie | Glass or ceramic works best |
| Baking Sheets | Catch drips and spills | Keep your oven clean! |
| Apple Peeler | Speed up prep time | Makes peeling a breeze |
With these tools in your arsenal, you’re ready to plunge into the world of apple pie baking! Enjoy the process and let your creativity shine!
How to Cook
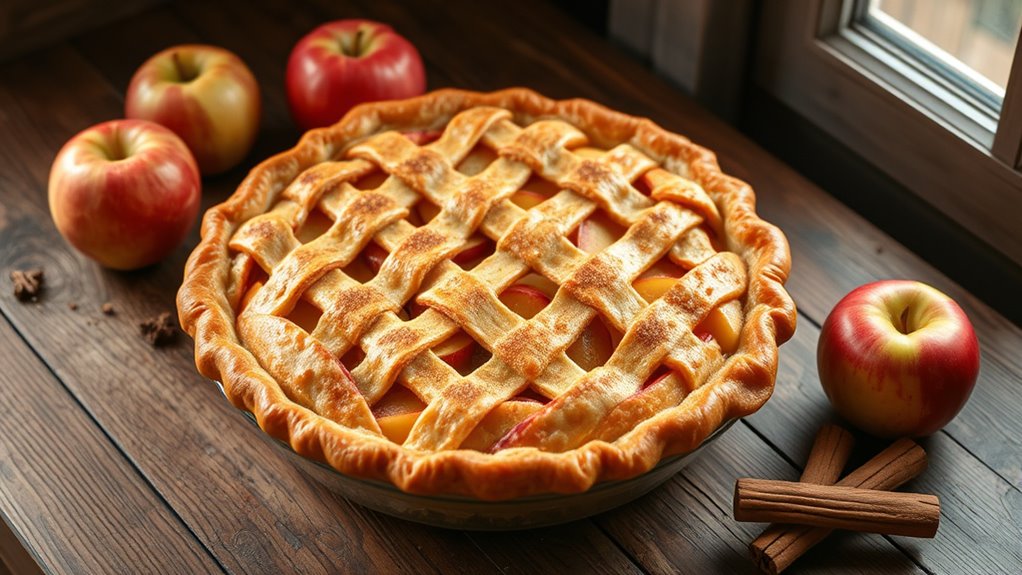
- Begin by selecting your preferred crust style, such as a classic buttery crust or a flaky lattice top.
- Prepare the filling by mixing tart apples with sugar, cinnamon, and a hint of lemon juice.
- Allow the filling ingredients to meld together for enhanced flavor.
- Preheat your oven to ensure even cooking.
- Assemble the pie by placing the filling into the crust.
- Brush the crust with egg wash to achieve a golden finish.
- Bake the pie until the aroma fills your kitchen and the crust turns a perfect shade of brown.
- Enjoy the satisfying reward of your hard work!
How to Serve

After the delightful aroma of freshly baked apple pie fills your kitchen, it’s time to think about how to serve this classic dessert. Consider these presentation styles to elevate your apple pie experience:
After the enticing scent of apple pie wafts through your home, it’s time to consider the perfect serving style to enhance this beloved treat.
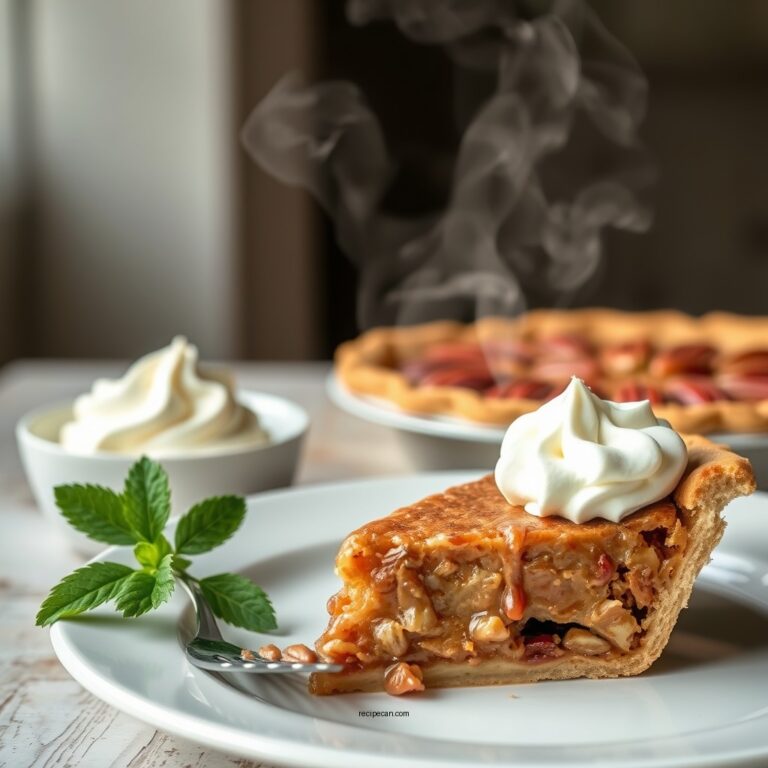
- A warm slice, topped with a scoop of creamy vanilla ice cream, melting gently on the pie’s surface.
- Drizzles of rich caramel sauce, adding a sweet contrast to the tart apples.
- A sprinkle of cinnamon, enhancing the aromatic spices and inviting your guests in.
- Fresh mint leaves as a vibrant garnish, adding a pop of color and freshness.
These serving suggestions not only enhance the visual appeal but also create a multi-sensory experience that celebrates the comforting flavors of apple pie. Enjoy the freedom to experiment with your own unique twists!
Tips
Whether you’re a seasoned baker or trying your hand at apple pie for the first time, a few handy tips can make all the difference in achieving that perfect slice. First, focus on your baking techniques; a flaky crust is essential. Use chilled butter and minimal handling to keep the dough tender. Don’t shy away from flavor variations! Consider adding spices like cinnamon or nutmeg, or even a splash of vanilla for depth. Also, taste your apples before baking—mix sweet and tart varieties for a balanced flavor profile. Finally, let your pie cool before slicing; this helps the filling set beautifully. With these tips, you’ll be well on your way to creating a mouthwatering apple pie that everyone will love!
Food Value and Benefit
Apple pie is not only a delicious dessert but also provides valuable nutrients that contribute to your overall health. This classic treat combines several ingredients that offer both flavor and nutritional benefits.
Food Value of Apple Pie:
- Made with apples rich in dietary fiber, vitamin C, and antioxidants
- Contains cinnamon, which adds beneficial compounds that may help regulate blood sugar
- A buttery crust that supplies carbohydrates and fats, providing energy
- Lemon juice contributes additional vitamin C
Benefits of Eating Apple Pie:
- Supports digestive health due to the high fiber content from apples
- Provides antioxidant protection that helps combat free radicals
- May aid in blood sugar control thanks to the cinnamon
- Supplies essential vitamins and minerals such as vitamin C, potassium, and small amounts of calcium and iron
- Offers a comforting energy boost from carbohydrates and fats in the crust
Including apple pie as an occasional treat allows you to enjoy a sweet indulgence while benefiting from the vitamins, minerals, and antioxidants present in its wholesome ingredients.
Frequently Asked Questions
Can I Use Frozen Apples for Apple Pie?
Absolutely, you can use frozen apples for your apple pie! Think of them as little time capsules, preserving the sweet essence of fall. The benefits of frozen apples are their convenience and year-round availability. When you’re ready to bake, try using the microwave for quick thawing or letting them sit in the fridge overnight. Just remember to drain excess moisture to keep your pie crust crisp. Enjoy the freedom of baking with seasonal flavors anytime!
What Are the Best Apple Varieties for Pie?
When you’re choosing apples for pie, Granny Smith is a classic for its tartness, balancing sweetness perfectly. Honeycrisp brings a delightful crunch and juicy flavor, making your pie extra special. Fuji offers a sweeter profile, while Braeburn combines tart and sweet notes beautifully. Each variety adds its own unique charm, so mix and match to discover your favorite combination. You’ll create a pie that celebrates freedom in flavor and indulgence!
How Can I Prevent a Soggy Bottom Crust?
To prevent a soggy bottom crust, start by blind baking your crust. This means pre-baking it before adding filling. Use weights, like beans or pie weights, to keep it from puffing up. Bake until it’s lightly golden. Another tip is to brush the crust with egg wash or melted butter before adding the filling. This creates a barrier against moisture. With these crust tips, you’ll enjoy a perfectly crisp bottom every time!
Is It Necessary to Peel Apples for Pie?
You don’t have to peel apples for pie, but oh, the textures! Leaving the skin on can transform your pie into a crunchy, flavorful masterpiece. With the right peeling techniques, though, you can embrace the flavors of tender apple flesh, creating a melt-in-your-mouth experience. Imagine every bite bursting with juicy goodness! If you crave that perfect balance, try a mix of peeled and unpeeled apples for a deliciously adventurous twist. Enjoy the freedom of choice!
How Long Does Apple Pie Last at Room Temperature?
Apple pie can last at room temperature for about two days if you follow proper storage guidelines. Keep it covered with foil or plastic wrap to protect it from air and moisture. If you’re planning to savor it longer, consider refrigerating it after that initial period. Just remember, the flavors and textures are best enjoyed fresh! So, if you want that homemade goodness, indulge within those two days for a delightful experience.
References
- https://en.wikipedia.org/wiki/Apple_pie
- https://www.foodsafety.gov/food-safety-charts/food-safety-apple-pie
- https://www.abc.net.au/food/apple-pie/
- https://www.history.com/topics/food/apple-pie
- https://www.nutrition.gov/topics/food-safety/food-safety-apple-pie
- https://www.extension.umn.edu/food/recipes/apple-pie/