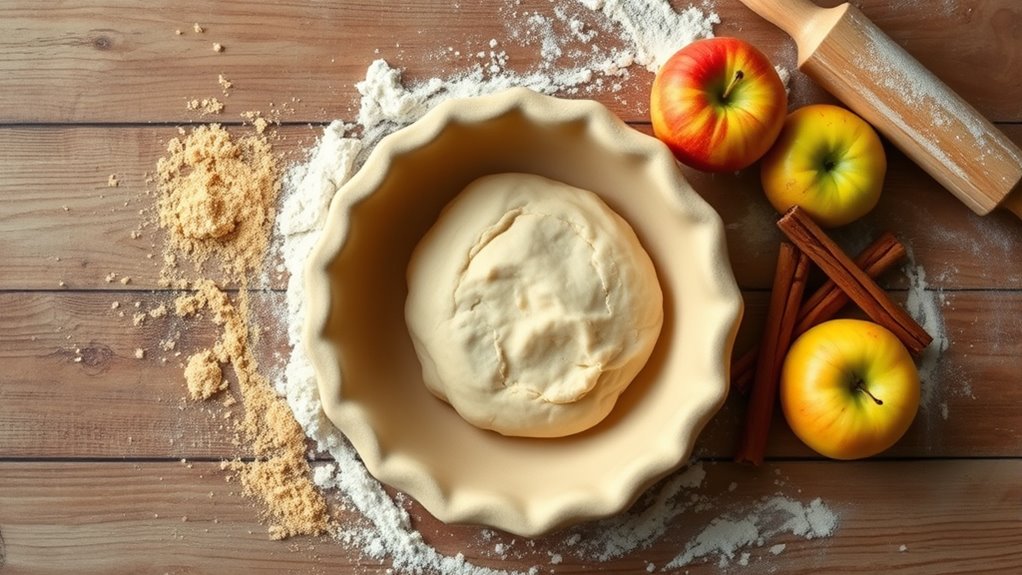
To make a flaky apple pie crust, mix 2 ½ cups of all-purpose flour, 1 cup of chilled unsalted butter, 1 tablespoon sugar, and ½ teaspoon salt. Chill the dough for at least 30 minutes after mixing, then roll it out to 1/8 inch thick. Transfer it to a pie dish and blind bake for 10 minutes. Fill with spiced apples and bake at 425°F (220°C) for 45-50 minutes. Discover tips for achieving the perfect crust!
Ingredients and Quantity
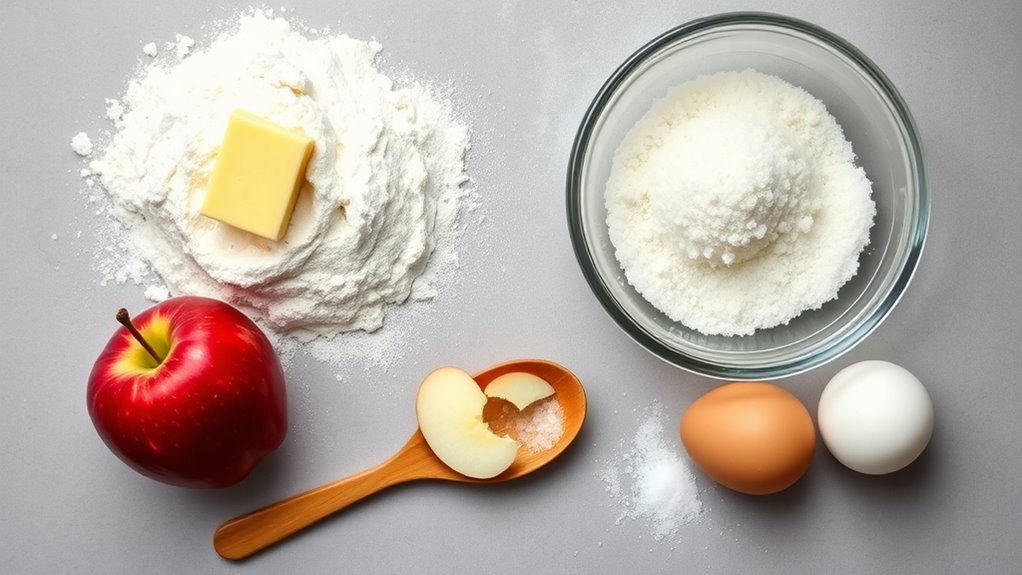
When it comes to crafting the perfect apple pie crust, you’ll need just a handful of essential ingredients to get started. The choices you make can elevate your crust to new heights, so let’s explore some key elements.
| Ingredient | Quantity |
|---|---|
| All-purpose flour | 2 ½ cups |
| Unsalted butter | 1 cup (chilled) |
| Sugar | 1 tablespoon |
| Salt | ½ teaspoon |
For those seeking alternatives, consider using whole wheat flour for a nutty flavor or coconut oil as a butter substitute. Embrace these options to create a crust that reflects your personal taste while staying true to the classic apple pie experience!
Preparations
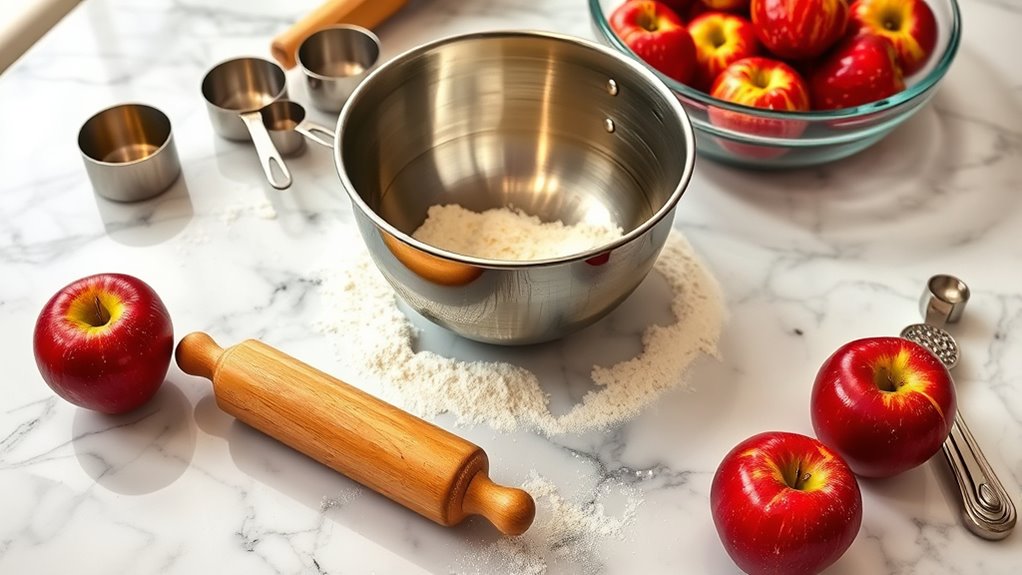
Before diving into the preparation of your apple pie crust, it’s essential to create a cool and organized workspace. A tidy environment makes dough handling easier and enhances your pie crust techniques. Gather everything you need to guarantee a smooth process.
- A clean, flat surface to roll out the dough
- Measuring cups and spoons for precise ingredients
- A mixing bowl for combining dry and wet ingredients
- Plastic wrap to keep your dough cool
- A rolling pin for even dough thickness
With everything in place, you’ll feel empowered to create a flaky, delicious crust. Remember, taking the time to prepare your workspace is just as important as the ingredients themselves. Happy baking!
Tools / Kitchenware Required
To create a perfectly flaky apple pie crust, you’ll need a few essential tools that make the process smoother and more enjoyable. A good rolling pin is vital for rolling out your dough evenly, guaranteeing it’s just the right thickness. You’ll also need a sturdy pie dish, as it holds your crust and filling while baking to perfection.
Here’s a quick overview of the tools you’ll want to gather:
| Tool | Purpose |
|---|---|
| Rolling Pin | Rolls out the dough to the desired thickness |
| Pie Dish | Holds the crust and filling during baking |
| Pastry Brush | Applies egg wash for a golden finish |
| Measuring Cups | Guarantees accurate ingredient amounts |
With these tools in hand, you’re ready to craft a delicious apple pie crust!
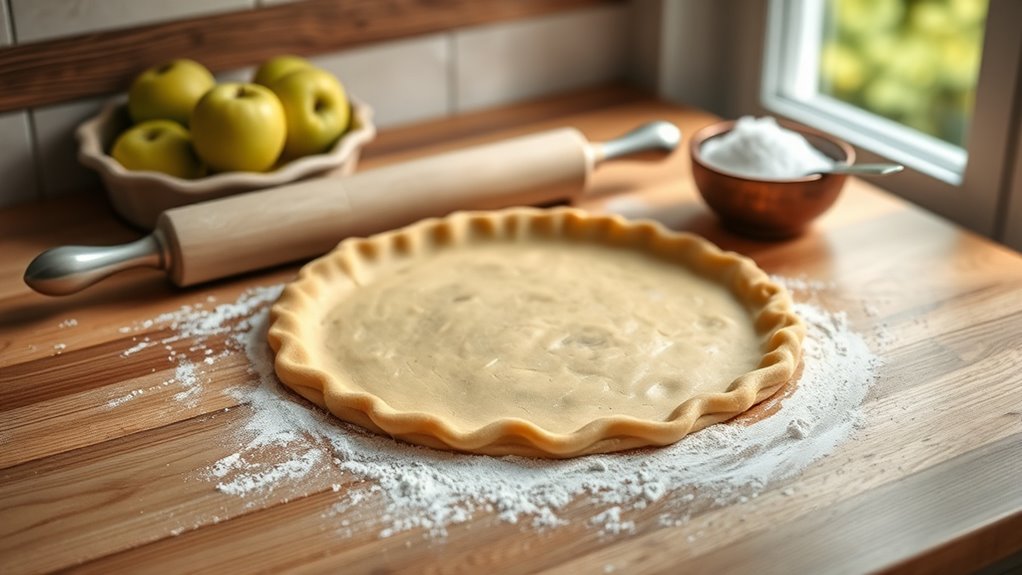
How to Cook
- Preheat your oven to 425°F (220°C) to prepare for baking the apple pie.
- Roll out your chilled dough to about 1/8 inch thickness.
- Transfer the rolled dough to your pie dish and trim the edges for a clean finish.
- Blind bake the bottom crust for 10 minutes to prevent sogginess.
- Use a fork to poke holes in the crust to allow steam to escape.
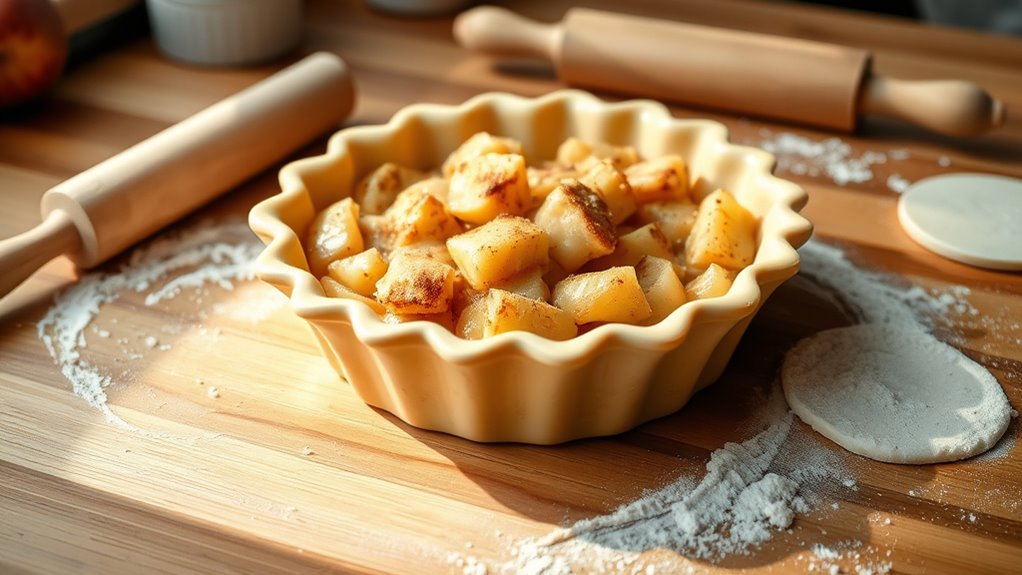
- Fill the crust with your spiced apple mixture, heaping it for an inviting look.
- Crumble a bit of butter on top for added richness.
- Bake the pie for 45-50 minutes until the crust is golden brown and flaky.
- Enjoy your perfectly baked apple pie!
How to Serve

Once your apple pie has cooled to a warm temperature, serving it becomes a delightful experience. You can elevate your presentation with a few simple serving suggestions. Consider slicing the pie into generous wedges, showcasing the beautiful apple filling and flaky crust. A dusting of powdered sugar adds a touch of elegance. For a burst of flavor, serve each slice with a scoop of vanilla ice cream or a dollop of freshly whipped cream. Adding a sprinkle of cinnamon or nutmeg can enhance the aroma and taste. You might also consider garnishing with thin apple slices or mint leaves for color. With these presentation ideas, your apple pie will not only taste fantastic but also look irresistible on the table.
Tips
While baking an apple pie can seem intimidating, a few helpful tips can make the process much smoother and more enjoyable. Mastering pie crust is all about precision and practice, so don’t worry if it takes a couple of tries to get it just right. Here are some essential baking techniques to guide you:
- Chill your butter and water before mixing; it helps create a flaky crust.
- Don’t overwork the dough; this can lead to a tough texture.
- Let the dough rest in the fridge for at least 30 minutes to relax the gluten.
- Use a rolling pin dusted with flour to prevent sticking.
- Brush the crust with egg wash for a golden finish.
With these tips, you’ll be well on your way to a delicious apple pie!
Food Value and Benefit
Baking an apple pie results in a delicious dessert that offers several nutritional benefits. The combination of apples and whole-grain flour makes this dish both flavorful and nutritious.
Food Value of Prepared Apple Pie:
- Rich in dietary fiber from apples and whole-grain flour, aiding digestion.
- Contains essential vitamins such as Vitamin C and Vitamin A from apples.
- Provides important minerals including potassium, calcium, and iron.
- Contains antioxidants that help combat oxidative stress.
Benefits of Eating This Recipe:
- Supports heart health by promoting healthy cholesterol levels.
- Enhances digestive health due to its high fiber content.
- Provides a good source of energy with balanced carbohydrates and healthy fats.
- Helps maintain immune function with Vitamin C.
- Offers a wholesome treat that can be customized by adjusting sugar levels to fit different dietary needs.
Frequently Asked Questions
Can I Use Store-Bought Pie Crust Instead of Homemade?
Absolutely, you can use store-bought pie crust for your baking needs! Store-bought convenience saves you time, letting you focus on the filling instead. However, don’t overlook the homemade benefits—there’s something special about crafting your own crust from scratch, resulting in a flaky texture and personalized flavor. If you’re short on time, go for the store-bought option; but if you’re feeling adventurous, homemade might just elevate your pie to a whole new level!
How Do I Store Leftover Pie Crust?
To store leftover pie crust, wrap it tightly in plastic wrap or place it in an airtight container. You might think it’s just as easy to leave it out, but that’ll lead to a dried-out mess. For best results, refrigerate it for up to three days or freeze it for longer storage—just thaw it in the fridge when you’re ready to use it again. These storing tips will keep your pie crust fresh and ready for your next baking adventure!
What Can I Substitute for Butter in the Crust?
You can easily substitute butter in your crust with coconut oil or vegetable shortening. If you choose coconut oil, it’ll give your crust a subtle, nutty flavor while keeping it flaky. Just melt it slightly before mixing. Vegetable shortening, on the other hand, creates a tender and airy texture, perfect for those who want that classic pie feel. Both options provide delicious alternatives, allowing you to enjoy your baking without compromise.
How Long Does the Pie Crust Last in the Freezer?
Your pie crust can last up to three months in the freezer if stored properly. For best results, wrap it tightly in plastic wrap and then place it in a freezer bag. This’ll prevent freezer burn and keep it fresh. When you’re ready to use it, just thaw it in the fridge overnight. With these freezing tips, you’ll always have a ready-to-go crust for your baking adventures! Enjoy the freedom of spontaneity in your kitchen!
Can I Make the Crust Gluten-Free?
Yes, you can definitely make a gluten-free crust! There are plenty of gluten-free flours like almond, coconut, or a blend of rice and tapioca flour that work well. These pie crust alternatives can give you that flaky texture you crave. Just remember to adjust the liquid and fat ratios a bit, as gluten-free flours absorb differently. With the right combinations, you’ll create a delicious crust that everyone can enjoy!
References
- https://en.wikipedia.org/wiki/Pie_crust
- https://www.usc.edu/dept/pubrel/educational/food/Apple_Pie_Crust_Recipe.pdf
- https://www.foodsafety.gov/keep/charts/piechart.html
- https://www.extension.iastate.edu/foodsource/recipes/apple-pie-crust
- https://www.kingarthurbaking.com/recipes/pie-crust-recipe
- https://www.nytimes.com/2021/11/24/dining/apple-pie-recipe.html
- https://www.seriouseats.com/the-best-apple-pie-recipe-5114861