This apple milkshake recipe delivers a creamy, sweet shake in minutes, with a real apple flavor that actually shows up in every sip. You’ll get the best results for a thick, dessert-style texture—using fresh apple or quick apple compote plus simple pantry ingredients. Follow the steps and you’ll have a cold, spoonable milkshake that beats store-bought sweetness without the hassle.
This apple milkshake recipe blends fresh (or cooked) apples with cold milk into a creamy, sweet treat in minutes—no complicated steps required. With the right apple variety and a simple “blend-then-thicken” method, you’ll consistently get a silky texture that’s easy to customize for sweetness, thickness, and flavor.
Ingredients for an Apple Milkshake

A great apple milkshake starts with a balanced ingredient set: fruit for flavor, dairy (or a substitute) for body, and optional seasonings for depth. Use this list as your baseline, then adjust to your preferences and dietary needs.
– Fresh apples (or apple sauce) and cold milk for a thick, refreshing base
– Fresh apples: Choose firm apples that hold up in the blender. Removing the core is recommended; you can leave the skin on for extra aroma and color (just ensure you wash thoroughly).
– Apple sauce: Works especially well when apples are less crisp or out of season. It also streamlines preparation and helps the milkshake blend smoothly.
– Optional add-ins like ice cubes, cinnamon, and vanilla extract
– Ice cubes: Increase thickness while keeping flavors bright.
– Cinnamon: Adds “apple pie” warmth and pairs naturally with tart apple varieties.
– Vanilla extract: Rounds out the taste and makes the shake feel more dessert-like.
Pro approach: For best results, keep your milk cold. Cold dairy helps the shake emulsify faster and reduces the chance of a thin, watery texture.
Quick ingredient ratios (for consistent results)
Use these starting points and scale up:
– 1 to 1½ cups chopped apples (or ½ to ¾ cup apple sauce)
– ¾ to 1 cup cold milk
– 4 to 8 ice cubes (optional, for thickness)
– 1 to 2 tsp sugar or sweetener *only if needed*
– ¼ to ½ tsp cinnamon and ½ tsp vanilla (optional)
—
Apple Flavor Profile Cheat Sheet for Milkshakes
| # | Apple variety | Typical sweetness (1–5) | Best use in shake | Estimated sugar need vs. tart apples |
|---|---|---|---|---|
| 1 | Honeycrisp | 4 | Balanced “crisp & creamy” | Low |
| 2 | Gala | 4 | Sweet, family-friendly shakes | Low to moderate |
| 3 | Fuji | 5 | Dessert-style caramel vibe | Very low |
| 4 | Braeburn | 3.5 | Bright flavor with mild bite | Moderate |
| 5 | Granny Smith | 2.5 | Tart “bar” apples with cinnamon | Higher |
| 6 | Pink Lady (Cripps Pink) | 4 | Smooth, aromatic sweetness | Low to moderate |
| 7 | Jonathan | 3 | Classic “spiced apple” profile | Moderate to higher |
Step-by-Step Apple Milkshake Instructions

The method matters as much as the ingredients. For a creamy apple milkshake, you want full fruit breakdown without warming the mixture or leaving chunks.
– Blend apples with milk first, then add ice for extra creaminess
1. Prepare the apples: Wash, core, and chop into small pieces (rough cubes are fine). If using apple sauce, skip chopping.
2. Start the blend: Add chopped apples (or apple sauce) and cold milk to the blender first. Blend until the mixture is smooth, typically 20–45 seconds depending on your blender strength.
3. Add ice last: Add ice cubes gradually and blend again until thick and frosty. If your blender is powerful, you can add the ice in one go; otherwise, do it in batches to avoid strain and uneven texture.
– Taste and adjust sweetness before serving
After blending, taste immediately. Apples vary widely in sweetness; adjusting at the end gives you control and prevents an overly sugary shake.
– If it tastes flat or too tart, add 1–2 tsp sugar, honey, or maple syrup and blend for 10–15 seconds.
– If it tastes too sweet, balance with a small squeeze of lemon juice or an extra pinch of cinnamon.
Analytical note: why this order works
Blending apples with milk first allows the blender blades to process fruit properly in a liquid environment. Adding ice afterward increases viscosity through rapid chilling and partial dilution control—key for achieving that “milkshake” mouthfeel rather than a thin smoothie.
Best Apples and Flavor Boosters

Choosing the right apple variety is the easiest way to guarantee a superior outcome. Think in terms of sweetness vs. tartness, then use boosters to fine-tune.
– Choose crisp, sweet-tart apples (like Honeycrisp or Granny Smith) for balanced flavor
– Honeycrisp: Known for crisp texture and naturally balanced sweetness—ideal for a creamy shake that isn’t cloying.
– Granny Smith: Tart and vivid—great if you want a more “grown-up” flavor and plan to sweeten slightly.
– Add cinnamon or a splash of lemon juice to enhance the apple taste
– Cinnamon: Acts like a flavor amplifier, reinforcing warm apple notes and making the shake feel richer even with less added sugar.
– Lemon juice: Especially useful with sweeter apples. A small amount sharpens aroma and prevents the milkshake from tasting one-dimensional.
Practical flavor pairing guidance
– If you’re using tart apples, lean toward cinnamon + vanilla.
– If you’re using very sweet apples, lean toward lemon juice + cinnamon (and reduce added sweetener).
Texture and Thickness Tips

Achieving the right thickness is where most apple milkshake attempts succeed or fall short. The goal is viscosity without sacrificing blendability.
– Use frozen apple slices or extra ice to thicken without thinning
– Frozen apple slices: Boost thickness while contributing less extra liquid than adding more milk.
– Extra ice: Works fast, but add gradually so you don’t dilute sweetness or overwhelm the blender.
– For a thicker shake, add a bit of yogurt or a small scoop of ice cream
If you want a more indulgent “soft-serve” feel:
– Yogurt (2–4 tbsp): Improves creaminess and adds a subtle tang that complements apples.
– Ice cream (¼ to ½ cup): Creates a dessert-like texture; reduce milk slightly to keep it spoon-thick.
Troubleshooting (common texture issues)
– Too thin: Increase ice, or add 1–2 tbsp yogurt; blend again.
– Too thick/chunky: Add a small splash of milk and blend for 10–15 seconds.
– Grainy texture: Likely under-blended fruit—blend longer before adding ice.
Make It Ahead and Serve Ideas
Apple milkshakes are best fresh, but smart preparation can still improve convenience—especially for entertaining or batch planning.
– Blend right before serving for the creamiest consistency
When you blend, you create an emulsion. As it sits, air and cold temperature shift, and the shake may loosen. Blending last keeps it silky.
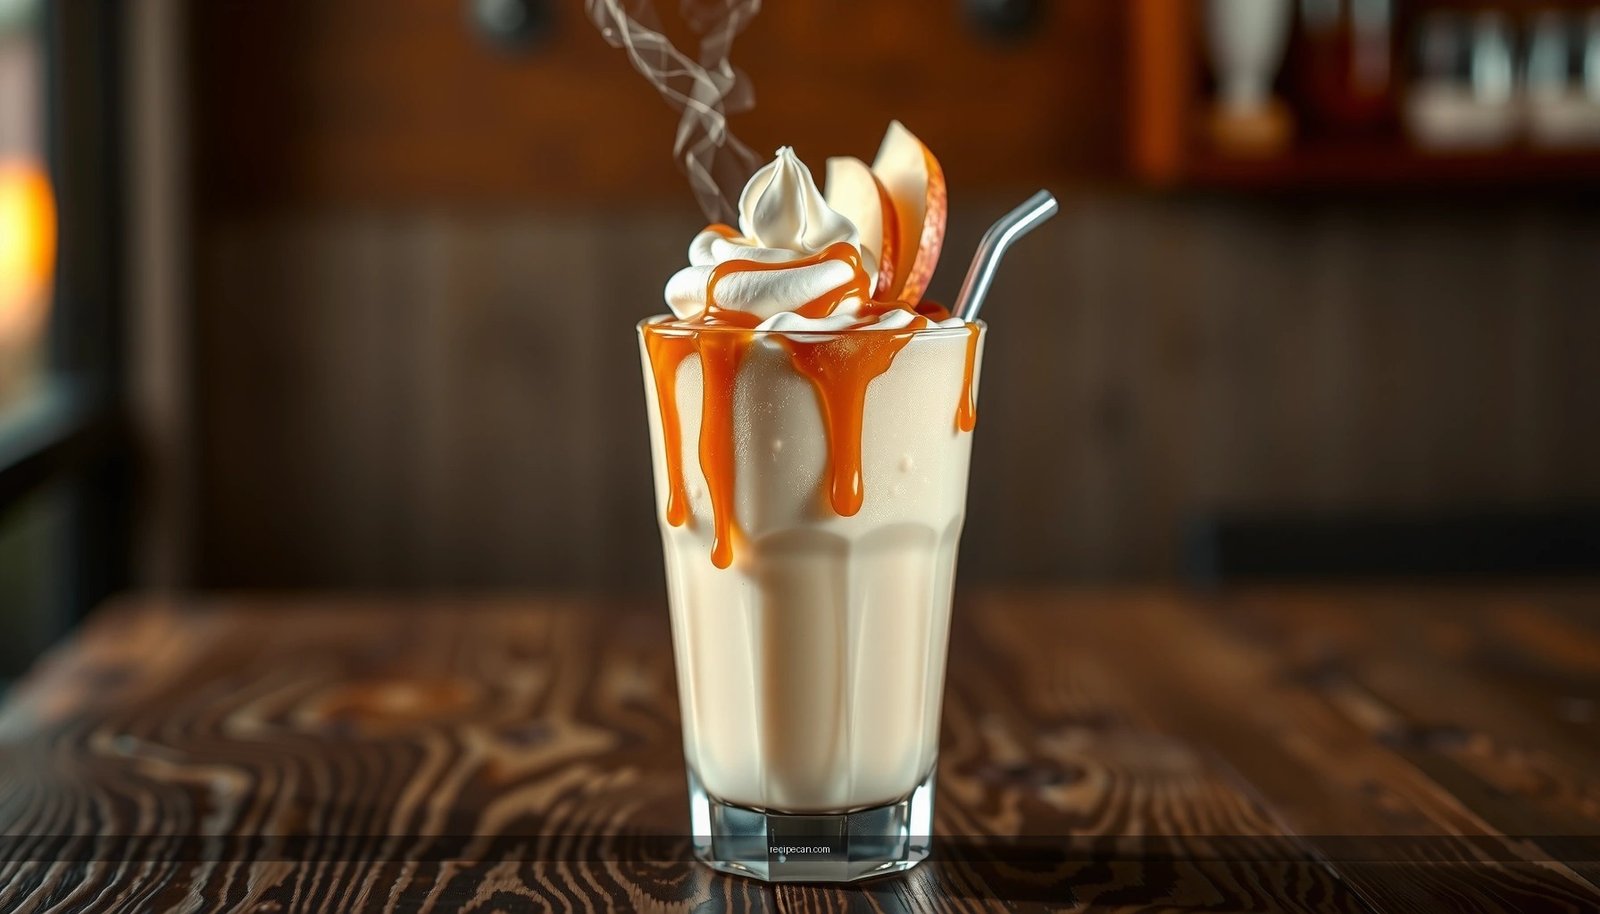
– Garnish with apple slices, cinnamon, or a drizzle of caramel (optional)
Presentation matters for perceived quality. Simple garnishes can make the drink feel café-level:– Thin apple slices (for brightness and aroma)
– A cinnamon dusting (adds warmth visually)
– Caramel drizzle (optional, for a richer dessert profile)
Service-ready options
– Chill your glasses for 10 minutes before pouring—this helps maintain thickness longer.
– Serve with a thick straw or small spoon if you’ve added ice cream or yogurt for extra body.
Variations to Try
One of the strongest advantages of an apple milkshake is how easily it adapts to different tastes and dietary needs. Here are three high-impact variations.
– Use caramel apple flavors for a richer dessert-style shake
Blend with:
– Caramel sauce (1–2 tbsp) or salted caramel syrup
– A pinch of cinnamon and a little vanilla
Optionally, finish with a caramel drizzle and a tiny pinch of flaky salt for a “caramel apple” effect that tastes more complex than it is.
– Try a dairy-free version with oat or almond milk and a creamy thickener
For a dairy-free apple milkshake:
– Use oat milk for creamier results, or unsweetened almond milk for a lighter profile.
– Add a thickener such as unsweetened coconut yogurt or a spoonful of nut-butter (like almond butter) to replicate dairy mouthfeel.
Flavor scaling tips
– If using caramel, reduce added sugar to avoid doubling sweetness.
– If using dairy-free milk, blend slightly longer to achieve smoothness, especially when using frozen fruit.
This apple milkshake recipe is an easy way to turn fresh apples into a cold, creamy treat. Follow the ingredient and blending tips for the perfect thickness, then try one variation to make it your own—make one today and enjoy it right away.
References
- Google Scholar Google Scholar
https://scholar.google.com/scholar?q=apple+milkshake+recipe - Google Scholar Google Scholar
https://scholar.google.com/scholar?q=milkshake+recipe+apple+dairy - Google Scholar Google Scholar
https://scholar.google.com/scholar?q=fruit+milkshake+nutrition+study - Milkshake
https://en.wikipedia.org/wiki/Milkshake - Apple
https://en.wikipedia.org/wiki/Apple - https://www.britannica.com/topic/milkshake
https://www.britannica.com/topic/milkshake - https://www.cdc.gov/foodsafety/food-safety-basics.html
https://www.cdc.gov/foodsafety/food-safety-basics.html - Food Safety
https://www.who.int/health-topics/food-safety - https://pubmed.ncbi.nlm.nih.gov/?term=milkshake
https://pubmed.ncbi.nlm.nih.gov/?term=milkshake - https://pubmed.ncbi.nlm.nih.gov/?term=apples+nutrition
https://pubmed.ncbi.nlm.nih.gov/?term=apples+nutrition