You’ll start by mixing 1 cup of glutinous rice flour with sugar, baking powder, milk, and an egg for a chewy batter. Make sure your waffle iron is fully preheated before pouring the batter evenly to avoid overflow. Cook for 4-6 minutes until golden and crispy outside yet soft inside. Top with berries, whipped cream, or savory options like avocado. These simple steps give you tasty mochi waffles every time, and there’s plenty more to explore about variations and serving tips.
Ingredients and Quantity
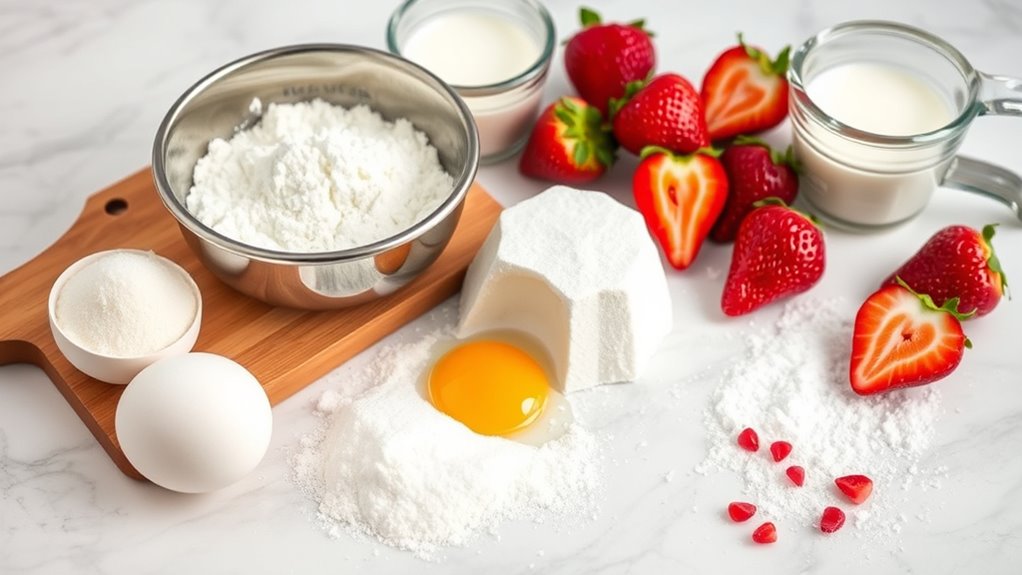
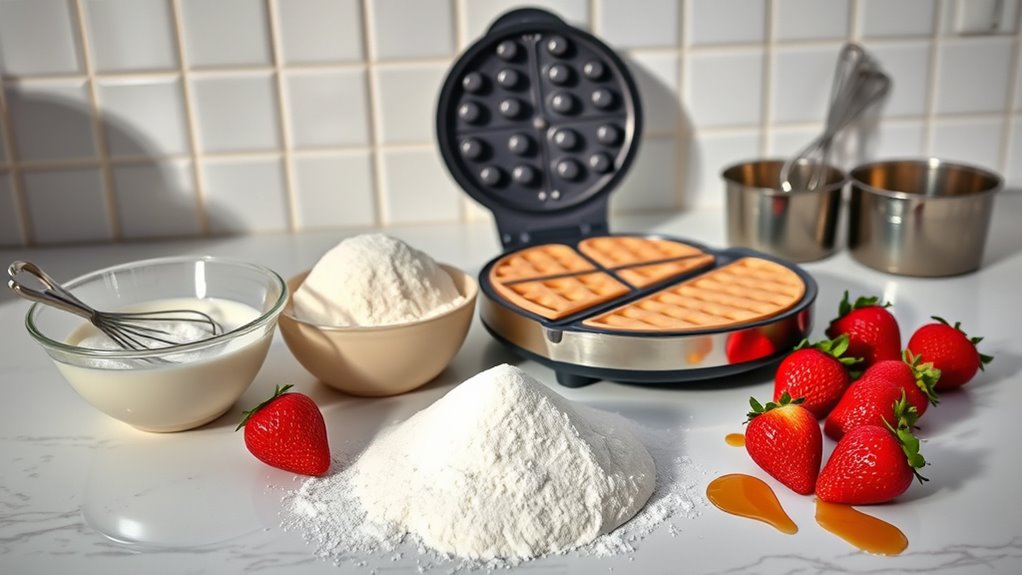
To make mochi waffles, you’ll need just a handful of key ingredients that come together to create a chewy, crispy treat. Choosing the right mochi types influences the texture, while the waffle variations let you customize flavors and shapes. Here’s a simple guide to the essential ingredients and their quantities:
| Ingredient | Quantity |
|---|---|
| Glutinous rice flour | 1 cup |
| Sugar | 2 tbsp |
| Baking powder | 1 tsp |
| Milk | 3/4 cup |
| Egg | 1 large |
These basics form a flexible base, letting you experiment with mochi types like plain or flavored, and explore waffle variations such as sweet or savory. You’re free to tweak as you like!
Preparations
Now that you’ve gathered your ingredients, getting everything ready is the next step to guarantee your mochi waffles turn out perfectly. Start by soaking the mochi rice flour if your recipe calls for it, as this helps achieve that signature chewy mochi texture. Next, pre-measure your wet and dry ingredients separately to streamline the mixing process. Finally, decide on any waffle variations you want to try—like adding matcha powder or chocolate chips for an adventurous twist.
Prepare by soaking mochi flour, pre-measuring ingredients, and planning fun variations for chewy, flavorful waffles.
- Soak mochi flour to enhance chewiness
- Pre-measure ingredients for smooth mixing
- Plan your waffle variations for personalized flavors
Tools / Kitchenware Required
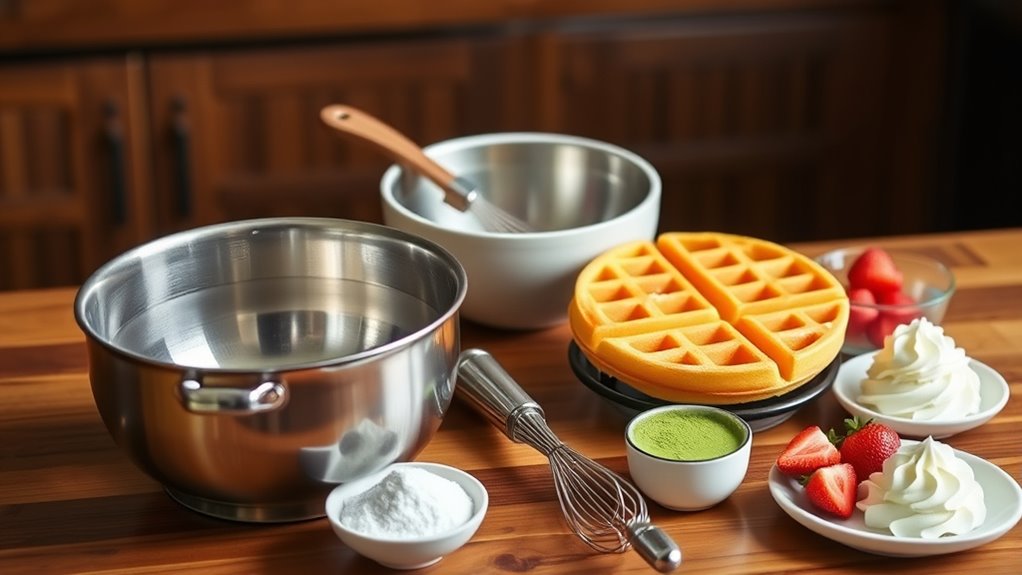
A reliable waffle iron is your best friend when making mochi waffles, as it guarantees even cooking and those classic grid patterns. Beyond the waffle maker, having the right kitchenware helps you handle mochi batter smoothly and enjoy the process. Here’s a quick look at essential tools to keep you free to create without hassle:
| Tool | Purpose | Tip |
|---|---|---|
| Waffle maker | Cooks waffle evenly | Preheat fully for crisps |
| Mixing bowl | Mixes mochi batter | Use non-stick for easy mix |
| Silicone spatula | Fold and scrape batter | Flexible, gentle on bowl |
With these in hand, you’ll breeze through mochi waffle making, savoring freedom in your kitchen craft.
How to Cook
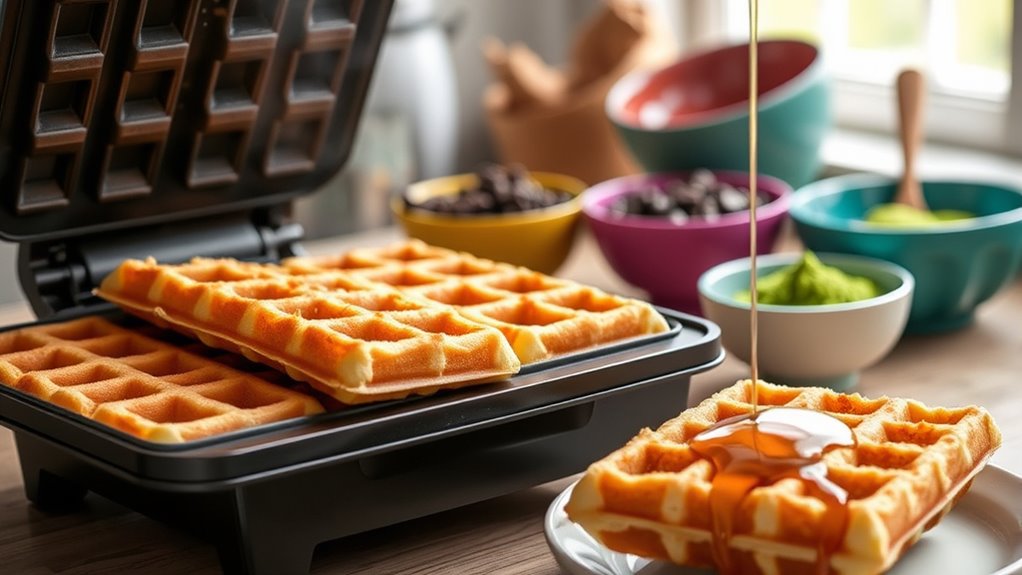
- Preheat your waffle iron thoroughly to ensure even cooking.
- Pour the mochi waffle batter evenly into the waffle iron, avoiding overfilling to prevent sticking.
- Cook the waffles for about 4-6 minutes, monitoring the time to achieve the perfect balance of crispy exterior and chewy interior.
- Use a non-stick waffle iron for easy release and cleanup.
- Experiment with heat settings to find your preferred level of crispiness.
- Add mix-ins such as chocolate chips or matcha powder to customize flavors.
- Serve and enjoy your delicious mochi waffles tailored to your taste and style.
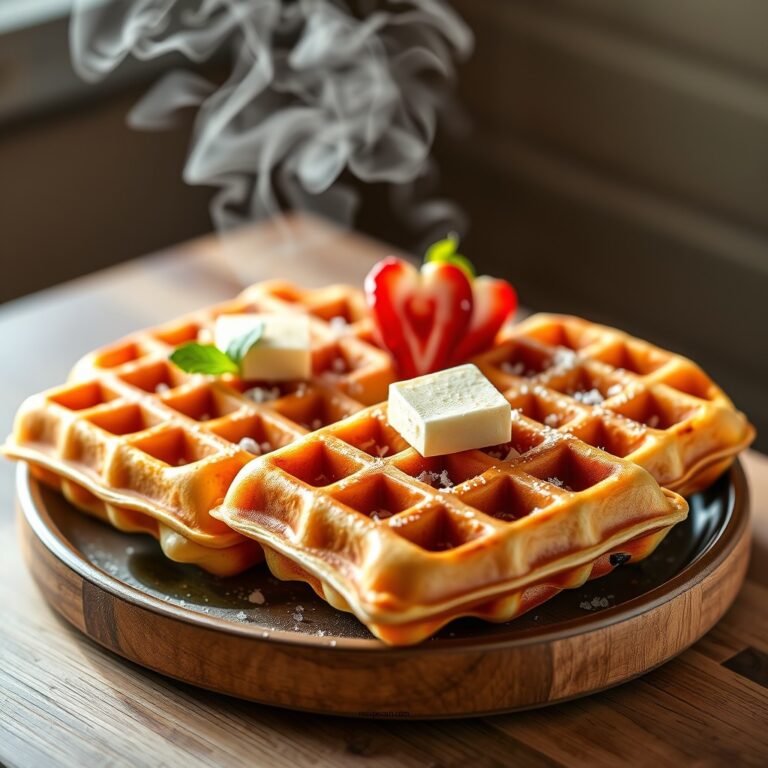
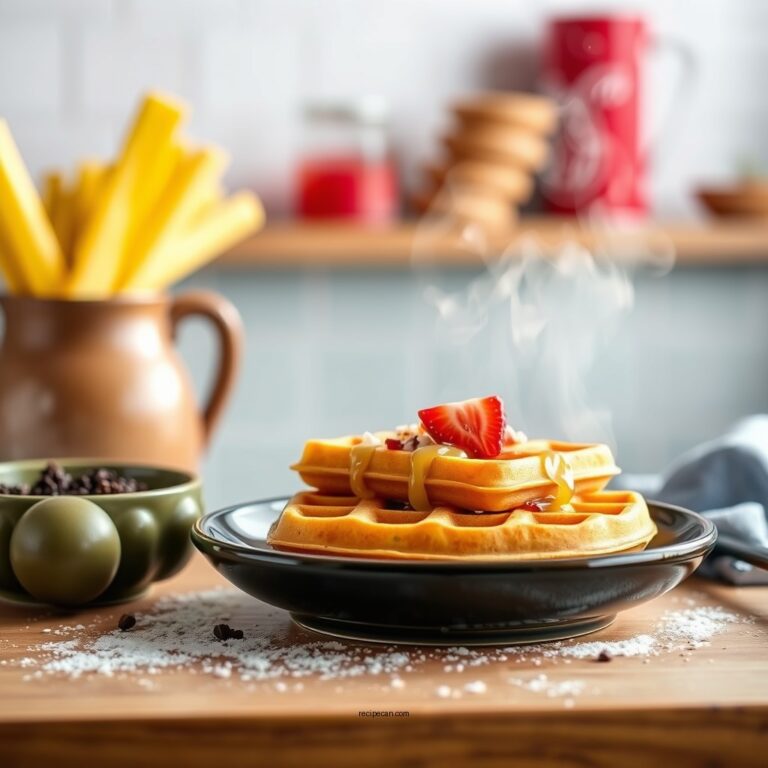
How to Serve
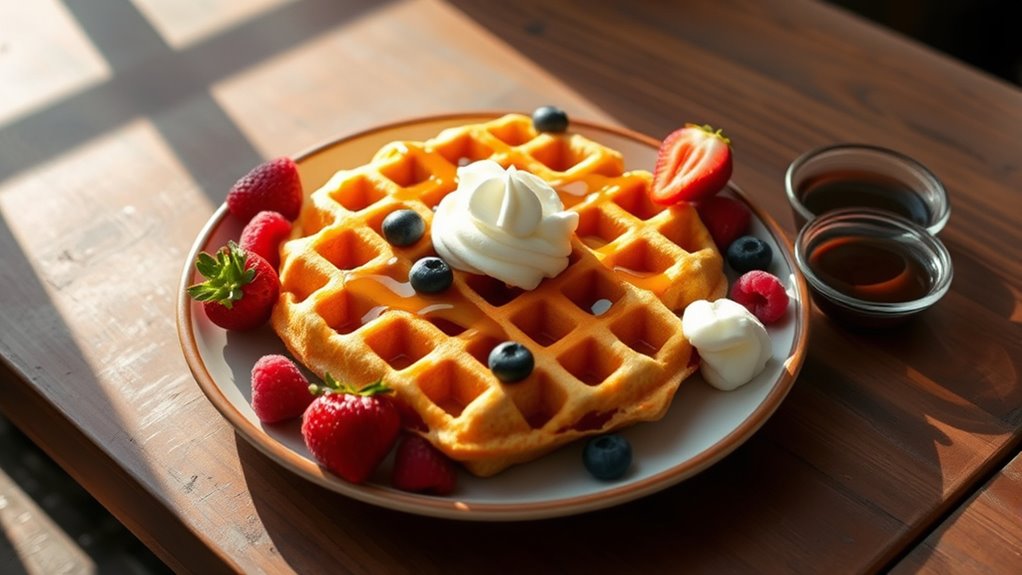
Once your mochi waffles are cooked to perfection, the next step is figuring out how to serve them in a way that highlights their unique texture and flavor. You can get creative with topping suggestions—think fresh berries and a drizzle of honey for a light, revitalizing touch or whipped cream paired with chocolate sauce for a decadent treat. If you prefer savory, try avocado slices, a fried egg, or spicy mayo to complement the chewy waffle base. Serving styles can vary too; stack them for a hearty breakfast or serve individually with a side of fruit for a simple snack. Whatever you choose, the goal is to balance flavors and textures that celebrate the mochi waffle’s delightful chewiness without overpowering it.
Tips
When you’re making mochi waffles, paying attention to batter consistency is key to achieving that perfect chewy texture. If the batter’s too thick, your waffles might turn dense; too thin, and they won’t hold their shape. Experimenting with topping suggestions and flavor variations lets you truly make this recipe your own. Here are some handy tips:
- Preheat your waffle iron well to get that crispy exterior.
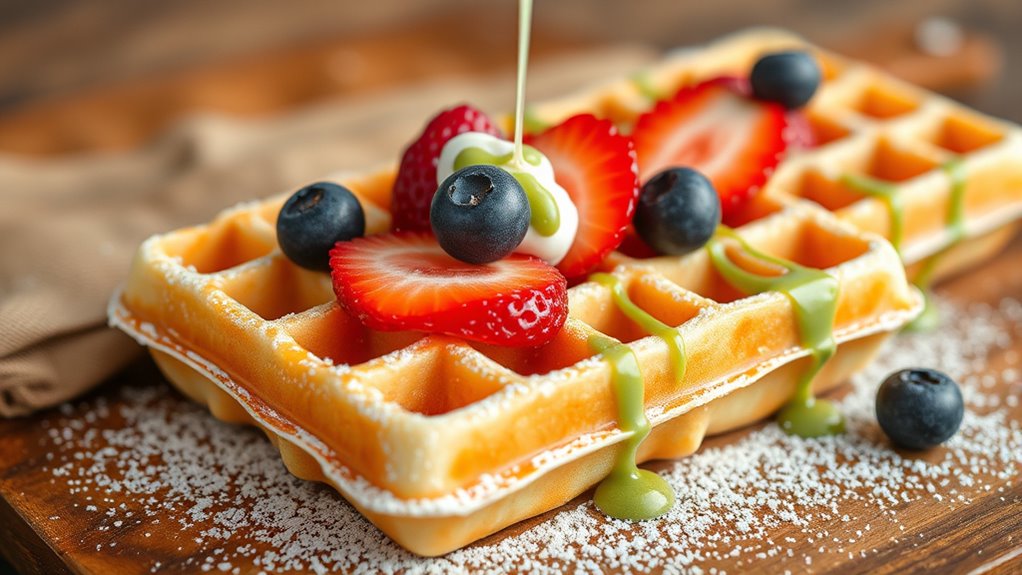
- Incorporate matcha or cocoa powder into the batter for exciting flavor variations.
- Try topping suggestions like fresh fruit, sweet red bean paste, or a drizzle of honey for a delightful finish.
Don’t be afraid to play around—you’ve got the freedom to create mochi waffles that suit your taste and mood perfectly!
Food Value and Benefit
Mochi waffles are a delicious and nutritious alternative to traditional waffles, made primarily from glutinous rice flour. They provide a unique gluten-free option that is both satisfying and energizing.
Food Value of Mochi Waffles:
- Made from glutinous rice flour, which offers a chewy texture and is a good source of carbohydrates for energy.
- Lower in fat compared to traditional waffles, making them a lighter choice.
- Can be enhanced with fresh fruits, nuts, natural sweeteners, or yogurt, increasing their nutrient content.
Benefits of Eating Mochi Waffles:
- Gluten-free, ideal for those with gluten sensitivities or celiac disease.
- Provides sustained energy due to complex carbohydrates.
- Lower fat content supports a lighter, healthier diet.
- Adding fruits and nuts boosts intake of vitamins, minerals, fiber, and healthy fats.
- Contains essential vitamins such as Vitamin C (from fresh fruit toppings) and Vitamin E (from nuts).
- Supplies important minerals including potassium (from fruits), magnesium (from nuts), and iron (from glutinous rice flour).
Enjoying mochi waffles is a great way to incorporate a versatile, balanced, and nutrient-rich food into your diet.
Frequently Asked Questions
Can Mochi Waffles Be Made Gluten-Free?
Yes, you can totally make mochi waffles gluten-free by swapping traditional flour for gluten free alternatives like rice flour. Rice flour gives you that chewy, slightly crispy texture mochi waffles are famous for, without the gluten. This way, you’re free to enjoy delicious waffles without worrying about gluten sensitivities. Just mix rice flour with your usual ingredients, and you’re all set for a tasty, gluten-free treat that feels indulgent and light.
How Long Can Mochi Waffles Be Stored?
For fresh, flavorful mochi waffles, follow smart storage tips: store them in an airtight container in the fridge for up to 3 days to maintain their chewy charm. If you want to stretch their shelf life, freeze them for up to a month—just reheat in a toaster or oven for that perfect crispy crunch. This way, you’re free to enjoy your mochi waffles anytime without sacrificing taste or texture.
Are Mochi Waffles Suitable for Freezing?
Yes, mochi waffles can be frozen, making them perfect for meal prep and deliciously convenient! You’ll love how easily you can stash them away for busy mornings or spontaneous cravings. Just pop them in an airtight container or freezer bag, and when you’re ready, toast or microwave them to enjoy that chewy, crispy texture all over again. Freezing mochi waffles gives you freedom to savor them anytime without hassle!
What Is the Origin of Mochi Waffles?
Did you know over 70% of people worldwide enjoy exploring fusion foods? Mochi waffles come from blending Japanese cuisine with Western waffles, creating a unique treat. Originating from Japan, mochi carries cultural significance as a symbol of good fortune and celebration. When you bite into a mochi waffle, you’re tasting that rich tradition mixed with crispy, chewy textures—a delicious freedom to enjoy something both familiar and exciting.
Can Mochi Waffles Be Made Vegan?
Yes, you can totally make mochi waffles vegan by swapping traditional ingredients with vegan substitutes. Use plant-based milk like almond or oat milk instead of dairy, and replace eggs with flaxseed or chia seed eggs. Coconut oil or vegan butter works beautifully too. These plant-based ingredients keep your mochi waffles chewy and delicious, letting you enjoy that unique texture without compromising your freedom to eat vegan. Give it a try and savor every bite!
References
- https://en.wikipedia.org/wiki/Mochi
- https://www.japantimes.co.jp/life/2021/03/06/food/mochi-waffles/
- https://www.seriouseats.com/mochi-waffles-recipe-5119070
- https://www.bbcgoodfood.com/recipes/mochi-waffles
- https://www.cookinglight.com/recipes/mochi-waffles
- https://www.thespruceeats.com/mochi-waffles-5087979
- https://www.foodandwine.com/recipes/mochi-waffles
- https://www.nytimes.com/2021/07/21/dining/mochi-waffles-recipe.html