You’ll love whipping up five must-try mini waffle iron recipes using simple staples like all-purpose flour, baking powder, and milk—whether dairy or plant-based. Preheat your iron, mix in flavors like cinnamon or cocoa, and pour just enough batter to get crispy, golden bites. Use a silicone spatula for easy folding, then cook until perfectly crisp in 3–5 minutes. These mini treats pack nutrition and bold tastes you won’t want to miss—discover how to turn them into your next kitchen favorite!
Ingredients and Quantity
Before you fire up your mini waffle iron, you’ll want to gather the right ingredients in just the right amounts to guarantee fluffy, golden waffles every time. Having ingredient variations ready lets you tailor each batch to your cravings, whether you like classic sweetness or crave adventurous flavors. Don’t forget to prepare unique toppings that elevate your waffles beyond ordinary breakfasts. Here’s a quick guide:
| Ingredient | Quantity | Variation Ideas |
|---|---|---|
| All-purpose flour | 1 cup | Whole wheat, gluten-free |
| Baking powder | 1 tsp | Add cinnamon for warmth |
| Sugar | 2 tbsp | Honey or maple syrup |
| Eggs | 1 large | Substitute flaxseed egg |
| Milk | ¾ cup | Almond or oat milk |
Mix these basics and explore toppings like fresh berries, nut butters, or whipped cream for ultimate freedom at breakfast.
Preparations
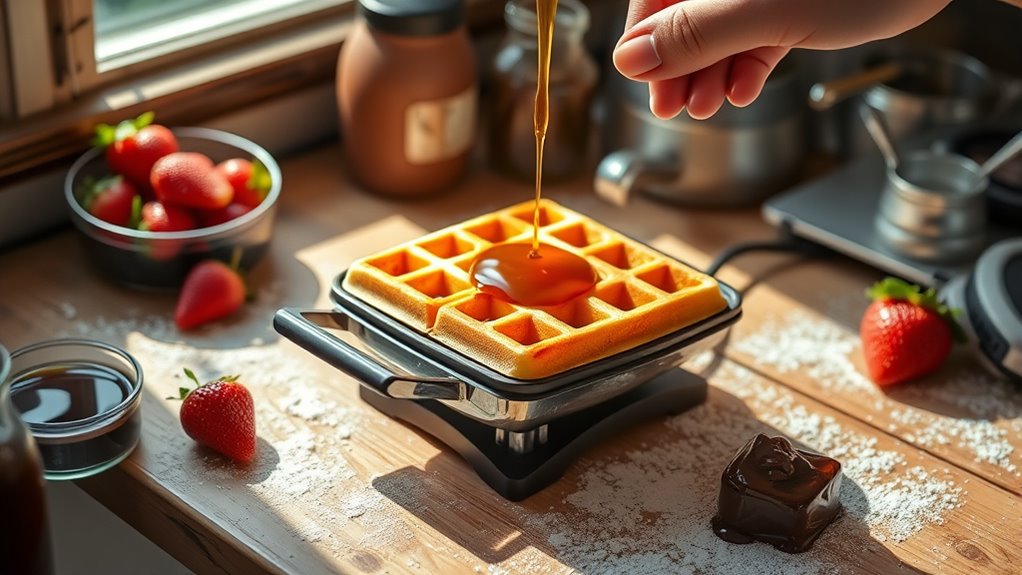
When you’re ready to bring your mini waffle iron to life, a few simple steps will set you up for success. Start by preheating the iron, ensuring it’s evenly hot to create that perfect crisp exterior. Next, prepare your batter thoughtfully—this is where your freedom shines. Experiment with waffle variations by mixing in ingredients like cinnamon, cocoa, or fresh herbs. Don’t hesitate to explore bold flavor combinations; from savory cheddar and chive to sweet banana and walnut, the options are endless. Lightly grease the plates to prevent sticking and pour just enough batter to fill without overflow. With these preparations, you’re not just making waffles; you’re crafting mini masterpieces that reflect your unique taste and creativity every time you press that iron closed.
Tools / Kitchenware Required
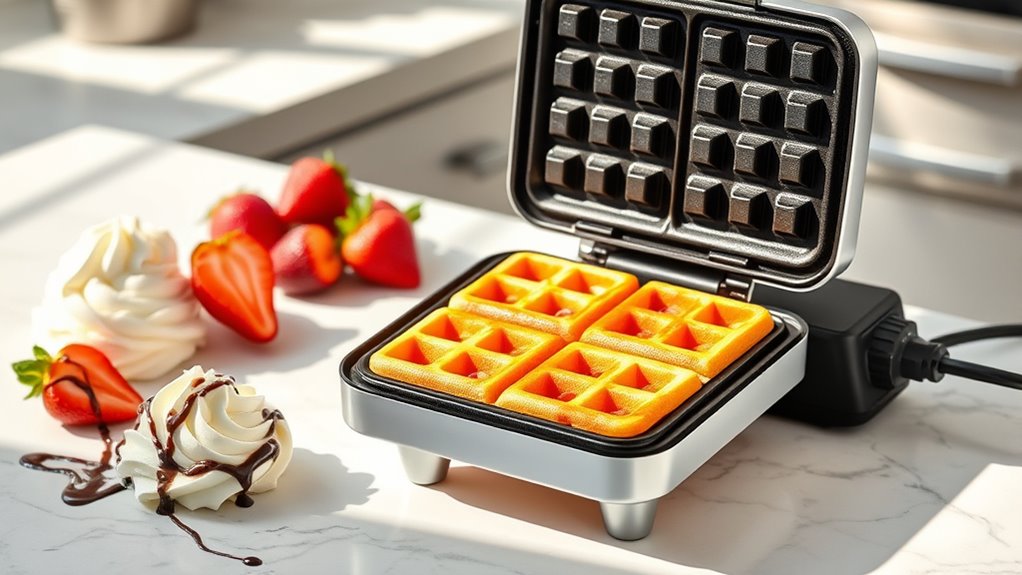
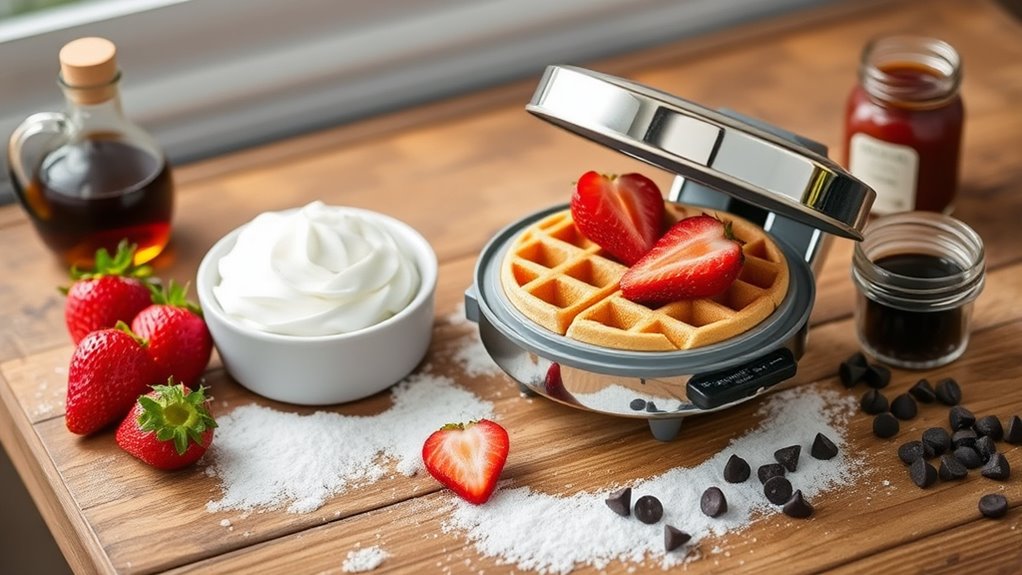
Once your batter is ready and your mini waffle iron is preheated, having the right tools at hand makes all the difference. These kitchen gadgets streamline your process, letting you release your creativity without fuss. Beyond your trusty mini waffle iron, a few essentials guarantee smooth sailing from start to finish.
| Tool | Purpose |
|---|---|
| Silicone Spatula | Gently fold and scrape batter |
| Measuring Cups | Precise ingredient portions |
| Non-stick Spray | Prevent waffle sticking |
With these tools, you’ll glide through waffle making, freeing your hands to experiment with flavors and toppings. Embrace the simplicity and freedom that well-chosen kitchen gadgets bring to your mini waffle adventures!
How to Cook
- Ensure the batter is ready and your mini waffle iron is preheated.
- Pour the batter into the waffle iron carefully, watching it sizzle and rise.
- Close the iron at the right moment, allowing some steam to escape while retaining heat.
- Experiment with ingredient substitutions such as almond milk instead of regular milk or coconut oil instead of butter, according to your preference.
- Cook the waffles for 3 to 5 minutes, or until they turn golden brown and crisp.
- Avoid opening the iron too frequently to ensure even cooking and perfect texture.
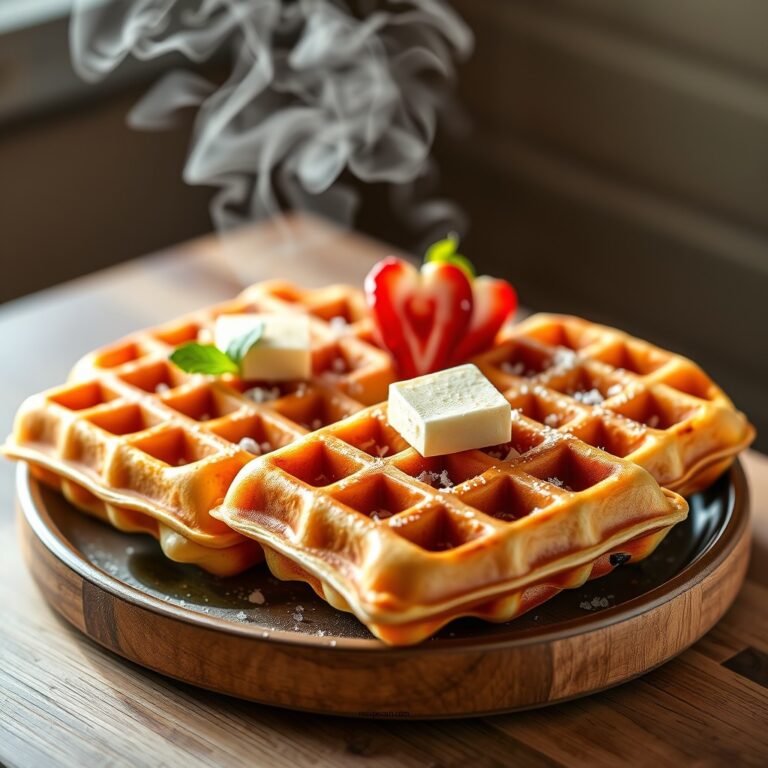
- Once done, remove the mini waffles, which should be fluffy on the inside and crunchy on the outside.
How to Serve
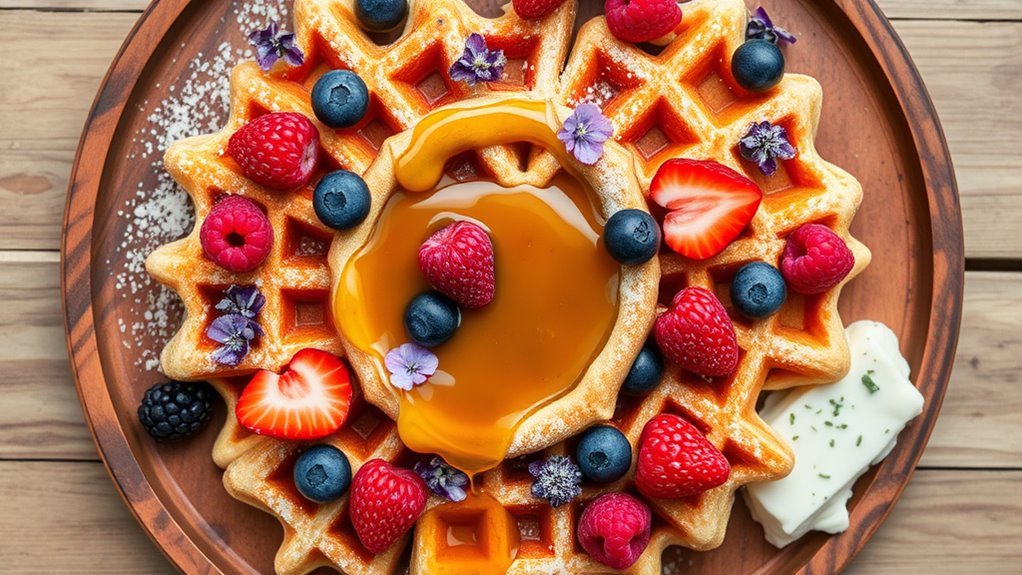
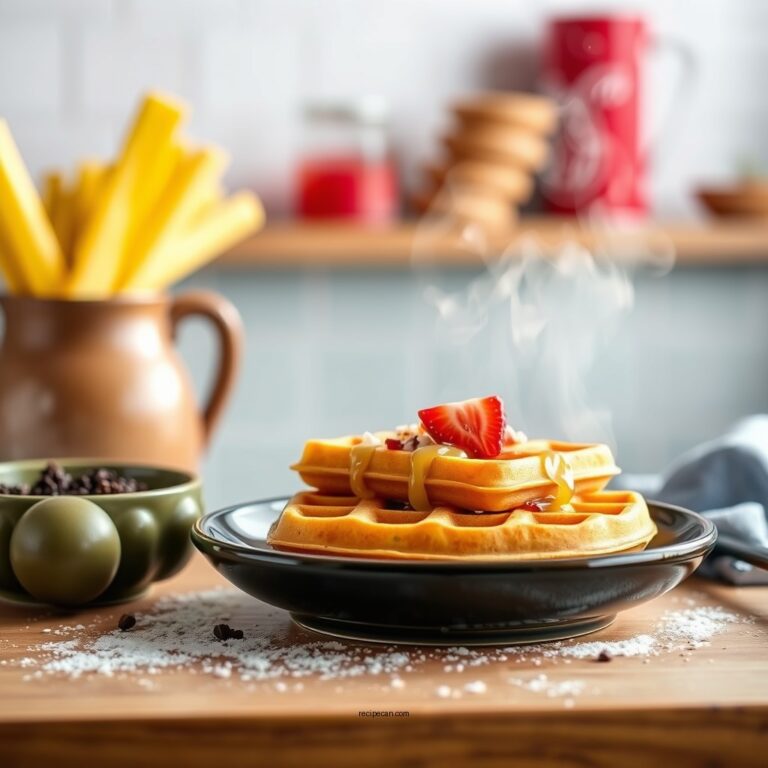
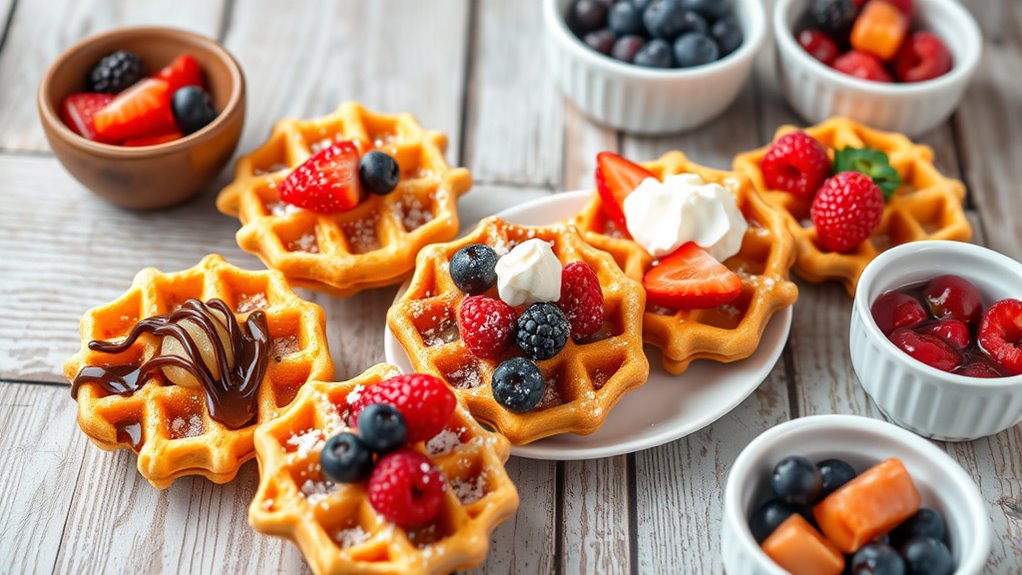
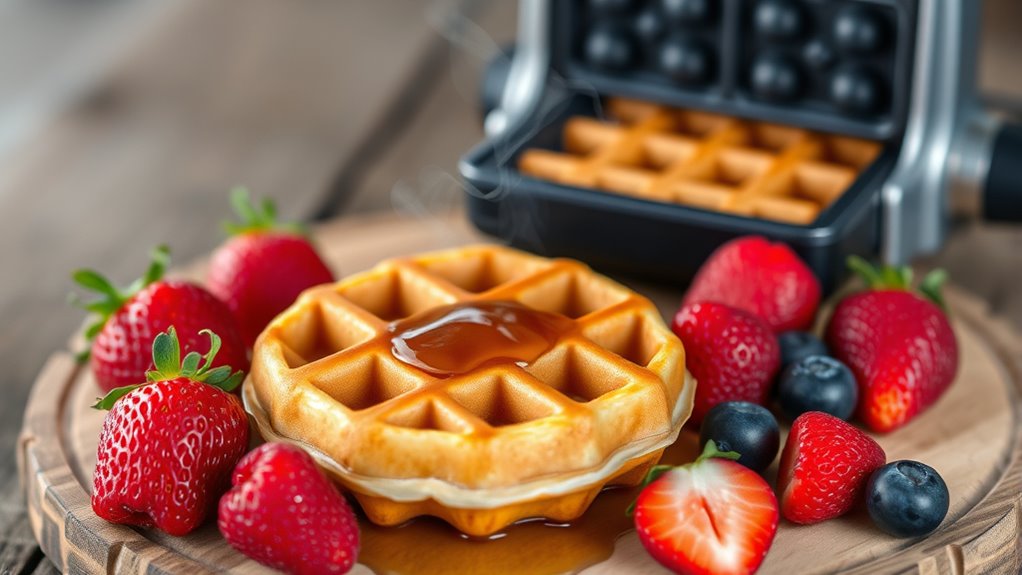
Serving your mini waffles is where creativity truly shines, turning simple bites into delightful experiences. When plating ideas come into play, think beyond the typical stack. Arrange your waffles in playful patterns or nestle them beside vibrant fruit slices for a pop of color. Drizzle syrup, honey, or flavored sauces in elegant swirls to elevate the visual appeal. Don’t hesitate to experiment with garnish options—fresh berries, edible flowers, a dusting of powdered sugar, or a sprinkle of chopped nuts add texture and personality. Want to go savory? A dollop of herbed cream cheese or avocado mash transforms your mini waffles into a gourmet treat. Your serving style reflects your freedom—express it boldly and watch your mini waffle creations come alive on the plate.
Tips
When you’re ready to master your mini waffle iron, a few handy tips can make all the difference between a good batch and a great one. First, don’t rush—let your iron fully preheat for even crispiness. Use a nonstick spray or brush with melted butter to prevent sticking. Experiment with cooking techniques like adjusting batter thickness or flipping the iron midway for extra crunch. For topping suggestions, think beyond syrup—try fresh berries, nut butters, or a sprinkle of powdered sugar for flair. You can even layer on whipped cream and a drizzle of honey to elevate your creation. Remember, freedom in the kitchen means playing with textures and flavors until your mini waffles reflect your unique taste and style.
Food Value and Benefit
Mini waffles can be a nutritious and delicious treat when prepared with wholesome ingredients. The nutritional value of mini waffles depends largely on the choice of flours and toppings used. For example, using whole grain or almond flour enhances their fiber content and adds essential vitamins and minerals. Adding fresh fruits, nuts, or seeds further enriches the dish with antioxidants, healthy fats, and protein.
Food Value of Mini Waffles:
- Rich in dietary fiber (especially when made with whole grain flour)
- Contains protein from almond flour and nuts/seeds
- Provides healthy fats from nuts, seeds, or almond flour
- Contains natural sugars and antioxidants from fresh fruits
- Includes vitamins such as Vitamin E (from nuts and almond flour), Vitamin C (from fresh fruits), and B vitamins (from whole grains)
- Provides minerals like magnesium, potassium, iron, and calcium
- Lower in added sugars when natural sweeteners like honey or maple syrup are used
Benefits of Eating Mini Waffles:
- Supports sustained energy release due to fiber and protein content
- Promotes satiety and helps control appetite
- Contributes antioxidants that combat oxidative stress and support immune health
- Provides essential vitamins and minerals necessary for overall bodily functions
- Helps maintain balanced blood sugar levels with the use of natural sweeteners
- Offers a flexible and wholesome option that satisfies cravings without compromising nutrition
Frequently Asked Questions
Can Mini Waffle Irons Be Used for Savory Recipes?
Absolutely, you can use mini waffle irons for savory recipes! Imagine layering savory fillings like sautéed mushrooms, herbs, or spicy sausage right inside the batter. Don’t forget cheese options—sharp cheddar, gooey mozzarella, or tangy feta add amazing flavor and texture. Your mini waffles become a playground for bold, inventive tastes, giving you the freedom to experiment and create savory bites that are crispy, cheesy, and totally irresistible. Give it a try—you won’t regret it!
How Do I Clean a Non-Stick Mini Waffle Iron?
You might think cleaning a non-stick mini waffle iron is a chore, but with these cleaning tips, it’s actually a breeze. After unplugging and cooling it down, gently wipe the plates with a damp cloth or sponge—never soak it! For stubborn bits, use a soft brush. Avoid harsh scrubbing to protect the coating. This maintenance guide keeps your waffle iron ready for your next freedom-filled cooking adventure without sticking around for trouble.
Are Mini Waffle Irons Suitable for Camping Trips?
Absolutely, mini waffle irons are perfect for camping cooking! Since they’re compact and lightweight, you can easily pack them among your portable appliances. Imagine waking up to golden, crispy waffles right at your campsite—no bulky gear needed. Just plug it into a portable power source or use a battery-operated model, and you’re set. It’s a simple way to elevate your outdoor meals and savor freedom with every bite.
Can I Freeze Mini Waffles for Later Use?
You bet you can stash those mini waffles in the freezer—talk about having your cake and eating it too! For perfect frozen waffle storage, let them cool completely, then pop them in a single layer on a baking sheet before transferring to a sealed bag. When it’s time to eat, reheating mini waffles in a toaster or oven brings back that crispy, golden magic. Freedom’s just a warm, delicious bite away!
What Is the Average Cooking Time for Mini Waffles?
You’ll usually find that mini waffle cooking takes about 3 to 5 minutes per batch, depending on your iron’s heat and batter thickness. Keep an eye on the waffle texture—golden and crisp on the outside, yet soft and fluffy inside is the sweet spot. Don’t rush it; letting them cook fully releases that perfect crunch, giving you freedom to savor each bite exactly how you like.
References
- https://www.npr.org/sections/thetwo-way/2016/08/11/489777744/the-joy-of-waffles-why-we-love-this-breakfast-food
- https://www.thekitchn.com/how-to-make-waffles-221050
- https://www.seriouseats.com/how-to-make-waffles-5111957
- https://www.bbcgoodfood.com/recipes/collection/waffle-recipes
- https://www.jamesbeard.org/recipes/category/waffles
- https://www.foodnetwork.com/recipes/packages/waffle-recipes
- https://www.foodsafety.gov/keep/charts/microwaves.html