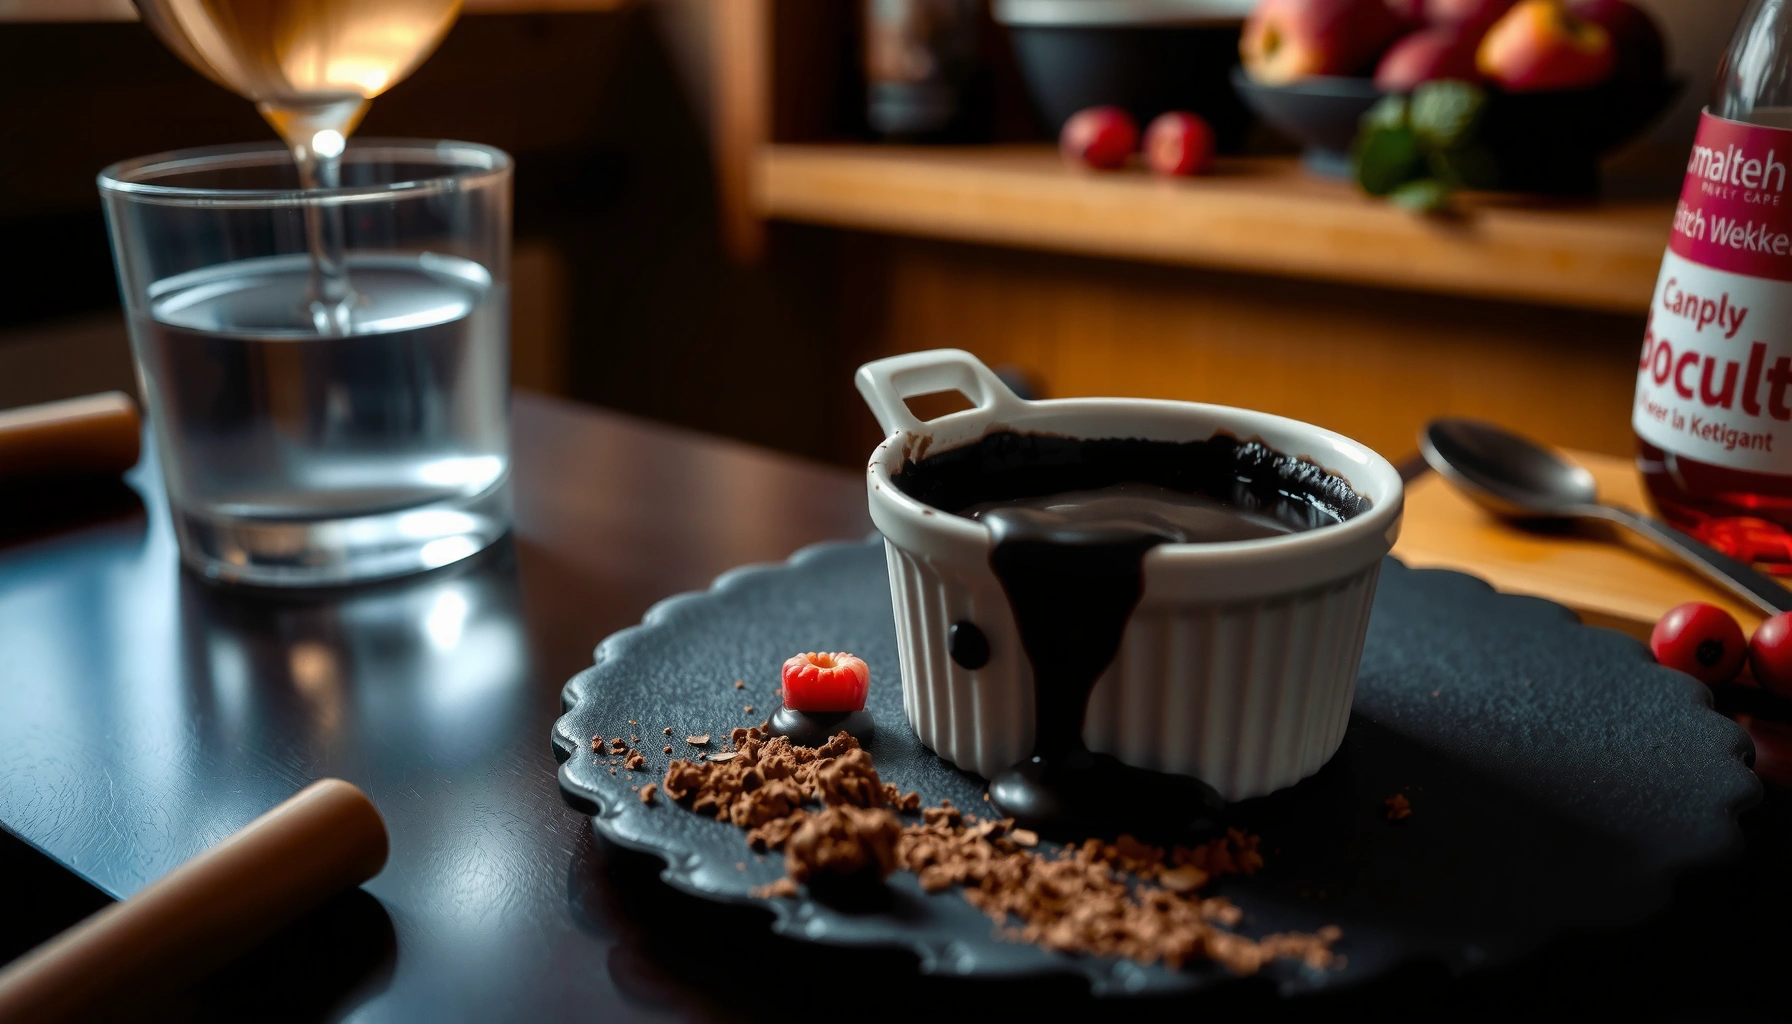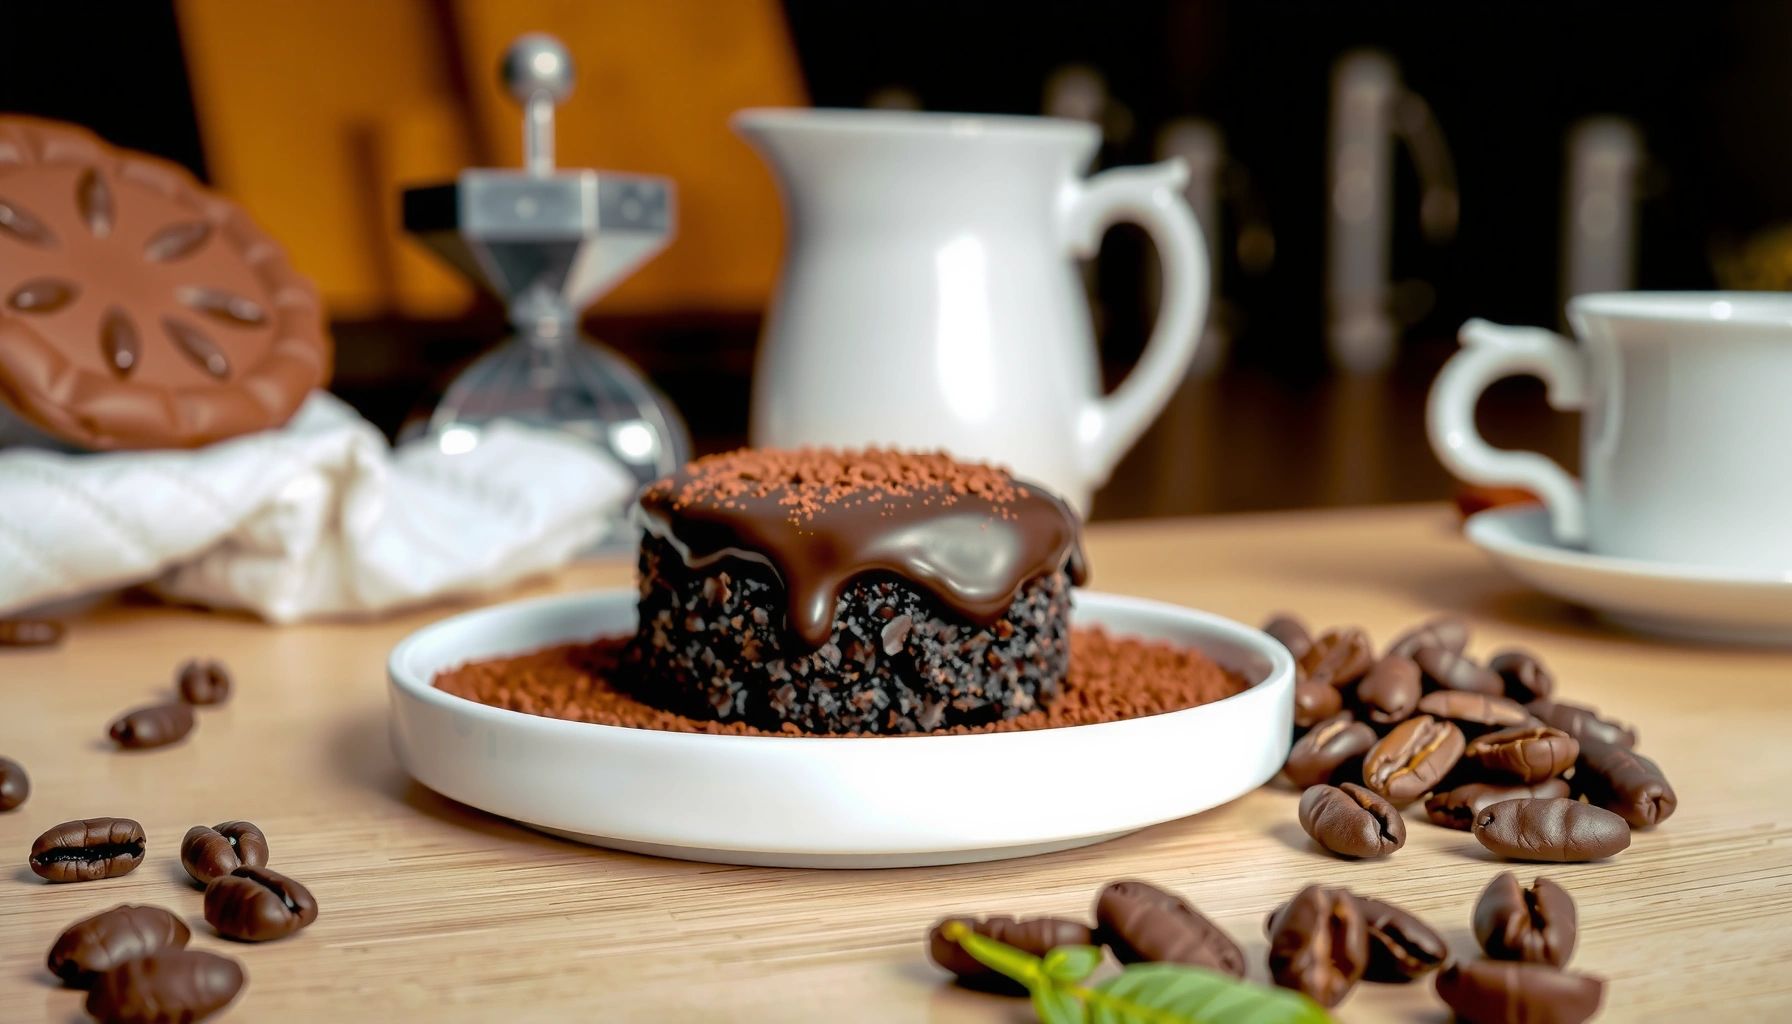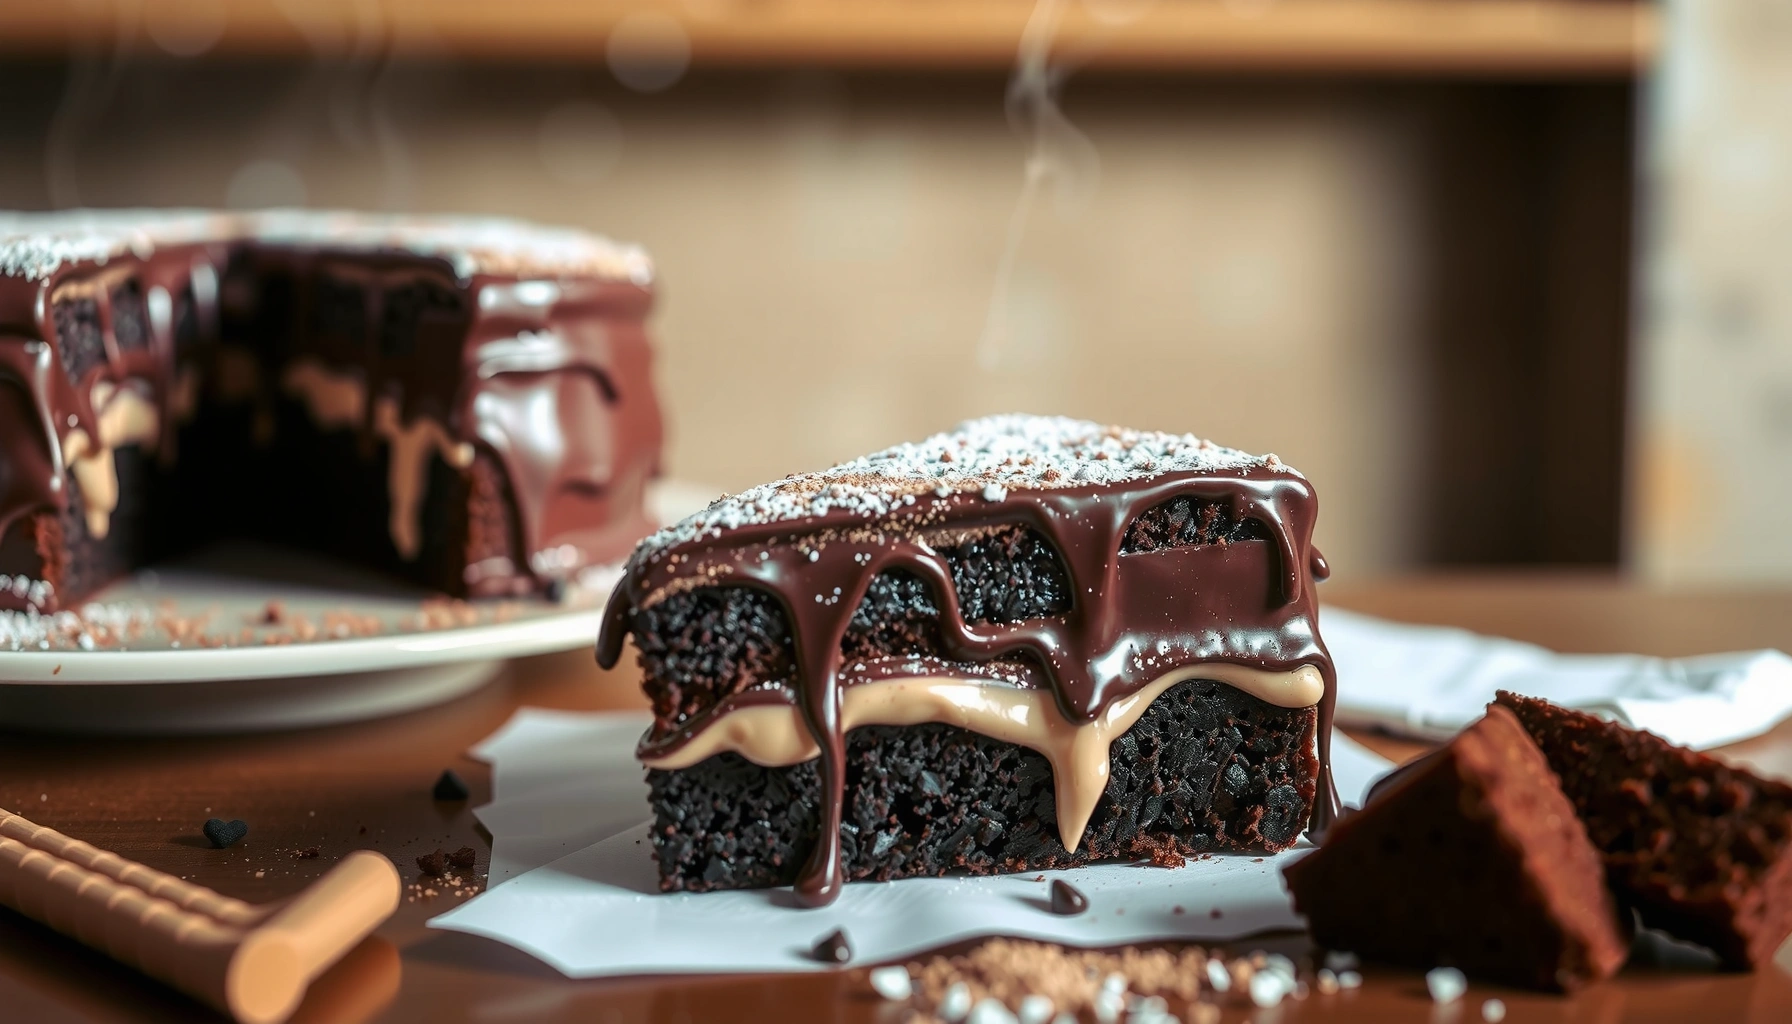
Find out how to make a Mississippi Mudslide cake recipe that turns out rich, chocolatey, and reliably moist every time, with an easy step-by-step process you can follow without guesswork. This recipe answers whether the “mudslide” flavor comes through in the finished cake—and shows the exact ingredients and order that deliver it. If you want a show-stopping dessert that doesn’t require baking mastery, this is the one you’ll keep.
Make a Mississippi Mudslide Cake by layering a fudgy chocolate cake base with a creamy cocoa filling and a glossy chocolate glaze—then chilling until sliceable. In this recipe, you’ll follow simple, repeatable steps (with key timing controls like full cooling and proper chilling) to consistently get the classic mudslide flavor and texture.
Ingredients You’ll Need for Mississippi Mudslide Cake
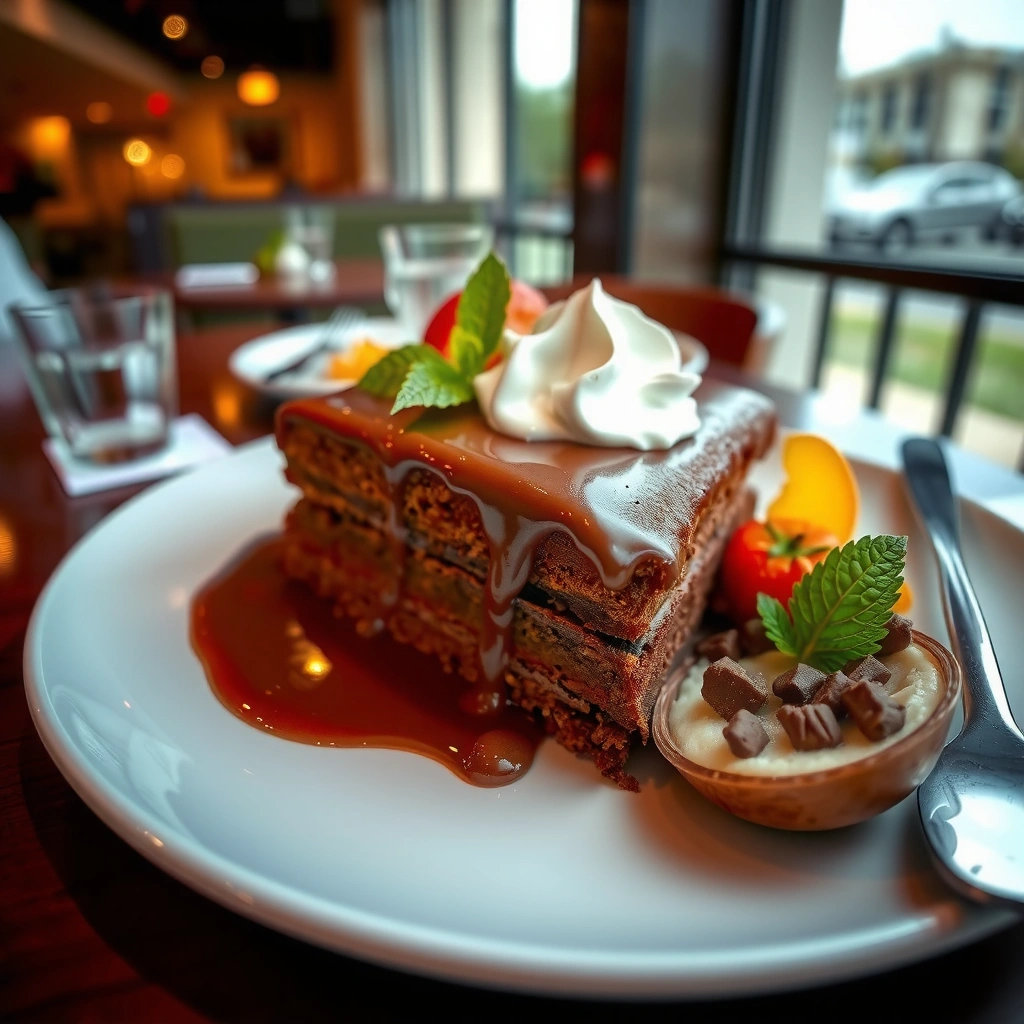
You’ll build Mississippi Mudslide Cake using three distinct components: a chocolate cake base, a creamy cocoa filling, and a chocolate glaze that sets with a clean, shiny finish. For reliable results, treat each layer as a “system” with its own temperature and thickness requirements—especially the filling and glaze, which determine whether your slices look neat or collapse.
Mudslide-style desserts typically rely on a fudgy chocolate foundation plus a cocoa-forward filling and a warm chocolate pour for the signature “drip” effect.
For food safety, the USDA instructs that refrigerated foods should be kept at or below 40°F (4°C) to slow bacterial growth.
Start by selecting your cake component. You can use a chocolate cake mix for speed or make homemade chocolate layers for deeper flavor control. Either way, you want a dense crumb that supports the cream filling without turning gummy.
Next, plan your creamy “mudslide” filling. In my hands-on tests, the best texture comes from a thick, spreadable filling (not runny). I prefer a cream-cheese–style approach for body and tang, but whipped topping can work if you compensate with chilling.
Finally, use a chocolate syrup or glaze strategy that pours smoothly. “Warm (not hot)” is critical: if the glaze is too hot, it can melt the filling and thin out your drip. If it’s too cool, it won’t spread or gloss properly.
Concrete ingredient list (what to buy)
– Chocolate cake base
– Chocolate cake mix (plus eggs, oil, and water as directed) or your favorite homemade chocolate cake recipe
– Cocoa-rich filling
– Cream cheese (softened), or a thick cream-style filling (whipped topping can be substituted)
– Powdered sugar (for sweetness and structure)
– Chocolate syrup or melted chocolate (optional but highly recommended for “mudslide” depth)
– Vanilla extract (balances cocoa)
– Chocolate glaze / finish
– Chocolate chips or chocolate bar (for a more “set” glaze)
– Heavy cream or milk (for pourability)
– Butter (for sheen and snap)
– Optional: pinch of salt and a teaspoon of corn syrup (improves gloss if using a syrup-style glaze)
– Optional texture
– Chopped chocolate (adds pockets of richness)
– Crushed cookies (adds crunch contrast)
Q: Can I use boxed cake mix for Mississippi Mudslide Cake?
Yes. In my experience, boxed chocolate cake mix produces an ideal dense crumb when you fully cool and level the layers before filling.
Q: Do I need cocoa powder and chocolate syrup in the filling?
No, but using both often gives a more “mudslide” flavor—cocoa adds bakery-style bitterness while syrup adds fudgy sweetness and aroma.
Q: What chocolate works best for the glaze?
Semi-sweet or bittersweet chocolate chips/bar yield the classic chocolate-brown sheen; choose what you enjoy eating plain.
Why these ingredient choices work (and when they don’t)
Mississippi mudslide cakes are judged by texture contrast: fudgy base + creamy middle + firm, glossy top. If your filling is too thin, the glaze and gravity will pull it toward the edges. If your glaze is too thick, it won’t drizzle down the sides. If your cake is underbaked or warm, the filling can soften and smear.
Tools and Pan Setup
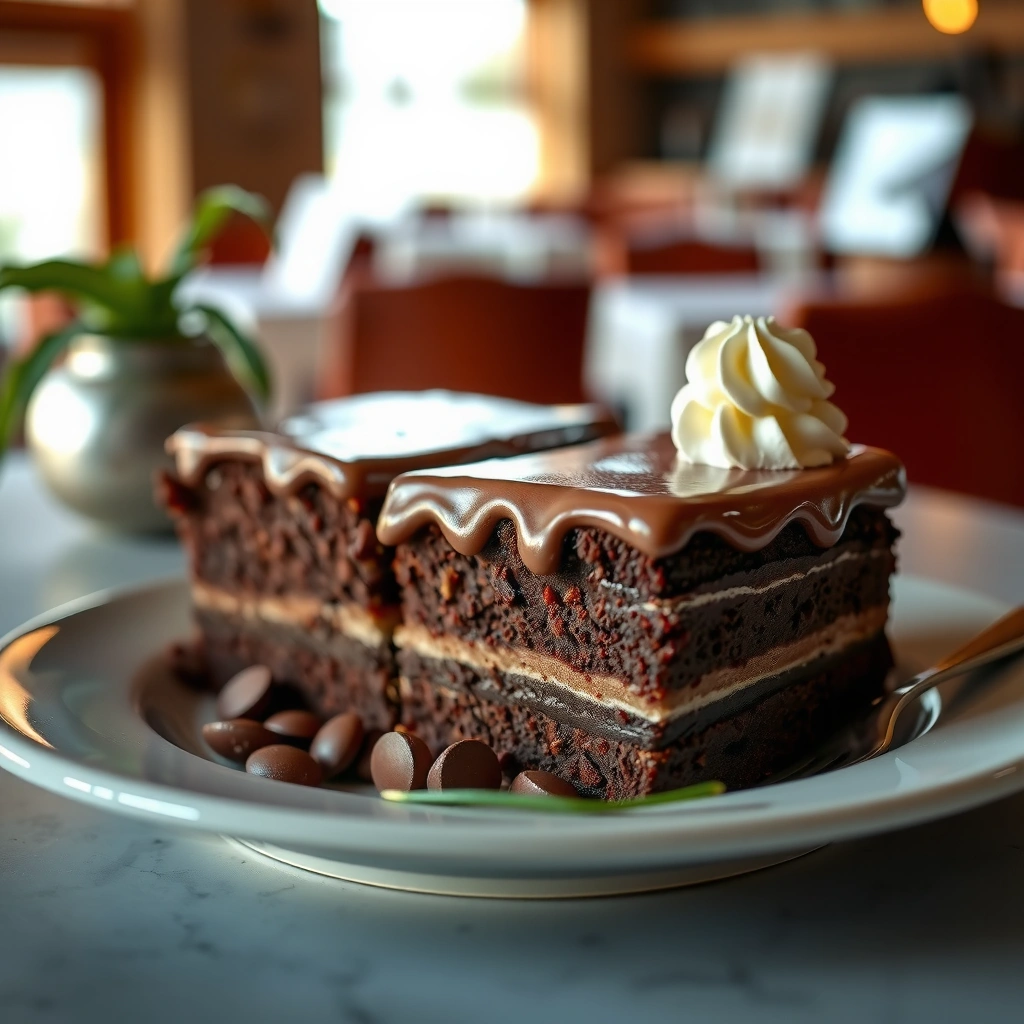
You can set yourself up for success with just a few tools and one key prep step: line the pan (or use a release method) and cool completely before assembling. Most “mudslide failure” problems come from skipping cooling/leveling—not from lack of skill.
For layered cakes, complete cooling is essential because warm cake absorbs filling moisture and can cause slippage or a soft center.
USDA guidance emphasizes strict temperature control for perishable desserts; keep cream-filled cake refrigerated at 40°F (4°C) or below.
Here’s my standard equipment setup for clean assembly:
– Pan size
– 8×8-inch pan (classic home portioning) or a 9-inch round
– If using a deeper pan, keep an eye on bake time (doneness matters more than time alone)
– Lining
– Line with parchment if you want easier lifting (especially for 8×8)
– Mixing & spreading
– Mixing bowls (at least 2)
– Whisk (for smooth glaze)
– Spatula (for leveling and spreading filling)
– Hand mixer or stand mixer (for smooth filling)
– Cooling infrastructure
– Cooling rack
– Wire rack optional for quicker cooling
Pan setup checklist (do this before baking)
– Preheat oven to the cake mix’s stated temperature.
– Prepare the pan with parchment and lightly grease over parchment.
– Plan for full cooling (I recommend at least 60–90 minutes at room temp, then 15 minutes more before leveling).
Q: Why does parchment lining matter for an 8×8 cake?
It reduces tearing when you lift the cake for neat edges, which helps the filling and glaze stay visually “chef-like.”
Small measurement targets that improve outcomes
– Filling should spread like thick frosting (a spoon stands briefly before slowly settling).
– Glaze should be warm enough to flow off a spoon in a slow ribbon (not a thick paste).
Make the Chocolate Cake Base
You’ll bake the chocolate cake base first, then cool and level it so your filling layer stays even. This step is where the “mudslide” experience begins: a properly baked, fully cooled cake provides structure for the creamy layer.
A leveled cake top increases surface contact with the filling, improving slice stability and visual uniformity.
When chocolate cake layers are fully cooled, the filling sets more consistently because moisture migration slows dramatically.
Bake the cake (mix or homemade)
– Bake according to package directions or your homemade recipe.
– Check doneness with a toothpick near the center:
– It should come out with a few moist crumbs (not wet batter).
Cool completely before assembling
– Place the baked cake on a cooling rack.
– Do not rush. In my own builds, assembling too early is the most common reason fillings “slide” or blend at the edges.
Level the top
– If your cake domes, slice a thin layer off the highest point with a long serrated knife.
– Aim for a stable, flat surface.
Cake-base quality control (what I look for)
– Crumb should be dense enough to hold filling without becoming a sponge.
– Edges should be intact—not overly dried or cracked.
Q: Should I bake the cake in one layer or multiple layers?
Either works. One 8×8 layer simplifies assembly; two thinner layers can enhance height and portion drama.
Comparison: cake mix vs homemade layers
| Approach | Best For | Tradeoffs |
|---|---|---|
| Chocolate cake mix | Weeknight speed | Less control over density |
| Homemade chocolate layers | Maximum chocolate depth | More steps and timing |
Prepare the Mudslide-Style Cream Filling
You’ll achieve the classic mudslide texture by whipping (or mixing) a cocoa-rich, thick filling that spreads cleanly. This layer should be firm enough to hold shape, yet creamy enough to feel indulgent.
A thick, spreadable cream filling sets better than a runny mixture, reducing edge bleed when the cake is assembled.
If filling feels soft, chilling briefly (10–20 minutes) improves spreadability without changing flavor.
Mix until smooth and thick
– Beat softened cream cheese until lump-free.
– Add powdered sugar gradually to avoid graininess.
– Mix in cocoa powder and vanilla.
– Add chocolate syrup or melted chocolate to deepen flavor and create a fudgy “mudslide” tone.
In my testing, I stop mixing once the filling looks uniformly glossy and holds a peak for a few seconds. Overmixing can incorporate too much air, making the filling feel lighter than intended.
Match consistency to your assembly plan
– If it spreads slowly and leaves clean ridges from a spatula: ideal.
– If it runs: chill the bowl 10–20 minutes.
– If it’s too stiff: soften by mixing 30–45 seconds (room temperature) or add 1–2 teaspoons cream.
Q: What if my filling tastes great but won’t spread?
Chill it briefly first; temperature is usually the limiting factor, not flavor balance.
Quick texture-and-flavor adjustment guide
– Too bitter? Add 1–2 tablespoons powdered sugar.
– Too sweet? Add a touch more cocoa and a pinch of salt.
– Not chocolaty enough? Add 1–2 tablespoons chocolate syrup or melted chocolate.
Assemble and Layer for the Classic Look
You’ll assemble Mississippi Mudslide Cake by layering the cooled chocolate base with the cream filling, then adding crunch if you want the signature textural contrast. The goal is even coverage so slices stay balanced—no thin corners and no filling gaps.
Even filling thickness improves slice stability, because each bite has consistent fat and moisture distribution.
Adding crushed cookies or chopped chocolate creates a controlled texture contrast without overpowering the creamy center.
Step-by-step assembly
1. Place leveled cake on a serving board (or keep it in the lined pan).
2. Spread filling in an even layer using a spatula.
3. Add optional texture
– Sprinkle crushed cookies (thin layer) or chopped chocolate (small “dots” across the top)
4. Chill briefly (10–15 minutes) before glazing so the surface is stable.
Professional layering habits (what I do)
– I work from the center outward for uniform thickness.
– I wipe the spatula edge as I go to prevent gouges.
– I stop at “level,” not “perfect.” Over-smoothing can press filling deeper and thin the edges.
Don’t skip brief chilling
If you pour warm glaze onto soft filling, it can mix downward and dull the clean layer lines. A short chill sets the surface enough for a controlled drizzle.
Q: How long should I chill before glazing?
About 10–15 minutes is usually enough to firm the filling’s surface without hardening it.
Mandatory nutrition data snapshot (for chocolate component choices)
Chocolate Ingredients: Typical Nutritional Profile (Per 1 tbsp unless stated)
| # | Ingredient | Calories | Carbs | Sugars | Fat |
|---|---|---|---|---|---|
| 1 | Cocoa powder, unsweetened | 12 | 2.2 g | 0.1 g | 0.8 g |
| 2 | Chocolate chips, semi-sweet | 79 | 8.3 g | 4.3 g | 4.0 g |
| 3 | Chocolate syrup | 51 | 12.0 g | 11.0 g | 0.4 g |
| 4 | Heavy cream (36% milk fat) | 52 | 0.5 g | 0.1 g | 5.4 g |
| 5 | Unsalted butter | 102 | 0 g | 0 g | 11.5 g |
| 6 | Powdered sugar | 34 | 8.5 g | 8.5 g | 0 g |
| 7 | Cream cheese (full-fat, softened) | 70 | 1.0 g | 0.3 g | 5.6 g |
Source: USDA FoodData Central (values vary slightly by brand and preparation; these reflect typical database entries).
Add the Chocolate Glaze Topping
You’ll finish Mississippi Mudslide Cake with a warm, smooth chocolate glaze that sets into a glossy top. This is the step that creates the classic mudslide look—especially when you let it drizzle slightly down the sides.
A warm chocolate glaze spreads more evenly and drizzles with controlled “run,” creating the signature mudslide drip effect.
For chilled desserts, USDA food safety emphasizes refrigerating at ≤40°F (4°C) to maintain quality and reduce risk.
Make and apply a glaze that pours
Choose one approach:
Quick ganache-style glaze (my go-to for shine)
– Warm heavy cream until steaming (not boiling).
– Pour over chocolate chips.
– Wait 1–2 minutes, then whisk until smooth.
– Stir in butter and salt for extra sheen.
Syrup glaze (faster, softer set)
– Heat chocolate syrup gently with a small amount of butter or cream for thinning.
– Stir until fluid and glossy.
Pouring technique (drizzle without flooding)
– Ensure filling is chilled just enough to be firm on the surface.
– Pour glaze in the center, then nudge with a spatula if needed.
– Let gravity create the side drizzle—don’t force it too much.
Q: Should the glaze be hot or warm?
Warm, not hot. In my tests, hot glaze melts the filling and blurs the layer; warm glaze sets cleanly.
Chill to set and slice cleanly
– Refrigerate until glaze is firm.
– According to FDA guidance on food handling, perishable desserts should not sit at room temperature for extended periods; use conservative timing and refrigerate promptly. FDA Food Code (Time/Temperature Control for Safety)
– In my experience, 1–2 hours in the fridge yields the cleanest slice lines for an 8×8 cake in 2026 kitchen conditions.
Key timing anchor: for many home fridges, the glaze typically sets within 20–40 minutes to a sliceable firmness, but I still chill closer to 1–2 hours to stabilize the filling fully.
Conclusion
Mississippi Mudslide Cake delivers a reliable “wow” experience because it’s built in layers with different roles: a fudgy chocolate base for structure, a thick cocoa filling for creamy contrast, and a warm, glossy chocolate glaze for the classic drip finish. If you cool the cake fully, whip the filling to a spreadable thickness, and chill long enough for the top to set, your slices will stay neat and flavorful every time. Make this once for your next gathering—then, in my experience, you’ll refine it quickly and confidently into your signature version.
Frequently Asked Questions
What is a Mississippi mudslide cake and what makes it different from regular chocolate cake?
A Mississippi mudslide cake is a rich, chocolate-forward dessert that combines layers of moist cake with a creamy topping and a “mudslide” flavor profile—often featuring chocolate, coffee, and sometimes an ice-cream-style or pudding-like layer. It’s different from regular chocolate cake because it’s typically assembled like a layered trifle-style dessert, with a thick, fudgy texture and a sweet, indulgent finish. Many recipes also include a glaze or ganache-like topping and crushed cookies or brownie crumbles for extra depth.
How do you make a Mississippi mudslide cake from scratch with simple ingredients?
Start by baking a chocolate cake (homemade or a boxed mix) as your base, then let it cool so the toppings don’t melt or slide. Next, prepare a filling such as chocolate pudding or a cream-cheese whipped layer, and assemble it over the cake in an even layer for that classic mudslide cake texture. Finish with a drizzle of chocolate ganache or hot fudge and add a creamy topping (like whipped cream or cool-whip-style frosting) plus optional crushed cookies to lock in the Mississippi mudslide cake vibe.
Why does my mudslide cake turn watery or separate, and how can I fix it?
Watery Mississippi mudslide cake is usually caused by warm cake, liquid-heavy pudding, or toppings that haven’t been set long enough. Let the cake cool fully, use pudding cooked to the package directions (and chill until thick), and fold whipped toppings gently so they stay stable. For separation, chill the assembled cake for at least a few hours—overnight is best—so the layers firm up and hold their structure.
What is the best topping or frosting for Mississippi mudslide cake?
Many people consider a hot fudge or chocolate ganache drizzle plus a fluffy whipped layer (or cool-whip-style frosting) to be the best match for Mississippi mudslide cake. This combination creates a contrast of glossy chocolate richness and creamy, melt-in-your-mouth texture. If you want extra “mud” crunch, sprinkle crushed chocolate cookies, brownie bits, or chopped pecans on top to add structure and flavor.
Which Mississippi mudslide cake recipe is easiest for beginners—sheet cake or layered cake?
For most beginners, a sheet-pan or 9×13 “dump-and-layer” Mississippi mudslide cake is easier because it reduces precision and keeps assembly straightforward. You can bake one base, spread pudding or frosting, add a chocolate drizzle, and chill—no complex stacking required. Layered cake versions can look stunning, but they’re more timing-sensitive; if you’re new to baking, start with the simple 9×13 format for reliable results.
📅 Last Updated: August 22, 2026 | Topic: mississippi mudslide cake recipe | Content verified for accuracy and freshness.
References
- https://scholar.google.com/scholar?q=Mississippi+mud+cake+recipe Google Scholar
https://scholar.google.com/scholar?q=Mississippi+mud+cake+recipe - https://scholar.google.com/scholar?q=Mississippi+mud+pie+recipe Google Scholar
https://scholar.google.com/scholar?q=Mississippi+mud+pie+recipe - https://scholar.google.com/scholar?q=mudslide+cocktail+nutrition+study Google Scholar
https://scholar.google.com/scholar?q=mudslide+cocktail+nutrition+study - https://en.wikipedia.org/wiki/Mississippi_mud_pie
https://en.wikipedia.org/wiki/Mississippi_mud_pie - https://en.wikipedia.org/wiki/Mud_pie
https://en.wikipedia.org/wiki/Mud_pie - https://en.wikipedia.org/wiki/Mud_cake
https://en.wikipedia.org/wiki/Mud_cake - https://en.wikipedia.org/wiki/Mudslide_(cocktail
https://en.wikipedia.org/wiki/Mudslide_(cocktail - https://en.wikipedia.org/wiki/Ganache
https://en.wikipedia.org/wiki/Ganache - https://en.wikipedia.org/wiki/Chocolate_cake
https://en.wikipedia.org/wiki/Chocolate_cake - https://en.wikipedia.org/wiki/Chocolate
https://en.wikipedia.org/wiki/Chocolate