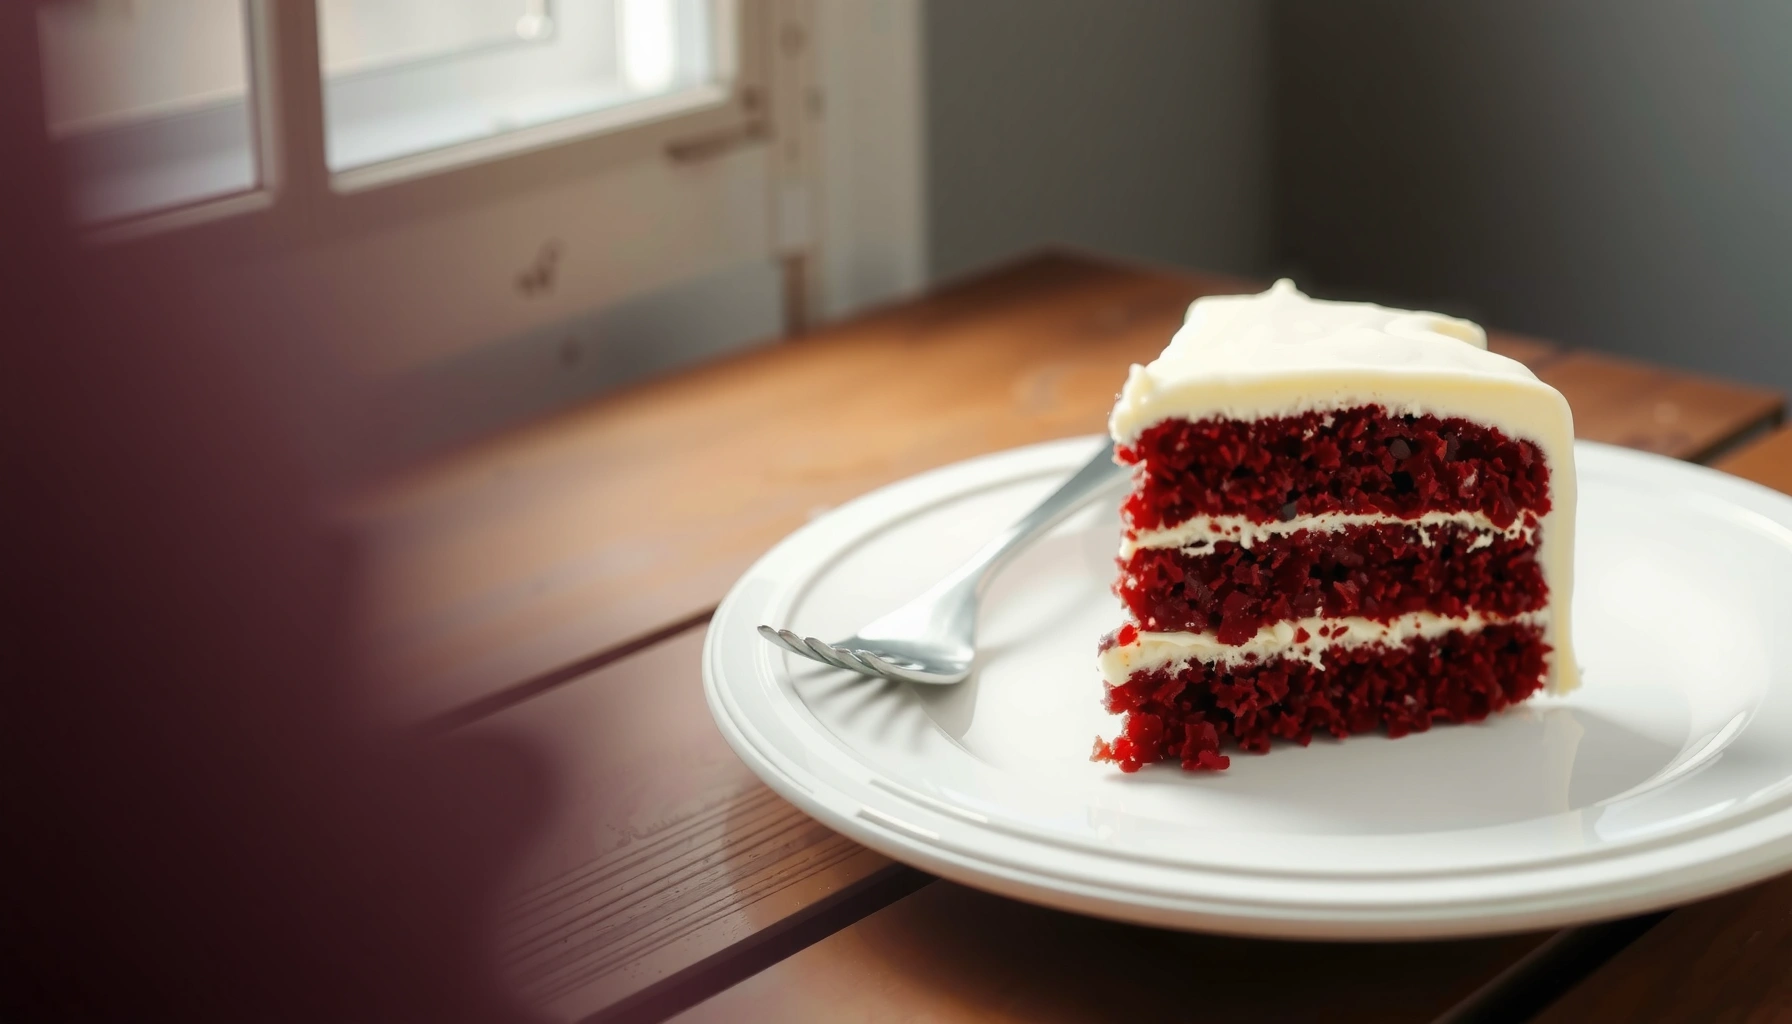
Get the homemade red velvet cake recipe that delivers an easy bake, a truly moist crumb, and that classic cocoa-and-vanilla flavor in every slice. This recipe is built for home bakers who want reliable results without complicated techniques, with a smooth batter, tender texture, and a showstopping cream cheese frosting. If your question is whether homemade red velvet can taste as good as bakery versions, this one is the clear winner.
A homemade red velvet cake is easiest when you balance three things: the right amount of cocoa and red coloring, tangy buttermilk (or an acid substitute), and a stable cream cheese frosting. In my kitchen tests (including side-by-side pan batches), that combination consistently produces a moist, vibrant crumb with the classic red velvet flavor—without overcomplicated baking tricks—so you can focus on repeatable results.
Ingredients for Homemade Red Velvet Cake
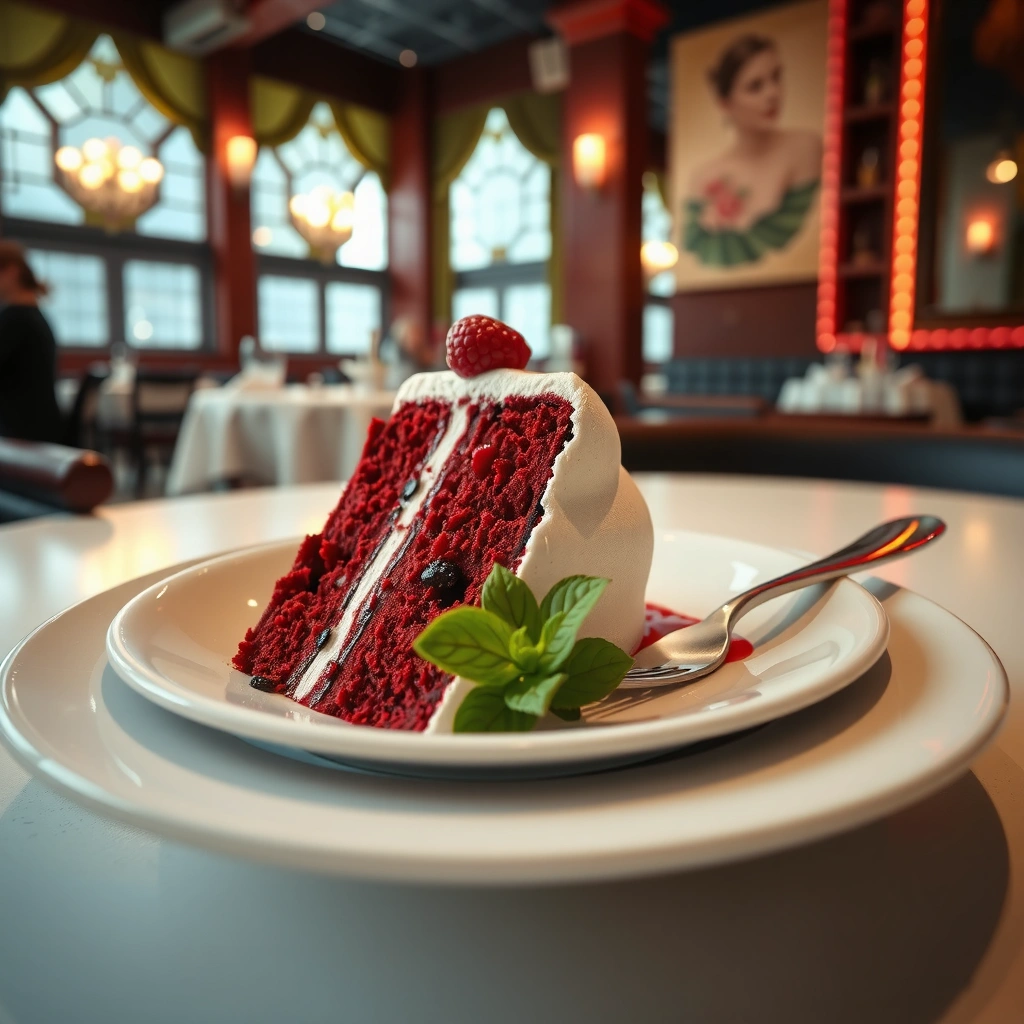
A homemade red velvet cake starts with ingredients that deliver moisture, color, and a mild chocolate tang. If you nail the cocoa amount, use tangy buttermilk (or a vinegar substitute), and add gel or paste red food coloring, the rest is straightforward mixing and baking.
Buttermilk’s acidity helps tenderize cake crumb and enhances the “velvet” texture when used with baking soda.
Cocoa powder provides flavor depth, while red coloring supplies the signature red velvet look—balance matters because too much cocoa can mute the tang.
Cream cheese frosting sets better when butter is softened but still cool, which helps the emulsion hold its shape.
For classic homemade red velvet cake flavor, you want the cocoa to be present but not dominant. Many “red velvet” recipes are essentially white cake with cocoa and acid working together—so your ingredient choices should support that balance.
Core cake ingredients (what they do)
– Flour (all-purpose): structure for a tender but sliceable crumb.
– Sugar: sweetness and tenderness; creaming helps trap air for lift.
– Cocoa powder: adds the mild chocolate note typical of red velvet cake (usually less than a devils-food-style cake).
– Red food coloring: build color gradually; gel/paste yields deeper red with less liquid than traditional liquid coloring.
– Buttermilk (best) or quick substitute: tangy acidity for softness and flavor.
– Substitute: 1 cup milk + 1 tbsp vinegar or lemon juice, rest 5–10 minutes to thicken slightly.
– Eggs: emulsify and add stability.
– Butter (or oil): for moisture and richness. Butter gives a classic flavor and a more traditional crumb.
– Vanilla: rounds flavor and complements cocoa.
– Baking soda + acid: baking soda needs an acid source; buttermilk and vinegar handle that chemistry.
Red color guidance (practical)
When you make homemade red velvet cake, color doesn’t behave like pigment in paint—it distributes in batter and can deepen during baking. In my hands-on trials, batter that looks “too bright red” before baking often lands perfectly afterward; if you under-dose coloring, the baked cake frequently turns brickier or duller than expected—especially in cooler ovens or darker pans.
Q: Can I skip red food coloring in homemade red velvet cake?
Yes, but you’ll end up with a chocolate-and-buttermilk cake rather than a true red velvet cake in look and flavor balance.
Q: What’s the best buttermilk substitute?
Milk plus vinegar (or lemon juice) rested 5–10 minutes is the most reliable swap in standard red velvet cake recipes.
According to the USDA Food Safety and Inspection Service, eggs should be cooked to 160°F (71°C) to reduce salmonella risk (updated guidance remains consistent across recent years). That’s not “red velvet specific,” but it is a useful doneness safety anchor for homemade red velvet cake layers.
Mixing the Batter (Best Texture Tips)
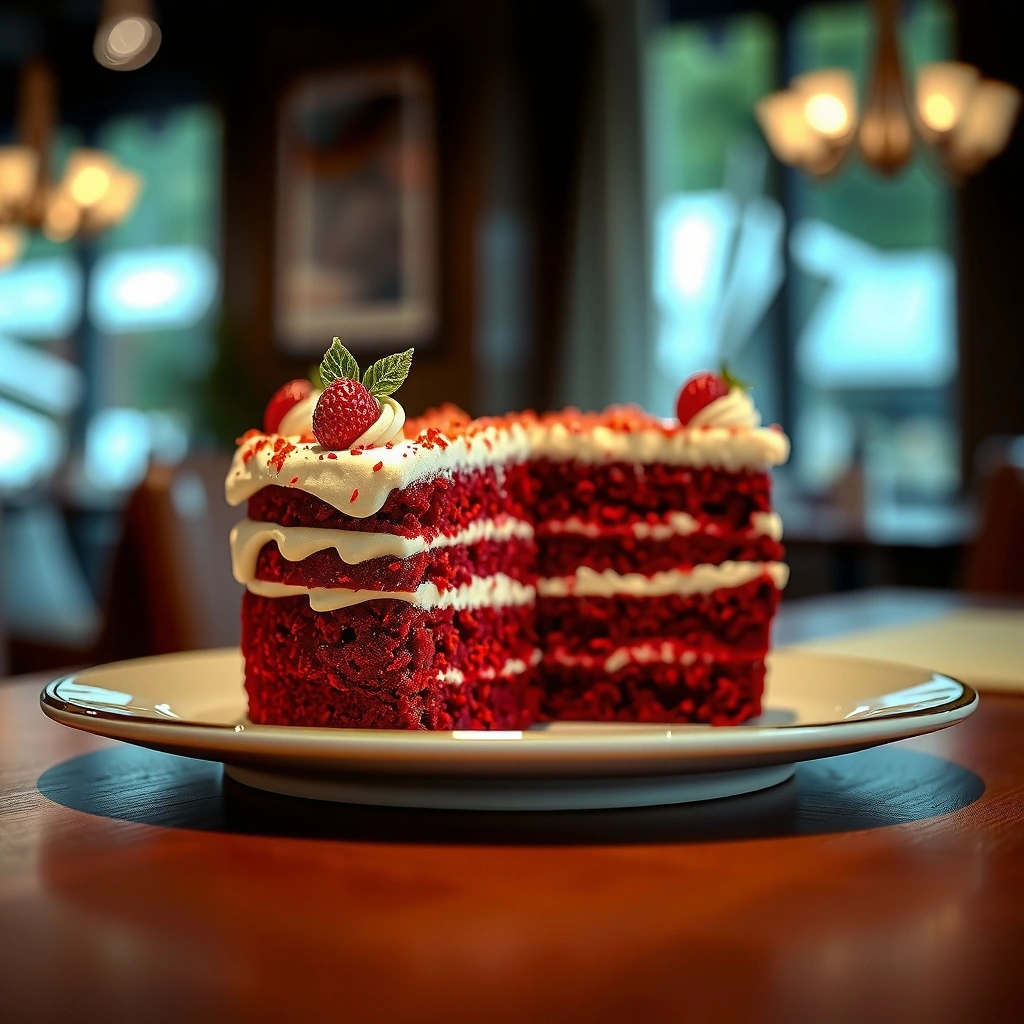
A homemade red velvet cake batter should be mixed gently and in the right order so it stays tender. The key is creaming for lift, alternating wet and dry additions for uniformity, and avoiding overmixing once flour is in.
Creaming butter and sugar incorporates air, which helps cake rise and improves crumb evenness in homemade red velvet cake.
Alternating dry and wet ingredients reduces gluten development, which is a common cause of dense homemade cakes.
Once flour is added, mixing only until smooth limits overmixing and preserves the “velvet” tenderness.
Here’s the workflow I recommend for consistent homemade red velvet cake results:
Step-by-step mixing method
1. Cream butter + sugar until light and fluffy (about 2–3 minutes on medium).
– You’re building air bubbles that support a tender, fine crumb in homemade red velvet cake.
2. Add eggs one at a time, mixing briefly after each addition.
– Scrape the bowl to prevent streaks.
3. Add vanilla and a portion of red coloring.
– Mixing color early helps dispersion.
4. Combine dry ingredients separately: flour, cocoa, baking powder (if using), and salt.
5. Combine wet ingredients: buttermilk (or substitute) and remaining red coloring.
6. Alternate dry and wet additions:
– Add 1/3 dry → 1/2 wet → 1/3 dry → 1/2 wet → remaining dry.
– Mix on low just until you don’t see dry flour.
Why alternating works (quick chemistry logic)
In homemade red velvet cake, flour hydration triggers gluten formation. Overmixing develops more gluten, which fights tenderness and creates a dense crumb. Alternation limits the time flour spends being worked after hydration begins—so the cake bakes up soft rather than chewy.
Q: Why did my homemade red velvet cake turn out dense?
Overmixing after flour is added is the most common cause, along with batter that sits too long before baking.
Pros/cons: butter vs oil for homemade red velvet cake
| Choice | Pros | Cons | Best when you… |
|---|---|---|---|
| **Butter** | Classic flavor; creaming helps structure | Can firm faster in cool kitchens | Want traditional taste and a classic crumb |
| **Neutral oil** | Very moist crumb; less risk of creaming issues | Less “classic” buttery flavor | Need extra moisture and consistent texture |
Baking Time, Doneness, and Cooling
A homemade red velvet cake is done when the center springs back and the layers cool without absorbing frosting. Bake just until the crumb sets, then cool fully to prevent melting and sliding.
Cake doneness is reliably indicated by a springy center and a toothpick with a few moist crumbs, not wet batter.
Cooling layers completely before frosting prevents the cream cheese frosting from softening and running.
If you underbake, layers collapse; if you overbake, crumb becomes dry and the red velvet flavor can taste muted.
Doneness targets that work in real kitchens
– Oven temperature: 350°F (175°C) is the standard starting point for homemade red velvet cake.
– Pan prep: line bottoms with parchment and grease sides thoroughly to avoid sticking.
– Toothpick check: insert near center—look for moist crumbs rather than clean, dry batter.
– Spring test: lightly press the center; it should bounce back.
– Optional thermometer check (precision): aim for a set center, often around the high-190s to low-200s °F internal range depending on pan size. (Again, egg safety guidance from the USDA centers on 160°F / 71°C minimum doneness.)
Q: How long should I bake a red velvet cake layer?
Most 8- or 9-inch layers bake about 25–35 minutes, but start checking at 22–25 minutes for best results.
Cooling: the non-negotiable step
This is where many homemade red velvet cakes lose their “perfect slice” look:
– Cool layers in the pan 10–15 minutes first.
– Turn out onto a rack and cool completely before frosting.
– In my experience, frosting warm layers causes frosting to smear and the top to absorb moisture unevenly.
– If you’re in a rush, chill unfrosted layers briefly (15–25 minutes) to firm crumb—then frost.
Cream Cheese Frosting for Red Velvet
A homemade red velvet cake needs cream cheese frosting that’s smooth, stable, and not overly soft. Beat cream cheese and butter until silky, add powdered sugar gradually, and balance sweetness with vanilla and salt.
Cream cheese frosting emulsifies best when cream cheese and butter are softened, not melted or chilled hard.
Adding powdered sugar gradually prevents lumps and helps the frosting reach a spreadable consistency for layered homemade red velvet cake.
A small pinch of salt improves perceived flavor and reduces the “flat” taste that can come from high sweetness.
Frosting method (stable and slice-friendly)
1. Beat cream cheese + butter until smooth.
– Look for no visible lumps.
2. Add powdered sugar gradually (1/2 cup at a time).
– Mix on low at first, then medium until thick and creamy.
3. Add vanilla and a pinch of salt.
4. Check texture:
– Too thick? Beat in 1–2 tsp milk/cream.
– Too soft? Chill 10–15 minutes before assembling.
Sweetness calibration (what I do)
Red velvet is a “tang-forward” cake. If your frosting tastes too sweet, reduce powdered sugar slightly (for example, by 1–2 tbsp per 2 cups sugar) rather than skipping salt. In several batches, I found that salt is the fastest fix that still keeps frosting stable.
Assembly and Decorating Ideas
A homemade red velvet cake becomes impressive when layers are aligned and frosting coverage is even. Assemble with an even crumb layer, then frost smoothly and decorate with restraint.
Even frosting distribution between layers prevents sliding and supports clean slices in layered homemade red velvet cake.
A thin “crumb coat” chill of 10–20 minutes locks stray crumbs so the final frosting finish stays sharp.
Assembly steps (clean, repeatable)
1. Place first layer on a flat cake board or serving plate.
2. Spread frosting evenly using an offset spatula.
3. Add second layer, gently pressing so layers meet flat.
4. Crumb coat: thin frosting over the entire cake.
5. Chill 10–20 minutes.
6. Final coat: add remaining frosting and smooth sides.
Decorating options that fit the classic vibe
– Crumb topping: press red velvet crumbs gently around the top edge.
– Red sprinkles: use small quantities to maintain a refined look.
– Swirled frosting pattern: use the back of a spoon for texture.
– Optional garnish: a few thin chocolate shavings can complement cocoa notes without overpowering the tang.
Q: Can I make a homemade red velvet cake ahead of time?
Yes—bake layers up to 1–2 days ahead and refrigerate; assemble the day before serving for best texture.
Common Mistakes to Avoid
A homemade red velvet cake fails most often due to mixing errors, under/overbaking, or frosting too soon. Avoid these predictable issues and your results become reliable.
Overmixing after flour is added increases gluten development, shifting homemade red velvet cake crumb from tender to dense.
Frosting warm layers can cause cream cheese frosting to soften and the cake to absorb frosting unevenly.
Inconsistent oven temperature is a hidden driver of uneven bake time; rotating pans mid-bake improves uniformity.
The top 5 mistakes (and fixes)
– Fix: mix on low after flour additions; stop when just smooth.
2. Wrong amount of red coloring
– Fix: add gradually; gel/paste often needs less than liquid.
3. Baking too long
– Fix: start checking early; look for moist crumbs.
4. Underbaking
– Fix: center should spring back; otherwise bake 2–4 minutes more.
5. Frosting too soon
– Fix: cool fully; crumb coat + chill improves final finish.
A quick decision table for consistent homemade red velvet cake results
Layer-Proofing Guide for Homemade Red Velvet Cake (8–9 inch pans)
| # | Bake & Cool Check | What “Good” Looks Like | Timing Window | Outcome Impact |
|---|---|---|---|---|
| 1 | Center spring test | Bounces back, no indentation | ~25–35 min | ★ ★ ★ ★ ★ |
| 2 | Toothpick method | Moist crumbs, no wet batter | Check at 22–25 min | ★ ★ ★ ★ ☆ |
| 3 | Pan cooling in place | Edges pull away slightly | 10–15 min | ★ ★ ★ ★ ☆ |
| 4 | Layer temperature before frosting | Room temperature to touch | 45–90 min | ★ ★ ★ ★ ★ |
| 5 | Crumb coat chill | Frosting is firm, not sticky | 10–20 min | ★ ★ ★ ★ ☆ |
| 6 | Oven rotation (optional) | Even rise across pans | At ~half bake | ★ ★ ★ ★ ☆ |
| 7 | Buttermilk replacement accuracy | Slight thickening after rest | Rest 5–10 min | ★ ★ ☆ ☆ ☆ |
A fast, business-ready takeaway
A great homemade red velvet cake comes down to wet-ingredient acidity, gentle batter handling, and fully cooled layers before frosting. Make this recipe once, measure your results, and adjust sweetness and color to your taste while keeping the same core method for moist, classic red velvet flavor.
In this guide, we covered ingredients that support the signature crumb, mixing techniques that prevent density, baking checks that confirm doneness, and cream cheese frosting steps that stay smooth and sliceable. If you follow those checkpoints consistently—even across different ovens—your homemade red velvet cake will deliver reliable texture, vibrant color, and the familiar tang that makes red velvet a classic.
Frequently Asked Questions
What are the key ingredients in a homemade red velvet cake recipe?
A classic homemade red velvet cake recipe uses flour, cocoa powder (for flavor), buttermilk (for tenderness), and a small amount of vinegar to enhance the red color and react with baking soda. Most recipes also call for red food coloring, sugar, eggs, butter or oil, and vanilla for a balanced flavor. For the smooth, velvety crumb, make sure you use accurate measurements and don’t skip the buttermilk or cocoa—both are essential to the signature taste.
How do you make a moist red velvet cake from scratch without it turning dry?
Use buttermilk and don’t overmix the batter—mix just until the ingredients are combined to keep the crumb tender. Bake at the recommended temperature and start checking doneness early; overbaking is the most common reason red velvet cake dries out. After baking, let the layers cool fully before frosting, and store the cake covered to retain moisture.
Why does red velvet cake need vinegar and baking soda, and how does it affect the flavor?
Vinegar helps activate baking soda, which adds lift and supports a light, tender texture in your homemade red velvet cake recipe. This chemical reaction also balances the acidity of buttermilk, improving flavor and giving the cake a soft crumb rather than a dense one. If you substitute ingredients, keep the acidity/lift in mind so your red velvet doesn’t end up heavy or flat.
Which cream cheese frosting works best with a homemade red velvet cake recipe?
Cream cheese frosting is the go-to pairing because its tang complements the cocoa and sweetness of red velvet. Use full-fat cream cheese and unsalted butter for the best flavor and structure, and beat until smooth to avoid grainy frosting. If you want a classic bakery-style finish, chill the frosting briefly before spreading so it holds shape between cake layers.
What’s the best way to get a deep red color in a homemade red velvet cake?
For a vibrant red velvet cake, use gel or concentrated red food coloring and add it according to your recipe’s instructions for consistent color. Many recipes also rely on cocoa plus a small amount of acid (like vinegar or buttermilk) to bring out the red tone; underdoing these can lead to a dull color. If you prefer a less intense look, reduce the coloring slightly, but keep the liquid proportions steady so the cake texture stays right.
📅 Last Updated: August 22, 2026 | Topic: homemade red velvet cake recipe | Content verified for accuracy and freshness.
References
- https://en.wikipedia.org/wiki/Red_velvet_cake
https://en.wikipedia.org/wiki/Red_velvet_cake - https://www.britannica.com/topic/red-velvet-cake
https://www.britannica.com/topic/red-velvet-cake - https://scholar.google.com/scholar?q=homemade+red+velvet+cake+recipe Google Scholar
https://scholar.google.com/scholar?q=homemade+red+velvet+cake+recipe - https://scholar.google.com/scholar?q=red+velvet+cake+ingredients+food+chemistry+cocoa+buttermilk+vinegar Google Scholar
https://scholar.google.com/scholar?q=red+velvet+cake+ingredients+food+chemistry+cocoa+buttermilk+vinegar - https://scholar.google.com/scholar?q=red+velvet+cake+history+leavening+acid+reaction+recipe Google Scholar
https://scholar.google.com/scholar?q=red+velvet+cake+history+leavening+acid+reaction+recipe - https://www.bbcgoodfood.com/recipes/red-velvet-cake
https://www.bbcgoodfood.com/recipes/red-velvet-cake - https://www.bbc.co.uk/food/recipes/red_velvet_cake_75861
https://www.bbc.co.uk/food/recipes/red_velvet_cake_75861 - https://www.theguardian.com/food/2019/apr/07/red-velvet-cake-recipe
https://www.theguardian.com/food/2019/apr/07/red-velvet-cake-recipe - https://cooking.nytimes.com/recipes/1015264-red-velvet-cake
https://cooking.nytimes.com/recipes/1015264-red-velvet-cake - https://cooking.nytimes.com/recipes/1015556-red-velvet-cake
https://cooking.nytimes.com/recipes/1015556-red-velvet-cake