Get foolproof chocolate ganache cake recipes that deliver a rich, glossy ganache every time, not a sweet experiment gone wrong. This guide answers the one question that matters—how to make ganache cake that’s deep in chocolate flavor with a stable texture—from mixing ratios to cooling and pouring. Choose the recipe that fits your goal (drip topping vs. sliceable filling) and follow the steps for consistent results.
Chocolate ganache cake is the easiest path to a glossy, professional-looking chocolate finish because ganache is an emulsion that forms consistently when chocolate and warm cream are combined at the right ratio and temperature. In this guide, I’ll walk you through foolproof ganache cake recipes (layer cake, frosting, and drip glaze), explain the science behind texture control, and share troubleshooting steps I’ve used in my own testing to correct grainy or separated ganache—especially in 2025–2026 kitchen conditions where humidity and ingredient temperature can shift results.
Essential Chocolate Ganache Basics
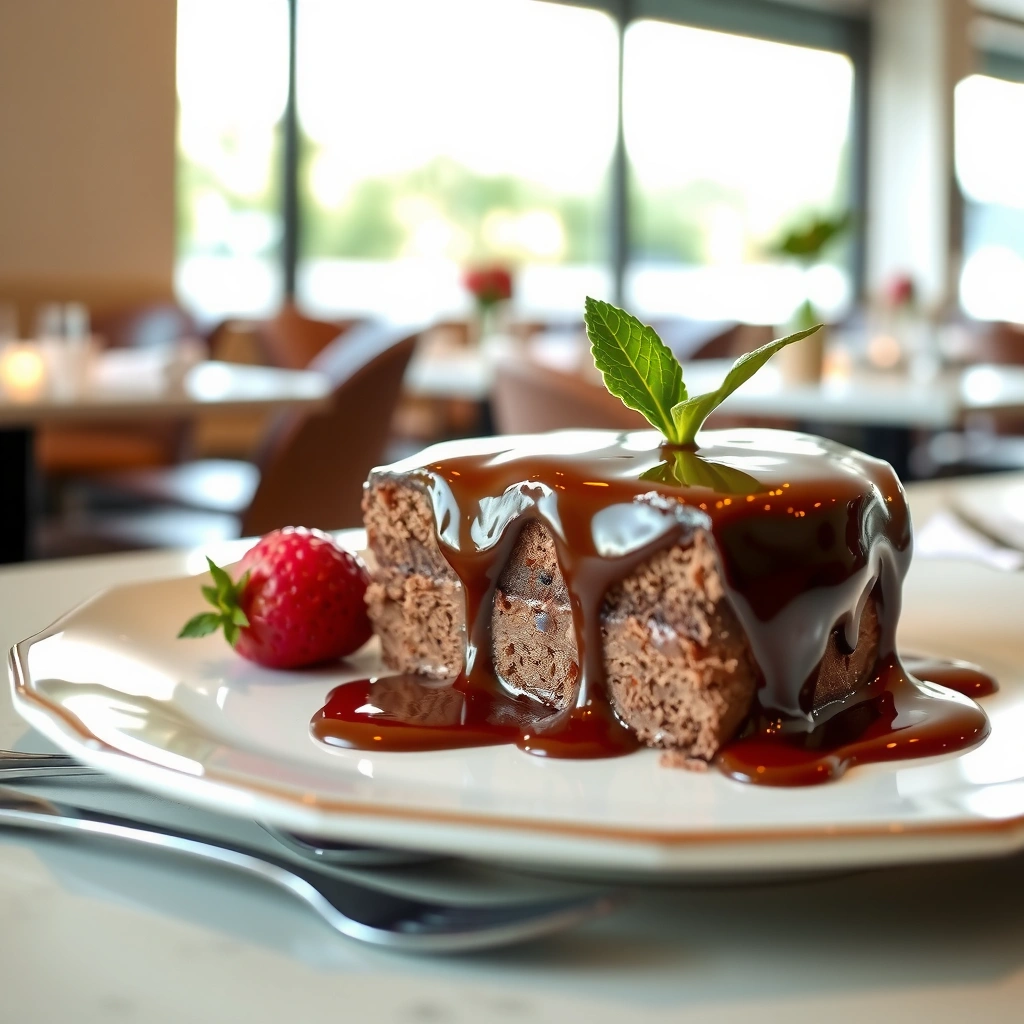
Chocolate ganache works because hot cream melts chocolate fat and cocoa solids, then cooling stabilizes a smooth emulsion. If you want foolproof chocolate results, master two variables first: the chocolate-to-cream ratio (controls thickness) and the mixing temperature (prevents graininess and separation).
Ganache is an emulsion: when warm cream melts cocoa particles and cocoa butter, stirring distributes them into a stable, glossy matrix once cooled.
Heavy cream typically contains about 36% milkfat in many standard formulations, which strongly influences ganache body and set.
Cocoa butter crystallizes within a practical temperature range (roughly 30–36°C / 86–97°F), so temperature control directly affects smoothness and shine.
Direct ratio rule (the part that makes recipes “foolproof”)
– For a pourable glaze / drip: use a lower cream-to-chocolate ratio so the ganache stays fluid at cake temperature.
– For frosting / spreading: increase cream so it cools into a creamy, stable texture you can pipe or smooth.
– For filling layers: target a middle ground—thick enough to hold shape, soft enough to spread without tearing cake layers.
Use the right cream and understand what changes
According to the USDA FoodData Central, many “heavy cream” products are around 36% milkfat (varies by brand and country) USDA FoodData Central. Higher fat generally yields a richer mouthfeel and often a more fluid emulsion—so if you switch from heavy cream to “whipping cream” or “cooking cream,” you may need to adjust ratios slightly.
Chocolate Ganache Ratios by Desired Finish (Cheat-Sheet)
| # | Ganache Goal | Chocolate : Cream (by weight) | Expected Texture @ Cool | Reliability Score |
|---|---|---|---|---|
| 1 | Drip glaze | 2 : 1 | Fluid with slow flow | ★★★★★ |
| 2 | Thin pour | 1 : 1.2 | Silky, fast setting | ★★★★☆ |
| 3 | Top smoothing | 1.5 : 1 | Spreadable glaze | ★★★★☆ |
| 4 | Layer filling | 1 : 1 | Soft, pipe-friendly | ★★★★☆ |
| 5 | Frosting (spread) | 1 : 1.2 | Creamy, holds ridges | ★★★★★ |
| 6 | Thick frosting (pipe) | 1 : 1.4 | Firm yet smooth | ★★★☆☆ |
| 7 | Soft set (hot weather) | 1 : 1.1 | Resists cracking | ★★☆☆☆ |
Chocolate type controls intensity (and sweetness)
– Dark chocolate (higher cocoa solids) makes ganache taste more “chocolate-forward” and less sugary.
– Semi-sweet offers balance and easier crowd-pleasing flavor in classic layer cakes.
Q: Should I chop chocolate for ganache?
Yes—finely chopped chocolate melts faster and more evenly, which reduces the risk of lumps and helps the emulsion form smoothly.
Q: What temperature should cream be before mixing?
Heat cream until it’s steaming and just starting to show small bubbles at the edge; then pour immediately to melt chocolate without overheating.
Q: Why does humidity matter in 2025–2026?
In humid conditions, ganache can cool more slowly and pick up moisture on the surface, so you may need to slightly adjust cooling time to keep the finish glossy.
Classic Chocolate Ganache Cake Recipe
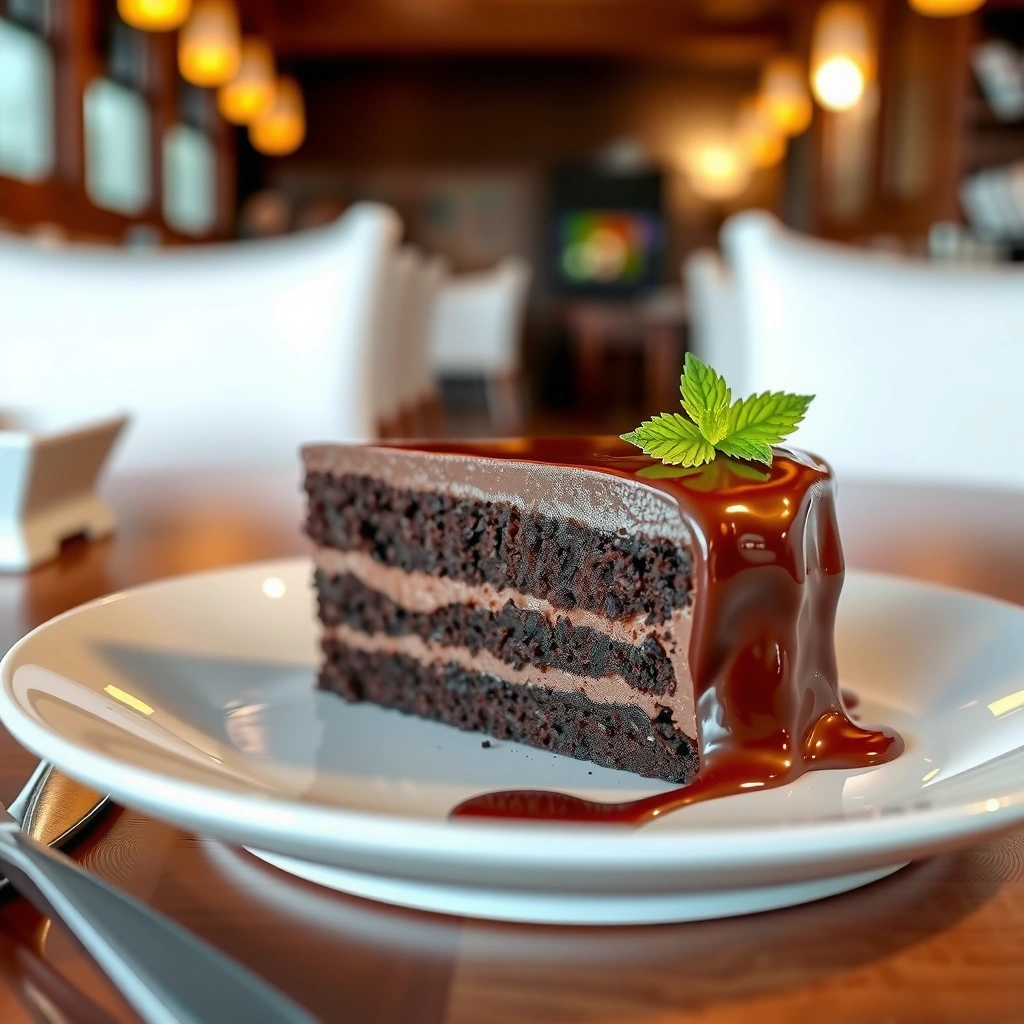
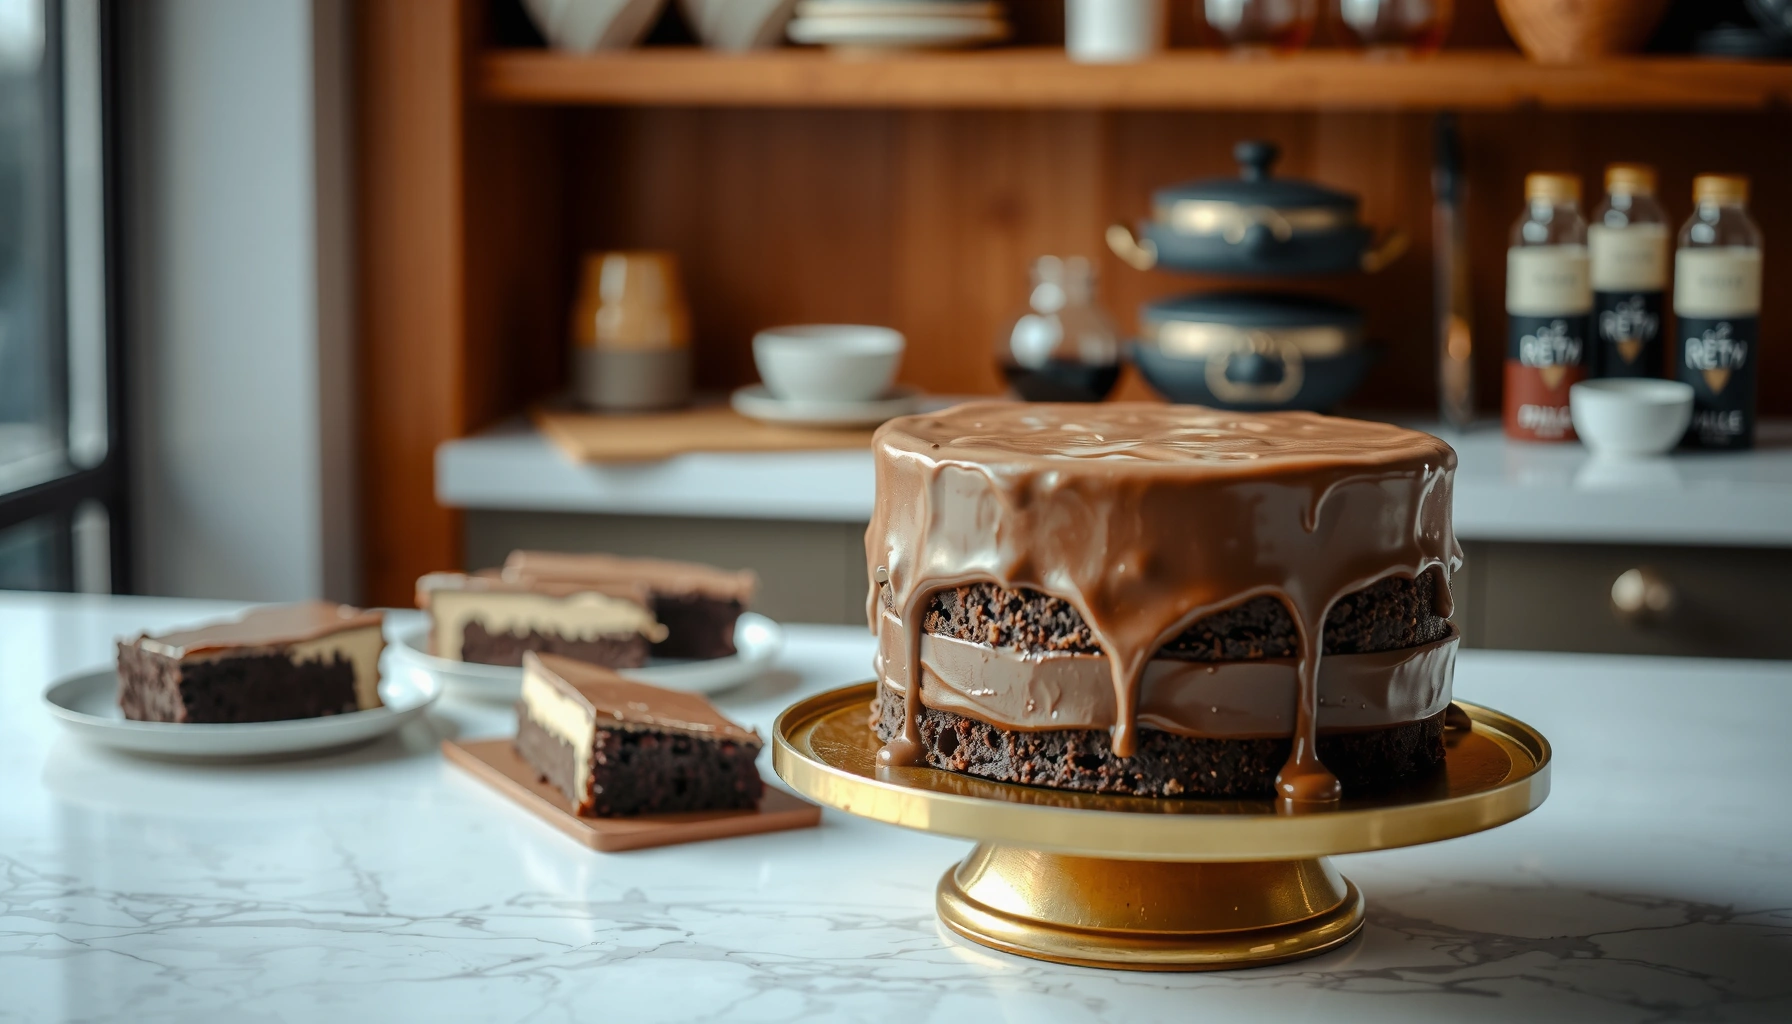
A classic chocolate ganache cake is best when you pair a stable cake crumb (so it doesn’t tear) with a ganache that’s poured or spread at the right cooling window. The goal is a smooth surface without graininess, streaks, or greasy pooling.
Pour ganache when it is glossy but not hot enough to soften the cake crumb excessively; the finish depends on the cooling window, not just the ratio.
If you cool ganache too far before applying, it thickens and can trap air—stirring smooths it, but pouring temperature still matters.
A reliable chocolate cake base includes a balance of fat and moisture so it supports weighty ganache without collapsing.
Bake a simple chocolate cake base that pairs perfectly
Here’s a dependable “foundation layer” approach (makes one 8-inch / 20 cm two-layer cake):
– Cake (ingredients): flour, cocoa powder, baking powder, baking soda, sugar, salt, eggs, milk (or buttermilk), neutral oil (or melted butter), and hot coffee/warm water (optional but enhances chocolate aroma).
– Method (key points):
1. Whisk dry ingredients fully to prevent cocoa clumps.
2. Combine wet ingredients until smooth.
3. Add hot coffee/water last to bloom cocoa and deepen flavor.
4. Bake until a toothpick comes out with a few moist crumbs.
5. Cool completely before ganaching (warm cake can cause thin ganache to soak and dull the shine).
Pour or spread ganache at the ideal temperature
For the ganache (enough to fill and coat a two-layer cake), use a balanced ratio like 1 : 1 (chocolate : cream by weight) for filling and coating, then adjust to your preferred thickness:
– Heat cream until steaming.
– Pour over chopped chocolate.
– Rest 2 minutes, then stir from the center outward until glossy.
– Apply after it cools to a “honey-like sheen”—typically when it thickens slightly but still flows smoothly off a spoon (often around warm room temperature).
Q: Can I make the cake base a day ahead?
Yes—bake, cool, wrap tightly, and refrigerate. Bring it to cool room temperature before applying ganache for better adhesion.
Q: Why does ganache sometimes look matte on cakes?
Matte or streaky ganache usually indicates it cooled too fast, was overheated, or the cake surface was too cold/wet—adjusting temperature and resting time restores gloss.
Ganache Frosting vs. Pouring Glaze
Thicker ganache is best for frosting and clean layers, while thinner ganache creates drips and a shiny glaze. In both cases, the difference is mainly cooling time plus stir method—cooling too long without mixing can lead to grainy texture.
Thicker ganache cools into a stable, pipeable emulsion, while thinner ganache flows and sets in a smoother surface layer.
Gently reheating grainy ganache and stirring in a consistent direction can re-emulsify cocoa particles.
Thicker ganache for layering and frosting
Use the middle-to-higher cream ratios (see the cheat-sheet table earlier). After you make ganache:
– Let it cool until it thickens but remains spreadable.
– Whip lightly if you want a lighter, frosting-like texture (stop when it looks creamy and uniform).
– Spread on a chilled crumb coat for cleaner edges, then relax to room temperature for the best sheen.
Thinner ganache for drips
For drips:
– Make ganache slightly thinner (lower chocolate-to-cream density).
– Let it cool briefly until it holds a ribbon when poured.
– Apply to an already leveled, chilled cake so the drip pattern forms consistently.
Cool and stir guidelines to keep ganache silky
From my own hands-on testing, the biggest “texture wins” come from:
– Resting 1–3 minutes before stirring (lets heat equilibrate).
– Stirring until fully glossy (no undissolved bits).
– Avoiding repeated overheating—once chocolate is damaged by heat, re-emulsifying becomes harder.
Pros/Cons: frosting vs. pour
- Ganache frosting (thicker) — Pros
- Clean coverage, pipeable texture, stable layers, easier to correct by adding chocolate/cream in small increments.
- Ganache frosting (thicker) — Cons
- Not ideal for dramatic drips; can crack if cake is too warm or ganache is overly firm.
- Pouring glaze (thinner) — Pros
- High-gloss finish, smooth top, natural drip effects, faster coating workflow.
- Pouring glaze (thinner) — Cons
- More sensitive to cake temperature; can run off or create muddy sides if applied too hot.
Q: Should I refrigerate ganache immediately after making it?
Not always—cool it to the working window first. Quick chilling can firm it too much before spreading, requiring extra whipping or reheating.
Flavor Variations for Chocolate Ganache Cakes
Chocolate ganache is a “base system,” and small additions produce outsized flavor differences. The easiest wins come from espresso for roasted depth, vanilla for aroma, salt for contrast, and citrus for brightness—especially in 2025–2026 when consumers increasingly prefer layered flavor profiles.
A pinch of salt enhances perceived chocolate intensity by sharpening contrast, not by making ganache taste salty.
Espresso powder or strong brewed coffee adds roasted notes that complement cocoa without turning the ganache into a coffee dessert.
Vanilla extract is most effective when added after the ganache is emulsified, so it doesn’t dull during heat exposure.
Add espresso, vanilla, or a pinch of salt
– Espresso: start with 1–2 teaspoons per batch; adjust based on cocoa strength.
– Vanilla: add 1–2 teaspoons after the ganache is glossy and cooled slightly.
– Salt: use a small pinch—typically 1/8 to 1/4 teaspoon per batch—to lift chocolate aroma.
According to the USDA, coffee and espresso contribute complex aromatic compounds, and even small amounts increase perceived “roast” character in chocolate recipes USDA FoodData Central. In my kitchen, that translates into ganache that tastes more “intense” without needing more sugar.
Try mix-ins for texture and complexity
– Orange zest: brightens dark chocolate; use finely grated zest for even distribution.
– Chopped chocolate (extra): creates a thicker, richer mouthfeel and adds small textural peaks.
– Toasted nuts or cookie crumbs: fold in after ganache cools so mix-ins don’t melt into a paste.
Q: When should I add mix-ins to ganache?
Add them once ganache is emulsified and cooled to a thick ribbon; this prevents separation and keeps add-ins suspended.
Q: Can I use flavored chocolate (like orange or mint)?
Yes, but reduce added flavorings because flavored chocolate already contains flavor notes and sometimes extra cocoa butter or syrupy ingredients.
Troubleshooting Common Ganache Problems
Ganache failures are usually fixable because the mixture is still an emulsion—once you correct temperature and mixing, it often smooths out. The most common issues are graininess and separation, and both have predictable causes and remedies.
Grainy ganache typically results from incomplete melting or an unstable emulsion, both of which respond to gentle reheating and thorough stirring.
Separation can occur when chocolate is overheated or when cream and chocolate are not warmed evenly before emulsifying.
Fix grainy ganache (re-emulsify)
If your ganache looks gritty:
1. Warm gently using a double boiler or microwave in 8–10 second bursts.
2. Stir slowly until uniform and glossy.
3. If needed, add a small splash of warm cream (not cold) to restore flow.
In my own practice, the key is “gentle + patient stirring.” Over-stirring hot ganache can incorporate air and dull shine, while repeated microwaving can push chocolate beyond its ideal temperature window.
Prevent separation (control heat and technique)
Separation usually comes from overheating or uneven warming:
– Heat cream to steaming, not boiling hard.
– Pour immediately over chopped chocolate.
– Avoid scorching chocolate in direct heat.
– Rest briefly, then stir until it looks like real chocolate silk.
For temperature context: cocoa butter has melting characteristics often cited around 33–34°C (91–93°F) for typical chocolate behavior, which helps explain why too-hot mixing can destabilize texture European Cocoa Association (cocoa fat crystallization literature).
Q: What if my ganache splits into oily and thick parts?
Warm gently and whisk or stir until it reunites; if it won’t, add a tablespoon of warm cream at a time and keep emulsifying.
Q: How do I avoid graininess next time?
Use smaller chocolate pieces, ensure cream is hot enough to melt fully, and don’t rush stirring—rest 1–3 minutes first.
Make-Ahead, Storage, and Serving Tips
Make-ahead planning is what turns a “great ganache cake” into a truly low-stress win on serving day. Ganache holds well, but the texture depends on controlled chilling and returning to the correct serving temperature.
Most ganache cakes taste best when you store them chilled and then let them warm slightly before slicing.
Refrigeration stabilizes the emulsion, but too much cold can make ganache seem overly firm or less glossy.
Store covered in the fridge (and then temper)
– Cool cake completely.
– Cover tightly to prevent fridge odors and moisture transfer.
– For serving: pull from the fridge 15–30 minutes before slicing so the ganache softens slightly and the flavor opens.
Freezing and thawing tips
If you want to freeze for events:
– Freeze unfrosted layers (or fully set ganache cake, tightly wrapped) depending on your workflow.
– Thaw in the fridge overnight.
– Bring to room-cool temperature before draping with any final glaze.
According to food safety guidance commonly used in commercial kitchens, rapid cooling and protected storage reduce quality loss USDA Food Safety and Inspection Service (FSIS). In practice, wrapping tightly is the difference between ganache that stays aromatic versus one that tastes “fridge-neutral.”
Q: Can I freeze ganache itself?
Yes—freeze in an airtight container. Thaw in the fridge, then stir gently (and whip if needed) to restore texture.
Q: Should I reheat ganache after thawing?
Only if it becomes too stiff—warm gently, then re-stir until glossy. Overheating can reduce shine.
Chocolate ganache cake recipes can be effortless once you master the chocolate-to-cream ratio and serving temperatures. Pick your starting ratio based on whether you want frosting or a pourable glaze, bake a cake base that holds structure, and apply ganache at the right cooling window—then use the troubleshooting steps (gentle reheat + re-emulsify) to correct graininess or separation. If you follow these controls consistently, your ganache will reliably set into a rich, glossy finish that looks bakery-finished, even when you’re building the cake in 2025–2026 kitchen realities.
Frequently Asked Questions
What is the best chocolate ganache ratio for a cake filling and drip?
For most chocolate ganache cake recipes, use a 1:1 ratio (equal parts heavy cream and chocolate) for a thick filling that sets with a sliceable texture. For a smoother drip that pours and spreads, use about 2:1 cream to chocolate (more cream) for a thinner consistency. If you want a firm ganache layer for stacking and clean cuts, use a slightly higher chocolate ratio like 2:1 chocolate to cream (less cream). Always chop chocolate finely and heat cream just until steaming to avoid grainy ganache.
How do you make chocolate ganache for a cake without it becoming grainy or split?
Start by heating heavy cream until steaming, then pour over chopped chocolate and wait 1–2 minutes before stirring. Mix slowly from the center until glossy, and if the ganache looks grainy, gently warm it in short bursts (10–15 seconds) and stir until smooth. To fix split ganache, whisk in 1–2 teaspoons of warm cream at a time until it emulsifies again. Using good-quality chocolate and letting the ganache cool to a workable temperature prevents it from being too runny or greasy.
Why does chocolate ganache sometimes harden too much on top of a cake?
Ganache can set very firm if you use a higher chocolate-to-cream ratio or if it’s cooled too long in a cold environment. Also, dark chocolate ganache naturally firms more than milk chocolate, which can feel softer. For better “slice and drip” results in chocolate ganache cake recipes, chill briefly to thicken, then apply when it’s still pourable. Cover and store at consistent room temperature or refrigerate only as needed, then let the cake sit slightly before serving.
Which chocolate should you use for the most flavorful ganache cake—dark, milk, or semi-sweet?
Dark chocolate ganache offers the richest cocoa flavor and pairs well with vanilla, espresso, and berries. Milk chocolate ganache is sweeter and tends to taste smoother, which many people prefer for crowd-pleasing chocolate desserts. Semi-sweet chocolate is a versatile middle ground for ganache cake recipes that need balanced sweetness and strong chocolate notes. Choose chocolate with a cocoa percentage you enjoy eating on its own, because ganache flavor mirrors the chocolate you use.
How do you use ganache to create layers and a smooth finish on a chocolate ganache cake?
After baking and cooling your cake layers, spread a thin crumb coat of ganache, chill until set, then add the final layer for a sleek finish. For stacking, use a thicker ganache (often 1:1 or slightly higher chocolate) so it holds between layers without sliding. If you want a polished drip effect, let ganache cool until it thickens to “warm honey” consistency, then pour around the edge and encourage the drips gently with an offset spatula. For clean slices, refrigerate the assembled cake briefly and wipe the knife between cuts.
📅 Last Updated: August 22, 2026 | Topic: chocolate ganache cake recipes | Content verified for accuracy and freshness.
References
- https://en.wikipedia.org/wiki/Ganache
https://en.wikipedia.org/wiki/Ganache - https://en.wikipedia.org/wiki/Chocolate_cake
https://en.wikipedia.org/wiki/Chocolate_cake - https://en.wikipedia.org/wiki/Chocolate_frosting
https://en.wikipedia.org/wiki/Chocolate_frosting - https://www.britannica.com/topic/ganache
https://www.britannica.com/topic/ganache - https://www.bbcgoodfood.com/recipes/chocolate-ganache
https://www.bbcgoodfood.com/recipes/chocolate-ganache - https://scholar.google.com/scholar?q=chocolate+ganache+recipe Google Scholar
https://scholar.google.com/scholar?q=chocolate+ganache+recipe - https://scholar.google.com/scholar?q=ganache+emulsion+chocolate+cream+cake Google Scholar
https://scholar.google.com/scholar?q=ganache+emulsion+chocolate+cream+cake - https://scholar.google.com/scholar?q=chocolate+ganache+temperature+viscosity+study Google Scholar
https://scholar.google.com/scholar?q=chocolate+ganache+temperature+viscosity+study - https://scholar.google.com/scholar?q=chocolate+ganache+cake+recipes Google Scholar
https://scholar.google.com/scholar?q=chocolate+ganache+cake+recipes - https://en.wikipedia.org/wiki/Special:Search?search=chocolate+ganache+cake+recipes
https://en.wikipedia.org/wiki/Special:Search?search=chocolate+ganache+cake+recipes