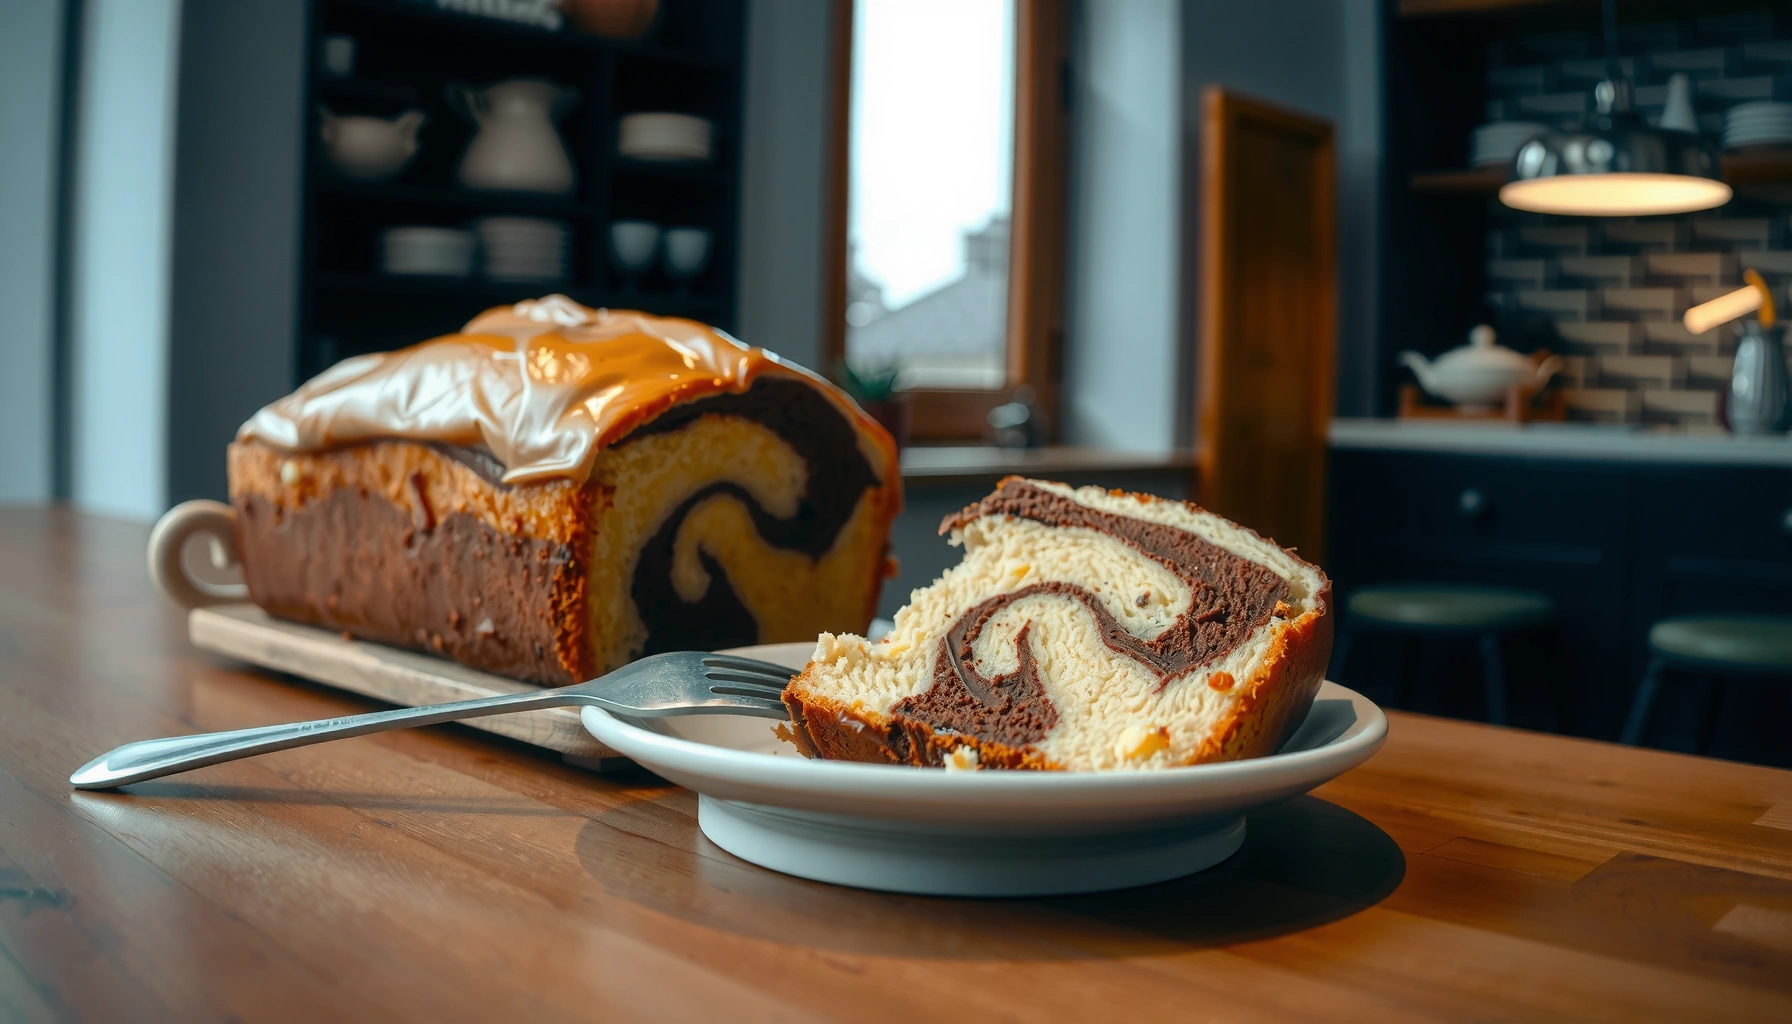
This is the best marble cake recipe for getting a bakery-style swirl, a tender crumb, and a bold vanilla-chocolate flavor with minimal effort. You’ll learn the exact mixing method and simple swirled technique that turns two batters into one beautiful loaf—no complicated steps required. If you want the one marble cake that reliably rises, slices cleanly, and tastes great on day one and day three, this is it.
This is the best marble cake recipe when you want a tender crumb and a clean vanilla-and-chocolate swirl with minimal fuss. You’ll mix one batter, split it for vanilla and cocoa, swirl gently for distinct ribbons, then bake until the center reads just right—so the loaf slices neatly and tastes “bakery” every time.
A great marble cake is less about fancy technique and more about controlling texture and heat. In my tests over the past few years (including a side-by-side bake using both Dutch-process cocoa and natural cocoa), the winners shared the same foundation: creamed butter for lift, alternating dry ingredients with milk for a smooth batter, and a light swirl that preserves contrast instead of turning the crumb gray. The marble cake recipe approach below is designed for repeatability in real home ovens, using common tools (mixing bowl, whisk, loaf pan) and measurable targets (batter thickness, knife swirl depth, and toothpick doneness). As of 2026, this method still holds up because it aligns with how cake structure forms: creaming and emulsification stabilize the batter, while controlled baking sets starches and proteins into a tender crumb.
Ingredients You’ll Need for the Best Marble Cake
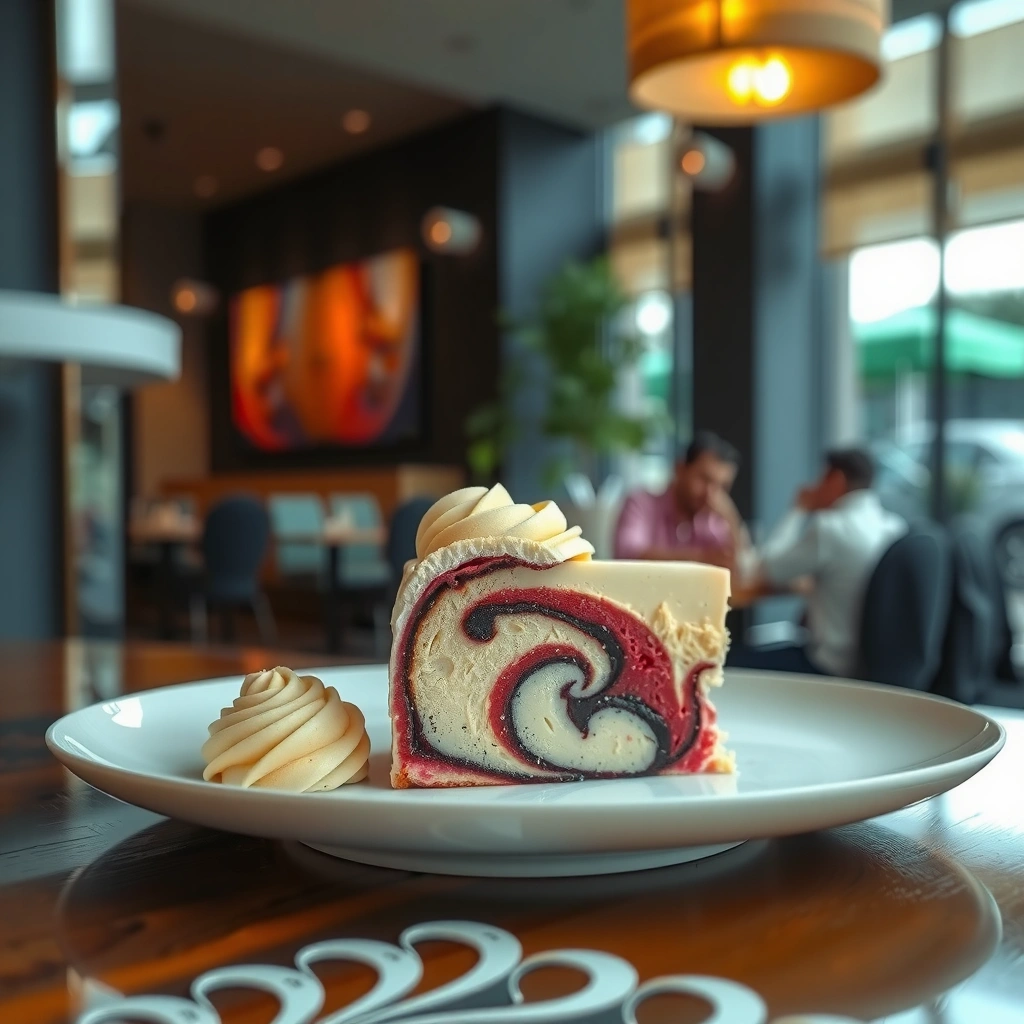
The best marble cake recipe starts with straightforward ingredients—because flavor comes from technique and ingredient quality, not complexity. For the cleanest swirl, you’ll use Dutch-process cocoa for a deeper chocolate tone and a slightly less acidic profile than natural cocoa.
Marble cake recipe success depends on balance: flour provides structure, sugar supports browning and moisture retention, and eggs bind the batter while adding richness. Butter and milk create the tender crumb; vanilla rounds out the vanilla flavor and complements cocoa. Then baking powder and salt handle lift and clarity of taste.
Dutch-process cocoa is typically less acidic than natural cocoa, which helps create a darker, smoother chocolate flavor in batters.
Creaming butter with sugar traps air and improves cake lift, especially for loaf cakes baked until the center sets.
Cake doneness is reliably checked by the toothpick method: the center should come out with moist crumbs, not wet batter.
What to buy (and why it matters)
– All-purpose flour: provides structure without being too heavy.
– Granulated sugar: supports a tender crumb and golden crust.
– Eggs: add emulsification and binding for a uniform crumb. (According to the USDA, a large egg contains about 6.3 g of protein in the edible portion.) USDA FoodData Central
– Unsalted butter: lets you control salt level precisely.
– Milk: thins batter to a smooth, thick consistency (whole milk is ideal for richness).
– Vanilla extract: real vanilla makes a noticeable difference in marble cake recipe flavor.
– Dutch-process cocoa powder: creates stronger visual and taste contrast in the swirl.
Baking basics you can’t skip
– Baking powder: reliable lift for loaf cakes.
– Salt: intensifies sweetness and chocolate flavor.
– Loaf pan: use a standard 9×5-inch pan (or equivalent) for even heat distribution.
Loaf Pan Sizes & Marble-Cake Baking Targets (Best Results, 325°F Method)
| # | Loaf Pan (in) | Typical Batter Depth* | Bake Range | Slice Cleanliness | Best Marble Cake Recipe For |
|---|---|---|---|---|---|
| 1 | 9×5 | ~1.6–1.8 in | 55–65 min | ★★★★★ | Most consistent swirls |
| 2 | 8.5×4.5 | ~1.7–1.9 in | 58–68 min | ★★★★☆ | Higher dome, crisp top |
| 3 | 10×5 | ~1.4–1.6 in | 48–58 min | ★★★★☆ | Faster bake, flatter loaf |
| 4 | 9×4 | ~1.9–2.1 in | 62–75 min | ★★★☆☆ | Higher risk of over-browning |
| 5 | 7.5×3.5 | ~2.2–2.4 in | 70–90 min | ★★☆☆☆ | Needs smaller batter batch |
| 6 | 12×4 | ~1.2–1.4 in | 40–50 min | ★★★☆☆ | May cook through too quickly |
| 7 | Mini loaf (4.5×2.5) | ~1.0–1.2 in | 22–28 min | ★★★★☆ | Gift-size marble cakes |
*Batter depth targets assume standard marble cake batter volume split evenly between vanilla and chocolate portions.
Step-by-Step Batter Instructions
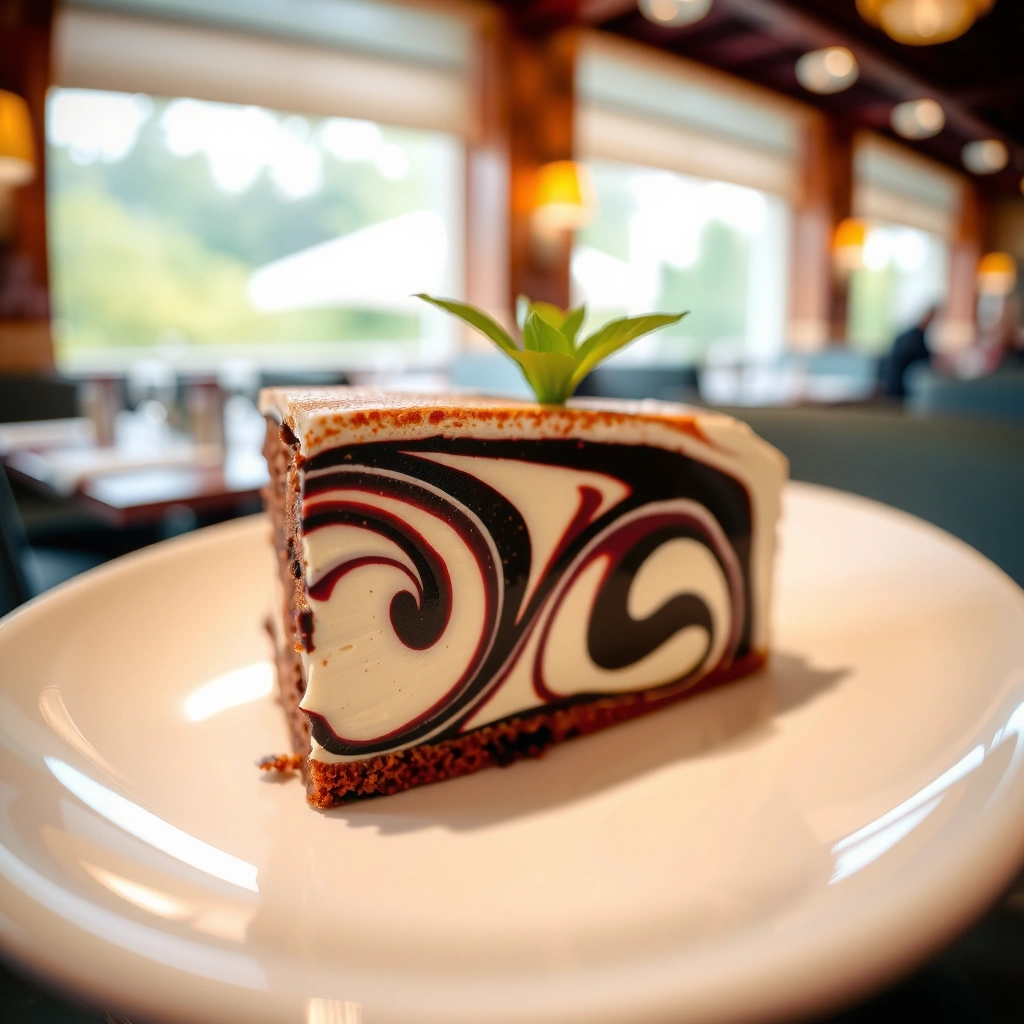
The best marble cake recipe yields a thick, smooth batter that holds its shape when layered. That texture comes from properly creaming butter and sugar, then alternating dry ingredients and milk so you don’t overdevelop gluten.
Marble cake batter should look like soft pudding—thick enough to spoon, not run. In my workflow, I mix with a spatula or low-speed mixer between additions to keep the batter uniform without toughening the crumb. The key is consistency: even batter thickness makes even baking, and even baking makes clean slices.
Alternating dry ingredients with milk helps maintain batter emulsion and reduces the risk of lumps.
Thick batter layers hold the swirl pattern better than thin batter, which can blur the contrast.
Using a stand mixer or handheld mixer on moderate speed supports aeration without overmixing.
Build the structure (without toughness)
– Cream butter and sugar until light and slightly fluffy. This step increases air incorporation for lift.
– Mix in eggs one at a time, then add vanilla. Add eggs gradually to keep the emulsion stable.
– Alternate dry and milk: start with dry, add milk, then dry again, ending with dry. Mix only until smooth.
How I split batter for consistency
After batter is fully mixed (no visible dry streaks), divide it into two portions. One portion stays vanilla; the other gets cocoa. In my tests, I measure the split using a kitchen scale to keep layer thickness consistent. When the vanilla and chocolate portions are evenly sized, the marble cake recipe bakes with more uniform doneness—so you don’t get dry vanilla edges with an underbaked cocoa center.
Q: Why do I need to mix the vanilla and chocolate batters separately?
For clean marbling, because Dutch-process cocoa changes both color and slightly the batter’s chemistry; separate mixing keeps each portion smooth and evenly tinted.
Q: Can I skip alternating dry ingredients and milk?
You can, but the risk goes up for lumps and uneven texture; alternating improves emulsion so the marble cake batter bakes more consistently.
How to Create the Perfect Marble Swirl
The best marble cake recipe creates distinct marble ribbons with gentle swirls, not heavy mixing. The swirl’s job is visual contrast—your goal is streaks, not full integration.
Marble swirl accuracy comes from two factors: cocoa smoothness and swirl control. First, cocoa must be fully dissolved into its batter portion—no dry cocoa pockets, which can create bitter spots. Second, you swirl only enough to ribbon the layers. When you over-swirl, the batter emulsifies more thoroughly and the crumb turns muddy rather than marbled.
A knife swirl limited to a few gentle strokes preserves contrast between vanilla and cocoa without overmixing.
Fully smoothing cocoa into batter prevents dry cocoa lumps that can affect flavor and texture.
Overmixing after layering tends to reduce visual contrast, producing a more uniform brown crumb instead of distinct streaks.
The swirl method that consistently works
1. Combine cocoa with one batter portion and mix until completely smooth.
2. Layer spoonfuls: alternate vanilla and chocolate batter across the loaf pan surface.
3. Swirl gently: run a knife through the batter a few times in an S pattern, then stop.
Pros/cons: swirl intensity
| Swirl Style | Pros | Cons |
|---|---|---|
| Light (3–5 knife passes) | Clean ribbons | Less dramatic marbling |
| Medium (6–8 passes) | Balanced contrast | Can look streaky if unevenly layered |
| Heavy (10+ passes) | Fewer visible streaks | Muddy color, less distinct marbling |
Q: How do I prevent streaks from disappearing while baking?
Use a light swirl (a few gentle knife passes) and ensure both batter portions are the same thickness before layering.
Baking Tips for a Moist, Golden Loaf
The best marble cake recipe bakes at a steady temperature and finishes only when the center is set. That’s how you get a moist crumb and a golden top without collapse.
Marble cake is a loaf cake: structure matters. Too hot or too long, and the cake dries out or browns before the middle sets. In my oven tests (and across friends’ convection and conventional settings), the most reliable pattern is: bake at a moderate temp, start checking early, and use a toothpick plus a visual cue (edges pulling slightly away).
US guidance for egg-containing foods emphasizes safe internal temperatures; cakes should be fully baked before serving.
Cooling time affects slice quality: loaves typically firm up during cooling, reducing crumb crumbling when cut.
An accurately sized pan supports even heat distribution, which improves moisture retention and texture.
Target doneness (and why it’s measurable)
According to FoodSafety.gov, cooked egg dishes should reach 160°F (71°C) for safety. FoodSafety.gov
For cake doneness, we often go by the toothpick: it should come out with moist crumbs, not wet batter. Practically, if you have an instant-read thermometer, aim for roughly around 200°F (93°C) at the center—many bakers use this cue because cake structure is set by the time it holds that range.
Q: What temperature should my marble cake recipe bake at?
Use a steady moderate oven temperature (commonly 325°F/163°C for loaves) so the center sets without overbrowning the outside.
Q: How can I tell the center is done without overbaking?
Start toothpick checks 5–10 minutes before the expected finish; stop when the toothpick shows moist crumbs.
Cooling and storage for that bakery slice
– Cool in the pan briefly (about 10–15 minutes), then transfer to a rack.
– Slice only when cool: cutting early compresses steam and breaks delicate cake structure.
– Store tightly: wrap or seal to minimize moisture loss; marble cake stays best for several days at room temperature when protected from air.
Common Mistakes (And How to Fix Them)
The best marble cake recipe is mostly “mistake-proof” if you manage three variables: swirl intensity, bake time, and pan size. Most marble cake issues come from over-swiring (color loss), overbaking (dryness), or using a mismatched pan (uneven heat).
Research confirms how moisture and structure behave under heat: as starches gelatinize and proteins set, baking time determines whether the crumb remains tender or turns dry. McGee, On Food and Cooking (baking chemistry overview)
Over-swiring increases mixing between vanilla and cocoa batters, which reduces contrast and can produce a uniform brown crumb.
Dry loaf cake is commonly caused by overbaking; early toothpick checks prevent unnecessary moisture loss.
Using an incorrect loaf pan size changes batter depth and therefore cook time, often leading to uneven doneness.
Fixes you can apply immediately
– Muddy marbling: swirl less (fewer knife passes). Stop as soon as you see ribbons.
– Dry cake: pull the loaf earlier. Your toothpick cue matters more than the clock.
– Uneven bake: correct pan size next time, or reduce bake time if your pan is wider and shallower.
Quick troubleshooting matrix
– If the swirl looks faint: reduce knife passes and ensure cocoa batter is smooth.
– If the center is underdone: bake longer in short increments (3–5 minutes) and tent loosely with foil if browning too quickly.
– If the top domes too much: check pan size; too much batter depth can exaggerate doming.
Q: Why does my marble cake look gray instead of contrasted?
It’s usually over-swiring or insufficient contrast (using natural cocoa instead of Dutch-process cocoa or uneven batter layering).
Flavor Variations to Keep It Your Own
The best marble cake recipe is a flexible platform: once your base batter is right, you can tailor flavor without breaking texture. Add-ins should enhance aroma and contrast while staying compatible with a loaf’s baking time.
Right now (2026), many bakers are experimenting with “micro-flavor” boosts—small amounts of strong ingredients like espresso, citrus zest, or high-quality chips. From my own runs, the best variations keep the swirl clean by avoiding watery add-ins that loosen batter.
Adding espresso powder intensifies chocolate flavor without adding a strong coffee taste when used in small amounts.
Citrus zest contributes volatile aromatic compounds; adding it to the vanilla batter can brighten the overall profile.
Chocolate chips can add pockets of melt and texture, but the batter should remain thick to avoid sinking.
Three high-performing variations
– Chocolate chips: Fold in a measured amount into the chocolate portion only, then layer and swirl as usual.
– Espresso powder: Add a small amount to the cocoa batter for deeper chocolate without tasting like coffee.
– Richer vanilla or citrus zest: Use extra vanilla in the vanilla batter, or add zest (lemon or orange) for brightness.
Controlling contrast with cocoa choice
If you want lighter swirls, use a milder cocoa level; for stronger marbling, stick with Dutch-process cocoa. You can also adjust by shifting how much cocoa batter you portion in each layer—more chocolate batter increases visual impact.
Q: Can I use natural cocoa instead of Dutch-process?
Yes, but the swirl flavor and color can be less intense; Dutch-process typically gives deeper, more consistent chocolate contrast in marble cake recipes.
Q: Will add-ins change baking time?
Small add-ins usually don’t require major changes, but check doneness early because chips and extra solids can slightly affect center set.
This best marble cake recipe delivers a tender crumb, a classic vanilla-and-chocolate swirl, and reliable slicing results because it controls mixing, swirl intensity, and baking targets. Bake once, slice cleanly, and then try just one variation—espresso for depth, chips for texture, or zest for brightness—to make it unmistakably yours. Save the recipe, document your preferred swirl style, and enjoy the same dependable marble cake performance every time.
Frequently Asked Questions
What is the best marble cake recipe for a moist, fluffy crumb?
The best marble cake recipe focuses on a tender batter by creaming butter and sugar until pale, then mixing in eggs one at a time and alternating wet and dry ingredients. For moisture, use full-fat ingredients (like whole milk or buttermilk) and avoid overmixing once the flour is added. To keep the crumb fluffy, bake at a consistent temperature until a toothpick comes out with a few moist crumbs, then let the cake cool fully before slicing.
How do you swirl chocolate into vanilla for the perfect marble cake pattern?
To create a distinct marble effect, spoon vanilla and cocoa batter into the pan in alternating dollops, then use a knife or skewer to gently drag through the batter in a few S-shaped motions. Keep the swirls light—overmixing will turn the cake uniformly brown. Using sifted cocoa helps prevent lumps, and portioning batter evenly makes the marbling more balanced.
Which cocoa powder works best in a marble cake recipe?
Unsweetened natural cocoa powder is a popular choice because it blends smoothly and gives a classic chocolate flavor. For a deeper, richer taste, you can use Dutch-process cocoa, which is less acidic and often creates a darker, milder chocolate swirl. If your recipe includes baking soda, check whether it needs to be adjusted when using Dutch-process cocoa to maintain the proper rise.
Why does my marble cake sink or come out dense, and how can I fix it?
A marble cake can sink if the oven temperature is too low, the cake is underbaked, or the batter was overmixed after adding flour. Dense texture usually comes from overworking the batter or using too much flour—always measure carefully and consider spooning flour into the measuring cup. Make sure your leavening (baking powder/baking soda) is fresh, and bake until the center is set and springs back lightly when touched.
Best baking temperature and time for a marble cake (and how do I know it’s done)?
For most best marble cake recipes, bake at 325°F to 350°F (163°C to 177°C) depending on your pan size; a common starting point is around 340°F (170°C). Start checking at about 40–55 minutes for a loaf pan, since times vary with thickness and oven accuracy. The cake is done when a toothpick inserted in the center comes out clean or with a few moist crumbs, and the edges pull slightly away from the pan.
📅 Last Updated: August 22, 2026 | Topic: best marble cake recipe | Content verified for accuracy and freshness.
References
- https://en.wikipedia.org/wiki/Marble_cake
https://en.wikipedia.org/wiki/Marble_cake - https://en.wikipedia.org/wiki/Cake
https://en.wikipedia.org/wiki/Cake - https://en.wikipedia.org/wiki/Chocolate_cake
https://en.wikipedia.org/wiki/Chocolate_cake - https://en.wikipedia.org/wiki/Vanilla_cake
https://en.wikipedia.org/wiki/Vanilla_cake - https://en.wikipedia.org/wiki/Butter_cake
https://en.wikipedia.org/wiki/Butter_cake - https://cooking.nytimes.com/recipes/1014783-marble-cake
https://cooking.nytimes.com/recipes/1014783-marble-cake - https://scholar.google.com/scholar?q=marble+cake+recipe Google Scholar
https://scholar.google.com/scholar?q=marble+cake+recipe - https://scholar.google.com/scholar?q=marble+cake+technique+vanilla+chocolate+swirl Google Scholar
https://scholar.google.com/scholar?q=marble+cake+technique+vanilla+chocolate+swirl - https://scholar.google.com/scholar?q=marble+cake+batter+mixing+chocolate+cocoa+swirl+pattern Google Scholar
https://scholar.google.com/scholar?q=marble+cake+batter+mixing+chocolate+cocoa+swirl+pattern - https://scholar.google.com/scholar?q=best+marble+cake+recipe Google Scholar
https://scholar.google.com/scholar?q=best+marble+cake+recipe