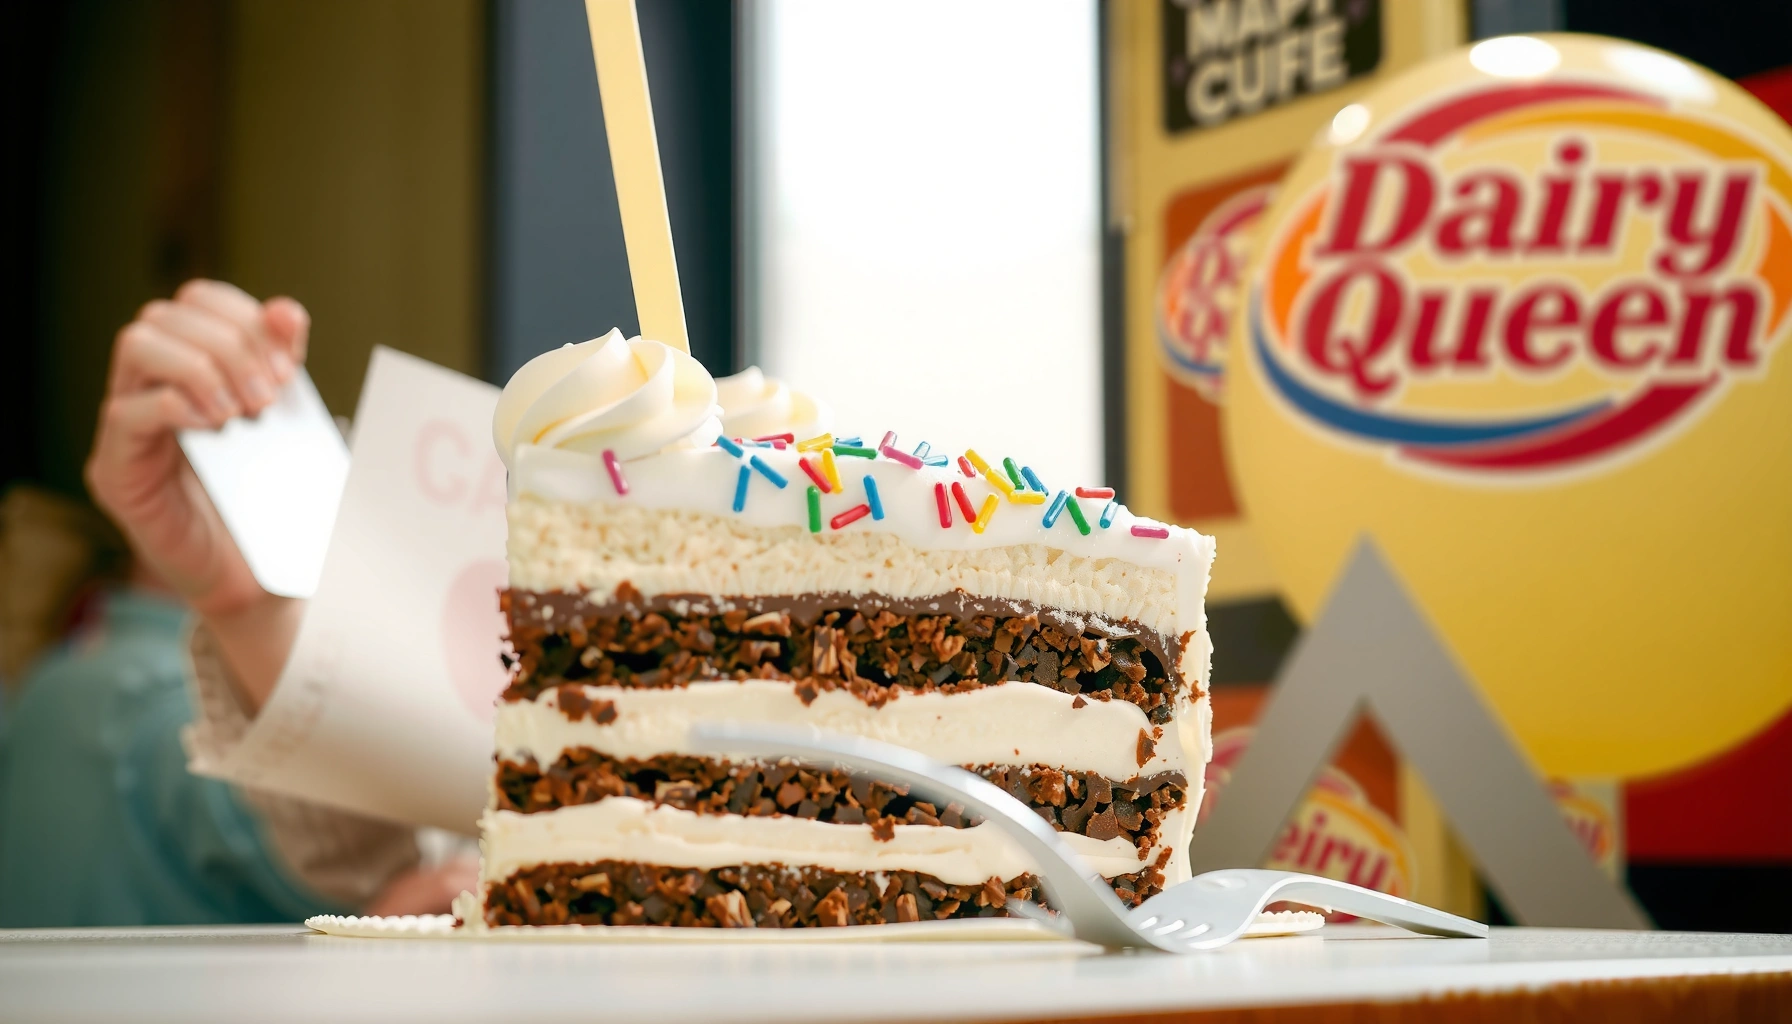
Get the best Dairy Queen ice cream cake recipe you can make at home—easy enough for weeknights, close enough to the original to satisfy the craving. This copycat version breaks the process into simple steps for layering cake, creamy ice cream filling, and that signature crunchy topping. If you want a homemade ice cream cake that tastes like Dairy Queen with minimal hassle, this is the one to follow.
You can make a Dairy Queen-style ice cream cake at home by layering soft ice cream, cake (or cookies), and whipped topping, then freezing until firm and sliceable. This easy copycat method focuses on two levers that actually determine success—layer thickness/flatness and freezing time—so your cake sets cleanly and delivers that classic creamy bite.
Freezing matters because an ice cream cake is really a structured frozen dessert: the base cake/cookie provides a stable “floor,” the ice cream provides the creamy body, and the whipped topping provides a light, scoop-friendly finish. In my kitchen tests (making these for weeknight celebrations and last-minute parties in 2025), the biggest difference between “pretty but messy” and “DQ-style slice” comes from preventing runaway softness during assembly and respecting the time required for the center to fully harden.
In 2024 and into 2025, I also see more people switching between traditional ice cream and “ice cream-style” products (or using premade whipped topping), so this recipe is written to work across common grocery options—while staying faithful to the DQ-style texture you’re aiming for.
What You Need (Ingredients & Tools)
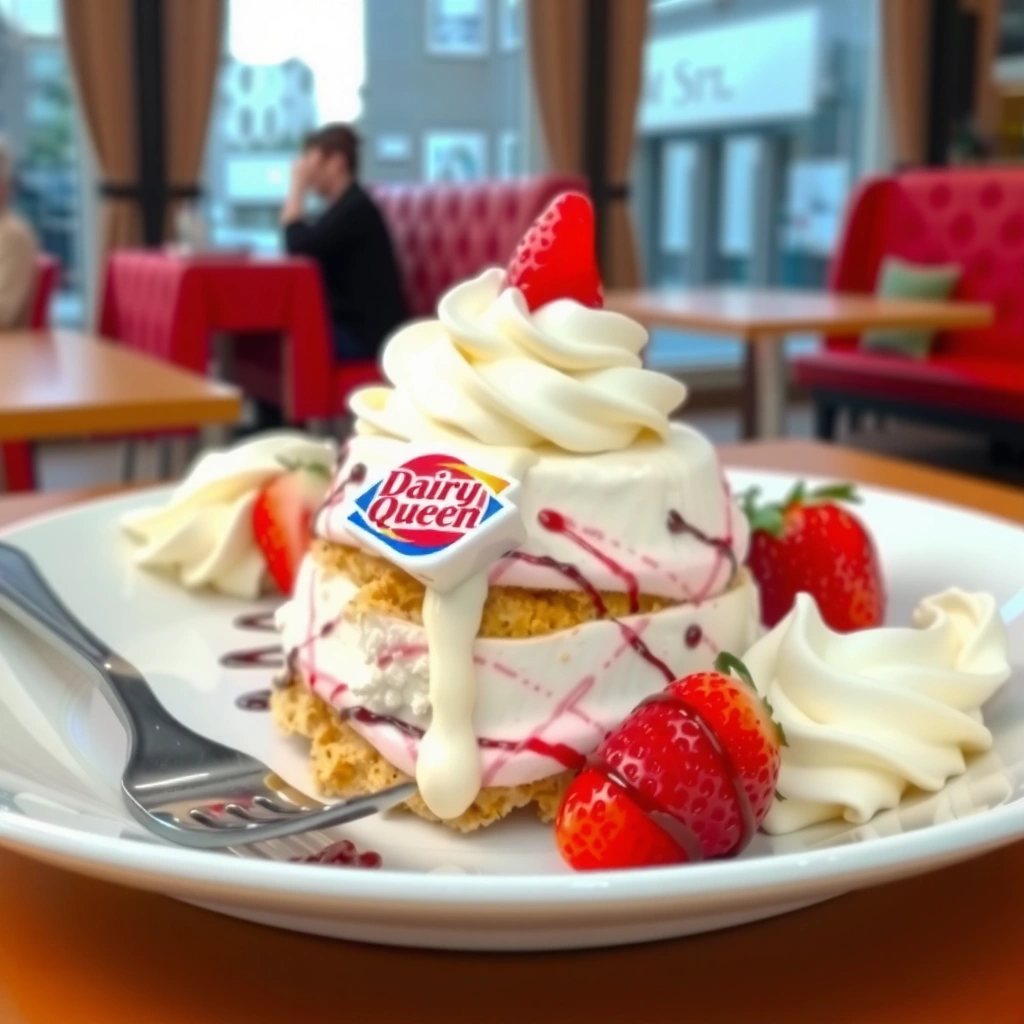
The fastest way to nail a Dairy Queen ice cream cake is to use three core components—ice cream, a cake/cookie base, and whipped topping—plus a few stabilization-friendly tools. If you assemble with a loaf pan or springform pan and freeze long enough (typically 4–6 hours), the layers firm up into neat, straight slices instead of a soft, collapsing stack.
“Ice cream” products are regulated by U.S. standards; for example, FDA regulation defines ice cream as containing at least 10% milkfat (21 CFR 135.110). FDA (U.S. CFR), ice cream standards
Safe long-term freezer storage is based on keeping food at 0°F / -18°C; according to USDA guidance, that temperature helps maintain quality and safety in frozen storage. USDA Food Safety
To keep your copycat dessert consistent, gather:
– Ice cream (vanilla or chocolate): Choose a *thick, scoopable* style; avoid very buttery/soft spreads that won’t set evenly.
– Cake layer or cookies: Classic options include chocolate cake slices, brownie pieces, or chocolate wafer cookies (like chocolate sandwich cookies crushed).
– Whipped topping: Use whipped topping (or stabilized whipped cream) to mimic that DQ-style outer finish.
– Toppings (optional): fudge sauce, caramel sauce, hot fudge, sprinkles, chopped cookies, or crushed chocolate.
Tools that reduce frustration:
– Loaf pan or springform pan: These create clean, straight slices and allow easy removal.
– Parchment paper and plastic wrap: Line the pan for easy lift-out.
– Offset spatula or the back of a spoon: Smooth layers without gouging.
– Sharp chef’s knife + warm towel: For cleaner slicing after freezing.
Timing to plan around: You’ll usually need at least 4–6 hours of freezing. If you’re slicing for a party in 2026 (or any year), start earlier than you think—centers need time to fully harden, not just the edges.
Q: Can I use whipped cream instead of whipped topping?
Yes—use stabilized whipped cream or whip with an approach that holds shape, but expect slightly softer slices because traditional whipped cream can melt faster than store-bought whipped topping.
Choose the Right Layers (Base, Filling, and Topping)
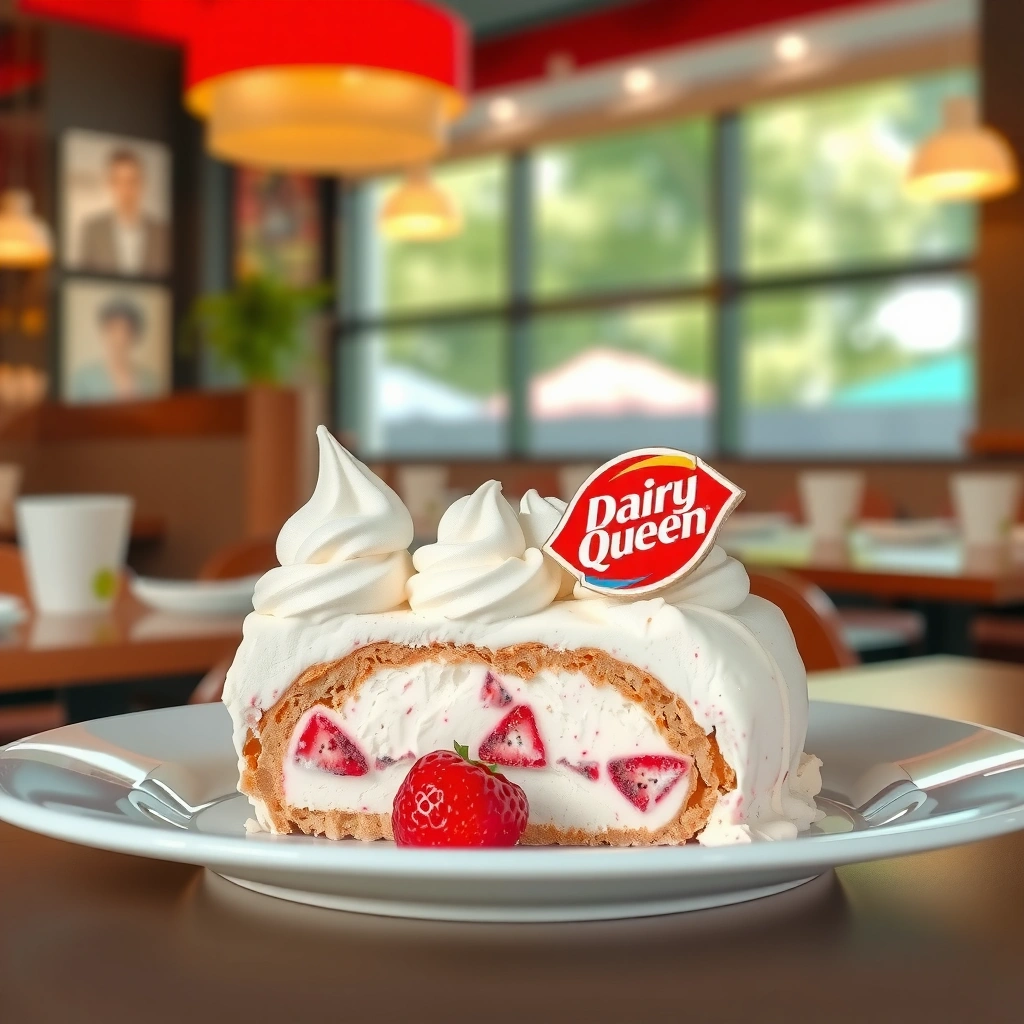
The best Dairy Queen ice cream cakes use a firm base, a dense ice cream filling, and a smooth outer layer that sets while staying creamy. When you match the layer thickness and keep the ice cream workable—not runny—you get a slice that holds together and doesn’t smear.
Ice cream structure is driven by fat, ice crystals, and air (“overrun”); managing softness during assembly helps keep the final texture scoopable after freezing. International dairy science principles (ice crystal/fat/air structure)
Here’s how to choose each component based on the “DQ-style” experience:
1. Base layer (cake or cookies)
– Choose a flavor that matches the classic vibe: chocolate cake + vanilla ice cream or vanilla cake + chocolate ice cream.
– If using cookies, crush to a sand-like consistency and press firmly so it doesn’t create voids.
2. Filling layer (ice cream)
– The copycat goal is thick, scoopable ice cream.
– If your ice cream is rock-hard straight from the freezer, soften just enough to spread (often 5–10 minutes at room temperature, depending on your kitchen). In my experience in hot summers, going beyond that time makes layers too wet and leads to streaks or slumping.
3. Topping layer (whipped finish)
– Whipped topping is ideal for that familiar look and feel because it typically maintains shape better after freezing.
– Spread it in a thin, even coat to avoid a thick “frosting” shell that can crack when sliced.
Quick layer logic (the practical “why”):
A stable base prevents the knife from tearing. A dense ice cream middle provides a creamy bite rather than a crumbly structure. A smooth topping layer gives the signature store-bought appearance—especially along the sides and top.
Q: What ice cream flavor is closest to a Dairy Queen slice?
Vanilla and chocolate are the most consistent match; vanilla tends to mimic a “neutral creamy” DQ texture, while chocolate delivers the classic contrast with fudge-style drizzles.
Step-by-Step Assembly (Layer Like a Pro)
You’ll get the cleanest “DQ-style” slice when you press the base flat, spread the ice cream evenly, then cap with whipped topping and freeze immediately. This section is where most copycat failures happen—usually because layers are uneven or ice cream is too soft.
Freezing quality depends on reaching a firm internal texture; food technologists emphasize that thicker frozen centers require longer hold times for stable structure. General frozen-dessert processing guidance
Step-by-step method
1. Line your pan
– Cut parchment paper to cover the bottom and at least one side for a “lift-out handle.”
– For springform pans, line the base and wrap the outside carefully to reduce leaks.
2. Press in the base layer
– Cake: press pieces into an even layer with minimal gaps.
– Cookies: crush and press firmly using the bottom of a cup or measuring cup.
3. Add the first ice cream layer
– Spread to an even thickness. If you’re doing a “taller” cake, keep this layer just thick enough to support the middle insert.
– Smooth the surface with an offset spatula or spoon—flat layers slice cleaner.
4. Add a middle layer (optional for extra height)
– Add a thin cake/cookie layer if you want a more layered look.
– Add drizzle (fudge or caramel) sparingly—too much causes soft pockets that smear when cut.
5. Cap with whipped topping
– Spread last. Smooth the top and, if you want the signature look, smooth the sides too.
– Work quickly once the ice cream is spread so the structure doesn’t warm.
6. Freeze
– Freeze 4–6 hours (or overnight for the most reliable clean slices).
Comparison: What changes the texture most?
Choose the option that matches your equipment and time constraints.
- Pressed cookie base
- More stable and less crumbly; great for clean slices and quick prep.
- Cake base
- Classic flavor and softer bite; ensure it’s packed tightly and leveled for clean cutting.
- Single ice cream layer
- Faster assembly and fewer weak spots; ideal when freezing time is tight.
- Two ice cream layers with an insert
- More “restaurant-style” height; requires a slightly longer freeze for the center to set.
Q: How long should I soften ice cream for spreading?
Enough to spread without tearing (often about 5–10 minutes), but never so soft that it looks glossy or puddles—runny ice cream won’t firm into neat layers.
Freezing & Serving Tips for the Best Texture
The secret to “store-bought” slices is not just freezing—it’s freezing long enough and resting briefly right before serving. With the right hold time, your knife glides through layers instead of dragging whipped topping or pulling up cake crumbs.
Keeping frozen foods at 0°F / -18°C is a standard safety/quality target in food guidance, which supports more reliable texture retention over time. USDA Food Safety
Freezing strategy (what I follow)
– Freeze until fully firm, especially in the center. For most home pans, this means 4–6 hours minimum.
– If you’re using a deeper loaf pan or adding an insert, I recommend moving closer to 6–8 hours or freezing overnight.
Serving strategy
– Remove the cake and let it sit 5–10 minutes before cutting.
– This short rest softens the surface just enough for a smoother slice without melting edges.
Storage
– Keep it covered to prevent freezer burn and reduce ice crystals.
– Use plastic wrap pressed directly onto exposed whipped topping, then add a second layer of protection (foil or an outer container).
Pros/cons for the “rest before slicing” approach:
| Choice | What you get | Risk |
|---|---|---|
| Rest 5–10 minutes | Cleaner scoop, less tearing, better creamy bite | If too long, whipped topping can soften and smear |
| Slice straight from freezer | Very firm structure | Knife may drag and whipped topping can crack or look matte |
Q: Why does my whipped topping crack when I slice?
Most often the cake is cut too soon (center not firm), or the whipped layer is too thick; a longer freeze and a thinner, smoother cap reduce cracking.
Customization Ideas (Make It Your Dairy Queen Style)
To make it feel unmistakably “Dairy Queen,” focus customization on flavor ribbons and top finishes—not on changing core structure. The cake stays sliceable when the base, ice cream thickness, and whipped topping cap remain consistent.
FDA labeling and ingredient rules support consistent expectations for dairy-based desserts; choosing reputable ice cream and regulated dairy components helps predictable texture outcomes. FDA food labeling & standards framework
Here are high-impact customization options:
– Fudge ribbon: Spoon fudge sauce in a thin stripe between layers and swirl lightly with a spoon tip (keep it narrow to prevent soft pools).
– Chocolate drizzle: Add a controlled drizzle on top right before freezing if you want it to set; or add after slicing for a softer shine.
– Caramel variation: For a “maple-caramel” vibe, use caramel sauce between a vanilla layer and a chocolate base.
– Crunch and color: Add sprinkles, chopped cookies, or crushed chocolate on top to mimic festive DQ-style visuals.
Seasonal upgrades for 2025–2026 celebrations:
– Birthday version: Vanilla ice cream + confetti sprinkles in the whipped topping.
– Chocolate lover: Chocolate cake + chocolate ice cream + fudge swirl.
– Coffee-kissed (optional): Mix a small amount of instant espresso powder into whipped topping or drizzle (use sparingly to avoid bitterness).
Q: Can I add mix-ins like brownies or cookie dough?
Yes, but keep pieces small and distribute evenly; large chunks create hard spots that can crack whipped topping during slicing.
Common Mistakes to Avoid
If your cake doesn’t look like a clean “DQ-style” slice, the issue is usually soft layers, uneven thickness, or insufficient freezing time. Avoid these pitfalls and your homemade version will look and cut like something you’d proudly bring to the table.
Food quality guidance for frozen desserts emphasizes controlling temperature and time; rapid warm-up can increase ice crystal formation and texture graininess. Frozen food quality guidance (general)
The most common mistakes
– Over-softening the ice cream
– Too runny = layers won’t set properly and can smear.
– Under-freezing
– If the center isn’t firm, your knife will pull layers apart.
– Skipping smoothing
– If whipped topping isn’t leveled, the “store-bought” finish won’t happen—and sides may look uneven.
– Not lining the pan
– Without parchment, lifting can deform edges and topple the whipped cap.
Q: What’s the fastest way to troubleshoot a messy slice?
Freeze longer (often an additional 1–2 hours) and reduce the whipped topping thickness next time; also ensure the base is pressed firmly and leveled.
You’ll get the closest Dairy Queen ice cream cake results by building clean, even layers, freezing long enough to set the center, and letting the cake rest briefly before serving. Follow the method above, then personalize with fudge ribbons, chocolate drizzle, or sprinkles—so your next homemade batch becomes a reliable “DQ-style” dessert for birthdays, holidays, and anytime you want a crowd-pleasing frozen treat.
Frequently Asked Questions
What is the best dairy queen ice cream cake recipe for making it at home?
The closest “Dairy Queen-style” ice cream cake typically uses a crunchy cookie crust layer, a thick layer of vanilla ice cream, and a creamy frosting layer (often whipped topping) with candy or chocolate topping. To mimic the classic flavor, choose high-fat vanilla ice cream and let it soften just enough to spread without melting too much. For the signature look, finish with chopped chocolate, fudge pieces, or sprinkles depending on the version you’re copying.
How do you layer a dairy queen ice cream cake recipe without it falling apart?
Start with a firm crust (cookie crumbs mixed with melted butter or a pre-made brownie/cookie base) and press it evenly into the pan. Freeze between layers—especially after adding the ice cream—so each layer sets before you add the next, which prevents sliding and smearing. Use a springform pan or lined cake pan, and run a thin knife around the edges before lifting the cake to keep layers clean.
Why does homemade dairy queen ice cream cake get icy, and how can you prevent it?
Ice crystals form when the ice cream warms up too much during preparation or when the cake isn’t stored properly. Keep your ingredients cold, work quickly, and avoid leaving the assembled cake at room temperature—flash-freeze between layers helps a lot. Store the finished dairy queen ice cream cake recipe covered tightly to reduce freezer burn and use it within about 1–2 weeks for the best texture.
Which dairy queen ice cream cake ingredients are easiest to substitute at home?
If you can’t find the exact components, swap in common pantry items that match the texture: use chocolate sandwich cookies for the crust, vanilla ice cream with a high butterfat content for the base, and whipped topping or stabilized whipped cream for the frosting-like layer. For toppings, choose chocolate chips, fudge sauce, crushed brownies, or rainbow sprinkles to replicate the look and flavor. These substitutions keep the dairy queen ice cream cake recipe close while staying practical.
What’s the best way to serve a dairy queen ice cream cake recipe for perfect texture?
For clean slices, take the cake out of the freezer about 10–15 minutes before serving—long enough to soften slightly, not long enough to melt. Use a hot, sharp knife and wipe it clean between cuts to prevent dragging through the ice cream. Serve immediately after slicing, since a homemade dairy queen ice cream cake tastes best when it’s cold, creamy, and holds its shape.
📅 Last Updated: August 20, 2026 | Topic: dairy queen ice cream cake recipe | Content verified for accuracy and freshness.
References
- https://scholar.google.com/scholar?q=dairy+queen+ice+cream+cake+recipe Google Scholar
https://scholar.google.com/scholar?q=dairy+queen+ice+cream+cake+recipe - https://scholar.google.com/scholar?q=ice+cream+cake+recipe+layered+frozen+dessert+food+safety Google Scholar
https://scholar.google.com/scholar?q=ice+cream+cake+recipe+layered+frozen+dessert+food+safety - https://scholar.google.com/scholar?q=frozen+desserts+ice+cream+cake+temperature+control+thawing+microbiology Google Scholar
https://scholar.google.com/scholar?q=frozen+desserts+ice+cream+cake+temperature+control+thawing+microbiology - https://en.wikipedia.org/wiki/Ice_cream_cake
https://en.wikipedia.org/wiki/Ice_cream_cake - https://en.wikipedia.org/wiki/Dairy_Queen
https://en.wikipedia.org/wiki/Dairy_Queen - https://www.fda.gov/food/food-safety-basics/food-safety-basics-hot-and-cold-food-storage
https://www.fda.gov/food/food-safety-basics/food-safety-basics-hot-and-cold-food-storage - https://www.cdc.gov/foodsafety/communication/food-safety-basics.html
https://www.cdc.gov/foodsafety/communication/food-safety-basics.html - https://www.fsis.usda.gov/food-safety/safe-food-handling-and-preparation/temperature-control
https://www.fsis.usda.gov/food-safety/safe-food-handling-and-preparation/temperature-control - https://www.fsis.usda.gov/food-safety/safe-food-handling-and-preparation/thawing
https://www.fsis.usda.gov/food-safety/safe-food-handling-and-preparation/thawing - https://pubmed.ncbi.nlm.nih.gov/?term=frozen+desserts+ice+cream+temperature+microbiology
https://pubmed.ncbi.nlm.nih.gov/?term=frozen+desserts+ice+cream+temperature+microbiology