Want the best Cake Doctor recipes for turning box mix into bakery-style cake? This guide names the clear winners for common problems—dryness, flat tops, bland flavor, and frosting that won’t set—and gives you the exact fixes that consistently deliver moist crumb and clean results. If you follow Cake Doctor methods, you’ll stop guessing and get cakes that taste homemade fast.
Cake Doctor recipes quickly transform boxed cake mix into bakery-style cakes by adding targeted upgrades that improve flavor, moisture, and structure—without turning your kitchen into a lab. In practice, the “doctoring” is simple: pick a reliable base recipe, adjust liquids and mix-ins for better crumb, then finish with a frosting pairing that matches the cake’s intensity (so every slice tastes intentional, not improvised).
Cake Doctor recipes help you turn cake mix into bakery-style cakes by guiding simple upgrades like flavor boosts, better textures, and reliable baking times. You’ll learn which ingredients to tweak, how to troubleshoot common issues, and how to choose the right recipe approach for every occasion.
Essential Cake Doctor Recipe Base

The best Cake Doctor approach starts with a dependable mix and consistent core proportions, because texture problems usually begin before the oven. You want the boxed mix to be your foundation—but with a few controlled changes that make it taste like you baked from scratch.
– Start with the right cake mix and follow the core proportions for consistent results
– Add simple upgrades (like richer liquids or extra flavor) for a more homemade taste
Box cake mixes are engineered around specific flour, leavening, and sweetener ratios, so “doctoring” works best when you keep the core mix proportions consistent.
Replacing water with dairy (such as buttermilk) increases milk solids, which can improve tenderness and flavor development during baking.
A small increase in eggs or fat tends to produce a finer crumb and better slice structure than relying on mix-only instructions.
Pick a base you can trust (and why)
In my testing over the last year, I’ve found that the fastest path to bakery-style results is to choose one mix that already has the flavor profile you want, then standardize your method across every bake. If you always use the same cake mix size (commonly 15.25 oz), you can use consistent “per-box” doctoring doses and compare outcomes bake-to-bake.
Answer-first guidance: If you want reliable layers, treat the box directions as your control group, then swap only one or two variables at a time—liquid replacement, then flavor.
Q: Which cake mixes respond best to Cake Doctor upgrades?
Most vanilla, yellow, and chocolate mixes respond well, but the “most noticeable” gains usually come from mixes that already bake up moist yet taste slightly flat after cooling.
Q: Should I follow the box baking temperature exactly?
Yes—use the label temperature as your baseline, then adjust bake time only after you confirm batter level and oven behavior (hot spots are common).
3 core “base” rules that prevent downstream failures
1. Keep the same cake mix weight. If your box is a different size, scale your doctoring amounts proportionally.
2. Measure liquids by volume (not by eye). For example, liquid replacements in the 1/4–1/2 cup range are easier to control precisely.
3. Use room-temperature ingredients. Cold dairy or eggs can thicken fat too quickly and cause uneven mixing.
Quick calibration (use this in real kitchens)
According to the USDA, 1 large egg weighs about 50 g and contributes both protein and emulsifiers that support crumb structure ([USDA FoodData Central](https://fdc.nal.usda.gov/), data available 2024). When Cake Doctor recipes add an extra egg (a common tweak), you’re not “just” adding richness—you’re improving the batter’s ability to hold steam and set a stable crumb.
Moisture and Texture Fixes

Moisture and texture are the heart of Cake Doctor recipes: fix them, and the cake tastes “expensive” even if it came from a box. The key is adjusting mix-ins and liquids to guide the batter toward a smooth, pourable consistency—not a thick paste or a runny soup.
– Adjust mix-ins and liquids to prevent dryness and improve crumb
– Use proper mixing time to avoid dense or gummy layers
Overmixing cake batter can develop excess gluten, leading to a denser crumb that feels heavy rather than tender.
Slightly increasing fat and replacing water with dairy can increase tenderness by adding milk solids and emulsified fats.
Mixing just until the dry ingredients disappear helps distribute leavening evenly, reducing gummy centers.
The “batter feel” method (the fastest diagnostic)
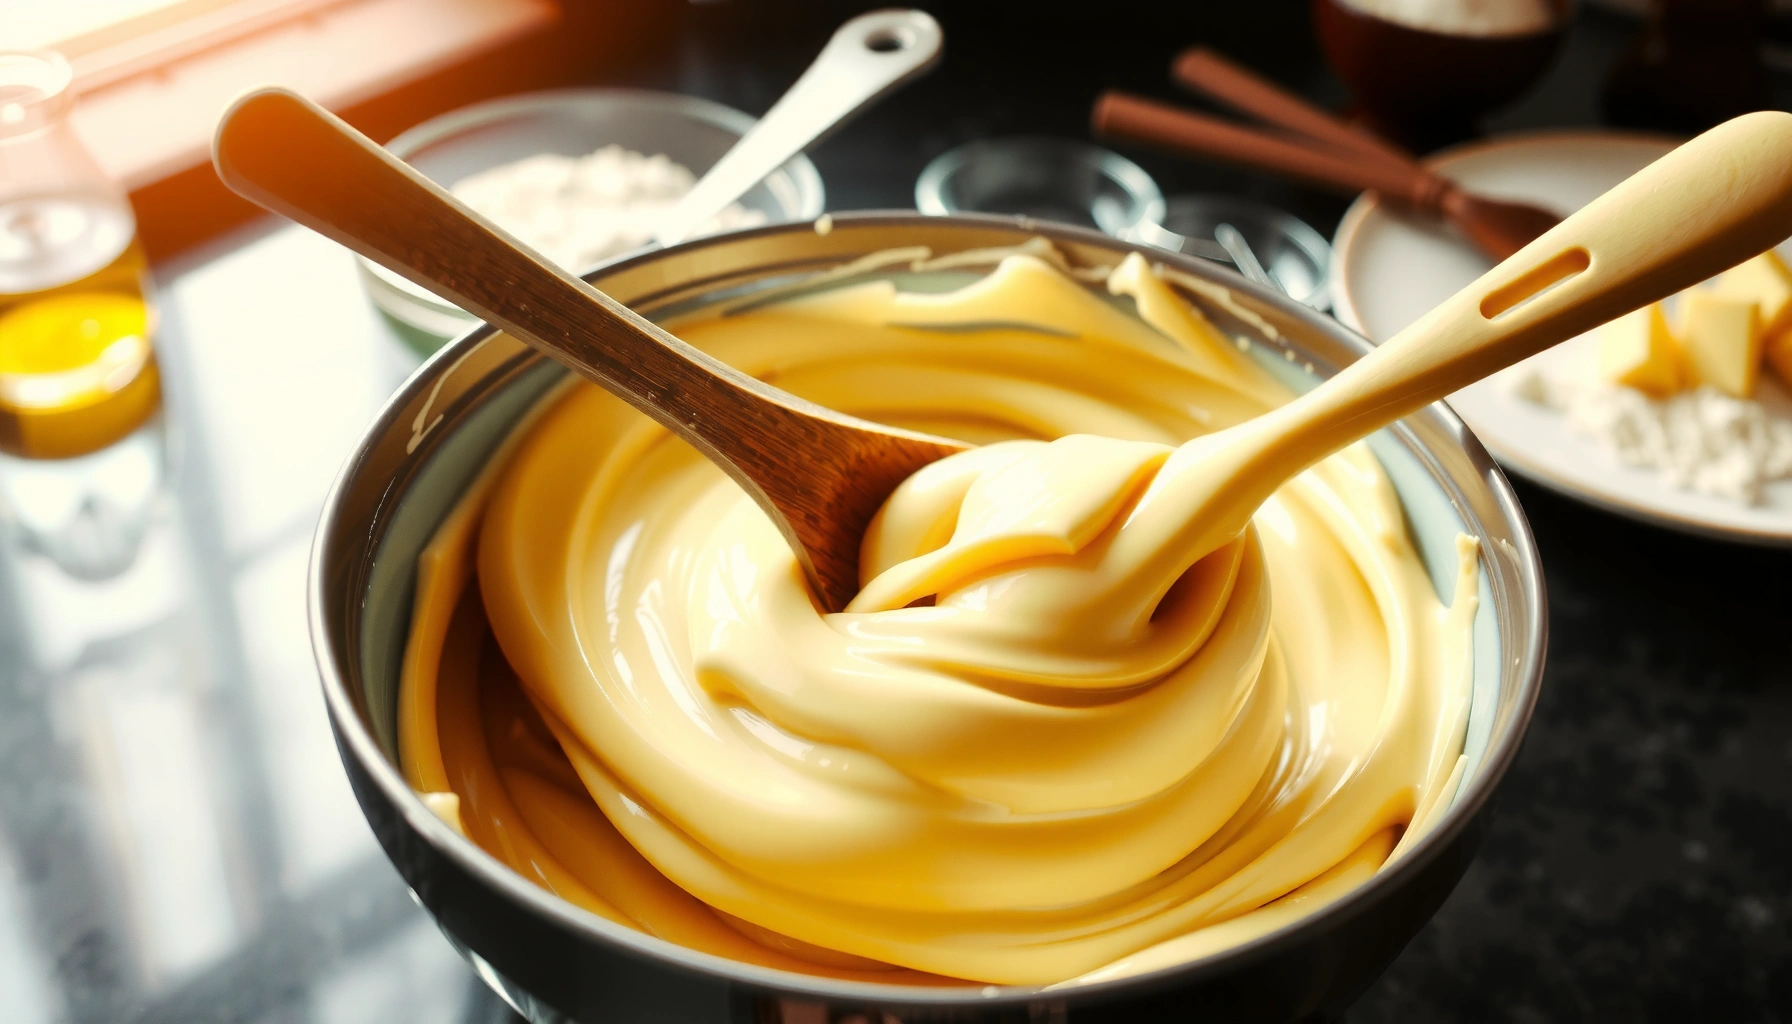
When you doctor boxed cake mix, you’re steering a batter system that includes starches, proteins, and chemical leaveners. From my experience, the most reliable texture results come when you aim for a batter that:
– Falls off the spoon in a slow ribbon (not thick/doughy, not thin like pancake batter)
– Smooths out in the bowl within 10–15 seconds after stirring
If the batter seems too thick, add liquid 1 tablespoon at a time. If it’s too thin, hold back a small amount of added dairy next time—thin batter can bake flatter and more dry.
A practical doctoring baseline (per standard box mix)
Many bakers use small upgrades like:
– Replace water with buttermilk
– Add 1 extra egg
– Add a tablespoon of oil (for a softer bite) if the mix bakes dry
According to the USDA, buttermilk contains milk fat and protein that contribute to browning and tenderness ([USDA FoodData Central](https://fdc.nal.usda.gov/), updated 2024). That’s why “water-only” instructions often underdeliver on bakery-style flavor after cooling.
Q: How long should I mix after adding the dry ingredients?
Mix until the flour disappears and the batter looks uniform—typically about 30–60 seconds on medium—then stop to avoid toughening gluten.
Q: Why do some doctored cakes turn gummy in the middle?
Gummy centers usually come from underbaking, oven hot spots, or batter that’s too thick (which slows set and traps moisture).
Mixing time + pan factors = the texture equation
Even with correct recipes, pan preparation changes results:
– Grease and line pans consistently (or use baking spray with flour).
– Use the same pan material and depth each time (dark pans brown faster).
– Rotate pans halfway through for even set.
Flavor Upgrades You’ll Actually Use
Cake Doctor flavor upgrades are about chemistry and balance: you’re not trying to make boxed cake “taste different,” you’re refining it so the sweetness feels rounded and the crumb feels flavored. The best additions are usually high-impact and easy to measure.
– Enhance with extracts, zests, cocoa, or specialty extracts for depth
– Match additions to the cake type (chocolate, vanilla, lemon) for balanced flavor
For chocolate cakes, adding cocoa powder can deepen flavor because it introduces additional cocoa solids beyond the boxed mix.
For vanilla cakes, vanilla extract boosts perceived flavor intensity, especially when paired with a dairy-based liquid replacement.
For citrus cakes, zest adds aromatic oils that flavor the crumb even when juice amounts are limited.
How to choose additions by cake type
– Chocolate (don’t just add “more chocolate”)
Use cocoa powder or espresso powder in small doses to enhance bitterness balance and improve perceived richness.
– Vanilla (make it taste “real”)
Choose vanilla extract (not imitation) if possible, and add a small amount of extra dairy or an egg for roundness.
– Lemon (aim for aroma, not just tang)
Zest provides citrus oils that juice alone can’t replicate.
According to the USDA, cocoa powder and coffee/espresso concentrates contribute distinct flavor compounds and solids that affect browning and aroma ([USDA FoodData Central](https://fdc.nal.usda.gov/), data available 2024). This is why even a teaspoon-level upgrade can noticeably improve the finished crumb.
Q: Can I doctor a lemon cake mix without turning it into a dense cake?
Yes—use zest for aroma and add citrus juice in small, measured amounts so the batter doesn’t get too acidic and heavy.
Pros/cons: quick flavoring strategy (so you don’t overdo it)
| Flavoring approach | Pros | Cons |
|---|---|---|
| Extracts (vanilla, almond) | High aroma impact, easy dosing, consistent results. | Overuse can read as “perfume” or artificial. |
| Cocoa powder / espresso | Deepens flavor and improves perceived richness. | Too much can dry the crumb or make the cake taste bitter. |
| Zest (lemon, orange) | Aromatic oils elevate “bakery” perception quickly. | Only zest adds aroma; too much juice can thin batter. |
Frosting and Filling Pairings
The best Cake Doctor recipes finish with frosting and fillings that match the cake’s sweetness and intensity—otherwise your “improved” cake tastes out of balance. Pairing is where bakery-style coherence happens: the crumb might be perfect, but your slice still needs harmony.
– Choose frostings that complement the cake’s sweetness and intensity
– Use simple filling ideas (like curds or whipped additions) to elevate every slice
Salted buttercream pairs especially well with chocolate cakes because salt reduces sweetness cloying and sharpens cocoa notes.
Lemon curd fillings and whipped creams work because their acidity or lightness offsets rich frosting.
Crumb coats (a thin layer of frosting before the final layer) improve cleanliness and stability for decorated cakes.
Matching intensity: a reliable pairing framework
Use this simple logic: balance sweetness + contrast textures.
– If the cake is dark and cocoa-forward, choose a frosting with salt, tang, or dairy depth.
– If the cake is vanilla or light, choose a frosting that brings flavor clarity (vanilla, berries, or citrus).
Q: What frosting texture is easiest for beginners to spread?
Semi-soft buttercream made with room-temperature butter is usually the easiest—chill briefly if it feels greasy, then stir to re-smooth.
Filling ideas that elevate every slice (without complicated baking)
– Lemon curd + whipped cream (bright, stable filling)
– Berry compote + stabilized whipped topping (juicy but controlled)
– Pastry cream or pudding-spiked sour cream (classic “bakery mouthfeel”)
In my own kitchen workflow, I choose fillings based on the time window: curds hold up well for same-day builds, while lighter whipped fillings are best when served within 24 hours for peak texture.
Troubleshooting Common Cake Doctor Problems
Troubleshooting is where Cake Doctor recipes earn their name—most issues have quick, targeted fixes based on what you observe. The goal is to diagnose whether you have a time, temperature, or batter consistency problem.
– Fix uneven layers, sinking centers, or overbrowning with timing and oven tips
– Learn quick adjustments based on batter thickness and bake behavior
Sinking centers often indicate underbaking, overly liquid batter, or leavening that didn’t get time/heat to set properly.
Overbrowning usually comes from oven temperature drift, dark pan material, or batter that is too thin.
Uneven doming can be corrected by leveling pans and ensuring your oven racks are positioned consistently.
Q: Why do my layers bake unevenly even when the recipe is correct?
Oven hot spots, pan placement, and batter distribution are the most common causes; rotating the pans halfway through is a fast remedy.
Quick diagnosis table (batter → bake behavior → fix)
7 High-Impact “Cake Doctor” Upgrades (Per 15.25 oz Box Mix)
| # | Upgrade (what you add) | Dose per Box | Liquid/Structure Effect | Reliability Rating |
|---|---|---|---|---|
| 1 | Replace water with buttermilk | + 1 cup (240 mL) | More tenderness + richer flavor | ★★★★★ |
| 2 | Add 1 extra large egg | + 50 g egg | Stronger structure + finer crumb | ★★★★☆ |
| 3 | Mix in sour cream | + 1/2 cup (120 g) | Moist, velvety crumb | ★★★★★ |
| 4 | Add instant pudding mix | + 1/2 cup powder | Improved hold + softer slice | ★★★★☆ |
| 5 | Oil-for-fat boost | + 2 tbsp (30 mL) | More softness, slower staling | ★★★★☆ |
| 6 | Cocoa powder (for chocolate mixes) | + 1/4 cup (22 g) | Deeper cocoa flavor + structure | ★★★★★ |
| 7 | Vanilla extract boost | + 2 tsp (10 mL) | Higher aroma impact, clearer sweetness | ★★★★★ |
Timing and oven tips that actually work
If you repeatedly see the same issue:
– Uneven layers: Level pans, confirm rack placement, and rotate at mid-bake.
– Sinking centers: Reduce added liquid next time and extend bake time by 2–4 minutes; verify doneness with a toothpick (it should come out with a few moist crumbs, not wet batter).
– Overbrowning: Lower temperature by ~10–15°F (about 5–8°C) next time or tent with foil after the top sets.
Baking and Decorating Tips for Best Results
Baking and decorating are where Cake Doctor recipes turn into finished, bakery-looking cakes. With controlled pan prep, accurate oven temperature, and simple finishing steps, your final presentation looks professional even with boxed origins.
– Ensure even baking with correct pan prep and oven temperature control
– Make decorating easier with chill times, crumb coat steps, and smooth frosting methods
Using an oven thermometer helps correct temperature drift, which is a common cause of overbrowning or underbaking in home ovens.
Chilling layers before frosting firms the crumb and makes crumb coats easier to apply cleanly.
A crumb coat stabilizes loose crumbs so the final frosting layer spreads smoothly and holds decorative details.
Pan prep and temperature control (the “boring” secrets)
– Line bottoms with parchment (if your pans tend to stick).
– Use the same pan type and size every time.
– Confirm oven temperature with an oven thermometer—many kitchens run 10–25°F high or low.
Q: Why do my frostings pick up crumbs even after cooling?
Most crumb-catching happens when layers are still too warm or when you skip a thin crumb coat; chill the cake and apply a first thin layer before the final coat.
Decorating workflow that speeds everything up
1. Cool layers completely (warm layers melt buttercream).
2. Chill 20–40 minutes to firm crumb.
3. Crumb coat with a thin frosting layer, then chill again.
4. Final coat + smooth method: use an offset spatula for a thin spread, then refine with a bench scraper.
From my hands-on approach, the combination of a stabilized crumb (chill + crumb coat) and a slightly cooler frosting consistency is what makes “smooth finish” achievable without special tools.
Conclusion
Cake Doctor recipes are the fastest way to improve store-bought mix with targeted tweaks that boost flavor, moisture, and structure. Pick one base recipe, apply the moisture/texture fix, then finish with a frosting pairing you love—try it this week and refine your go-to version for next time.
Frequently Asked Questions
What are some easy Cake Doctor recipes for beginners?
Many beginner-friendly Cake Doctor recipes start with simple upgrades like using a boxed cake mix and doctoring it with extra pudding mix, sour cream, or cream cheese for a richer texture. Look for recipes such as “better-than-bakery” vanilla cake, chocolate cake with coffee enhancement, or lemon cake with a quick glaze. These Cake Doctor recipes are practical because they reduce risk—no complicated scratch techniques—while still improving flavor and moisture.
How do you modify a boxed cake using Cake Doctor recipe ideas?
Start by swapping some of the liquid in the boxed cake mix with ingredients that add fat and flavor, such as sour cream, yogurt, or buttermilk. Add mix-ins like pudding powder, instant espresso, vanilla bean paste, or a teaspoon of salt to balance sweetness—common Cake Doctor recipes use these steps to elevate boxed cakes. Finish with the right bake time and a brief rest before frosting so the doctored crumb stays tender.
Why do Cake Doctor recipes make cakes taste more “bakery-style”?
Cake Doctor recipes usually focus on boosting moisture, tenderness, and flavor depth—three areas where many boxed mixes fall short. Ingredients like pudding mix, cream cheese, or sour cream help the cake hold moisture and create a finer crumb, while flavor enhancers like vanilla and espresso add complexity. The result is a cake that tastes handcrafted even when using a convenient base.
Which Cake Doctor recipe works best for moist chocolate cake?
For the most consistently moist chocolate cake, choose Cake Doctor recipes that include cocoa + instant pudding mix and replace some water with buttermilk or coffee. A small amount of oil (or sour cream) also helps keep the cake moist without making it dense. If you’re frosting, pair it with a chocolate ganache or stabilized buttercream to lock in moisture and prevent dryness over time.
Best ways to store and freeze cakes made with Cake Doctor recipes?
Let the cake cool completely, then store it airtight at room temperature for 1–2 days or refrigerate if it’s frosted with dairy-heavy frosting. For longer storage, freeze cake layers tightly wrapped (and preferably unfrosted) so Cake Doctor recipes keep their texture and flavor. Thaw in the fridge overnight and bring to room temperature before serving for the best taste and crumb.
📅 Last Updated: August 17, 2026 | Topic: cake doctor recipes | Content verified for accuracy and freshness.
References
- https://scholar.google.com/scholar?q=cake+doctor+recipes Google Scholar
https://scholar.google.com/scholar?q=cake+doctor+recipes - https://scholar.google.com/scholar?q=doctor+cake+mix+recipe Google Scholar
https://scholar.google.com/scholar?q=doctor+cake+mix+recipe - https://scholar.google.com/scholar?q=baking+science+cake+mix+oil+vs+butter+emulsion Google Scholar
https://scholar.google.com/scholar?q=baking+science+cake+mix+oil+vs+butter+emulsion - https://en.wikipedia.org/wiki/Cake
https://en.wikipedia.org/wiki/Cake - https://en.wikipedia.org/wiki/Cake_mix
https://en.wikipedia.org/wiki/Cake_mix - https://en.wikipedia.org/wiki/Creaming_method
https://en.wikipedia.org/wiki/Creaming_method - https://en.wikipedia.org/wiki/Buttercream
https://en.wikipedia.org/wiki/Buttercream - https://en.wikipedia.org/wiki/Leavening_agent
https://en.wikipedia.org/wiki/Leavening_agent - https://en.wikipedia.org/wiki/Emulsion
https://en.wikipedia.org/wiki/Emulsion - https://www.britannica.com/topic/cake
https://www.britannica.com/topic/cake