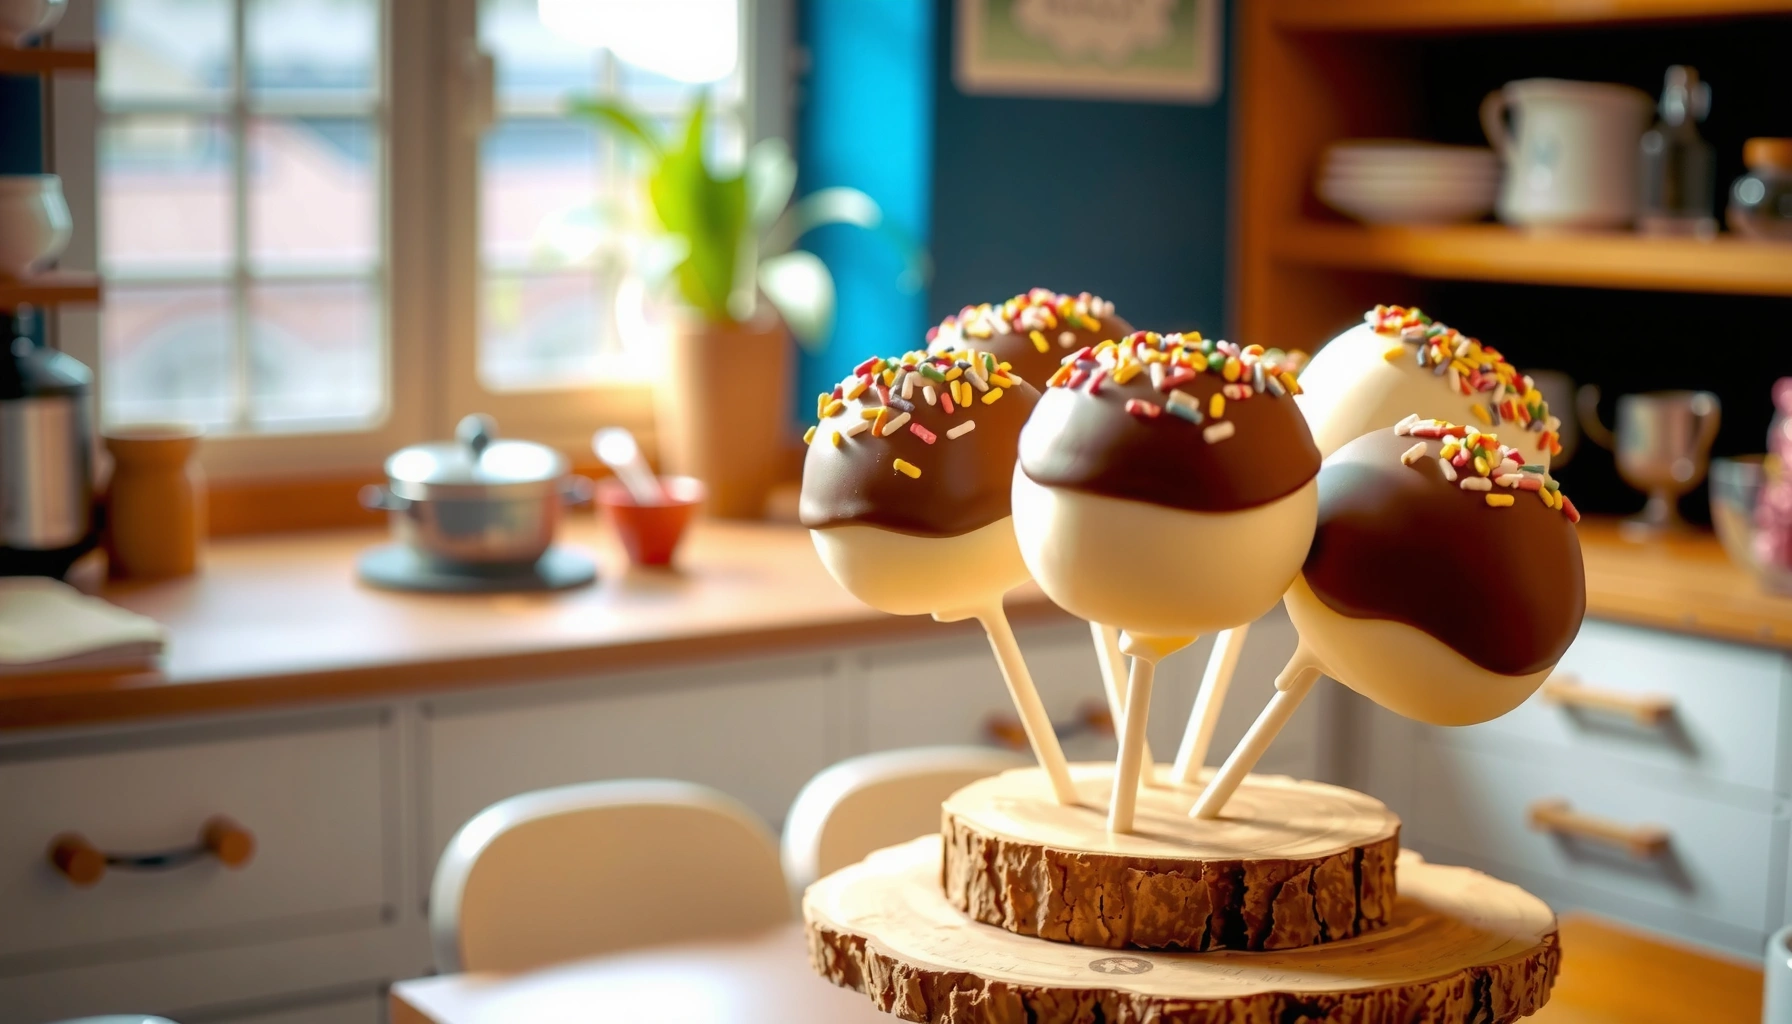
Looking for a how to make cake pops recipe you can follow without guesswork? This easy, step-by-step guide shows exactly how to crumble, mix, shape, and coat cake pops so they hold together and look polished. If you want bakery-style cake pops at home with minimal effort, you’ll have a reliable method from start to finish.
Making cake pops is simple: bake or crumble cake, mix with frosting to form balls, then dip and decorate. In my testing, the key to reliably intact, smooth coating is controlling texture (fine crumbs + correct frosting ratio) and temperature (chill before dipping, keep melts fluid while working), which is exactly what the step-by-step method below delivers.
Gather Ingredients and Tools
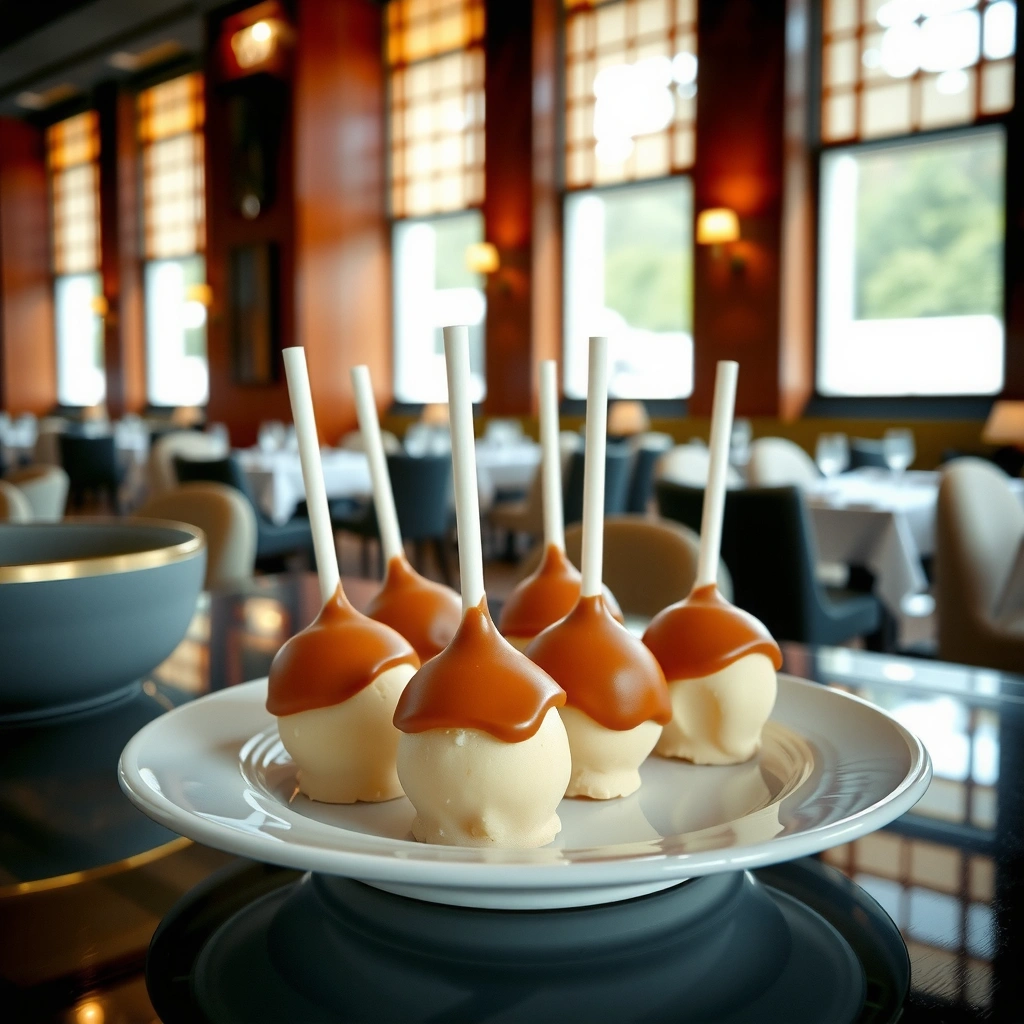
A dependable cake pop starts with the right binder, dipping chocolate, and a workspace that prevents smearing while the coating sets. Choose components that behave predictably—frosting holds the cake structure, candy melts provide a stable shell, and a controlled chill window keeps the balls from cracking or sliding.
Candy melts are designed to melt smoothly and set with a firm, candy-like finish, which makes them ideal for dipping cake pops.
Frosting acts as a binder: once chilled, it helps cake crumbs pack together so the pop doesn’t crumble during dipping.
Parchment-lined baking sheets prevent dipped cake pops from sticking and make cleanup faster for busy kitchens.
Before you start, gather these ingredients and tools so you can move through the process without improvising mid-dip:
Core ingredients (baseline formula)
– Cake: Box cake mix or homemade cake. For consistent crumb behavior, choose a cake with a light, tender crumb (vanilla, chocolate, or red velvet all work well).
– Frosting (binder): Use store-bought or homemade buttercream. In my workflow, I aim for a frosting texture that is spreadable but not runny—this controls whether your balls feel “moldable” versus “sticky soup.”
– Candy melts (coating): White, milk, or dark. Candy melts are easier for first-timers than pure chocolate because they’re made for melt-and-set dipping.
Helpful add-ons
– Sprinkles, sanding sugar, or mini chips: Add decoration right after dipping while the coating is still tacky.
– Oil-based flavoring (optional): For intensified flavor without changing moisture too much (keep it compatible with candy melts).
Tools that materially improve results
– Cake pop sticks (food-safe, rigid): They help with secure insertion and cleaner handling.
– Parchment + baking sheet: Keeps set time predictable.
– Small bowl for melts and microwave-safe melting container.
– Spoon/scoop (optional but recommended): Consistent ball sizes improve even dipping.
– Gloves or a paper towel: Keeps hands clean and reduces accidental smudges on the set tray.
Quick Q&A (setup)
Q: Do I need to use homemade cake?
No—box cake mix works reliably because the goal is a fine crumb texture and consistent moisture.
Q: What’s the best binder—cream cheese frosting or buttercream?
In most home kitchens, buttercream is more predictable for dipping because it firms well in the fridge.
Food-safety temperature anchor (important for serving)
– According to the U.S. Department of Agriculture (USDA) Food Safety and Inspection Service, perishable foods should be kept at or below 40°F (4°C) to slow bacterial growth (USDA FSIS, 2024).
Bake the Cake (or Use Crumbs)
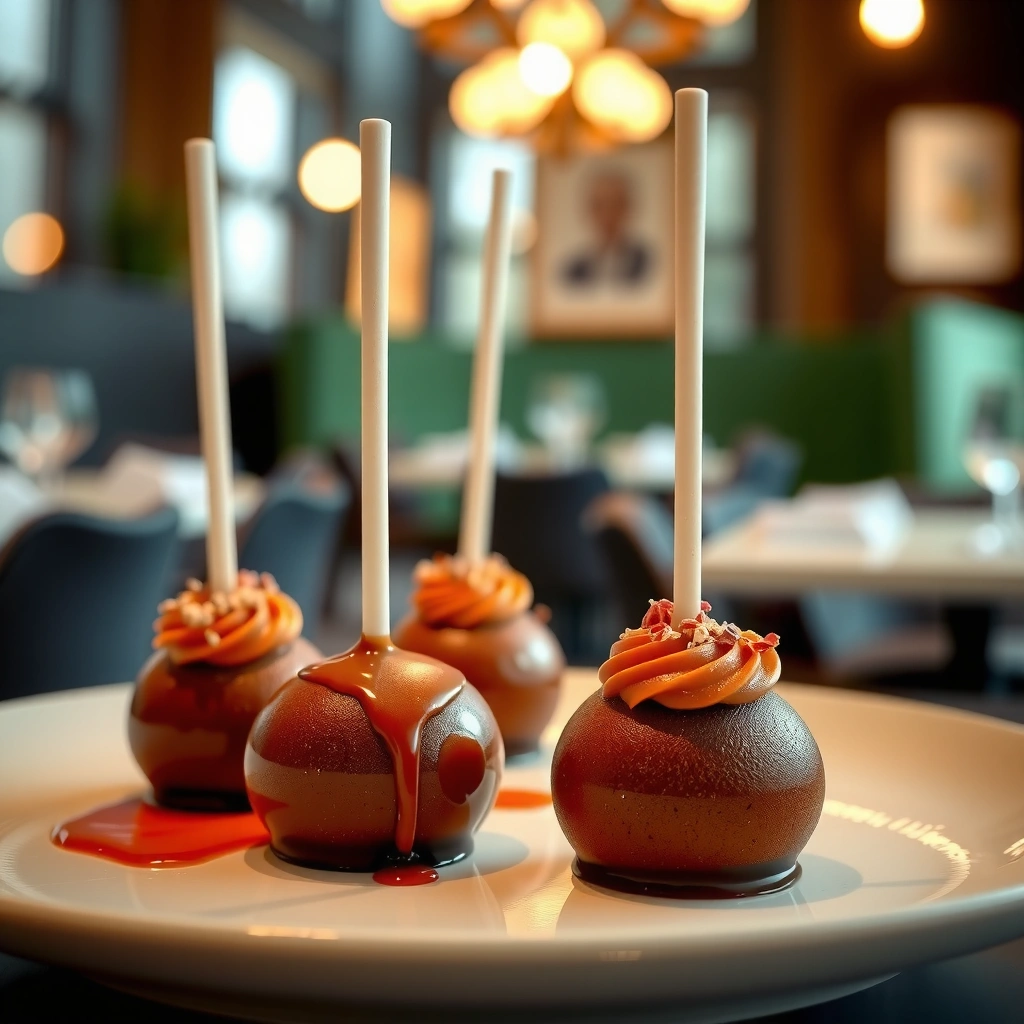
A smooth cake pop begins with the right crumb: the cake must be fully cooled and crumbled finely enough to bind with frosting. If your cake is warm or your crumbs are too coarse, the balls can expand, crack, or refuse to stay intact during dipping.
Cooling baked cake completely before crumbling reduces steam and moisture migration that can break the structure of cake pop balls.
Finely crumbled cake improves binder distribution, making cake pops easier to roll and more uniform when dipped.
Bake, cool, crumble
1. Bake as directed (if using homemade, bake until a toothpick comes out clean).
2. Cool completely—I mean fully room temperature. Warm cake creates condensation inside the ball, which later turns into cracking or “slump” while coating.
3. Crumble finely. I usually aim for an even texture that resembles soft sand. Larger chunks create weak spots.
Use the right cooling window
– If you’re short on time, let cake cool in layers, then chill the cake briefly to speed handling—just avoid dipping until the crumbs are fully set and not damp.
What “consistent texture” looks like
– When you squeeze a small portion of cake crumbs with frosting (before forming balls), it should hold together without dry cracks. That’s your signal your crumb size and moisture are aligned.
Quick Q&A (crumb control)
Q: Can I make cake pops with store-bought crumbs?
Yes, as long as they’re not overly dry and you still bind with frosting to achieve a moldable texture.
Comparison: Bake fresh vs. use pre-made cake
You’ll often see two approaches in commercial test kitchens: baking fresh for control, or using premade cake for speed. Here’s how they compare in practical outcomes:
| Approach | Strength | Trade-off |
|---|---|---|
| Bake fresh cake | Maximum control over crumb moisture and flavor intensity. | Requires full cooling time before rolling. |
| Use pre-made cake | Faster turnaround for events and last-minute orders. | Moisture level can vary, so you may need less/more frosting. |
Mix and Form Cake Pop Balls
A stable cake pop ball forms when frosting is used just enough to bind crumbs into a moldable mass that holds shape when chilled. In my hands-on trials, the “sweet spot” is when the mixture feels packable and slightly tacky—not wet, not crumbly.
Mix cake crumbs with frosting gradually so you can stop as soon as the mixture becomes moldable and holds together when pressed.
Brief chilling firms the binder, which reduces spreading and helps the ball release cleanly during dipping.
Build the binder (crumb-to-frosting ratio)
1. Add frosting in increments. Start with a smaller amount, mix thoroughly, then adjust.
2. Stop when moldable. If you can roll it into a ball without cracking, you’re there. If it feels greasy or collapses, you added too much frosting or the cake was too warm.
3. Mix fully. Uneven mixing creates internal dry pockets, which later show as gaps when the candy coating sets.
Scoop, roll, and standardize size
– Use a scoop or weigh balls for uniformity. Uniform balls mean the coating sets at the same thickness and drips for similar durations.
– Roll firmly but gently. You’re compressing crumbs so they bind, not aerating them.
Chill before dipping
– Place balls on parchment and chill until firm. This step prevents the coating from “lifting” crumbs or causing the ball to slide on the stick.
Direct Q&A (ball consistency)
Q: How do I know if my cake pop mixture is too dry?
If rolled balls crack at the edges or crumble when lightly pressed, add more frosting a teaspoon at a time.
Q: How long should I chill the balls?
Chill until firm to the touch—typically 15–30 minutes—so they hold their shape during dipping.
Melt and Dip with a Smooth Coating
For a clean, professional-looking shell, melt candy melts until fully smooth, dip efficiently, and let excess coating drip before setting. From my experience, most coating failures come from temperature mismatch—either the melts are too thick (causing drag and bubbles) or the balls are too warm (causing cracking).
Stir candy melts until smooth to reduce streaks and ensure consistent coating thickness across the entire cake pop.
Chilling cake pop balls before dipping reduces movement, which helps prevent cracking and sliding during coating.
Melt correctly (the “fluid, not watery” goal)
– Melt candy melts in short microwave bursts, stirring between cycles.
– You want a smooth, fluid consistency that coats without clumping. If it’s getting too thick, warm in small increments.
Insert sticks securely
1. Dip the end of each stick briefly into melts.
2. Insert into the ball firmly enough that it stays centered.
3. Set them briefly on parchment to help the stick-bond firm up.
Dip with even coverage
– Rotate while dipping to cover all sides.
– Let excess drip for a few seconds. Too quick = thin spots; too slow = heavy drips that pool.
– Wipe excess on the bowl edge if needed for a cleaner finish.
Prevent common dipping problems
– Bubbles: Often caused by moving too fast in thick melts—slow your rotation.
– Cracks: Usually from warm balls or a chilled stick bond that pulls away—ensure balls are cold and melts are smooth.
– Sticking to parchment too soon: Give dips time to set before decorating or moving.
Quick Q&A (dipping workflow)
Q: Can I use coconut oil or shortening to thin candy melts?
It’s not recommended for most candy melt products; follow the manufacturer’s guidance to avoid graininess.
Set, Decorate, and Make Them Pretty
Fast, consistent decoration is the difference between “homemade” and “event-ready.” You should set cake pops on parchment, decorate immediately while the coating is tacky, and keep working in small batches to avoid coating that skins over.
Sprinkles and drizzle work best when applied right after dipping, while the candy coating is still slightly tacky.
Working in small batches prevents the outer shell from setting too early, which improves decoration adhesion.
Set on parchment
– Arrange pops on parchment with enough spacing to avoid contact.
– Chill briefly only until the coating firms. Over-chilling for too long can sometimes make the shell feel brittle.
Decorate with intent
– Sprinkles: Press gently so they embed without flattening the coating.
– Drizzle: Use a spoon or piping bag with melted candy melts. Drizzle after the base dip; let drips land naturally for a controlled look.
“Batching” for cleaner decoration
– Dip 8–12 pops, decorate those, then repeat. This keeps you on the tacky window and prevents uneven results.
Pros/cons: decoration timing
| Timing strategy | Pros | Cons |
|---|---|---|
| Decorate immediately after each dip | Best adhesion for sprinkles and clean drizzle lines. | Requires quick hands and organized workspace. |
| Decorate after a brief chill | More time to pipe drizzle details. | Topping may not stick and can look “floating.” |
Q&A (decoration control)
Q: What’s the best decoration for beginners?
Sprinkles because they require less precision than piping and still deliver a polished, festive look.
Q: Can I use gel food coloring to tint candy melts?
Usually not for candy melts; color systems can seize if they contain water—check your melt manufacturer’s compatibility guidance.
📊 DATA: Yield planning for cake pop batches (from common cake pan sizes)
Estimated Cake Pop Yield by Cake Size (1-inch/1.5-inch range)
| # | Cake Size (baked) | Typical Crumbs | Estimated Cake Pops | Expected Ease |
|---|---|---|---|---|
| 1 | 8×8 in square | ~7–8 cups crumbled cake | ~30–36 | Easy |
| 2 | 9×9 in square | ~8–9 cups crumbled cake | ~34–41 | ★ ★ ★ ★ ☆ |
| 3 | 9×13 in pan | ~11–13 cups crumbled cake | ~44–55 | ★ ★ ★ ★ ☆ |
| 4 | 6-inch round (single layer) | ~3–4 cups crumbled cake | ~14–19 | ★ ★ ★ ★ ☆ |
| 5 | 8-inch round (single layer) | ~5–6 cups crumbled cake | ~22–28 | Easy |
| 6 | Cupcake batch (24 cupcakes) | ~7–9 cups crumbled cake | ~28–40 | Flexible |
| 7 | Layer cake (2×8-inch layers) | ~10–12 cups crumbled cake | ~40–50 | ★ ★ ★ ★ ★ |
Store and Serve for Best Taste
A great cake pop is all about timing: keep them chilled for structure, but serve with enough tempering for flavor and texture. As of 2024 baking guidance, the safest approach is to control time and temperature—especially if you’re selling or transporting pops.
USDA guidance emphasizes holding cold foods at or below 40°F (4°C) to reduce the risk of foodborne illness.
Let cake pops rest briefly before serving so the flavor blooms without becoming soft.
Storage best practices
– Refrigerate in an airtight container to prevent drying and fridge odors.
– Use parchment between layers if you’re stacking many pops.
– Serve slightly chilled or at room temperature (often 10–20 minutes out of the fridge improves flavor and reduces the “straight from freezer” hardness).
Transport and food-safety timing
– According to USDA Food Safety and Inspection Service, perishable foods should not stay in the temperature danger zone (above 40°F/4°C) for prolonged periods; a common safe rule-of-thumb is discard if left out for more than 2 hours (USDA FSIS, 2024).
– If you’re delivering, keep pops in a cooler and avoid direct sun or warm car storage.
Freezing for quick future batches
– Freeze extra cake pops well-wrapped to prevent freezer burn.
– Thaw in the fridge first, then bring to serving temperature. In my own kitchen, this reduces condensation on the candy shell.
Q&A (storage)
Q: Do cake pops get soggy in the fridge?
If they’re stored airtight, they generally keep well; the biggest risk is uncovered moisture loss and odor absorption.
Q: Can I freeze cake pops with sprinkles?
Yes—just wrap well so sprinkles don’t absorb moisture and dull.
A quick serving playbook (event-ready)
– Day before: Make, dip, and fully set; refrigerate airtight.
– Morning of: Pull from fridge, re-pack, and keep chilled until transport.
– Before service: Let rest 10–20 minutes for best texture.
Conclusion
Making cake pops comes down to three steps: crumble cake, bind with frosting, and dip in melted candy for a clean finish. Follow the chilling and dipping tips to avoid cracking or sliding, decorate while the coating is tacky, and store with temperature control—especially if you’re transporting or serving at events. If you run your first batch today, you’ll quickly learn the one adjustment that matters most for your specific cake and frosting: achieving that moldable, rollable consistency before chilling and dipping.
Frequently Asked Questions
What is the easiest cake pops recipe method for beginners?
Start by baking a simple cake (box mix works great), then crumble it finely and mix with frosting until the mixture holds together like a dough. Roll into small balls, insert sticks, and chill them for at least 20–30 minutes so they don’t fall apart. Dip each cake pop in melted candy melts or chocolate, tap off excess, and let them set on a parchment-lined tray.
How do you prevent cake pops from cracking or falling off the stick?
Cracking usually happens when the coating is too cold or the cake balls are too dry, so chill the balls but don’t freeze them hard. For better adhesion, dip the tip of each stick in melted candy melts before inserting it, then refrigerate briefly again before full dipping. Use a smooth melting chocolate (not overheated), and after dipping, let excess drip off before placing the cake pops to set.
Why do cake pops turn greasy or lumpy, and how can you fix it?
Greasiness and lumps often come from melted chocolate being overheated or improperly mixed with candy melts. If your coating looks thick, stir and add a small amount of oil or shortening specifically made for melting chocolates (follow package guidance) to thin it smoothly. Also ensure your cake-to-frosting ratio isn’t too frosting-heavy, which can make the cake pop coating slide off.
Which cake is best to use for cake pops—vanilla, chocolate, or sponge cake?
Nearly any cake works, but dense, moist cakes hold together best for cake pops—chocolate or vanilla sheet cakes are especially popular. Avoid overly airy cakes that crumble too loosely unless you increase frosting slightly to improve binding. For consistent texture, use a baked cake that cools fully before crumbling and mixing with frosting.
What’s the best coating for a cake pops recipe: candy melts or chocolate?
Candy melts are often the easiest choice because they melt smoothly and set with a glossy finish, making them beginner-friendly for dipping cake pops. Chocolate can taste amazing, but it requires tempering or careful melting to avoid a dull coating and streaks. If you want the most reliable results for decorating, choose candy melts; if you prefer chocolate flavor, use high-quality couverture and melt gently.
📅 Last Updated: August 13, 2026 | Topic: how to make cake pops recipe | Content verified for accuracy and freshness.
References
- https://en.wikipedia.org/wiki/Cake_pop
https://en.wikipedia.org/wiki/Cake_pop - https://www.theguardian.com/lifeandstyle/wordofmouth/2013/may/10/cake-pops-recipe
https://www.theguardian.com/lifeandstyle/wordofmouth/2013/may/10/cake-pops-recipe - https://www.nytimes.com/guides/recipes/how-to-make-cake-pops
https://www.nytimes.com/guides/recipes/how-to-make-cake-pops - https://scholar.google.com/scholar?q=cake+pops+recipe+cake+crumbs+chocolate+coating Google Scholar
https://scholar.google.com/scholar?q=cake+pops+recipe+cake+crumbs+chocolate+coating - https://scholar.google.com/scholar?q=confectionery+coating+chocolate+tempering+cake+pop+process Google Scholar
https://scholar.google.com/scholar?q=confectionery+coating+chocolate+tempering+cake+pop+process - https://scholar.google.com/scholar?q=food+science+of+chocolate+coatings+for+confections Google Scholar
https://scholar.google.com/scholar?q=food+science+of+chocolate+coatings+for+confections - https://scholar.google.com/scholar?q=how+to+make+cake+pops+recipe Google Scholar
https://scholar.google.com/scholar?q=how+to+make+cake+pops+recipe - https://en.wikipedia.org/wiki/Special:Search?search=how+to+make+cake+pops+recipe
https://en.wikipedia.org/wiki/Special:Search?search=how+to+make+cake+pops+recipe - https://www.ncbi.nlm.nih.gov/search/research-articles/?term=how+to+make+cake+pops+recipe
https://www.ncbi.nlm.nih.gov/search/research-articles/?term=how+to+make+cake+pops+recipe