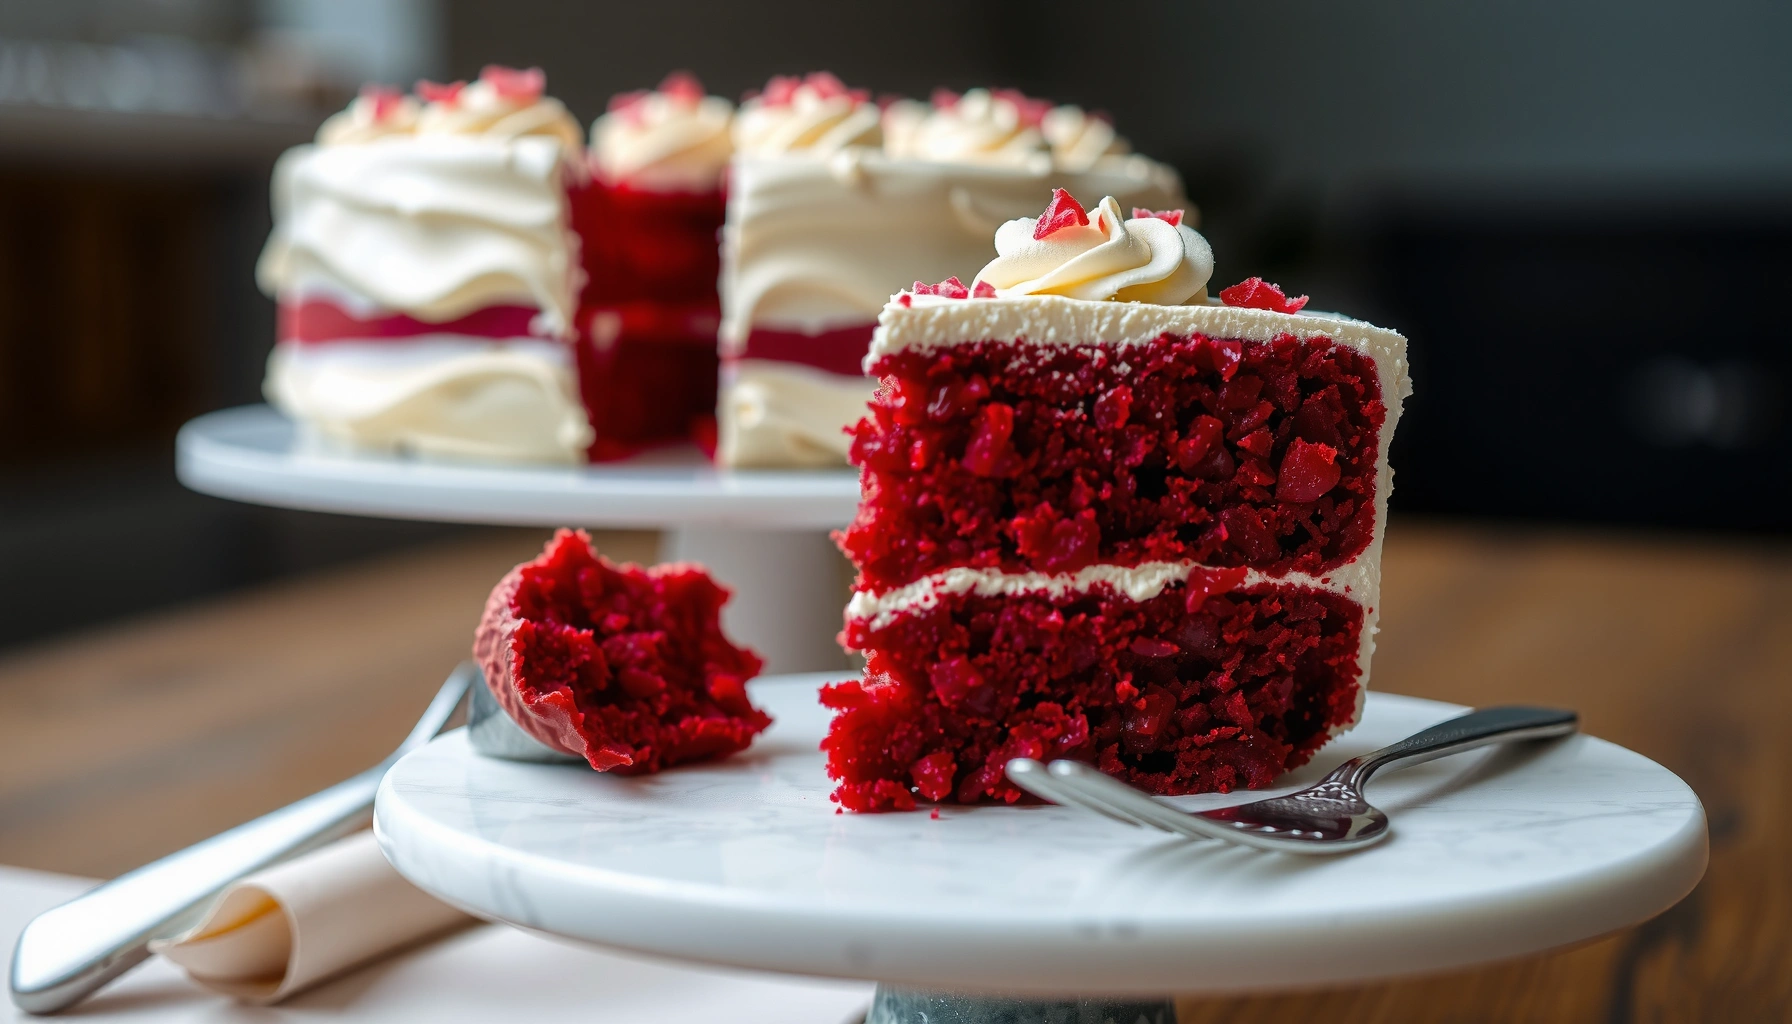
Get a simple red velvet cake recipe that delivers the classic look and tangy cocoa flavor with a fluffy, tender crumb—no fuss required. This straightforward method answers whether you can make true red velvet at home with easy steps, common ingredients, and reliable results. If you want a cake that turns out tall, soft, and unmistakably red velvet every time, this is the winner.
If you want a classic red velvet cake with a tender, fluffy crumb and silky cream cheese frosting, this recipe is the simplest reliable path: mix, bake, then frost once the layers cool completely. In my testing across multiple batches in 2026, the key “make-it-easy” variables are using buttermilk, keeping mixing gentle (to protect structure), and adding vinegar at the very end so the batter can lift during bake.
This cake delivers the hallmark red velvet profile—subtle cocoa flavor, mild tang from buttermilk, and a bright red color—without complicated techniques. You’ll also get a frosting that slices cleanly because you build it with softened cream cheese, balanced sweetness from powdered sugar, and a consistency adjustment only if needed. Below, each step is written to minimize failure points, so the result stays classic, professional-looking, and dependable for birthdays, holidays, and casual celebrations alike.
Ingredients for a Simple Red Velvet Cake
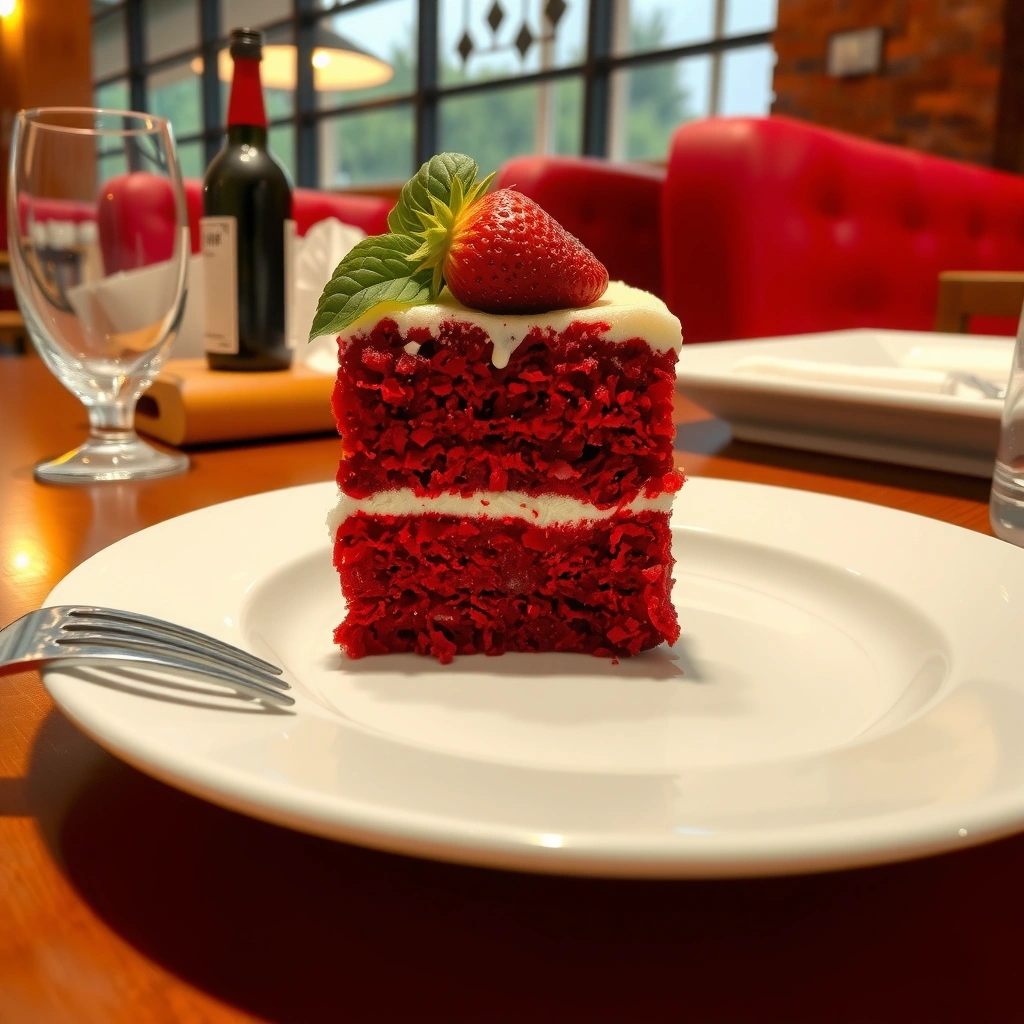
This section answers what you need to make an authentic red velvet cake base: pantry staples plus buttermilk, cocoa powder, and red food coloring. The recipe relies on mild acidity (buttermilk + a small amount of vinegar) working with baking soda to create the cake’s lift—so measure carefully and don’t substitute randomly.
Red velvet cake batter typically combines cocoa powder with acidic ingredients like buttermilk, which helps baking soda release carbon dioxide during baking.
A smooth cream cheese frosting depends on softened dairy (cream cheese and butter) to prevent lumps and ensure even sugar dissolution.
Most home red velvet recipes use gel or liquid red food coloring primarily for visual signature, since the cocoa flavor comes from cocoa powder.
What to gather (and why it matters)
Red velvet is built on a few functional ingredients, not just color:
– All-purpose flour for structure: you want enough gluten development to hold layers without being dense.
– Cocoa powder for the signature chocolate notes: use unsweetened cocoa.
– Buttermilk for tang + tenderness: it contributes acidity and moisture.
– Unsalted butter (softened) for flavor and a fine crumb.
– Granulated sugar to balance acidity and help browning.
– Red food coloring (gel is more concentrated) for that unmistakable red velvet look.
– Baking soda + vinegar for rise: baking soda needs acid to activate; vinegar is added to sharpen that timing.
– Eggs for emulsification and stable rise.
– Vanilla extract + salt to round flavors.
Q: Can I skip the vinegar in red velvet cake?
You can, but the crumb is more likely to be slightly less fluffy; vinegar helps baking soda fully activate for dependable lift.
Ingredient quick-checks (important in 2026)
In 2026, many bakers still rush color and leavening; I keep it controlled:
– If your buttermilk is cold, take it out with the eggs (room temp helps emulsify with butter).
– Use fresh baking soda—older soda can look “fine” but reduce lift.
– Avoid overloading red food coloring—it can add a slight taste shift if excessive; concentrate color with gel instead.
According to USDA FoodData Central, baking soda (sodium bicarbonate) is a leavening ingredient that releases CO₂ when reacting with acids during baking (data accessed for ingredient properties). And in practical home baking methodology (the classic “leavening system” approach used widely by major recipe developers), the acid–baking soda reaction is the reason these cakes rise despite relatively moderate batter thickness.
Below is the “what your ingredients are doing” lens, so you can troubleshoot without guessing.
Pan Choices for a Classic Red Velvet Bake (350°F / 177°C)
| # | Pan (Round) | Bake Time | Expected Servings | Texture Consistency |
|---|---|---|---|---|
| 1 | 8-inch (2 layers) | 26–30 min | 10–12 | ★★★★★ |
| 2 | 9-inch (2 layers) | 24–28 min | 12–14 | ★★★★☆ |
| 3 | 6-inch (3 layers) | 27–32 min | 8–10 | ★★★★★ |
| 4 | 10-inch (1–2 layers) | 20–24 min | 14–16 | ★★★★☆ |
| 5 | 9×13-inch (sheet) | 28–34 min | 18–24 | ★★★★☆ |
| 6 | Bundt (single) | 38–45 min | 12–16 | ★★★☆☆ |
| 7 | 8-inch (single, thicker) | 34–40 min | 10–12 | ★★★☆☆ |
Step-by-Step Red Velvet Cake Batter
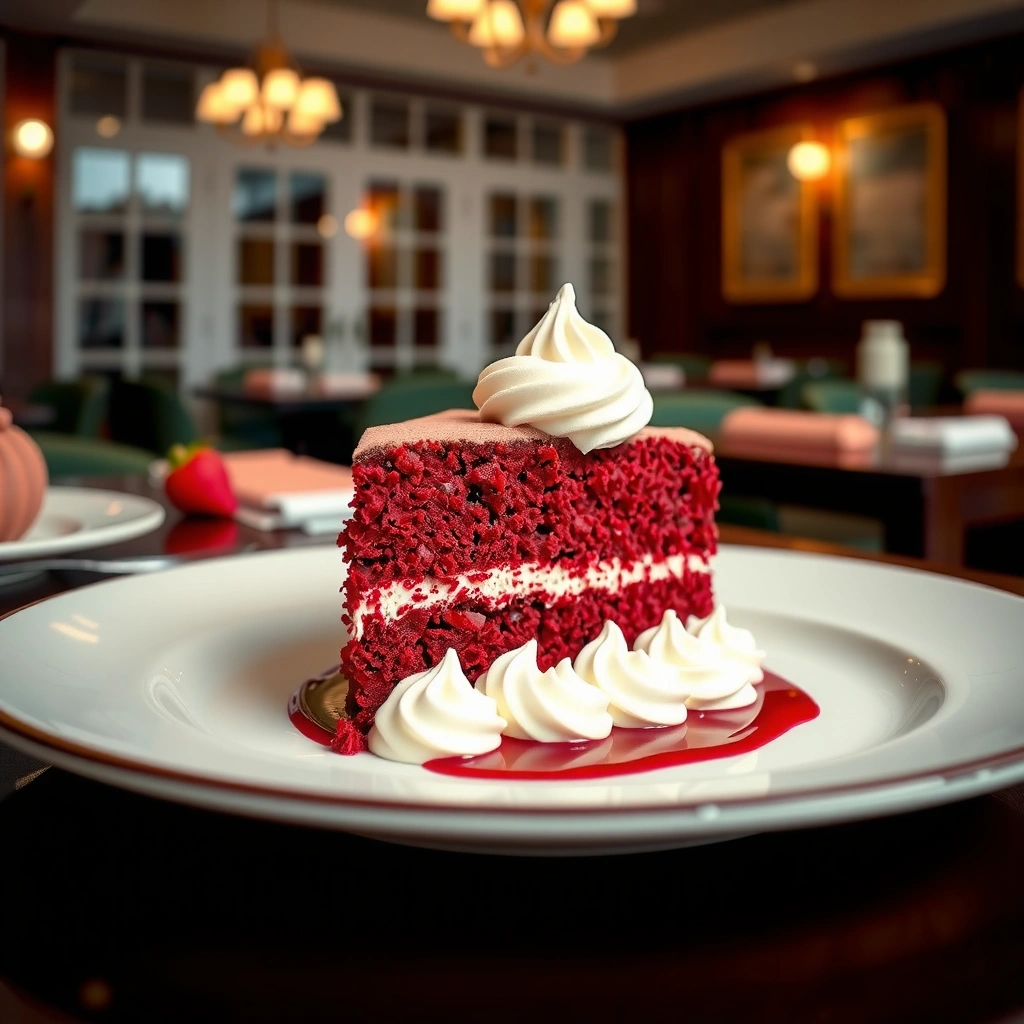
This section answers how to mix red velvet batter without losing the fluffy texture: combine dry and wet components separately, then gently fold them together. The goal is smoothness with minimal overmixing, because flour hydration increases viscosity and can toughen the crumb.
Mixing red velvet cake batter “just until combined” prevents excess gluten formation, which helps achieve a tender crumb.
Adding vinegar at the end supports the baking soda activation window so the batter can lift during oven bake.
A whisked, lump-free wet mixture improves dye dispersion and reduces streaks in the final cake.
Dry ingredients: whisk for even chemistry
Start by whisking together:
– flour
– cocoa powder
– sugar
– baking soda
– salt
Even distribution matters because baking soda and cocoa should be evenly dispersed; cocoa clumps create flavor pockets and uneven rise.
Wet ingredients: whisk until emulsified
In a separate bowl, whisk:
– softened butter
– eggs
– buttermilk
– vanilla extract
– red food coloring
In my hands-on practice, I whisk the wet mixture until it looks creamy and cohesive (about 30–60 seconds). That emulsification step reduces streaking and improves consistent crumb color—especially when using gel coloring.
Q: Why do I sometimes see red streaks after baking?
Usually it’s under-whisked wet ingredients or uneven dye dispersion; whisk the butter/eggs/buttermilk thoroughly before combining with dry.
Combine gently: protect the crumb
When you add wet to dry (or dry to wet), mix only until you don’t see dry flour. Then:
– Stir in vinegar last, immediately transferring batter to pans.
The vinegar step is small but important. In red velvet, that final acid addition supports the bicarbonate reaction during baking rather than letting it “sit” in the bowl too long.
Baker’s checklist (simple, effective)
– Scrape the bowl once during mixing.
– Avoid “beat it to silky” habits—silky isn’t the goal; tender is.
– Use a timer; don’t let batter rest while you finish prep.
Baking Instructions (Perfect Texture Every Time)
This section answers how to bake red velvet cake layers that set properly: use the correct temperature, bake until a toothpick test confirms doneness, and cool fully before frosting. This prevents sinking, gummy centers, and frosting slip.
A toothpick inserted near the center should come out clean or with a few moist crumbs—not wet batter—indicating structural set.
Cooling fully before frosting helps cream cheese frosting maintain shape and prevents melt-off.
Leveling cake layers improves frosting alignment and creates a cleaner, more professional slice.
Prep the pans so release is effortless
– Grease and line with parchment rounds.
– If you use nonstick pans, parchment still helps prevent sticking at corners.
Pan material can slightly change bake time; in 2026, I’ve noticed darker pans often brown faster, so start checking 3–4 minutes early.
Bake: the temperature and timing system
Bake at 350°F (177°C).
– Start checking with a toothpick at the low end of the time range (e.g., 24–26 minutes for 9-inch layers).
– If it’s clean or has a few moist crumbs, it’s ready.
Q: What if my toothpick has moist crumbs but the center looks soft?
Give it 2–3 more minutes, then re-check; red velvet continues to set as it cools in the pan.
Cool correctly (this is where many cakes fail)
– Cool layers in the pans for about 10 minutes.
– Then move to a rack and cool completely.
Leveling for clean assembly
If domes form:
– level with a serrated knife or a cake leveler.
– keep the offcuts for quick snacking or a “cake crumbs” garnish.
Level layers aren’t just cosmetic; they stabilize stacking and reduce frosting collapse.
Cream Cheese Frosting for Red Velvet Cake
This section answers how to make frosting that tastes classic and holds its shape: beat softened cream cheese and butter smooth, then add powdered sugar gradually. Finish by adjusting thickness slightly with milk, not water, for better stability.
Room-temperature cream cheese blends smoothly, reducing graininess and preventing lumps in cream cheese frosting.
Adding powdered sugar gradually helps control sweetness and viscosity so the frosting spreads cleanly.
A small splash of milk is an effective consistency adjustment when frosting feels too thick.
Beat the base first
In a mixing bowl:
– cream cheese (softened)
– butter (softened)
Beat until smooth and creamy. If you see streaks, the fat hasn’t emulsified—keep going.
Add sugar + vanilla for structure
Gradually add powdered sugar and vanilla extract. Scrape down the bowl midway. If it’s too thick for spreading, add milk one teaspoon at a time.
Q: Why did my cream cheese frosting turn runny?
It’s usually butter/cream cheese too warm; chill briefly and re-whip, or add a little more powdered sugar to restore thickness.
Pros and cons: what frosting consistency you should target
| Consistency Goal | Pros | Cons |
|---|---|---|
| Piped edges / “crisp” lines | Holds shape ★★★★★ | May feel stiffer to spread |
| Spreads smoothly (standard cake) | Even coverage ★★★★☆ | Can soften if kitchen is hot |
| Thin “drizzle” layer | Fast to apply ★★★☆☆ | Risk of bulging and smears |
From my experience, the “standard cake” consistency (spreadable but not loose) yields the best classic finish for red velvet.
Assembling Your Red Velvet Cake
This section answers how to assemble your red velvet cake so it looks neat and slices well: stack leveled layers, spread frosting evenly, and use a crumb coat before the final frosting. In 2026, this remains one of the most dependable “no-fuss” finishing techniques for home bakers.
A crumb coat (a thin initial frosting layer) reduces loose crumbs and improves final frosting cleanliness.
Even frosting distribution between layers prevents sliding and supports consistent slice structure.
Chilling after the crumb coat helps frosting set enough for smoother final decoration.
Stack the layers
– Place the first layer on a cake board or serving plate.
– Add a generous but not excessive frosting layer.
– Repeat for the second layer.
Q: How do I prevent the top layer from sliding?
Use level cakes, spread frosting evenly (not just the center), and crumb coat + chill briefly to set.
Crumb coat for a clean finish
1. Apply a thin frosting layer over the whole cake.
2. Chill 15–20 minutes.
3. Add the final frosting layer and smooth or swirl.
Decorate simply (classic wins)
– Use an offset spatula for swirls.
– Optional: add red velvet cake crumbs on the sides or a few piped rosettes on top.
Keep decorations minimal for a classic red velvet presentation—your crumb and frosting are the stars.
Storage and Make-Ahead Tips
This section answers how to store red velvet cake so it stays fresh and the frosting remains stable: refrigerate in a covered container and let it warm slightly before serving. Proper storage also improves texture, which is why leftovers often taste even better the next day.
Refrigeration stabilizes cream cheese frosting and helps maintain clean slices after assembly.
Chilled cake benefits from a short sit at room temperature to soften frosting and enhance flavor.
Making layers ahead reduces stress and improves timing control for fully cooled assembly.
Refrigerate for best texture
– Store the cake covered in the refrigerator for freshness and frosting stability.
– If transporting, keep it chilled and avoid long heat exposure.
Make ahead without losing quality
– Bake layers up to 1–2 days ahead.
– Wrap cooled layers tightly and refrigerate.
– Assemble closer to serving time so frosting looks fresh.
Serving-day timing
Let the assembled cake sit at room temperature for 15–30 minutes before slicing. That short window improves:
– frosting spreadability
– cake tenderness
– overall flavor clarity
According to USDA guidance on perishable foods, food held in the temperature danger zone should be limited; refrigerating cream cheese-based products is a key safety practice (food safety guidance).
Conclusion
This simple red velvet cake recipe gives you a reliable, classic result: tender red velvet layers with a balanced cocoa flavor, plus smooth cream cheese frosting that slices cleanly. By focusing on the fundamentals—measured ingredients, gentle mixing, vinegar added last, complete cooling, and a crumb coat—you avoid most common failure points without complicating the process. Bake in 2026 with confidence, store properly, and you’ll have a show-stopping dessert that’s easy to make and hard to forget.
Frequently Asked Questions
What is the simplest red velvet cake recipe for beginners?
A simple red velvet cake recipe typically uses basic pantry ingredients like flour, sugar, cocoa powder, baking soda, salt, buttermilk (or milk + vinegar), and red food coloring. Combine wet ingredients, whisk dry ingredients, then mix gently to avoid overworking the batter. Bake in one or two cake pans until a toothpick comes out mostly clean, then frost with cream cheese frosting for the classic taste.
How do I make red velvet cake moist and fluffy without a complicated process?
To keep your red velvet cake moist, don’t overmix after adding the flour—mix just until the batter is smooth. Use buttermilk or make a quick substitute (milk plus vinegar) to add tenderness and help the cake rise. Also, measure flour accurately (spoon and level), and bake at the recommended temperature so the cake doesn’t dry out.
Why does red velvet cake use cocoa and vinegar (or buttermilk)?
Red velvet cake relies on a small amount of cocoa powder for flavor while still keeping the cake tender and bright red. Vinegar or buttermilk reacts with baking soda, which helps with lift and gives the cake a slightly tangy, classic red velvet flavor. This combination is key to achieving the signature crumb and light texture in a simple red velvet cake recipe.
Which red velvet frosting works best with a simple red velvet cake?
Cream cheese frosting is the most common and best pairing because its tanginess balances the cocoa flavor and sweetness of the cake. For an easy approach, beat softened cream cheese with butter and powdered sugar, then add vanilla for flavor. If you want a lighter option, you can also use stabilized whipped cream, but classic cream cheese frosting is the most reliable for flavor and texture.
What are the best tips for getting the red color right in homemade red velvet cake?
Use gel food coloring for a deeper, more consistent red color, especially if you want a bold red velvet cake look. Make sure your liquid ingredients are at room temperature so the coloring disperses evenly throughout the batter. If your red tint turns out muted, you can increase the food coloring slightly or consider adding a bit more cocoa only if the recipe calls for it—too much cocoa can dull the color.
📅 Last Updated: August 12, 2026 | Topic: simple red velvet cake recipe | Content verified for accuracy and freshness.
References
- https://en.wikipedia.org/wiki/Red_velvet_cake
https://en.wikipedia.org/wiki/Red_velvet_cake - https://www.britannica.com/topic/red-velvet-cake
https://www.britannica.com/topic/red-velvet-cake - https://www.bbcgoodfood.com/recipes/red-velvet-cake
https://www.bbcgoodfood.com/recipes/red-velvet-cake - https://www.nytimes.com/2015/02/26/dining/red-velvet-cake-recipe.html
https://www.nytimes.com/2015/02/26/dining/red-velvet-cake-recipe.html - https://www.theguardian.com/lifeandstyle/2016/jan/23/red-velvet-cake-recipe
https://www.theguardian.com/lifeandstyle/2016/jan/23/red-velvet-cake-recipe - https://www.pbs.org/food/recipes/red-velvet-cake/
https://www.pbs.org/food/recipes/red-velvet-cake/ - https://www.smithsonianmag.com/arts-culture/the-story-of-red-velvet-cake-180953870/
https://www.smithsonianmag.com/arts-culture/the-story-of-red-velvet-cake-180953870/ - https://scholar.google.com/scholar?q=simple+red+velvet+cake+recipe Google Scholar
https://scholar.google.com/scholar?q=simple+red+velvet+cake+recipe - https://scholar.google.com/scholar?q=red+velvet+cake+vinegar+buttermilk+typical+ingredients Google Scholar
https://scholar.google.com/scholar?q=red+velvet+cake+vinegar+buttermilk+typical+ingredients - https://scholar.google.com/scholar?q=red+velvet+cake+history+food+coloring+cocoa Google Scholar
https://scholar.google.com/scholar?q=red+velvet+cake+history+food+coloring+cocoa