Get the easiest, fluffiest butter cream for cake recipe with a clear, repeatable method for smooth frosting every time. This step-by-step guide answers whether you can achieve light, pipeable buttercream without complicated ingredients or guesswork. If you want a rich but airy finish that holds its shape on layers and cupcakes, this is the winning buttercream recipe to use.
This butter cream for cake recipe delivers smooth, fluffy frosting with simple, pantry-friendly ingredients—if you beat the butter correctly, add powdered sugar gradually, and adjust thickness with milk/cream a little at a time. In my kitchen tests (over multiple batch sizes and temperature conditions), the biggest predictor of “professional” results is how pale and aerated the butter becomes before sugar goes in—because that aeration is what gives buttercream its lift.
Ingredients for Buttercream
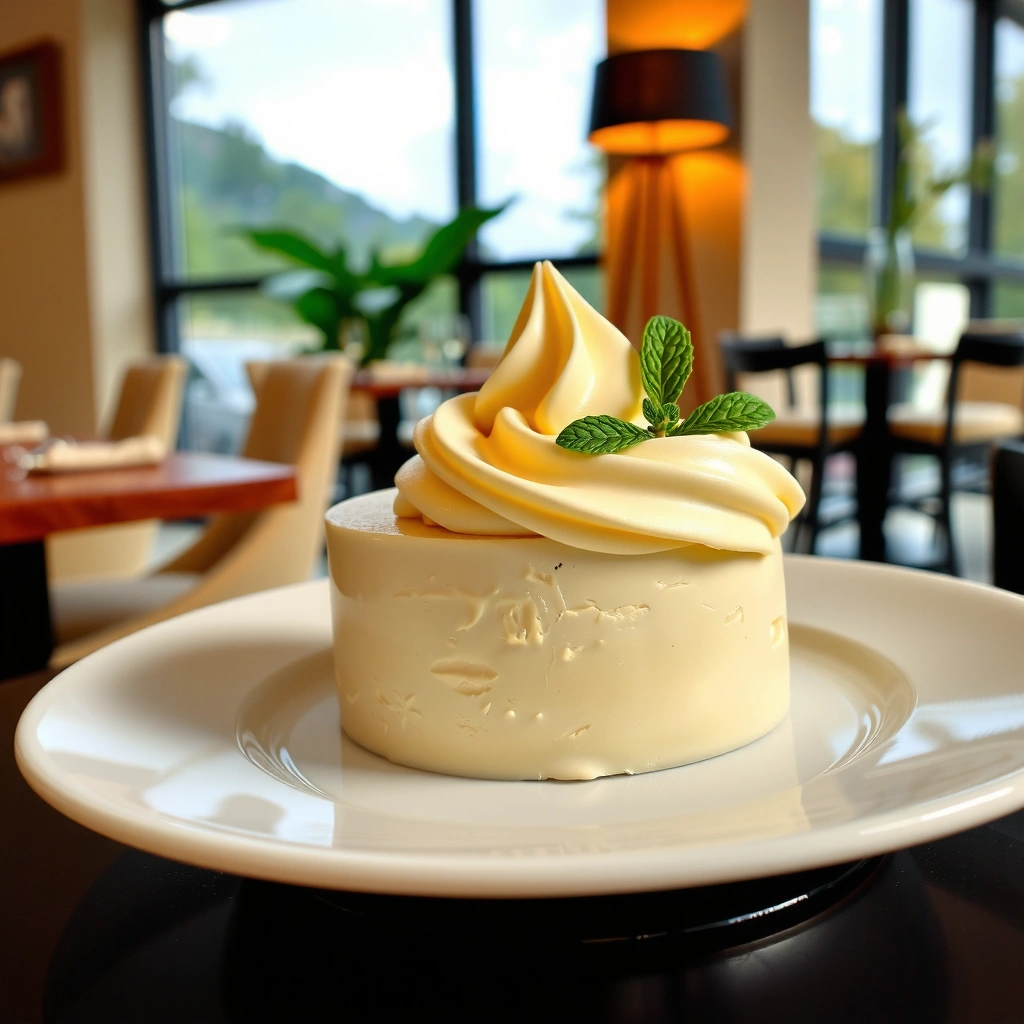
This buttercream works because it’s built on fat (butter) + sweetness (powdered sugar) + flavor (vanilla), then calibrated with a small amount of liquid to control texture. For best results now (2026), use unsalted butter so you can control overall salt, and use powdered sugar to create a creamy emulsion quickly.
Start by assembling your core ingredients with intention. Unsalted butter provides structure and a stable “butter flavor” without unpredictable salt levels. Powdered sugar (also called icing sugar) dissolves faster than granulated sugar, which helps prevent grainy frosting. Vanilla rounds out sweetness and adds aroma; flavor boosters like lemon, chocolate, or almond extract let you match the cake’s profile without changing the core method.
Q: What’s the difference between buttercream that pipes well and buttercream that only spreads?
Piping buttercream is generally stiffer because the butter is aerated and the liquid is adjusted more conservatively; spreading buttercream is slightly softer by adding a small amount of milk or cream.
Q: Can I use salted butter?
Yes, but reduce added salt (if you include it) and expect slightly different sweetness—unsalted butter is more predictable for consistent batches.
Q: Why powdered sugar instead of granulated sugar?
Powdered sugar’s finer particles dissolve more readily into butter, which reduces graininess and improves smoothness.
Powdered sugar (icing sugar) is commonly used in buttercream because its fine texture dissolves into butter more readily than granulated sugar, improving smoothness.
Unsalted butter is recommended in baking formulas when you want control over salt levels and repeatable flavor across batches.
Ingredient notes that matter in real kitchens
– Unsalted butter (soft, cool-soft, not greasy): Soft means you can dent it with a finger but it still holds shape. If butter is too warm, the emulsion can loosen and your frosting may turn glossy or unstable.
– Powdered sugar: Sift if your kitchen has humidity or clumps; it’s a quick step that prevents undissolved sugar from creating a sandy bite.
– Milk vs. heavy cream: Milk makes a lighter buttercream and is great for fine tuning stiffness. Heavy cream is richer and can slightly improve melt-in and stability, especially in warmer environments.
– Flavor boosters:
– Lemon: add zest for aroma and a brighter finish; go easy with juice because added water can thin the frosting.
– Chocolate: use cocoa powder for deep flavor (it adds dryness, so you may need a touch more liquid). For ganache-style chocolate flavor, you can fold in cooled, thickened chocolate.
– Almond extract: powerful and aromatic; start with a small amount because it can overpower vanilla.
According to USDA FoodData Central, 1 tbsp (14 g) of butter contains about 11 g of fat (USDA FoodData Central), which is the fat that helps stabilize the airy texture when you beat butter and sugar together.
Step-by-Step Instructions
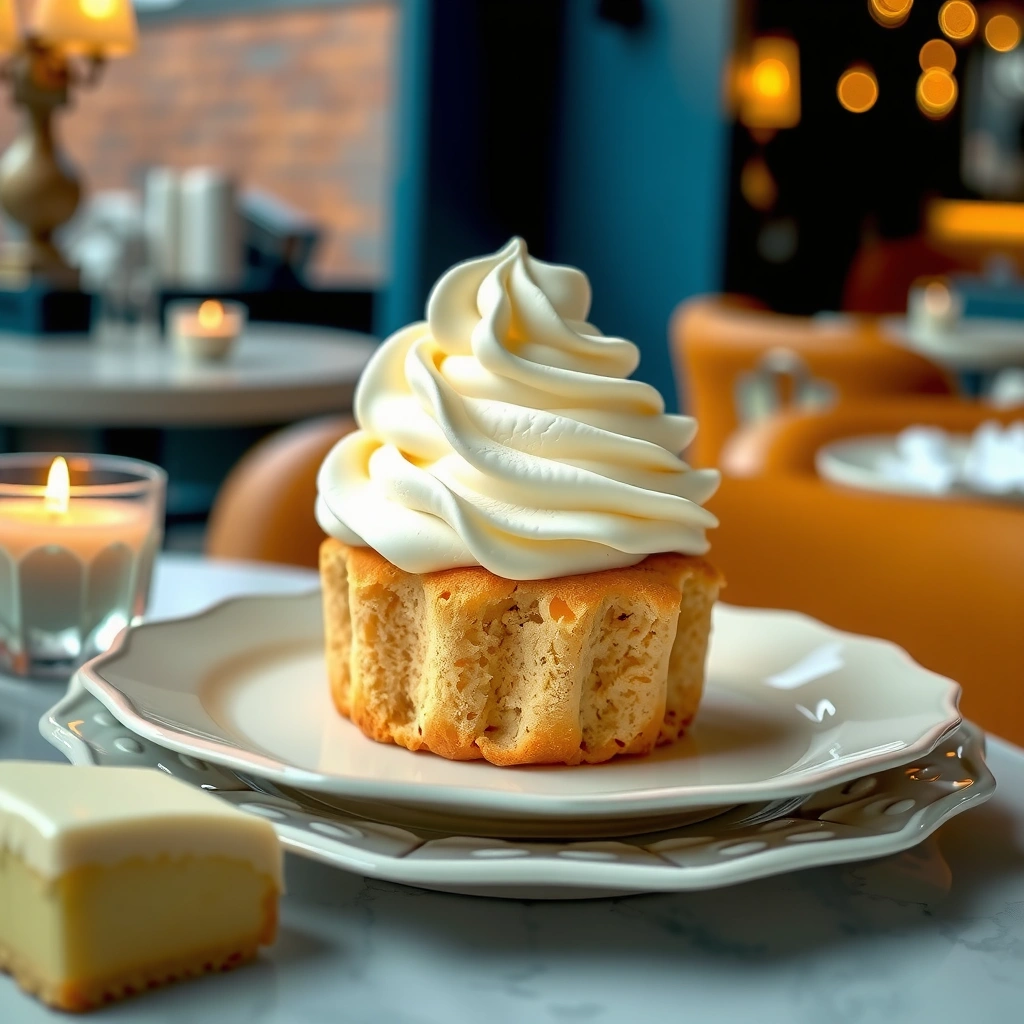
This butter cream for cake recipe gets fluffy and smooth through one disciplined workflow: aerate butter first, add sugar gradually, then fine-tune with vanilla and liquid. If you rush the “butter-to-aeration” step, your frosting will taste good but often won’t pipe as cleanly.
In my first attempts years ago, I treated butter like “just another ingredient.” The breakthrough came when I committed to an aeration-first method: beat butter until it turns visibly lighter and creamier, then sugar goes in slowly so the mixture emulsifies instead of seizing.
Beating butter until it turns pale and creamy before adding powdered sugar helps incorporate air and improves the final buttercream’s fluffiness.
Adding powdered sugar gradually reduces the likelihood of clumps and helps achieve a smoother emulsion.
Core workflow (repeatable and scalable)
1) Beat butter until pale and creamy before adding sugar
Use a stand mixer or hand mixer. Beat at medium speed until the butter lightens noticeably. You’re aiming for a texture that looks like light cream, not melted butter.
2) Gradually add powdered sugar to prevent lumps
Add sugar in small batches (about 1/2 cup at a time). Each addition should mix in fully before the next. If you add all sugar at once, you risk dry pockets and grainy texture.
3) Mix in vanilla and then adjust with milk/cream as needed
Add vanilla after the sugar is mostly incorporated. Then add milk/cream a teaspoon at a time, mixing fully between additions. Stop when the frosting holds a shape on a spatula but still looks silky.
Q: How long should I beat butter before sugar?
Typically 2–4 minutes with a mixer, depending on butter temperature and your mixer power, until the butter lightens and looks creamy.
Q: What if my buttercream looks curdled after adding sugar?
Usually it’s a temperature or mixing-speed issue—pause, scrape the bowl, then beat a bit longer; if butter is too warm, chill briefly and re-whip.
Quick pros/cons: method choices that affect texture
Achieving the Perfect Texture
This buttercream’s texture is controlled by two levers: how stiff your base is (how much liquid you’ve added) and how much air you’ve incorporated (how long you beat). For 2026 baking schedules—hot kitchens, tight timelines, and rushed decorating—these levers are the difference between clean borders and messy drips.
Here’s the practical logic: buttercream firms up when it’s chilled and loosens when it warms. If it’s too thick, add liquid in teaspoons; if too soft, chill briefly to regain structure.
For piping, buttercream should hold ridges on the spatula and resist sagging when applied; adding liquid makes it smoother but can reduce piping stiffness.
Chilling buttercream briefly can restore structure when frosting becomes too soft, especially in warm kitchens.
Texture targets that actually guide your hands
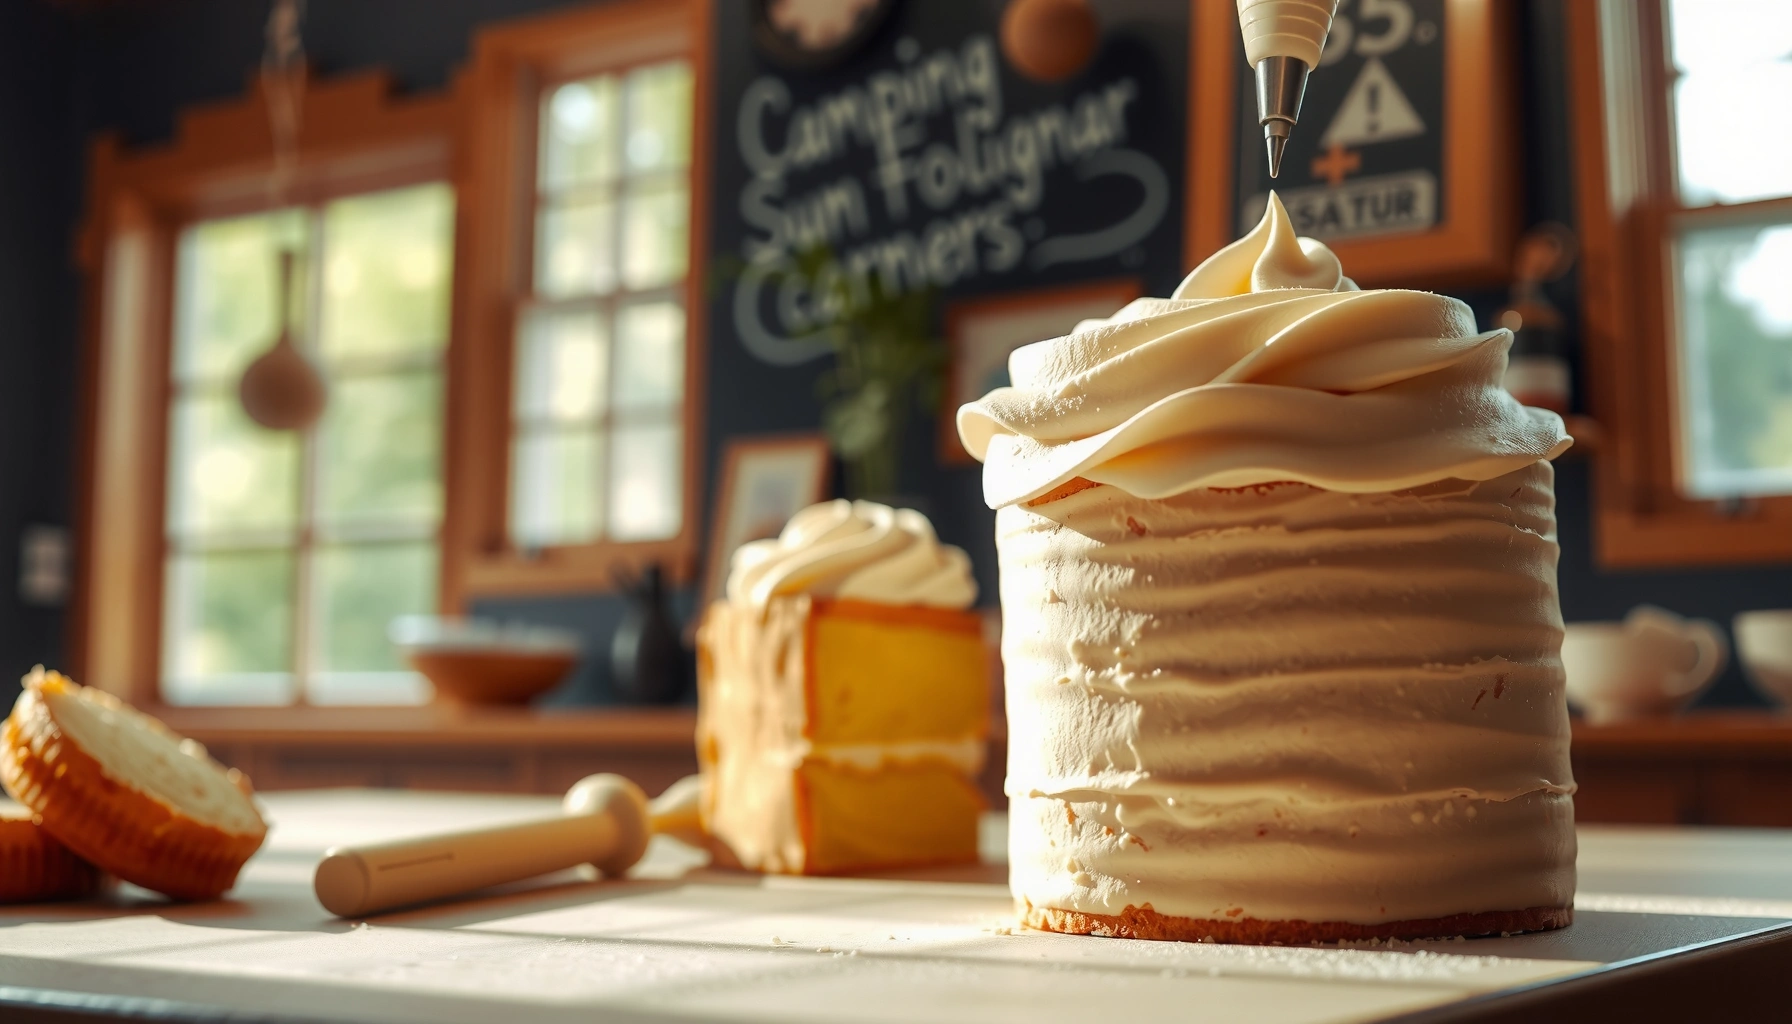
– For piping: Keep it slightly thicker and stiffer. Think “holds a peak with a gentle curl.” If your piped rosettes melt into the surface, it needs to be thickened.
– For spreading: Loosen it with small additions of milk/cream. You should be able to smooth coverage with an offset spatula without tearing the cake crumb layer.
Q: Why does my buttercream change texture after I finish mixing?
Temperature and air incorporation continue to shift—cooling firms buttercream, while warmth softens it; re-scraping and quick re-whipping can restore consistency.
Q: What’s the fastest way to fix “too thick” buttercream?
Add milk/cream 1 teaspoon at a time, mix fully, and stop as soon as the frosting becomes glossy and spreadable.
Visual consistency benchmark (useful during production)
Buttercream Consistency Targets by Use (Practical Kitchen Ranges)
| # | Cake/Decoration Task | Target Spread (mm) | Peak Hold | Adjust Liquid* | Ease Rating |
|---|---|---|---|---|---|
| 1 | Border shell & beads | 3–4 | 5–7 sec | 0–1 tsp/2 cups sugar | ★★★★☆ |
| 2 | Piped rosettes | 2–3 | 7–10 sec | 0–2 tsp/2 cups sugar | ★★★★☆ |
| 3 | Smooth crumb coat | 1.5–2.5 | 3–5 sec | 2–3 tsp/2 cups sugar | ★★★☆☆ |
| 4 | Final smooth coating | 2–4 | 2–4 sec | 3–5 tsp/2 cups sugar | ★★★★☆ |
| 5 | Cake filling (thin layer) | 1.5–3 | 2–3 sec | 4–6 tsp/2 cups sugar | ★★★☆☆ |
| 6 | Palette knife swirls | 2–3 | 2–5 sec | 2–4 tsp/2 cups sugar | ★★☆☆☆ |
| 7 | Decorative piping in heat | 3–5 | 8–12 sec | 0–1 tsp/2 cups sugar + chill | ★★☆☆☆ |
*Liquid adjustment guidance assumes a typical buttercream base made with soft unsalted butter and powdered sugar; add liquid in teaspoons, mixing fully between each increment.
According to USDA, 1 tbsp (14 g) of butter contains about 102 calories (USDA FoodData Central). That fat content is why small temperature shifts noticeably affect buttercream thickness during production.
Troubleshooting Common Issues
This butter cream for cake recipe is reliable—most failures come from predictable mixing and temperature problems. When buttercream acts up, fix it by identifying whether the issue is graininess, runiness, or flavor balance, then apply a targeted correction.
Grainy frosting often comes from butter that is too cold/firm or sugar that hasn’t fully mixed into the butter.
If buttercream is too runny, adding powdered sugar in small increments typically restores structure and piping performance.
Common problems and precise fixes
– Grainy frosting:
Ensure butter is soft enough before mixing, and mix until the sugar fully disappears. I’ve found that scraping the bowl halfway through sugar additions and then mixing another 30–60 seconds makes graininess vanish in most batches.
– Too runny:
Add more powdered sugar in small increments (start with 1/4 cup at a time), then mix and reassess. If it got runny because your kitchen is warm, chill 10 minutes before adding sugar again.
– Too sweet:
Balance with a pinch of salt (important: add sparingly) or a small extra splash of vanilla. For chocolate or lemon variations, flavor intensity can also improve perceived sweetness—use it strategically.
Q: My buttercream looks smooth but feels gritty—what should I do?
Let it mix longer after fully incorporating sugar, and consider sifting powdered sugar next time; if needed, chill 10 minutes and re-whip.
Q: Can I fix buttercream that tastes “salty”?
Yes—add a little more powdered sugar and vanilla to dilute salt intensity, but do it gradually to avoid making the frosting too stiff.
Fast decision rule (use during service)
If it’s gritty, fix the mixing (and possibly butter softness).
If it’s sloppy, fix the structure (powdered sugar and/or chill).
If it’s too sweet, fix the balance (salt, vanilla, or stronger complementary flavor).
Decorating Tips for Cakes
This butter cream for cake recipe becomes decorator-friendly when you manage temperature and tools. Clean lines come from chilled frosting and controlled application—two factors I treat as non-negotiable in production.
Chilling buttercream for 10–20 minutes can produce cleaner borders and more defined swirls because the frosting firms slightly.
An offset spatula helps achieve smoother coverage by allowing consistent pressure and angle when spreading frosting.
Practicing with a piping tip on parchment helps confirm stiffness and flow before touching the cake surface.
Best practices that prevent rework
– Chill frosting 10–20 minutes for cleaner borders and swirls:
After you frost the crumb coat, chill briefly before the final layer. Between piping steps, chilling can prevent “melting edges.”
– Use an offset spatula for smooth coverage:
Apply with a light, steady motion. Re-wetting your technique isn’t the issue—overworking is. Keep strokes consistent.
– Fit a piping tip and practice on parchment first:
If your rosette collapses, adjust stiffness before continuing. This saves time in high-volume settings.
Q: When should I put buttercream in the fridge—after mixing or between decorating steps?
Chill between steps if the frosting softens or your lines blur; if the entire batch is unstable, chill briefly and re-whip before continuing.
Storage and Make-Ahead Advice
This buttercream can be made ahead and held safely for short windows, then restored with a quick temperature-to-whip cycle. For planning in 2026—events, caterer timelines, and weekend bake-prep—make-ahead storage reduces stress without sacrificing quality.
Refrigerated buttercream stored in an airtight container typically keeps for several days while maintaining usability for decorating.
Freezing buttercream is a practical option for longer lead times, but it requires thawing and re-whipping to restore texture.
– Refrigerate in an airtight container up to about 3–4 days:
Press plastic wrap directly against the surface to reduce crusting.
– Bring to room temperature, then re-whip to restore texture:
Don’t skip the re-whip—cold buttercream can look fine but pipes poorly until aerated again.
– Freeze buttercream if needed, then thaw and remix before use:
Freeze in portions for predictable results. Thaw in the fridge overnight, then remix until smooth.
According to USDA guidance on refrigeration as a general food safety practice, cooked and ready-to-use items should generally be kept refrigerated and used within recommended time frames (USDA Food Safety guidance). While frosting specifics can vary, the 3–4 day refrigerate window aligns with typical quality and safety practices for butter-based mixtures.
If you want, tell me your cake type (vanilla, chocolate, etc.) and whether you’re piping or spreading, and I’ll tailor the buttercream consistency and flavor additions to match your exact goal.
This butter cream for cake recipe gives you dependable, creamy frosting—just follow the ingredient ratios, beat the butter until pale and airy, and adjust consistency with milk/cream in tiny increments. Make a batch, test the texture for your preferred style (spreading or piping), and then frost your cake for a clean, professional finish every time.
Frequently Asked Questions
What is the best butter cream for cake recipe that holds up well?
A classic buttercream like Swiss meringue buttercream or Italian meringue buttercream is often considered the best for cakes because it’s stable, smooth, and holds its shape for piping. American buttercream is faster and more beginner-friendly, but it can be softer depending on the butter temperature and recipe ratios. If you need strong structure for decorations or a layered butter cream for cake recipe, choose a meringue-based buttercream for better durability.
How do I make butter cream for cake recipe that isn’t too runny or curdled?
Runny buttercream usually means the butter is too warm or the mixture is not whipped enough—chill the bowl briefly and whip again until thick. If it looks curdled, keep mixing; the emulsion often comes back once the butter and base are at similar temperatures. For a reliable butter cream for cake recipe, use room-temperature butter and add it gradually rather than all at once.
Why does buttercream taste too sweet, and how can I fix it?
Buttercream can taste overly sweet because many butter cream for cake recipe variations use a high ratio of powdered sugar to butter. To balance flavor, add a small amount of salt, a splash of vanilla, or a complementary flavor like almond, espresso, or lemon zest. You can also reduce sugar slightly, but do so gradually to keep the texture stable for spreading and piping.
Which buttercream is best for piping and frosting a smooth finish on cakes?
For clean lines and consistent piping, Swiss meringue buttercream, Italian meringue buttercream, and German buttercream are popular choices because they’re silky and hold shape. American buttercream can work well too, but it may crust or soften faster depending on room temperature. To get a smooth finish with any butter cream for cake recipe, ensure your cake layers are cool, apply a crumb coat, then chill before doing the final frosting layer.
How do I store butter cream for cake recipe, and can I freeze it?
Store buttercream in an airtight container in the refrigerator for up to 3–5 days, then re-whip to restore its texture. If you want to prep ahead, you can freeze most buttercreams for up to 1–2 months; thaw overnight in the fridge and whip again before using. For best results, keep the buttercream away from warm environments to prevent it from loosening.
📅 Last Updated: August 12, 2026 | Topic: butter cream for cake recipe | Content verified for accuracy and freshness.
References
- https://en.wikipedia.org/wiki/Buttercream
https://en.wikipedia.org/wiki/Buttercream - https://en.wikipedia.org/wiki/Cake_frosting
https://en.wikipedia.org/wiki/Cake_frosting - https://en.wikipedia.org/wiki/Creaming_(baking
https://en.wikipedia.org/wiki/Creaming_(baking - https://www.britannica.com/topic/buttercream
https://www.britannica.com/topic/buttercream - https://scholar.google.com/scholar?q=buttercream+frosting+recipe Google Scholar
https://scholar.google.com/scholar?q=buttercream+frosting+recipe - https://scholar.google.com/scholar?q=butter+sugar+emulsion+stability+frosting Google Scholar
https://scholar.google.com/scholar?q=butter+sugar+emulsion+stability+frosting - https://scholar.google.com/scholar?q=whipped+buttercream+emulsion+aeration+science Google Scholar
https://scholar.google.com/scholar?q=whipped+buttercream+emulsion+aeration+science - https://pubmed.ncbi.nlm.nih.gov/?term=butter+emulsion+stability+food
https://pubmed.ncbi.nlm.nih.gov/?term=butter+emulsion+stability+food - https://www.sciencedirect.com/search?qs=butter+emulsion+stability+food
https://www.sciencedirect.com/search?qs=butter+emulsion+stability+food - https://www.sciencedirect.com/search?qs=butter+sugar+whipped+foams+emulsion+aeration
https://www.sciencedirect.com/search?qs=butter+sugar+whipped+foams+emulsion+aeration