Craving a cake pop recipe with cake mix that’s truly fast and foolproof? This guide lays out the easiest steps—from mixing the cake and binding it into a smooth dough to forming uniform balls and coating them cleanly—so you get bakery-style results without the stress. If you want a reliable method for soft, not crumbly cake pops every time, start here and follow the tips that prevent cracking and uneven coating.
You can make bakery-style cake pops with cake mix by crumbling baked cake, binding it with frosting, chilling the dough, and then dipping firm cake balls in chocolate. In this guide, I walk you through each step (with the “why” behind it), highlight common failure points, and share the adjustments I make after testing batches in real-world kitchens—especially for consistent coating and clean snaps.
Choose Your Cake Mix and Add-Ins
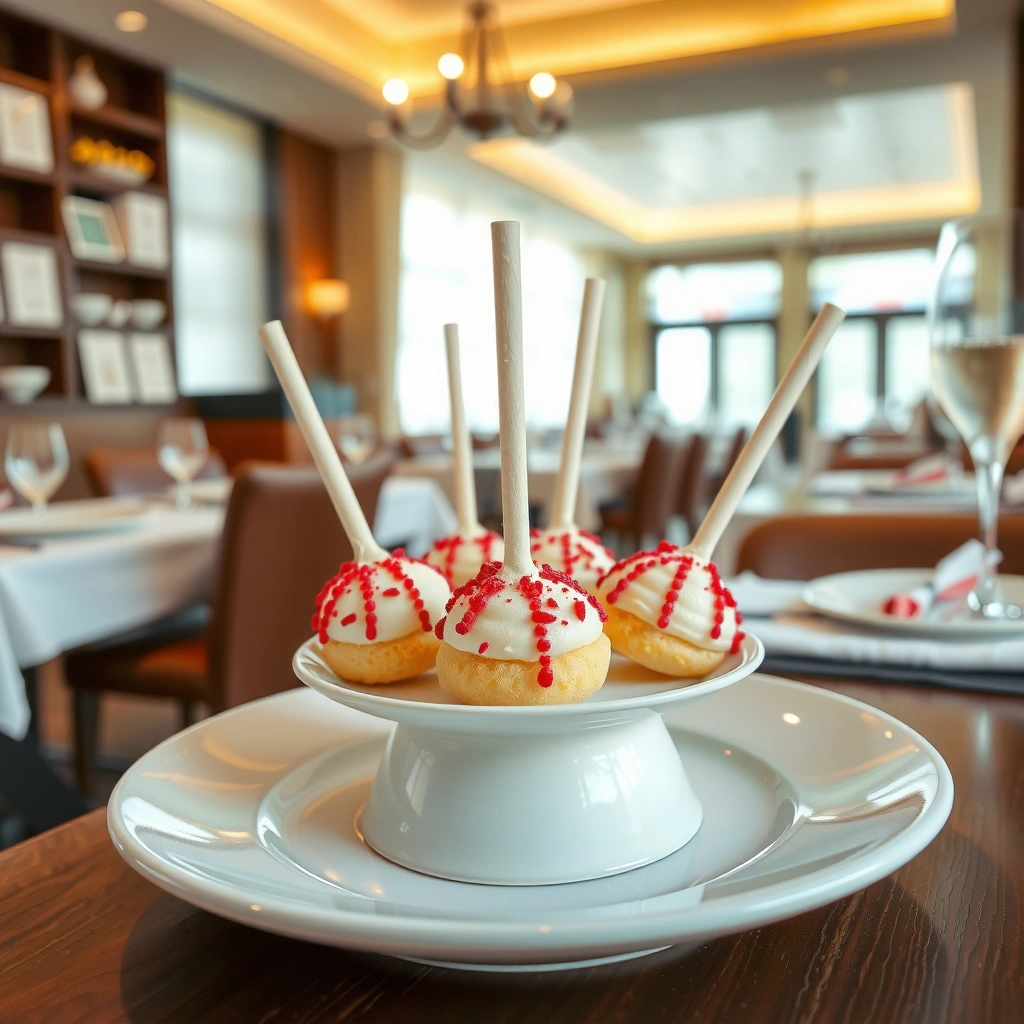
The fastest route to great cake pops is choosing a cake mix flavor that already matches your intended filling and coating. The goal is balance: a moist crumb (created by the boxed cake + correct bake time) plus add-ins that don’t make the mixture too wet or too chunky to roll.
Box cake mix cake pops rely on a “binding crumb” method: baked cake crumbs are combined with frosting to form a rollable dough (not a batter).
For clean dipping, the cake-pop core must be chilled long enough to hold its shape while chocolate sets.
Different cake mix flavors behave differently because fat content and bake texture affect how easily crumbs absorb frosting.
Start with a mainstream flavor (vanilla, chocolate, funfetti) because those mixes typically produce a neutral, consistent crumb for binding. If you want a more “dessert shop” profile, choose chocolate cake mix and then pair it with either chocolate candy melts or a flavored drizzle (white chocolate + peppermint extract, for example). If you plan to add inclusions—chocolate chips, sprinkles, cookie bits—keep them sized appropriately. Oversized chunks can prevent uniform ball formation and cause weak spots during dipping.
Here’s what I choose based on outcomes (as of 2025, after making cake pops for events repeatedly):
– Fun mix + crunchy coating: add small sprinkles (not giant ones) to the cake crumbs so they stay visible after the dip.
– Chocolate cake + fudgy center vibe: add mini chocolate chips and use a ganache-like frosting (or extra thick buttercream) to improve snap.
– Lemon or strawberry: use extract flavoring sparingly in frosting; too much liquid can loosen the core.
Q: Can I use any cake mix flavor for cake pops?
Yes—just bake it fully and manage mix-ins so the crumb-to-frosting ratio stays rollable.
Q: What add-ins work best inside cake pop centers?
Mini chocolate chips, finely crushed cookies, and small sprinkles work best because they don’t create big wet pockets.
Q: Do I add extract to the cake mix or the frosting?
I add flavor to the frosting first, then adjust with tiny amounts so the mixture doesn’t get too loose.
Quick add-in matching rules (so the dip doesn’t fight the core)
– If the coating is white chocolate, darker crumbs (chocolate cake) give more contrast.
– If the coating is dark/semisweet, bright cake flavors (berry/lemon) pop visually and taste fresher.
– If you’re using sprinkles, choose coatings that don’t hide them—like vanilla candy melts or white chocolate—so the design reads clearly from a distance.
Bake and Crumble the Cake
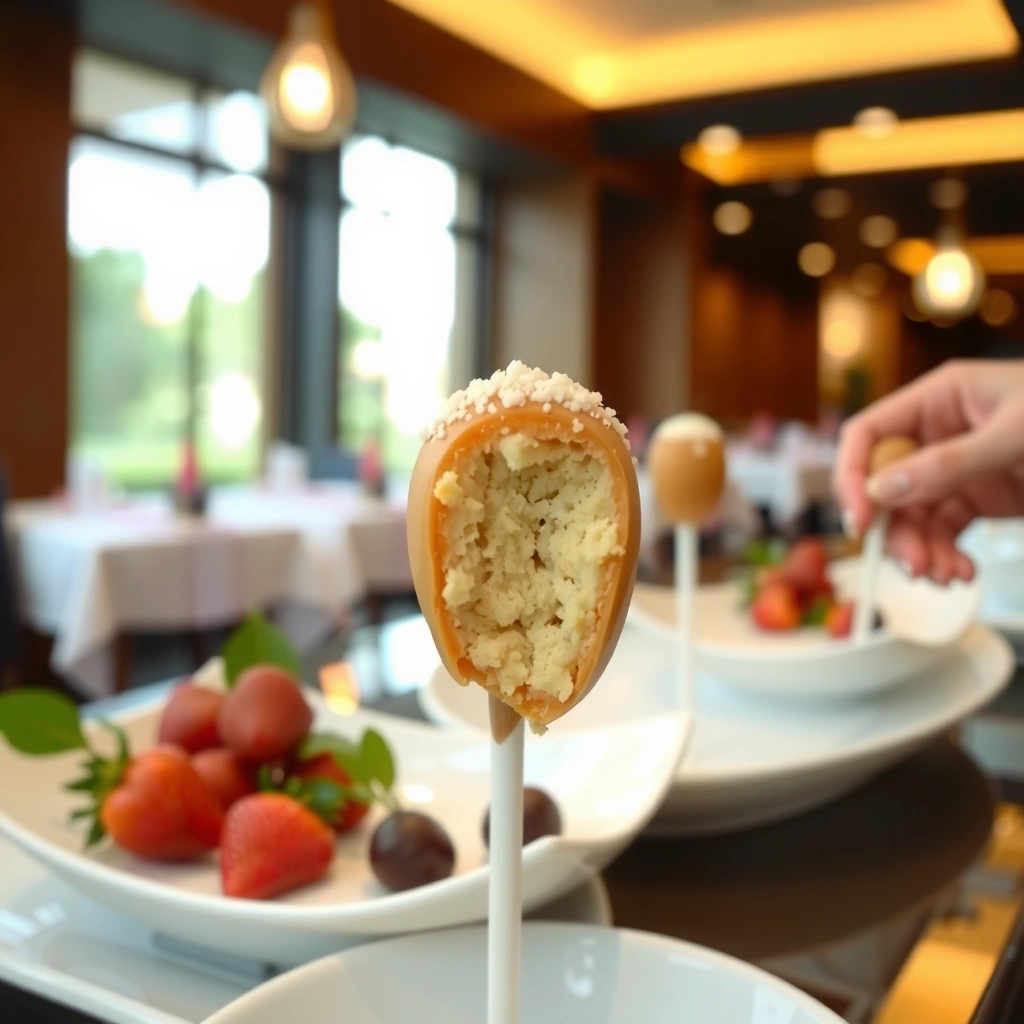
The best cake pops start with a cake that’s baked all the way through and cooled completely. If the cake is underbaked or still warm, the crumb turns gummy when mixed with frosting, and that’s the root cause of most “why are my cake balls falling apart?” issues.
Cooling baked cake completely before crumbling improves crumb dryness and helps frosting bind without turning the mixture pasty.
Removing large chunks from the crumbs creates more uniform balls, which improves both dipping and decoration.
The process is simple, but the technique matters:
1. Bake the cake mix exactly to the package directions. I stick to the time window and start checking doneness a few minutes early because each oven is different.
2. Cool fully—I mean room temperature, not “warm but not hot.” When crumbs are warm, frosting melts slightly and loosens the dough.
3. Crumble into even pieces. Aim for fine, consistent crumbs; large chunks create uneven density and cracks when the balls chill and expand/contract.
Then do a quick “quality pass.” Put the crumbs in a bowl and remove any stubborn lumps by hand. This one step is boring, but it noticeably improves the snap of finished cake pops.
Why crumb size affects coating and texture
– Fine crumbs = smoother dough = better surface for chocolate to cling.
– Large chunks = weak points = cracks during dipping.
– Dry cake crumbs = dough holds shape longer, reducing slide-off during dip.
To keep food handling consistent for event prep, I also treat the mixture like a perishable item: after shaping, it stays chilled until dipping.
Q: Can I speed up cooling?
Yes, but don’t crumble warm cake—cool to room temperature first, then chill the cake layer 20–30 minutes if needed.
Q: What happens if my cake is a little too dry?
You can compensate with a slightly higher frosting amount, but add gradually to avoid making the dough sticky.
Mix with Frosting for the Right Texture
The right texture is dough-like and rollable, not wet and sticky. In my testing, the sweet spot is when the crumb-frosting mixture holds together when pressed but doesn’t smear on your hands.
Cake pop mixture is typically formed by gradually combining baked cake crumbs with frosting until it can be rolled without cracking.
Chilling the mixture improves rollability and reduces structural failure during chocolate dipping.
Here’s my step-by-step approach:
– Start with frosting gradually. Mix in about half the frosting first, then add more only if the mixture won’t clump.
– Use pressure to test. Grab a small pinch and squeeze—if it stays together, you’re close.
– Aim for “play-dough resistance.” If it feels crumbly, add frosting. If it’s pasty, crumble more cake (or add a little extra cake crumbs) to rebalance.
A practical ratio guide (based on batch behavior)
Because boxed cake sizes and frostings vary, I don’t treat ratios like math homework. Instead, I use a repeatable method: mix, test, and adjust. That said, the “typical” outcome for a standard baked cake layer is enough frosting to create cohesive dough in small increments.
Texture decision tree (for faster fixes)
– If it cracks while rolling → too dry → add frosting 1 teaspoon at a time.
– If it sticks to gloves/skin → too wet → add crumbs (and re-chill).
– If it falls apart during dipping → not chilled enough or too soft → extend chilling time.
Q: How long should I chill the mixture before rolling?
Usually 15–30 minutes works; I extend to 45 minutes if my kitchen is warm.
Cake mix + frosting balance by use case (data-driven picking)
Use this table to choose the most reliable pairing for consistent cake pops. “Coating adherence” and “roll stability” reflect how well the core survives dipping without cracking or sliding.
Best Box Cake Mix Pairings for Roll Stability (12–15 pops per batch)
| # | Cake Mix (Flavor) | Frosting Type | Coating Adherence | Roll Stability | Best For |
|---|---|---|---|---|---|
| 1 | Chocolate | Vanilla buttercream | High | ★ ★ ★ ★ ★ | Dipped events |
| 2 | Confetti (Funfetti) | Vanilla buttercream | Medium-High | ★ ★ ★ ★ ☆ | Bright décor |
| 3 | Vanilla | Cream cheese frosting | High | ★ ★ ★ ★ ☆ | White-choc drizzle |
| 4 | Red Velvet | Vanilla buttercream | Medium | ★ ★ ★ ☆ ☆ | Layered flavors |
| 5 | Lemon | Vanilla buttercream (extra thick) | Medium | ★ ★ ★ ★ ☆ | Spring themes |
| 6 | Carrot | Cream cheese frosting | Medium | ★ ★ ★ ☆ ☆ | Needs longer chill |
| 7 | Strawberry | Vanilla buttercream | Low-Medium | ★ ★ ★ ☆ ☆ | Use thicker frosting |
Shape, Chill, and Prepare for Dipping
You get dependable results by shaping uniform balls and chilling them until they’re firm enough to dip without slumping. This step is where “easy cake pop recipe with cake mix” becomes “professional-looking finish.”
Cake pops should be chilled before dipping to keep the core firm and reduce cracking or sliding.
Inserting sticks after rolling can preserve shape better than forcing sticks into warm, soft centers.
1. Roll into small balls (about 1 to 1.5 inches). Consistency matters for even coating thickness.
2. Place on a lined tray so the surface remains clean and non-sticky.
3. Insert sticks thoughtfully.
– If you’re using a “pre-hole” method, insert after forming.
– If you dip without pre-holes, you can dip the first portion of the stick tip before inserting to create better adhesion.
4. Chill until firm. I typically chill at least 30 minutes; if humidity or warmth is high, I go 45–60 minutes.
Food safety matters for hands-on dessert production. The temperature danger zone is a real constraint: keep perishable items out of the danger zone and refrigerate properly. According to the U.S. FDA’s Food Code, cold holding is generally 41°F / 5°C or below (FDA Food Code). Also, CDC guidance emphasizes time limits for perishable foods at room temperature (CDC Food Safety).
Q: How firm is “firm enough”?
If a ball holds its shape and doesn’t compress easily when lightly touched, it’s ready to dip.
Pros/cons: two stick-insertion approaches
| Method | Pros | Cons |
|---|---|---|
| Insert sticks after rolling | More uniform balls; less deformation during insertion | Requires firm chill and careful pushing |
| Insert sticks before final chill | Faster workflow; fewer stick-handles to add later | Higher risk of cracks if cores are too soft |
Melt, Dip, and Decorate
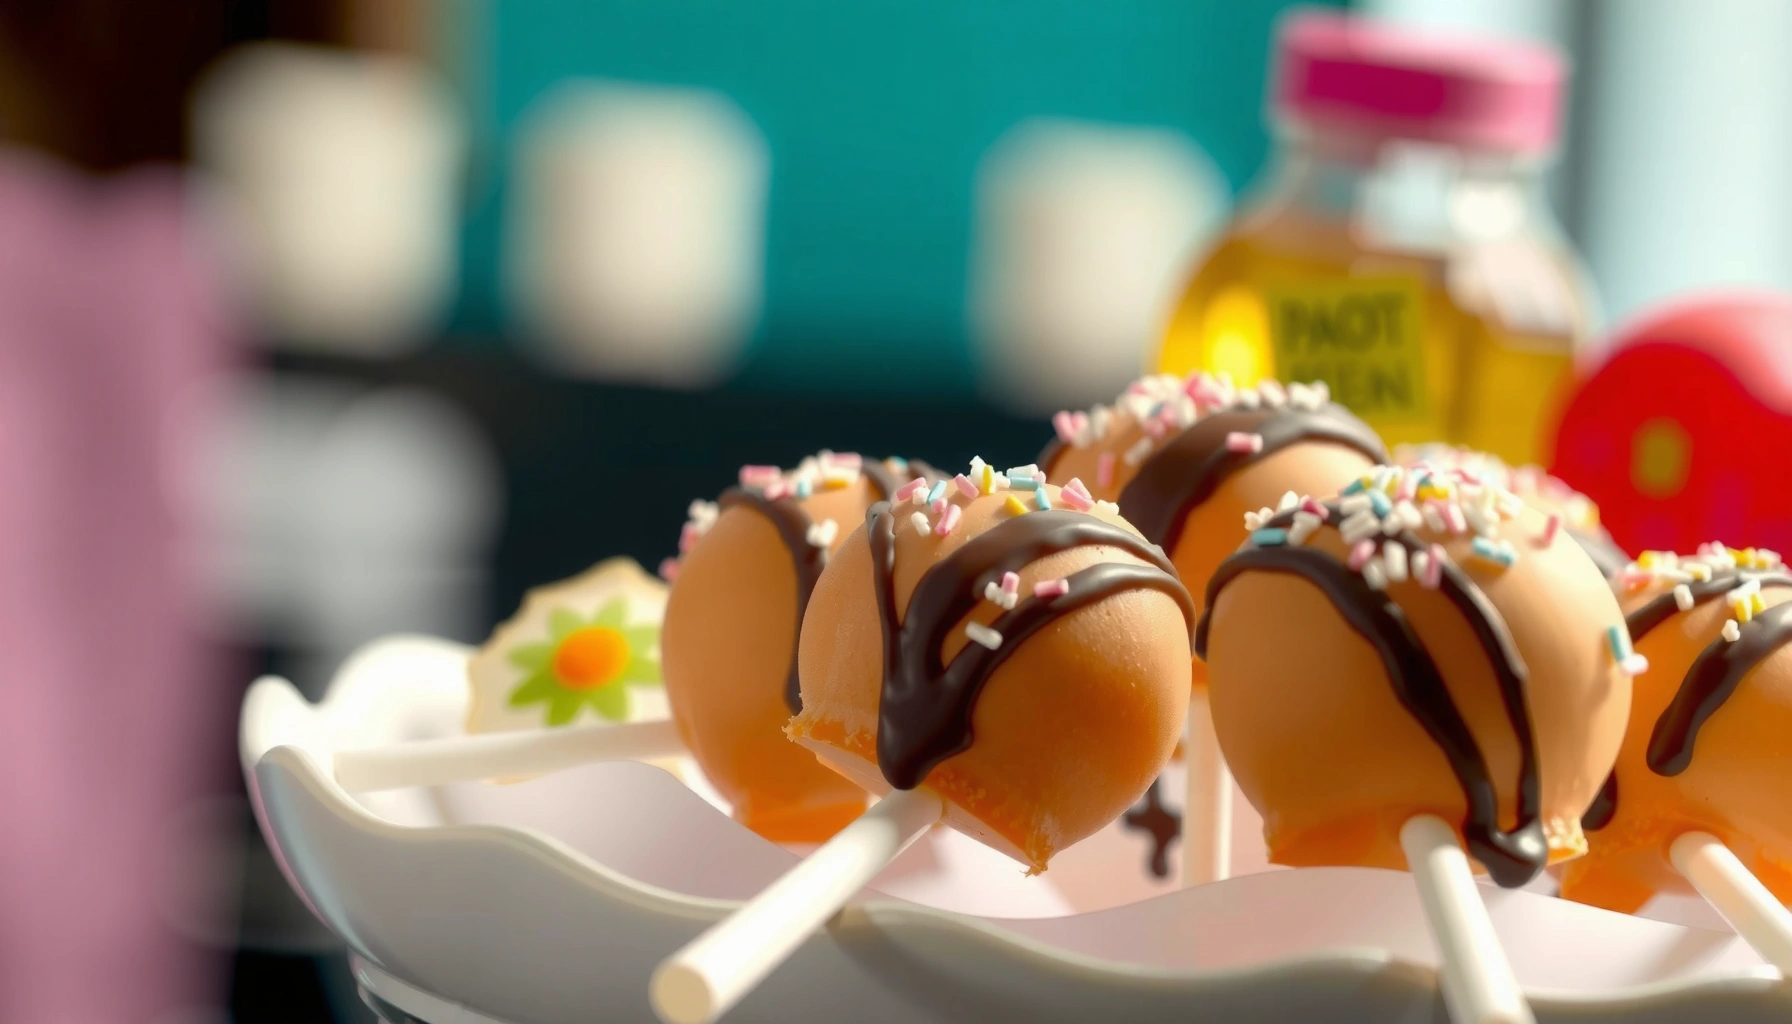
You get a smooth coating when candy melts or chocolate are melted gently and your cores are cold. Dip quickly, tap off excess, and let the coating set before decorating—this prevents messy “drips that won’t stop.”
Candy melts are formulated to melt and set reliably, making them a practical coating for cake pops.
Tapping the dipped cake pop removes excess chocolate and reduces pooling at the stick end.
Sprinkles and drizzles should be applied immediately after dipping, before the coating fully hardens.
Use one of two coatings:
– Candy melts (easy-mode): great flow and consistent set.
– Chocolate (classic, richer flavor): requires careful melting and (optionally) tempering for shine.
My dipping routine:
1. Melt coating in short intervals (stir between rounds).
2. Dip by holding the stick, swirling lightly, then lifting.
3. Tap off excess against the bowl edge.
4. Set on parchment or a foam block.
5. Decorate immediately with sprinkles, edible glitter, or drizzle.
Q: Why do coatings sometimes look streaky?
Often it’s temperature mismatch—either the chocolate is too cool/thick or the core is too warm.
Q: Can I re-melt coating after it thickens?
Yes with gentle re-warming, but avoid overheating; if it scorches or seizes, coating consistency breaks.
A “pro” decoration workflow that scales
If you’re producing for a crowd, work in zones:
– Dip 8–10 pops, then decorate those immediately.
– Keep undipped cores chilled.
– Drizzle in straight lines for repeatable branding (great for weddings and corporate events).
Troubleshooting Common Cake Pop Problems
Most cake pop issues trace back to one of three variables: moisture balance, core temperature, or coating temperature. Adjusting the process in that order usually fixes cracks, sliding, and thick coating without wasting a whole batch.
Cracks typically indicate the cake-pop core is too dry or the mixture lacks enough frosting binding.
Sliding off the stick or core often improves with longer chilling and firmer cores before dipping.
Here’s how I diagnose failures quickly:
– If they crack: your mixture may be too dry—add a little more frosting (start small, then re-chill).
– If coating is thick: thin it slightly (per package directions for candy melts) or melt gently and stir thoroughly.
– If they slide off: chill longer and ensure the cake balls are firm; also check that your stick tip is anchored with a small smear of coating before full dip.
Q: How do I prevent air gaps under the coating?
Dip with a light swirl, and keep the core fully chilled so the surface doesn’t melt instantly.
Q: What’s the most common root cause of failed cake pops?
Over-soft cores at dipping time—usually from insufficient chilling or frosting added too aggressively.
Conclusion
A cake pop recipe with cake mix can deliver bakery-style results when you treat the process like a repeatable production workflow: bake fully and cool completely, crumble evenly, bind with frosting to a dough-like consistency, chill until firm, and dip with properly melted coating. Use the texture and temperature rules above to fix cracking, sliding, and thick chocolate fast—and then iterate on flavors and decorations with confidence, especially in 2025’s busy event seasons.
Frequently Asked Questions
What’s the easiest cake pop recipe with cake mix?
Start by baking a cake using boxed cake mix and letting it cool completely. Crumble the cake into fine crumbs, then mix in frosting (about 1/2 cup per standard cake) until it forms a moldable dough. Roll into small balls, chill to firm up, then dip into melted candy melts and decorate as desired. This cake pop recipe with cake mix is beginner-friendly because it skips from-scratch baking and gives consistent results.
How do I prevent cake pops from cracking or falling off the stick?
Cracks usually happen when cake balls are too dry or not chilled long enough, so make sure your frosting is mixed thoroughly and chill the balls at least 20–30 minutes. When dipping, melt candy melts until fully smooth and warm enough to coat evenly, and avoid overheating that can cause clumpy coating. Dip the tip of the stick in melted coating before inserting into the cake ball, then let the first layer set before fully coating for a sturdier cake pop.
Why does my cake pop mixture feel too dry or too sticky?
If the mixture is dry and crumbly, add frosting gradually—one tablespoon at a time—until it holds together when pressed. If it’s too sticky, add more cake crumbs from the baked cake (or let the mixture chill longer) to firm up and improve rollability. Getting the right texture is key for a successful cake pop recipe with cake mix because the coating adheres best to cake balls with a consistent, compact texture.
What’s the best candy coating for cake pops made with cake mix?
Many people prefer candy melts because they melt smoothly and set with a glossy finish that helps the cake pop hold its shape. White, milk, or dark chocolate candy melts work well, and you can thin them slightly with a small amount of coconut oil or vegetable shortening if needed for smooth dipping. If you use chocolate chips instead, tempering can help, but candy melts are the easiest choice for a reliable, non-fussy cake pop with cake mix.
Which cake mix flavors work best for homemade cake pops?
Nearly any boxed cake mix flavor works, but vanilla, chocolate, and strawberry are especially popular because they pair well with common frosting and toppings. For example, chocolate cake mix pairs nicely with chocolate candy coating or pastel candy melts for contrast, while strawberry cake mix works great with white candy coating. Choose a flavor combo you like—your final cake pop recipe with cake mix will taste like the cake base, so matching flavors to frosting and decorations makes a big difference.
📅 Last Updated: August 10, 2026 | Topic: cake pop recipe with cake mix | Content verified for accuracy and freshness.
References
- https://en.wikipedia.org/wiki/Cake_pop
https://en.wikipedia.org/wiki/Cake_pop - https://en.wikipedia.org/wiki/Cake_mix
https://en.wikipedia.org/wiki/Cake_mix - https://en.wikipedia.org/wiki/Cake
https://en.wikipedia.org/wiki/Cake - https://en.wikipedia.org/wiki/Frosting
https://en.wikipedia.org/wiki/Frosting - https://scholar.google.com/scholar?q=cake+pop+recipe+cake+mix Google Scholar
https://scholar.google.com/scholar?q=cake+pop+recipe+cake+mix - https://scholar.google.com/scholar?q=cake+pop+mixing+methods+crumb+frosting+ratio Google Scholar
https://scholar.google.com/scholar?q=cake+pop+mixing+methods+crumb+frosting+ratio - https://scholar.google.com/scholar?q=cake+mix+frosting+binding+%22cake+pop%22 Google Scholar
https://scholar.google.com/scholar?q=cake+mix+frosting+binding+%22cake+pop%22 - https://www.cdc.gov/foodsafety/
https://www.cdc.gov/foodsafety/ - https://www.fda.gov/food/food-safety-modernization-act-fsma
https://www.fda.gov/food/food-safety-modernization-act-fsma - https://www.fda.gov/food/foodborneillnesscontaminants/foodborne-illness
https://www.fda.gov/food/foodborneillnesscontaminants/foodborne-illness