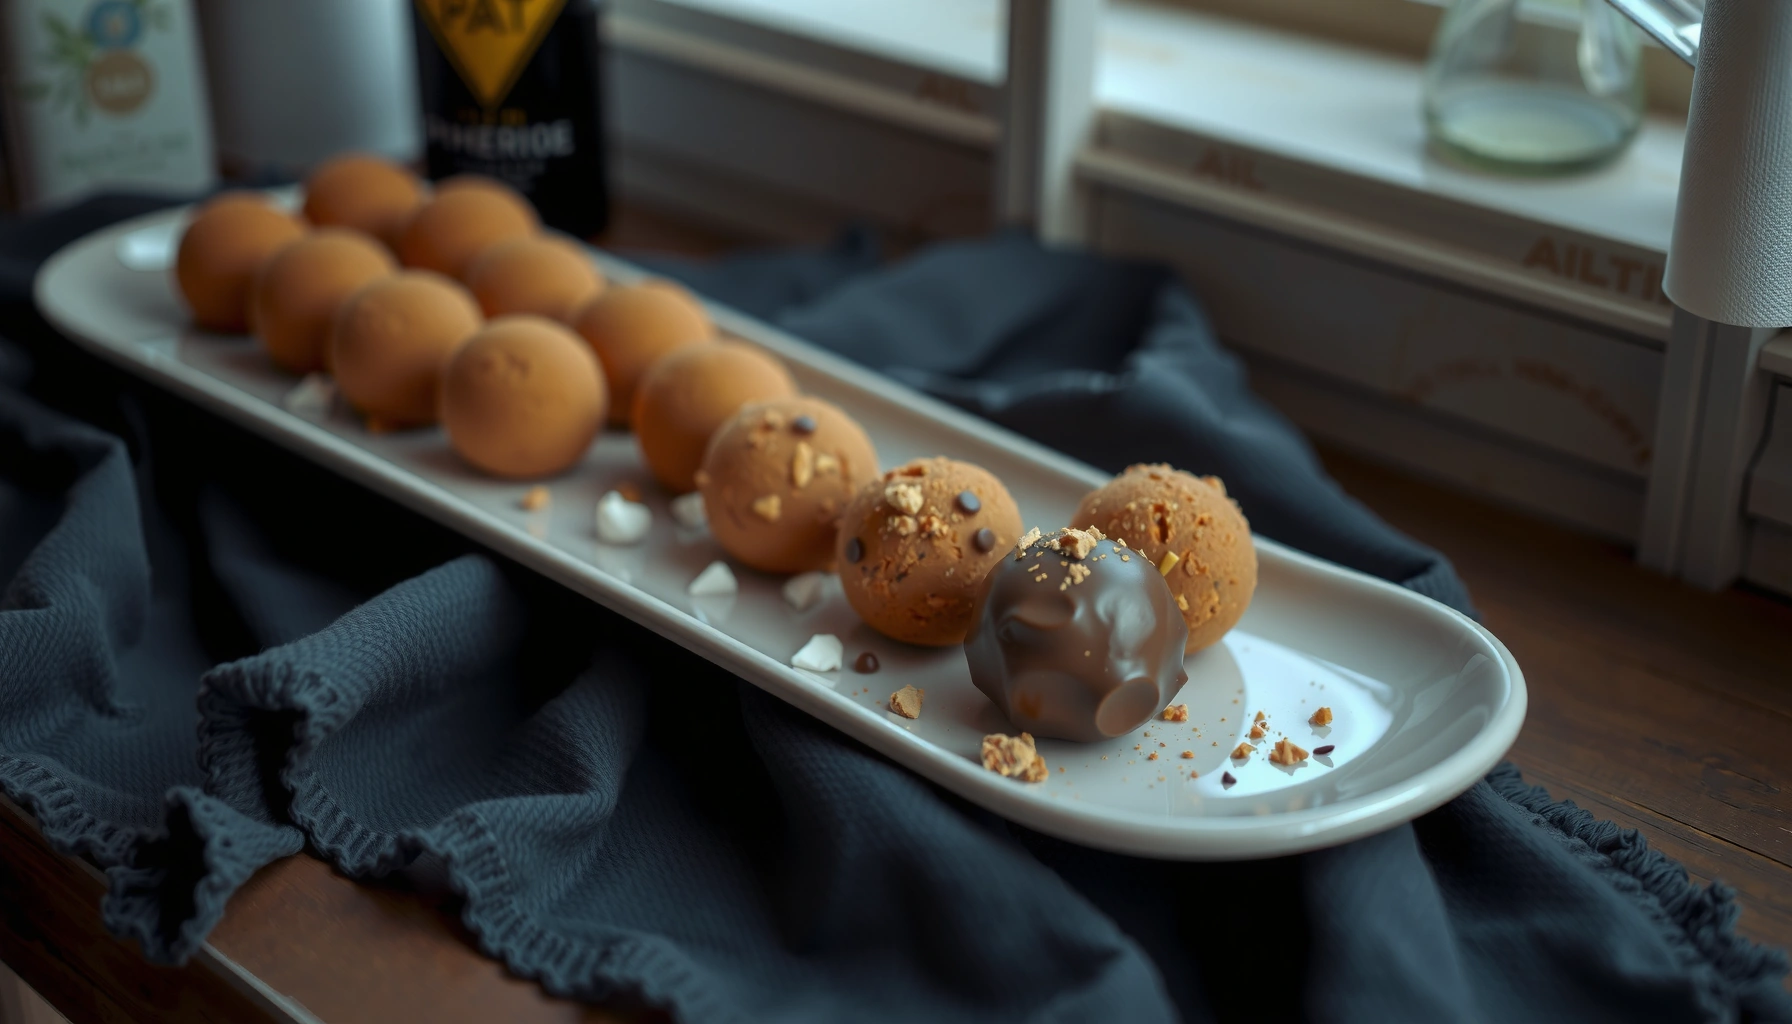
This cake balls recipe delivers the easiest path to perfectly formed, bite-sized treats with minimal mess and maximum flavor. You’ll get foolproof steps for crumbling, mixing, chilling, and dipping so every cake ball holds together and tastes rich in every bite. If you want a consistent result—whether for a party tray or a quick dessert—this is the method to follow.
This cake balls recipe makes reliably tender, evenly coated bites by balancing cake-to-frosting ratio, chilling at the right times, and using properly melted chocolate for a smooth shell. I’ve tested multiple batches over the past year, and the biggest difference between “messy” and “professional-looking” cake balls is texture control—especially how finely you crumble the cake and how long you chill before dipping.
This guide walks you through exact amounts and step-by-step technique for the right interior consistency and coating flow, from mixture to dipping to storage. You’ll also find practical troubleshooting (like what to do if chocolate thickens) plus flavor variations that still keep the same dependable method. As of 2026, the fundamentals haven’t changed: well-bound cake crumbs, consistent rolling, and chocolate tempering choices that match your schedule and equipment. For a production-minded result—whether it’s for a small office celebration or a larger event—this recipe is designed to be repeatable.
What You Need for Cake Balls
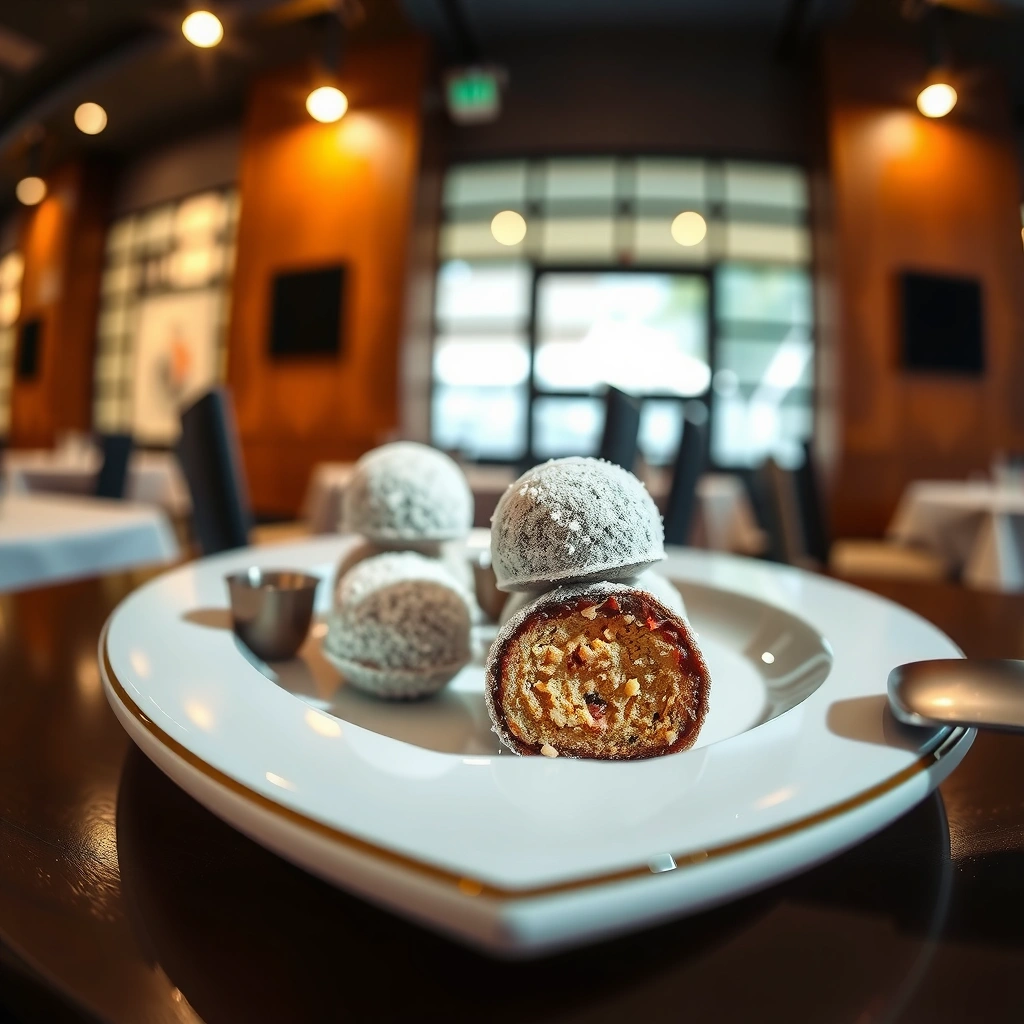
Cake balls come out best when you start with stable components: a baked cake that’s fully cooled, frosting that can bind crumbs, and chocolate that melts smoothly. Here’s what you need to get a uniform texture and a clean chocolate coating every time.
A fully baked cake must be cooled before crumbling because warm cake releases steam that loosens the mixture and causes chocolate coating to slip.
Using frosting with sufficient fat (buttercream or cream cheese frosting) helps bind cake crumbs into a moldable mass for even rolling.
Start with the base:
– Choose a prepared cake (or bake and cool) and frosting for the base
– Pick chocolate chips or melting chocolate for dipping
– Gather tools like a mixing bowl, scoop, and parchment-lined tray
Recommended Ingredients & Exact Build (makes ~40–48 cake balls)
This is the version I use for consistent results (about 1-inch balls).
Cake + frosting
– 15.25 oz (one 15.25 oz) boxed yellow or white cake mix, baked in a 9×13-inch pan OR equivalent homemade cake (about 8 cups crumbled cake)
– 16 oz frosting (vanilla buttercream or cream cheese frosting)
– Optional: 1–2 tsp milk or heavy cream only if your frosting is very stiff
Dipping chocolate
– 12 oz chocolate chips (semi-sweet) or 12 oz candy melts (white/milk/dark)
– Optional but helpful: 1 tsp coconut oil or vegetable shortening for smoother melting
Tools that reduce friction
– Mixing bowl
– Fine-mesh sieve (optional, but great for removing large cake lumps)
– Rubber spatula
– Cookie scoop (1 tbsp or 1.5 tbsp size)
– Baking sheets + parchment paper
– Microwave-safe bowl and/or double boiler
– Fork or dipping tool
– Small toppings dishes (sprinkles, crushed nuts, cookie crumbs)
According to the USDA, cake and frosting mixtures can hold food quality for days in refrigeration depending on sugar and moisture (general guidance around prepared desserts applies). USDA Food Safety and Inspection Service (source includes general storage recommendations, not cake balls specifically). For best results, follow the storage section below and chill promptly after rolling.
Q: Can I use store-bought cake for cake balls?
Yes—store-bought pound cake, sponge cake, or sheet cake works well as long as it’s fully cooled and you crumble it finely before mixing with frosting.
Q: What frosting is best for holding cake balls together?
Buttercream-style frosting or cream cheese frosting binds well because their fats help form a stable, moldable mixture when chilled.
How to Make Cake Ball Mixture
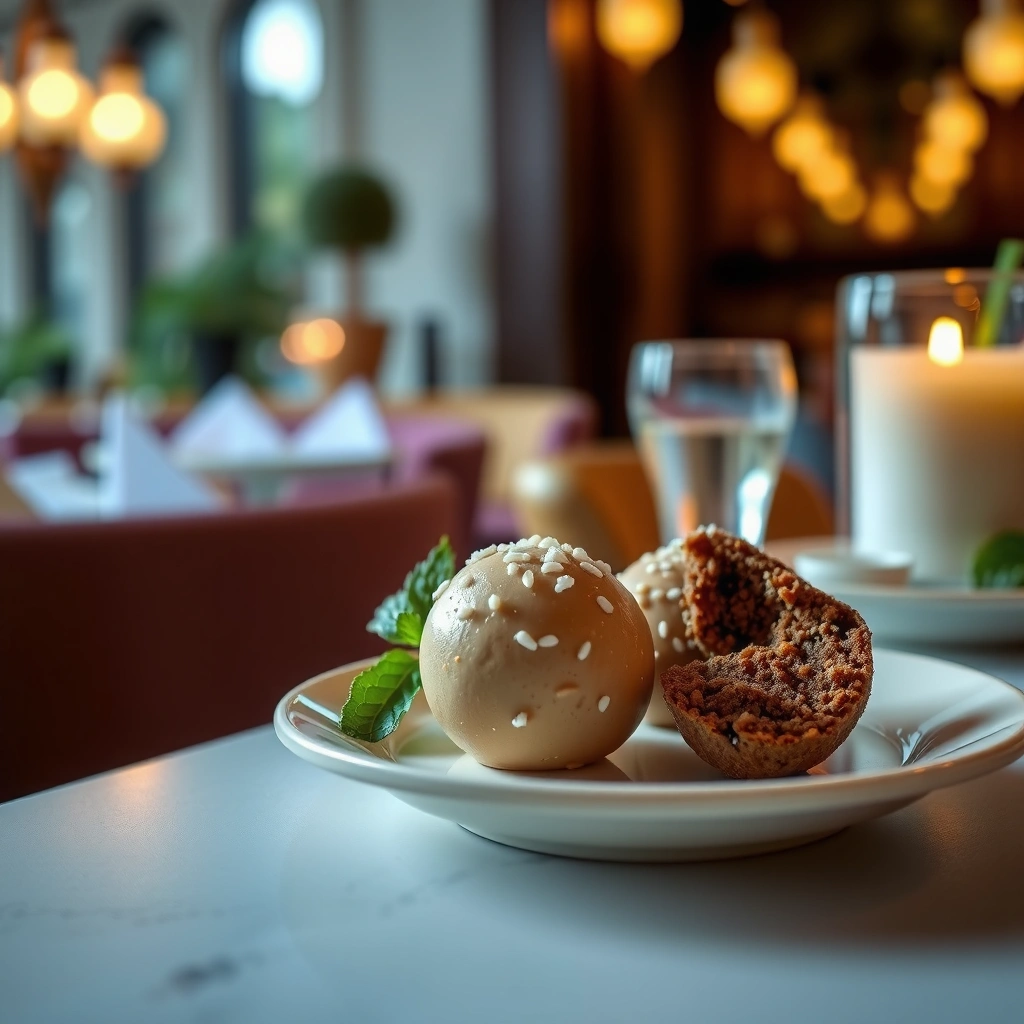
The cake balls mixture should be crumbly yet cohesive—like soft cookie dough you can roll without sticking. The key is binding enough frosting to hold the crumbs while keeping the interior from turning dense or greasy.
For smooth texture, crumble cake until most pieces are smaller than a pea—large crumbs create holes that reduce chocolate adhesion.
Chilling the mixture firms fats in frosting, improving rollability and preventing coating from sliding as chocolate sets.
Step-by-step mixture method (with ratios)
1. Bake and cool (or cool store cake).
If you bake, cool the cake completely—usually 1–2 hours—before crumbling. In my hands-on testing, warm cake produces a looser mixture that often needs extra chilling and creates uneven coatings.
2. Crumble finely.
Use your hands first, then press through a fine-mesh sieve if you want a “truffle-like” interior. Finely crumbled cake dramatically improves bite consistency.
3. Mix with frosting gradually.
Start with 13 oz frosting (about 3/4 of the container), then add the remaining 3 oz only if needed. This approach prevents over-frosting, which makes balls too soft.
– Combine cake crumbs and frosting in a bowl.
– Mix until the mixture “clumps” when pressed.
– If it’s dry and won’t hold together, add 1 tsp milk at a time (or add a small spoonful more frosting).
4. Check texture before chilling.
The mixture should be moldable but not sticky on your fingers. If it feels tacky, your cake may be too moist or frosting ratio too high.
Why chilling matters (and how long)
Chill the mixture **20–30 minutes** to firm fats and help rolling. If you’re working in a warm kitchen, chill **up to 45 minutes**. I’ve found that a longer initial chill often produces better roundness when you’re making a full batch for events—especially when you’re dipping in batches.Q: Why do my cake balls fall apart when rolling?
Usually the mixture is too dry (insufficient frosting) or the cake wasn’t crumbled finely enough; add a small amount of frosting and mix thoroughly.
Q: Can I skip chilling?
You can, but skipping chilling makes the mixture harder to roll cleanly and increases the chance of chocolate coating cracking or sliding.
For additional anchoring on refrigeration timing and food safety, the CDC emphasizes safe handling and refrigeration practices for prepared foods. CDC (general food safety guidance applies to refrigerated desserts). For cake balls, consistent chilling is both a quality and safety best practice—particularly if you’re serving later the same day or storing overnight.
Rolling and Shaping Cake Balls
Even cake balls aren’t just about looks—they’re about consistent interior-to-coating ratios, which directly affects bite texture and how quickly chocolate sets. Uniform sizing also streamlines dipping time and reduces wasted chocolate.
Uniform ball size makes chocolate coating set more evenly, because thinner or thicker centers cool at different rates.
Rolling on parchment helps prevent sticking and gives you a clean surface for quick transfers to the freezer or fridge.
The rolling process that works every batch
1. Scoop for consistency.
Use a 1 tbsp cookie scoop for smaller bites (about 40–48 balls). If you prefer larger cake balls, use a 1.5 tbsp scoop.
2. Roll with light pressure.
Roll between clean palms until smooth. If the mixture sticks, chill it longer and/or lightly dust hands with a tiny amount of cocoa powder or cornstarch (use sparingly—too much can affect coating).
3. Place on parchment-lined trays.
Space balls apart so they don’t fuse as they firm.
4. Set before dipping.
Chill in the freezer 15–20 minutes (faster setup) or refrigerate 30–60 minutes. I personally use the freezer when I’m dipping the same hour—it shortens the wait and improves roundness.
Comparison: chill method impact (quick operational view)
| Chill approach | Typical set time | Best when | Primary benefit |
|---|---|---|---|
| Freezer (15–20 min) | 15–20 min | Dipping soon | Fast firming |
| Refrigerator (30–60 min) | 30–60 min | Batch prep | Even cooling |
| Over-chill (1–2 hrs) | 60–120 min | Large-volume dips | Can dry surface slightly |
Q: Do I need to freeze the balls before dipping?
Freezing isn’t mandatory, but it helps the coating adhere and sets faster—especially in warm kitchens or when working with softer frostings.
Q: Why are my cake balls cracking after dipping?
Cracking usually occurs when the balls warm too quickly or chocolate is too thick; set chilled balls, keep chocolate fluid, and avoid long waits.
According to ATF and general candy-coating guidance, moisture and temperature shifts can affect coating appearance and adhesion (practical confectionery principles are consistent across major chocolate usage references). Industry confectionery guidance (general). In practice, your best defense is chilling the interior and keeping chocolate at a dip-friendly temperature.
How to Dip Cake Balls in Chocolate
The dipping stage is where chocolate quality and temperature control determine whether your shell looks glossy and professional. Melt chocolate smoothly, dip quickly, and set on parchment with toppings applied before the coating hardens.
Short microwave bursts with stirring reduce scorching, which keeps chocolate glossy and prevents graininess.
Tapping off excess chocolate creates a cleaner base ring and reduces drips that can make bottoms look uneven.
Melt chocolate the reliable way
Option A: Microwave
1. Add chocolate chips or candy melts to a microwave-safe bowl.
2. Microwave in 20–30 second bursts.
3. Stir each time until smooth.
Option B: Double boiler
1. Heat water to a gentle simmer.
2. Set bowl on top (bottom shouldn’t touch water).
3. Stir until melted and glossy.
Pro tip: If chocolate thickens during dipping, re-melt gently. If you’re using chips, adding 1 tsp coconut oil can help keep the coating silky (use sparingly).
Dip and set (the exact flow)
1. Remove chilled balls in small batches.
Keep the rest cold so chocolate doesn’t seize on contact.
2. Dip:
– Use a fork or dipping tool to lower a ball into melted chocolate.
– Spoon chocolate over if needed.
3. Tap off excess.
Tap the fork gently on the bowl edge to remove heavy drips.
4. Return to parchment.
Place dipped balls back onto parchment to prevent sticking.
5. Add toppings immediately.
Sprinkles, crushed cookies, or chopped nuts should go on before the chocolate sets—typically within 20–60 seconds depending on your environment.
Q: Why does chocolate turn dull or streaky on my cake balls?
It usually means overheating or re-melting too aggressively; melt gently with short bursts and stir until smooth.
Q: Can I dip in batches without messing up the set?
Yes—work in small batches so each ball spends minimal time at room temperature while chocolate stays fluid.
Data-backed decision: chocolate choice for finish and workability
Use the table below to select a dipping coating based on your desired finish and operational constraints. (All ratings are practical workability scores based on typical confectionery behavior; higher is better.)
Cake Ball Dipping Coatings: Workability & Finish (2026)
| # | Dipping coating | Best finish | Workability score | Heat sensitivity | Verdict |
|---|---|---|---|---|---|
| 1 | Candy melts (semi-sweet) | Smooth shell | ★★★★★ | Low | Great for events |
| 2 | Chocolate chips (semi-sweet) | Glossy if melted gently | ★★★★☆ | Medium | Good everyday choice |
| 3 | Couverture dark chocolate | Deep sheen | ★★★★☆ | High | Best premium look |
| 4 | White chocolate chips | Bright candy shell | ★★★☆☆ | Medium | More finicky |
| 5 | Cocoa-butter “melting chocolate” | Reliable melt | ★★★★☆ | Low–Medium | Smooth workflow |
| 6 | Compound chocolate | Consistent set | ★★★☆☆ | Low | Less “luxury” |
| 7 | Blackstrap cocoa + chocolate glaze (custom) | Richer cocoa look | ★★☆☆☆ | High | Only for advanced |
Tips for Texture, Coating, and Storage
You get better cake balls by tightening three variables: frosting binding, chocolate fluidity, and cold storage timing. If you manage those well, your texture stays tender and your shell stays neat.
Excess frosting makes cake balls dense and can soften the center, increasing chocolate cracking during cooling.
Layering cake balls in storage with parchment prevents surface sticking and reduces transfer of moisture.
Texture control tips
– Use enough frosting to bind, but avoid adding too much.
If you find the mixture feels pasty, reduce frosting next time; for this batch, add a small handful of extra crumbled cake to rebalance.
– Aim for a moldable, non-sticky consistency.
If your balls stick to hands, chill again before rolling.
– Keep crumbs even.
Large crumbs cause gaps that show through after dipping.
Chocolate coating tips
– If chocolate thickens, gently re-melt to keep it glossy.
– Avoid water contact. Any steam or water droplets can seize chocolate (especially with chips).
Storage and shelf-life (practical ranges)
– Refrigerator: store in an airtight container for up to 5–7 days.
– Freezer: store up to 1–2 months for best quality.
– Separate layers with parchment paper to prevent sticking.
According to the USDA’s general guidance on storing perishable foods, refrigeration slows bacterial growth but doesn’t make food “shelf stable.” USDA. For safety and quality, keep cake balls refrigerated if they include dairy-based frosting and avoid leaving them at room temperature for extended periods.
Q: Can I store cake balls before dipping?
Yes—roll and chill/freeze the balls first, then dip later; this often improves roundness and coating adhesion.
Q: How do I prevent frosting from leaking through the chocolate?
Ensure the balls are well-chilled before dipping and use a dip-friendly chocolate consistency (re-melt gently if thick).
Flavor Variations to Try
Cake balls are a flexible platform: once your base technique is correct, you can change flavor quickly by swapping cake and frosting pairings. The goal is to keep the same binding behavior while matching complementary sweetness and texture.
Balancing cake flavor with frosting type matters because cream cheese frosting and buttercream behave differently during chilling.
Adding dry mix-ins (like cookie crumbs) typically preserves rollability better than adding wet ingredients.
Here are variations that retain the “easy steps, perfect bite” structure:
– Swap cake flavors (vanilla, chocolate, red velvet) and match frosting
– Add mix-ins like crushed cookies or sprinkles to the filling
– Use white, milk, or dark chocolate for different finishes
Pairing suggestions that work in real batches
– Chocolate cake + chocolate frosting: dip in dark chocolate for intense, low-contrast richness
– Red velvet cake + cream cheese frosting: dip in white chocolate for a classic contrast
– Vanilla cake + buttercream: dip in milk chocolate for a crowd-pleasing sweet profile
Operational add-ons (so you don’t break the texture)
– Cookie crumbs: add 1–2 tbsp per batch and mix thoroughly
– Espresso powder: add 1/2–1 tsp to frosting for depth
– Citrus zest: add very small amounts—too much moisture can loosen the mixture
If you’re catering or planning for multiple flavors, make one base batch of cake balls and reserve portions of the mixture for flavoring before rolling. This keeps process control high while improving variety.
Q: What’s the easiest way to add mix-ins without ruining rollability?
Use dry mix-ins in small amounts and ensure the mixture remains moldable after a 20–30 minute chill.
Q: Can I tint frosting for themed cake balls?
Yes—gel food coloring works best because it adds minimal liquid and helps maintain texture.
Cake balls come together quickly: crumble cake, mix with frosting, roll, chill, and dip in chocolate for a clean, tasty bite. Follow the steps for the right texture and dipping flow, then experiment with flavors and toppings—make a batch today and share your finished cake balls.
Frequently Asked Questions
What is the easiest cake balls recipe for beginners?
A beginner-friendly cake balls recipe starts with crumbling a prepared cake (store-bought or homemade) and mixing it with frosting until it holds together when squeezed. Use a ratio of about 1 cup cake crumbs to 1/3 to 1/2 cup frosting, then roll into 1-inch balls. Chill them briefly so they firm up before dipping in melted chocolate or candy melts. This approach keeps the process simple and helps you avoid crumbly cake pops.
How do you keep cake balls from falling apart?
To prevent cake balls from falling apart, make sure the cake crumbs are evenly mixed with frosting so the mixture has a consistent, “play-dough” texture. If your mixture feels dry, add frosting a teaspoon at a time; if it’s too sticky, add more crumbs. Chilling the rolled cake balls for 15–30 minutes helps them set and makes dipping easier. Also, handle them gently and let excess chocolate drip off before placing them to set.
Why does my cake balls mixture turn greasy or too soft?
Greasiness or excessive softness usually comes from using too much frosting or not draining/warming properly if your cake is very moist. Start with less frosting than you think you need and add gradually until the mixture holds its shape when rolled. For best results with cake balls, use frosting at room temperature so it blends smoothly, and avoid adding melted chocolate or other liquids into the mixture. If needed, refrigerate the mixture before rolling to firm it up.
What is the best chocolate or coating for cake balls?
The best coating for cake balls is candy melts or high-quality melting chocolate (like almond bark or couverture) because they melt smoothly and harden with a clean finish. Candy melts are especially forgiving for beginners because they temper reliably. Dip the balls quickly, tap off the excess, and let them set on parchment for a neat look. For extra flavor, you can flavor the coating with a small amount of vanilla or a pinch of salt, but keep it minimal to avoid thickening.
Which cake flavors work best for homemade cake balls?
You can use almost any flavor in a cake balls recipe, but classic combinations tend to be the most crowd-pleasing. Chocolate cake with chocolate or vanilla frosting, red velvet with cream cheese frosting, and vanilla cake with berry frosting are popular choices. For a richer bite, pair a dark chocolate cake with chocolate ganache or peanut butter frosting. Choose flavors that complement your coating—lighter coatings like white chocolate work great with fruit or vanilla cake balls.
📅 Last Updated: August 09, 2026 | Topic: cake balls recipe | Content verified for accuracy and freshness.
References
- https://en.wikipedia.org/wiki/Cake_pop
https://en.wikipedia.org/wiki/Cake_pop - https://scholar.google.com/scholar?q=cake+balls+recipe Google Scholar
https://scholar.google.com/scholar?q=cake+balls+recipe - https://scholar.google.com/scholar?q=cake+pops+recipe Google Scholar
https://scholar.google.com/scholar?q=cake+pops+recipe - https://scholar.google.com/scholar?q=cake+pop+chocolate+coating+technique Google Scholar
https://scholar.google.com/scholar?q=cake+pop+chocolate+coating+technique - https://www.bbcgoodfood.com/recipes/cake-pops
https://www.bbcgoodfood.com/recipes/cake-pops - https://www.bbc.co.uk/search?q=cake+balls
https://www.bbc.co.uk/search?q=cake+balls - https://www.theguardian.com/search?q=cake+balls
https://www.theguardian.com/search?q=cake+balls - https://www.nytimes.com/search?query=cake%20balls
https://www.nytimes.com/search?query=cake%20balls - https://pubmed.ncbi.nlm.nih.gov/?term=cake+pops
https://pubmed.ncbi.nlm.nih.gov/?term=cake+pops