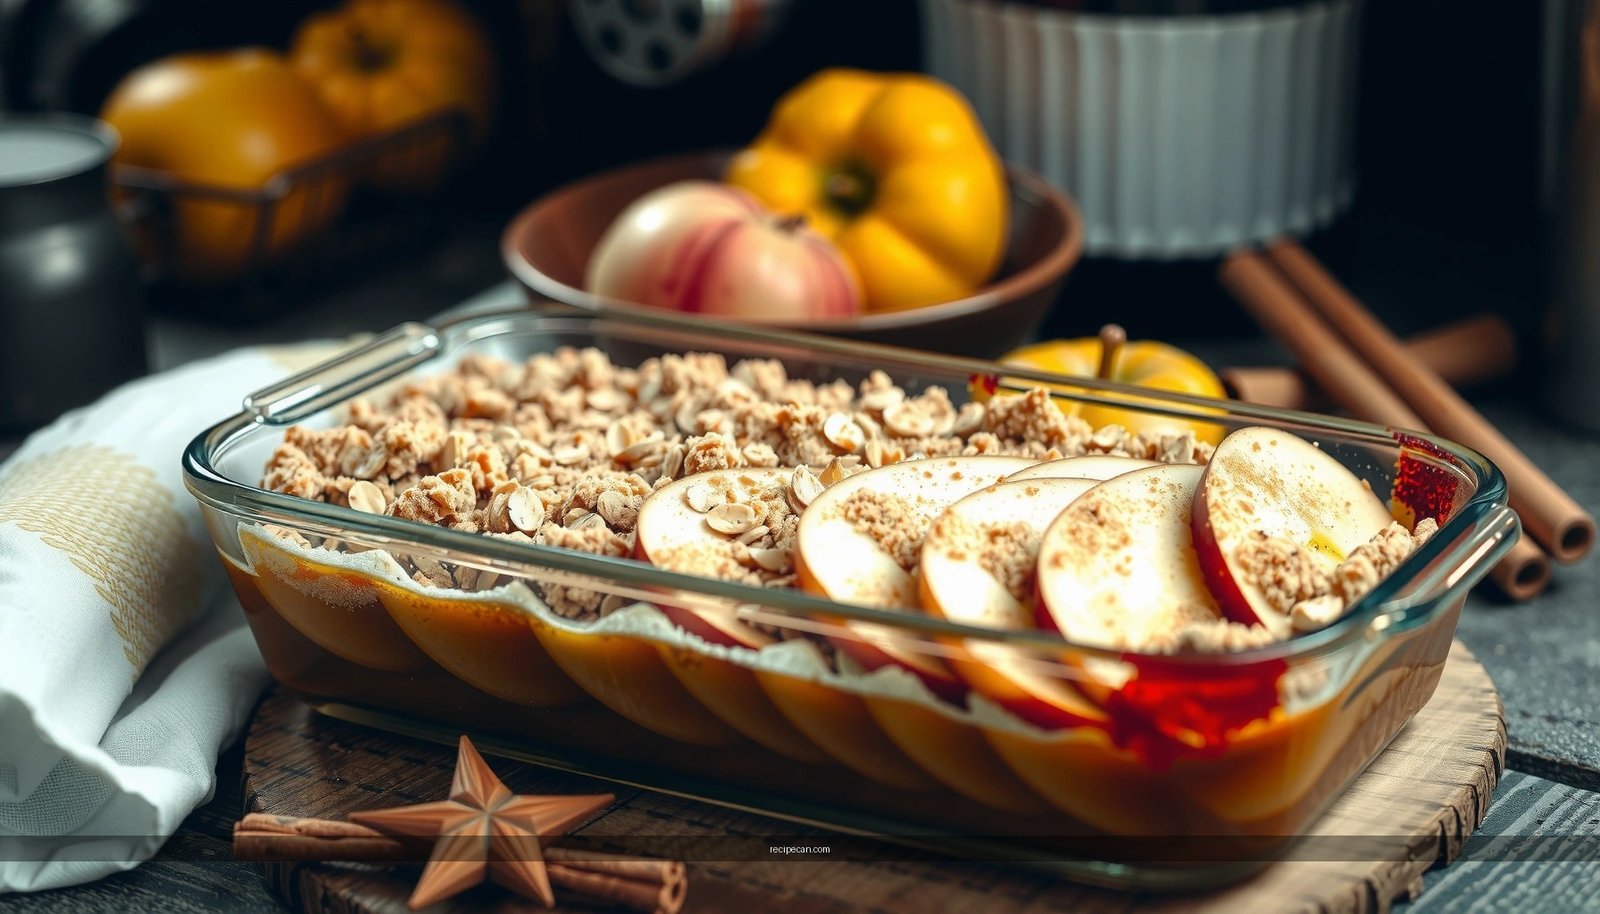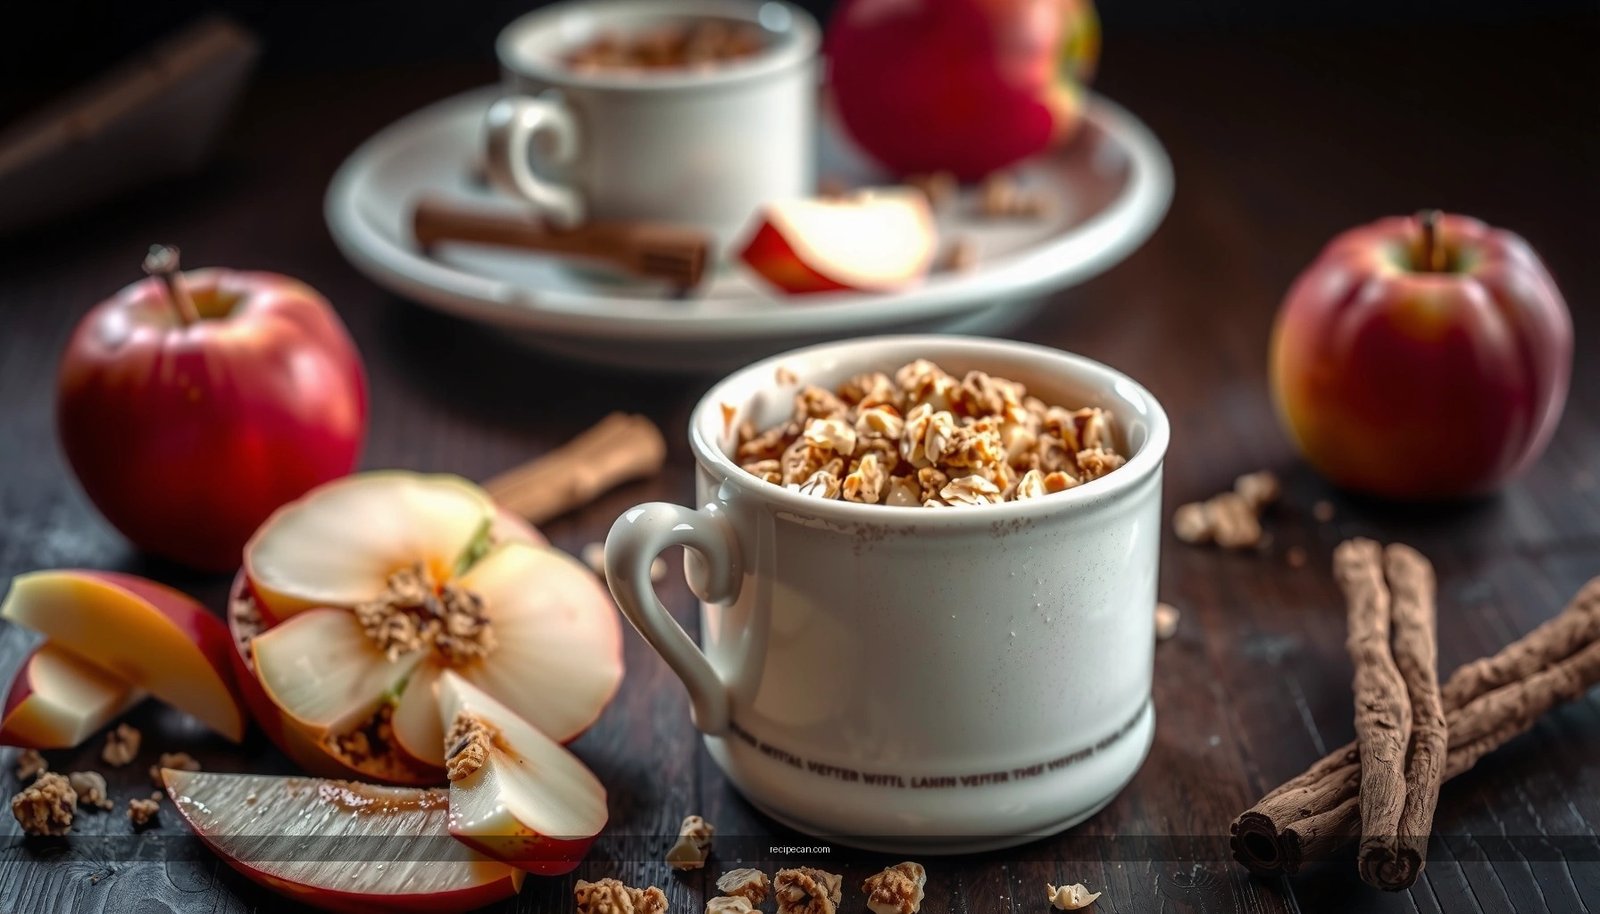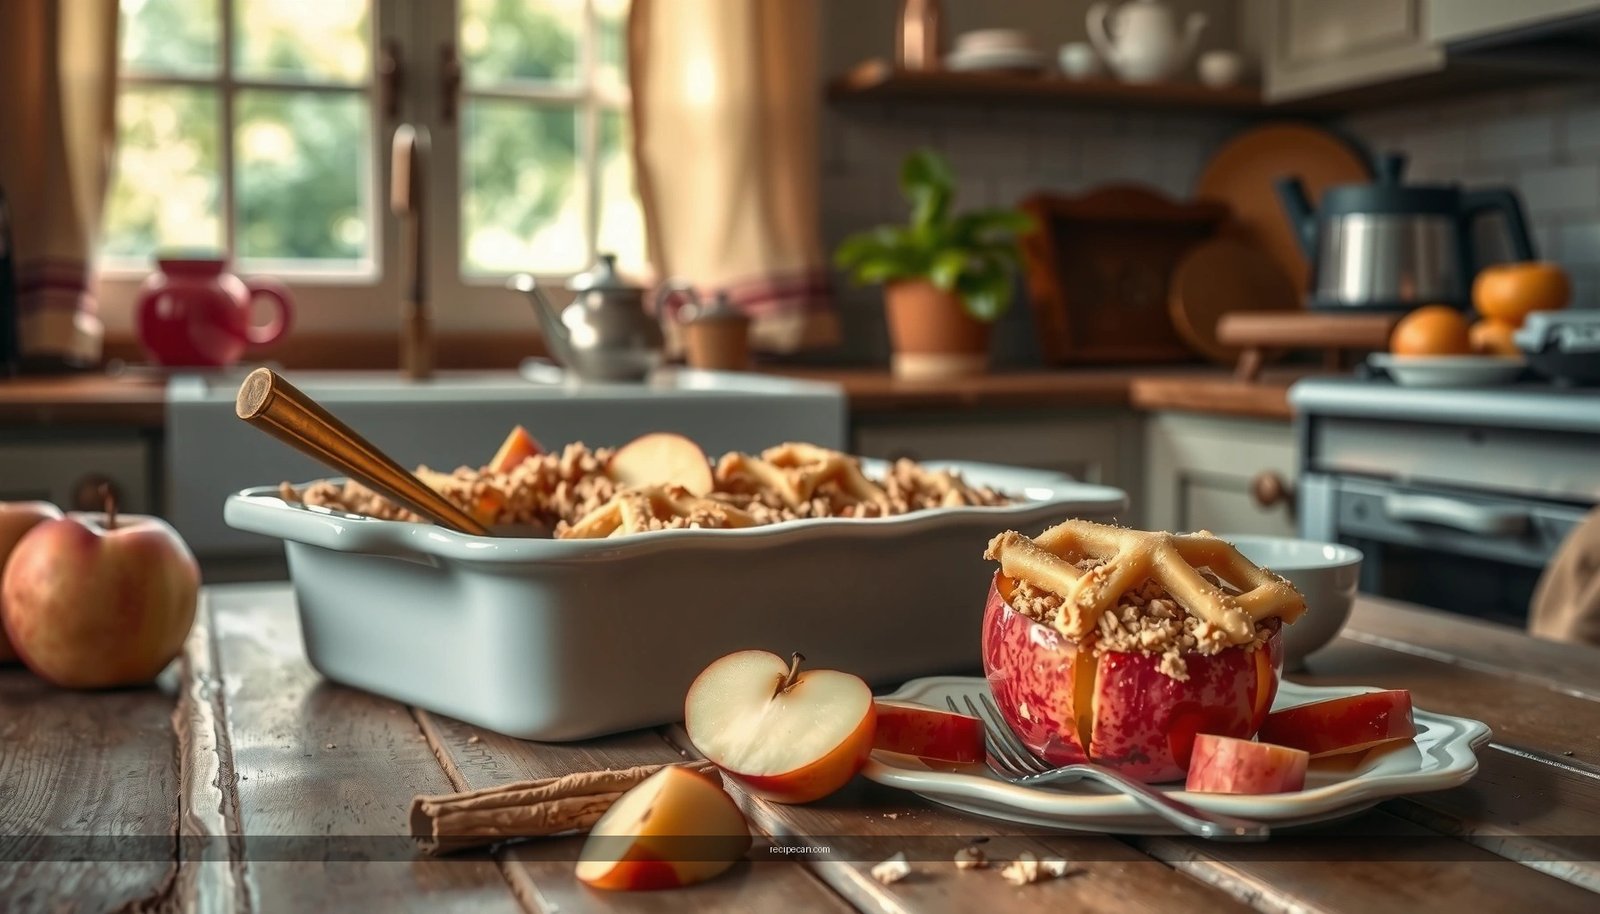
Searching for a Pioneer Woman apple crumble recipe that delivers maximum cozy flavor with minimal effort? This easy, dependable crumble is the clear winner when you want juicy apples under a buttery, golden topping—without complicated steps. Get the exact method to bake it until bubbling and caramel-scented, so it tastes like comfort food the moment it hits the table.
Yes—you can make a Pioneer Woman–style apple crumble that turns out warm, bubbly, and golden with simple pantry ingredients and straightforward layering. This recipe focuses on tender, cinnamon-sweet apples under a buttery oat-and-flour crumb topping, so you get that ideal contrast: soft fruit beneath a crisp, caramelized top.
This is the kind of dessert that performs reliably for weeknights and hosting alike because the method is repeatable: prep apples evenly, build flavor with sugar and cinnamon, make a crumb that clumps when chilled butter hits dry ingredients, then bake until the filling bubbles and the topping browns. Below, you’ll find the complete process plus practical quality checks—so your crumble tastes like it came from a cozy country kitchen, even if you’re cooking with limited time.
Ingredients for Pioneer Woman Apple Crumble
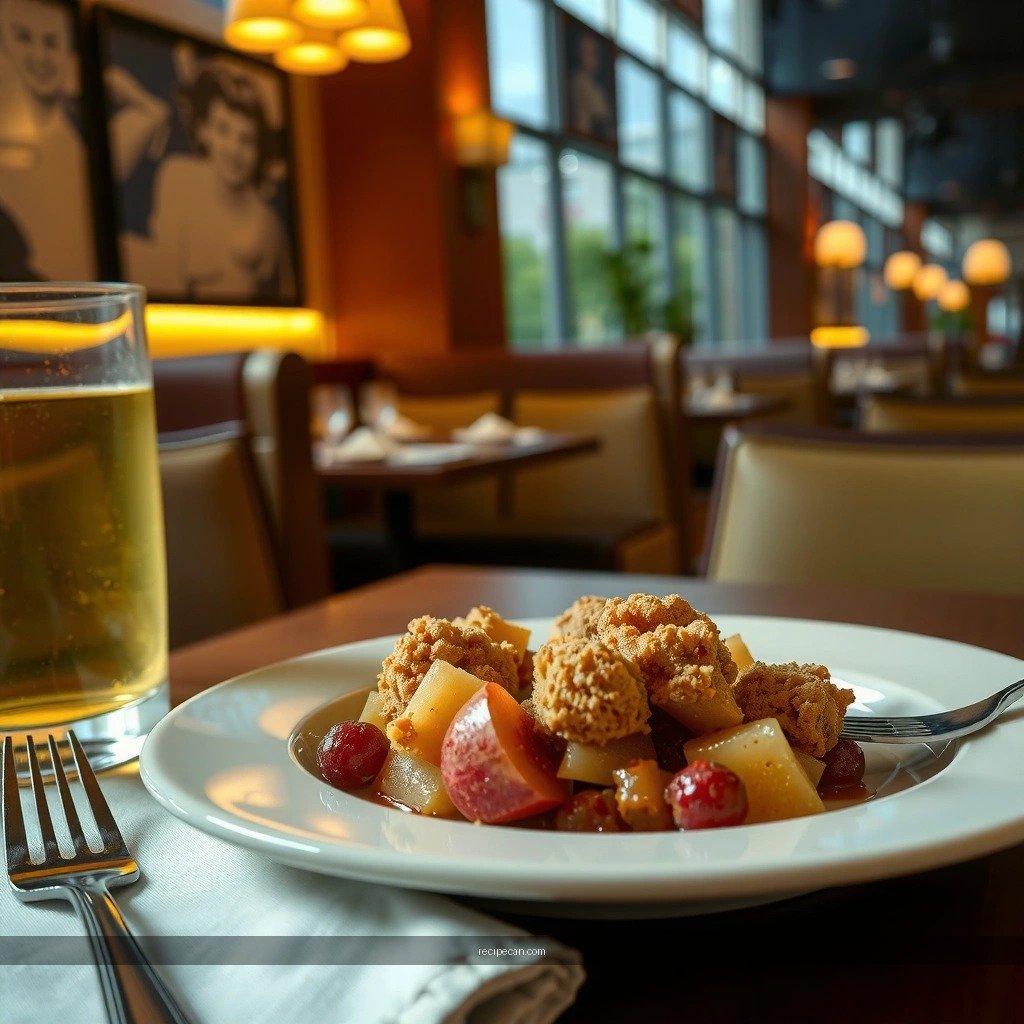
This Pioneer Woman apple crumble recipe leans into classic flavors—apples, cinnamon, butter, and oats—because that combination delivers both sweetness and texture. Use what you have, but aim for fresh apples and real butter for the best crumb “snap.”
– Use fresh apples (peeled or unpeeled) for the best texture
– Choose apples that hold their shape as they bake (Honeycrisp, Braeburn, Granny Smith, or a mix).
– Leaving peel on adds structure and a slightly firmer bite; peeling gives a softer, more uniform filling.
– Gather cinnamon, sugar, butter, flour, and oats for the crumble topping
– Cinnamon brings aroma that reads “fall” instantly.
– Sugar sweetens the fruit and helps create a glossy, bubbling filling.
– Butter is the binder for clumpy crumbs and the driver of browning.
– Flour and oats create a layered texture—tender inside, crisp on top.
Pro tip (quality control): If you prefer a slightly thicker filling (more “spoonable crumble,” less “saucy”), increase apple quantity a bit or bake a few extra minutes until the bubbling is vigorous and persistent.
Apple Variety Fit for Baking (Common Picks for Crumble)
| # | Apple variety | Bakes well (shape) | Best flavor profile | Crumble rating |
|---|---|---|---|---|
| 1 | Honeycrisp | High | Sweet + crisp | ★★★★★ |
| 2 | Braeburn | High | Balanced sweet-tart | ★★★★☆ |
| 3 | Granny Smith | Medium-High | Tart + bright | ★★★★☆ |
| 4 | Jonagold | Medium | Sweet-tart, aromatic | ★★★☆☆ |
| 5 | Golden Delicious | Medium | Mild sweet | ★★★☆☆ |
| 6 | Fuji | Medium | Sweet, juicy | ★★★☆☆ |
| 7 | Empire | Medium-High | Sweet + tender | ★★★★☆ |
How to Prep the Apples
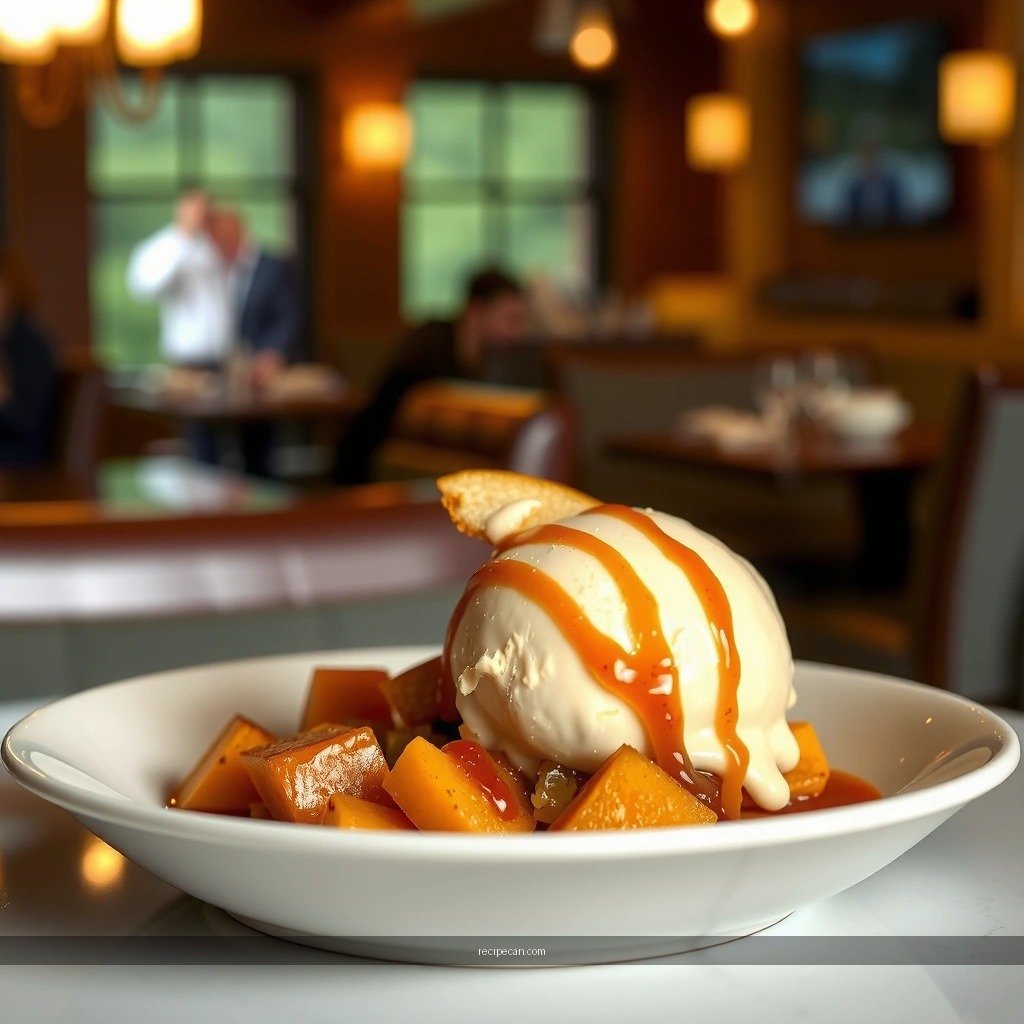
Apple crumble quality starts before it ever hits the oven. Prep affects whether you get evenly tender apples or pockets of undercooked fruit.
– Slice apples evenly so they cook at the same rate
– Aim for similar thickness across slices—think roughly 1/4-inch to 1/2-inch pieces depending on your preference.
– If pieces vary widely, the crumble may show bubbles from the thick sections while thinner slices turn soft too early.
– Toss apples with sugar and cinnamon to build flavor before baking
– Tossing matters because it creates an initial syrup.
– Sugar draws out moisture, while cinnamon coats every surface, improving taste in each bite rather than relying only on the topping.
Actionable idea: If your apples are very juicy (or you like a more set filling), let the tossed apples sit 10 minutes before assembling. That quick rest starts the syrup development so your crumble bakes faster and more consistently.
Make the Crumble Topping
A Pioneer Woman apple crumble topping should feel like buttery granules—crumbly but capable of holding together in small clumps. That “clump factor” is what creates crisp, golden edges.
– Combine flour, oats, sugar, and cinnamon
– Flour gives structure; oats add chew and toasted flavor.
– A touch of sugar in the topping helps brown and caramelize.
– Cut in butter until you get clumpy, crumbly pieces
– Use cold butter and work it into dry ingredients until you see uneven clumps.
– If it looks sandy and won’t clump at all, you likely need a bit more butter contact; if it forms a paste, the butter is too warm—chill briefly and try again.
Best practice: Chill the crumb topping for 10–15 minutes while you preheat the oven. Cold butter in the crumble helps you achieve a crisp top instead of a flat, dense layer.
Assemble and Layer the Dessert
Layering is where you control texture. The apples should be evenly distributed so the filling bakes uniformly and bubbles across the entire dish.
– Spread the seasoned apples into a baking dish evenly
– Overcrowding creates steaming rather than baking; ensure an even layer.
– If using a deeper dish, expect a longer bake time to reach consistent bubbling.
– Sprinkle the crumble topping over the apples for full coverage
– Don’t press the topping down hard—light coverage is fine, but try to ensure most apple surfaces are touched by crumb.
– Full coverage improves browning and helps prevent dry edges around thinner fruit pieces.
Professional consistency tip: If you want a “more crumble, less fruit” bite, increase topping slightly or use a wider, shallower baking dish. A wider surface area promotes stronger caramelization.
Bake to Golden Perfection
Baking is not just time—it’s cues. You’re looking for bubbling around the edges and a crumb top that goes from pale to golden-brown.
– Bake until the filling is bubbling around the edges
– Bubbling indicates the apple juices are thickening and the interior is heated through.
– If you only see mild bubbling, give it 5–10 more minutes (checking every couple minutes near the end).
– Watch for a golden-brown crumb top to avoid underbaking
– Underbaking often produces a pale topping that tastes floury.
– Overbaking can darken crumbs too much; if the top browns quickly, loosely cover with foil and continue baking until the edges bubble vigorously.
Timing guidance (use as a benchmark): Most apple crumbles bake in the ballpark of 35–55 minutes at typical home-oven temperatures, depending on dish size and apple chunk thickness. Use bubbling + browning as your primary indicators rather than relying strictly on the clock.
Optional finishing move: For extra crunch, broil for 1–2 minutes at the very end—watch closely to prevent scorching.
Serving Suggestions and Storage Tips
Apple crumble tastes best warm, when the topping is crisp and the fruit juices are at their most aromatic. Pairing and storage help you maintain that “just baked” experience.
– Serve warm with vanilla ice cream or whipped cream
– The classic pairing isn’t just traditional—it’s functional. Ice cream cools the hot filling while melting slightly to create a glossy sauce effect.
– Whipped cream adds a lighter contrast if you prefer less sweetness.
– Store leftovers in the fridge and reheat for a quick, crisp refresh
– Store covered in the refrigerator for up to 3–4 days.
– Reheat in the oven or toaster oven for best texture; microwave works in a pinch but can soften the topping.
Reheat method that preserves the crumble: Warm at a moderate temperature (about 300°F / 150°C) until heated through, then consider 2–4 minutes of broil/bake time to re-crisp the topping.
Bringing It All Together: Why This Method Works
This Pioneer Woman apple crumble recipe succeeds because it balances three technical factors: moisture control, topping clumping, and targeted browning. Even slices help apples cook at a similar rate; pre-tossing apples begins flavor development and syrup formation; and cold, cut-in butter within the crumb supports crispness rather than a soggy top. Finally, baking until bubbling and golden browning gives you the signature “golden, crisp finish” everyone expects from a great apple crumble.
If you’re feeding a group, make it in a larger dish for more surface area and better browning. If you’re cooking for two, a smaller dish still works—just adjust bake time based on bubbling and topping color.
Pioneer Woman apple crumble is all about simple prep, a buttery topping, and baking until you see bubbling apples and a golden crumb. Make it tonight using the steps above, and if you want to level it up, serve it warm with ice cream—then save any leftovers for an easy reheat tomorrow.
Frequently Asked Questions
What makes the Pioneer Woman apple crumble recipe different from other apple desserts?
The Pioneer Woman apple crumble recipe focuses on a classic warm apple filling with a sweet, buttery crumble topping that gets delightfully crisp in the oven. It’s designed to be easy and reliable, using straightforward ingredients and a forgiving method that works for everyday home baking. The flavor balance between tender apples and caramel-like notes from the topping is what many people love most.
How do you prevent a Pioneer Woman apple crumble from becoming runny?
To avoid a watery crumble, use apples that hold their shape well (like Granny Smith or Honeycrisp) and don’t skip simmering or seasoning the apple filling if your recipe calls for it. Toss apples with sugar and a thickener if included, and let the filling sit briefly so juices start to thicken before baking. Bake until the topping is golden and the filling bubbles—this is the best signal that your Pioneer Woman apple crumble is properly cooked.
Why is my Pioneer Woman apple crumble topping too dry, and how can I fix it?
If your crumble topping feels dry or won’t clump, it usually means the butter is too little or not fully incorporated into the flour mixture. Make sure the butter is cut in until you get coarse crumbs, then mix just enough so the mixture holds together when pinched. If you’re already baking and it seems dry, you can loosely sprinkle a little extra melted butter over the top and continue baking until crisp.
Which apples are best for the Pioneer Woman apple crumble recipe?
For the best results, choose apples that offer a balance of tartness and sweetness and bake up tender without turning mushy. Granny Smith is a popular pick for its tart flavor, while Honeycrisp or Braeburn adds sweetness and structure. If you like a more complex filling, you can combine two varieties to get a better texture and more “apple-forward” taste in the Pioneer Woman apple crumble.
What’s the best way to serve and store a Pioneer Woman apple crumble?
Serve your Pioneer Woman apple crumble warm for the best contrast between juicy apples and crunchy topping, ideally with vanilla ice cream or lightly sweetened whipped cream. To store, let it cool completely, then cover and refrigerate for up to 3–4 days. Reheat portions in the oven or toaster oven so the crumble topping regains some crispness instead of getting soggy in the microwave.