Get the best cannoli recipes for classic shells and sweet ricotta filling—these instructions deliver crisp, blistered shells with a ricotta mixture that’s silky, tangy, and reliably sweet. If you want cannoli that hold their crunch and flavor without turning grainy or watery, follow this tested method start to finish. Expect exact steps, timing, and ratios for the filling and dough so your first batch tastes like a true Italian bakery.
You can make authentic cannoli at home by pairing a dependable fried-shell recipe with a ricotta filling that’s thoroughly drained and seasoned for balance. Follow the oil-temperature and cooling steps for crisp shells, then drain, flavor, and pipe a thick ricotta mixture right before serving to keep cannoli from turning soggy.
Classic Cannoli Shell Recipe

– Fry tender, crisp shells using a simple dough and careful oil temperature
– Cook until golden and let shells fully cool before filling
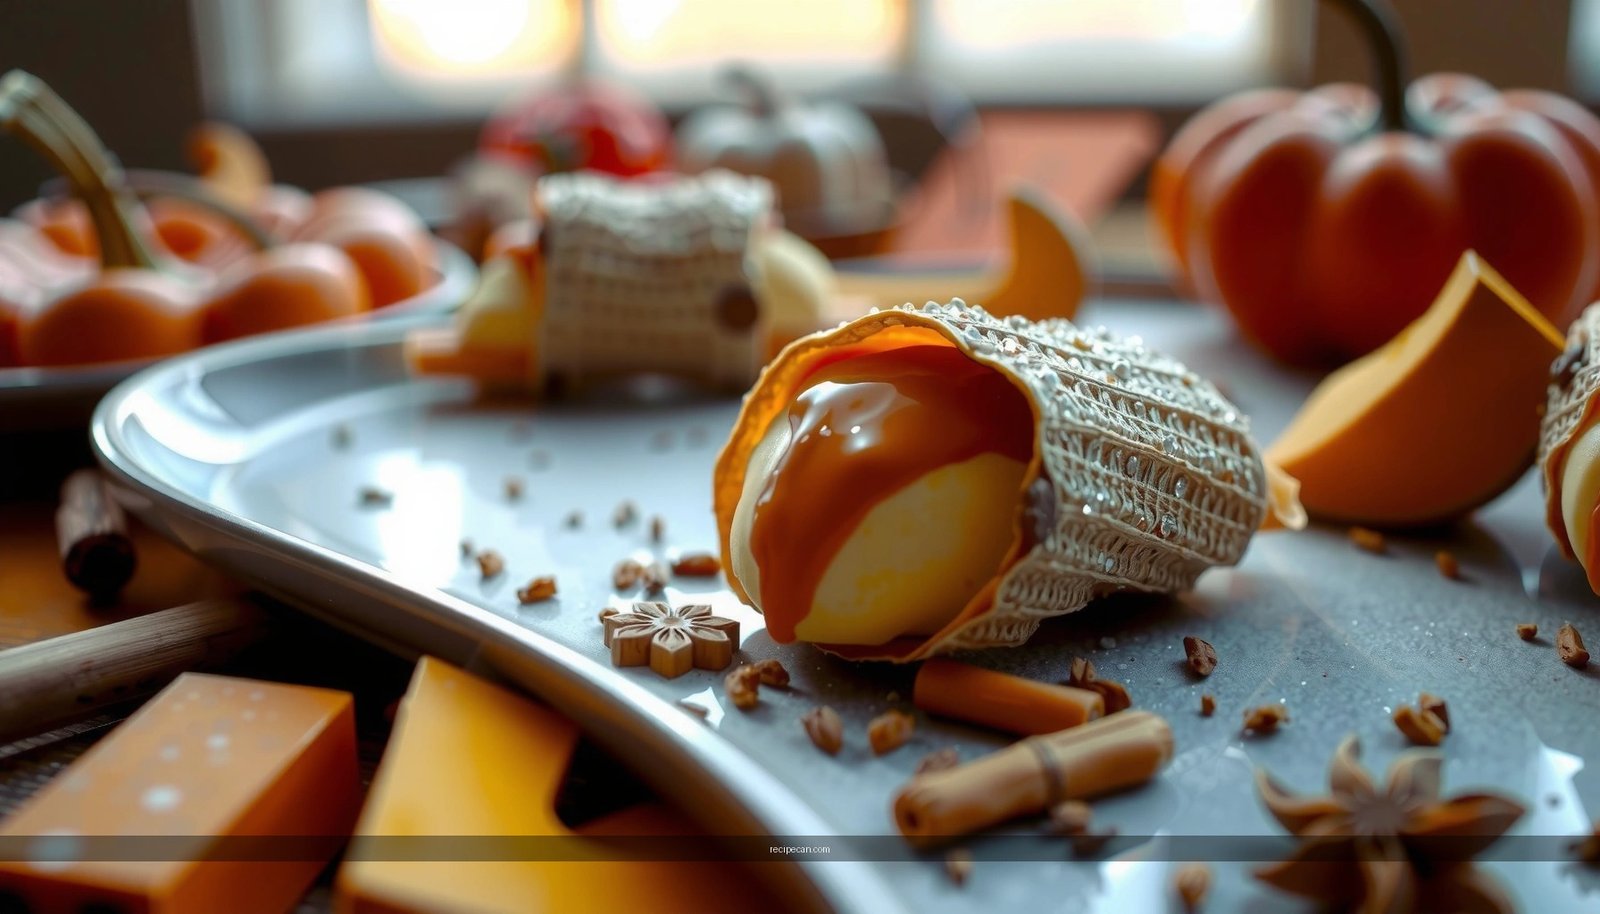
A classic cannoli experience starts with the shell: thin, crisp, and sturdy enough to hold filling without collapsing. The two most important variables are (1) dough consistency and (2) frying temperature. If the oil is too cool, the shells absorb more oil, become greasy, and soften quickly; if it’s too hot, the shells can darken before they fully dehydrate, producing a brittle shell that shatters when filled.
Dough approach (what “right” looks like): Cannoli dough is typically made from flour, a small amount of sugar, a fat component (often lard or butter), and a liquid binding agent (commonly wine—marsala or dry white wine). The dough should feel smooth and pliable, not sticky. Resting the dough helps gluten relax so you can roll it thinly without shrinkage.
Oil temperature and frying technique: Heat oil (neutral frying oil or a blend suitable for frying) to about 350°F–375°F (175°C–190°C). In practice, the sweet spot often lands near 365°F (185°C) for consistent browning. Fry in small batches so the temperature stays stable—temperature swings are a common reason shells end up undercooked or unevenly colored.
Shape and size for real-world filling: Cannoli shells are traditionally formed over metal cannoli forms. For best results:
– Roll dough thin (commonly around 1–2 mm)—too thick creates chewiness.
– Cut circles or ovals that match your forms.
– Overlap the dough seam neatly and press it gently so it seals as it fries.
– Fry until shells are deep golden rather than pale; pale shells may still contain moisture.
Cooling is non-negotiable: Once fried, let shells cool completely—ideally on a rack rather than paper towels. If you fill warm shells, steam and residual heat transfer into the filling, accelerating softening and reducing shell crunch.
Traditional Ricotta Filling (How to Get It Right)

– Drain ricotta well for a thick, scoopable texture
– Mix with powdered sugar and sweet flavorings for a balanced filling
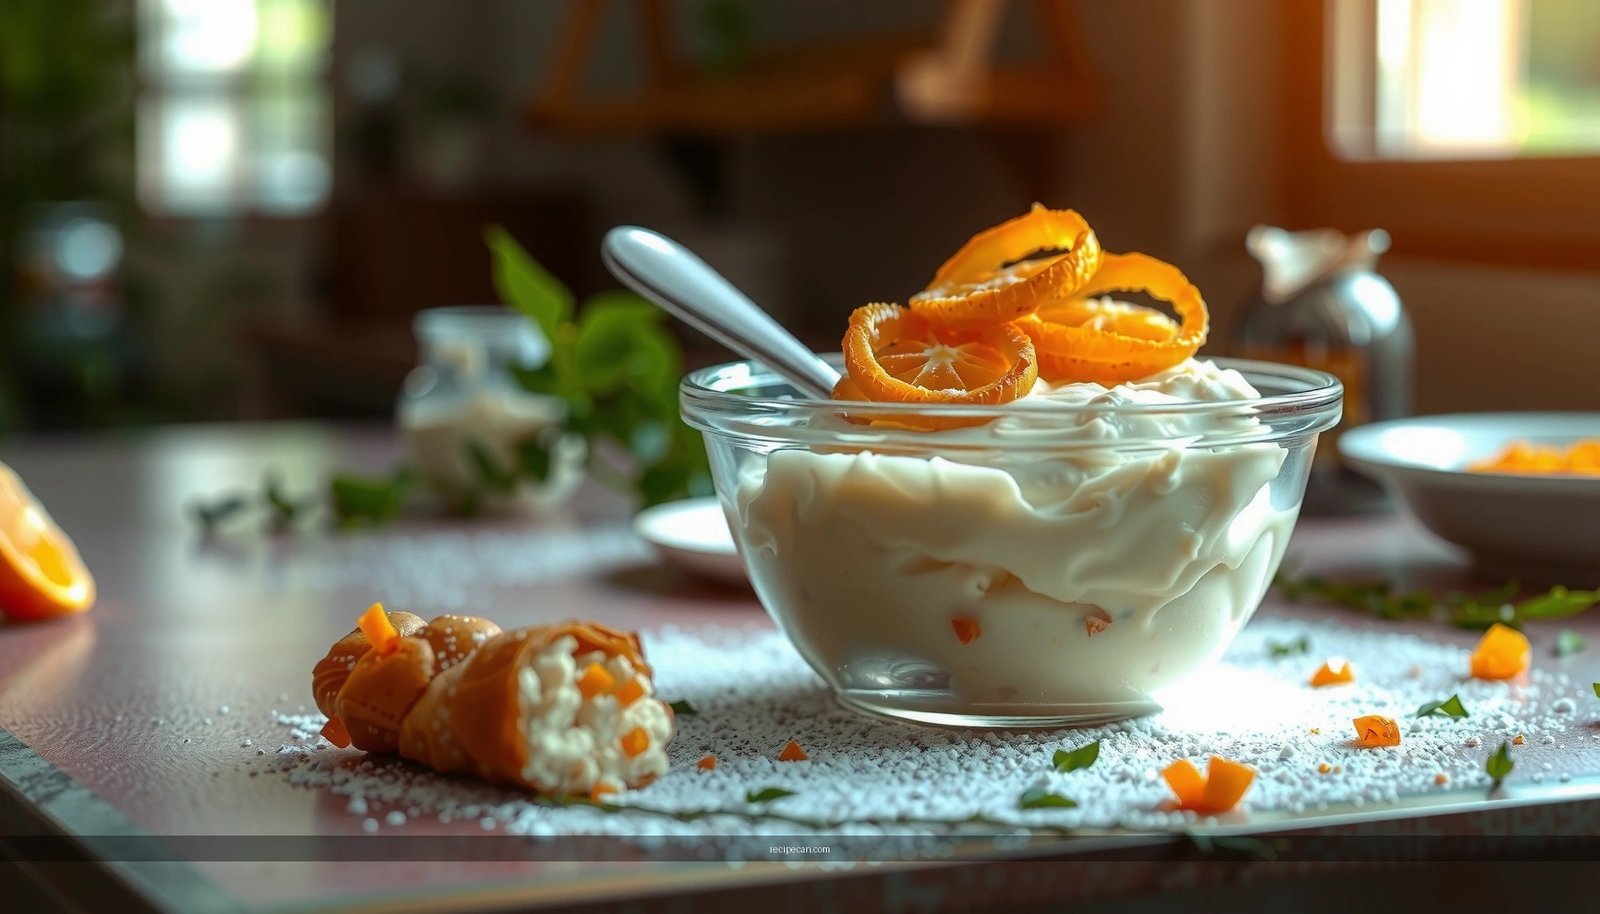
The filling is where “good cannoli” becomes “great cannoli.” Ricotta can vary widely in moisture content depending on brand and production method. The same recipe can yield a perfect scoopable filling one day and a runny mixture the next—unless you control draining.
The draining standard: For traditional cannoli filling, you generally want a ricotta that mounds and holds shape. Use a fine-mesh sieve or cheesecloth and drain in the refrigerator. Typical draining times range from 4–24 hours, depending on how watery the ricotta is. A fast method is draining in the fridge for a few hours, but for high-performing, bakery-like results, longer draining is usually worth it.
Texture control while mixing: After draining, break up the ricotta and mix until smooth. Many cooks find it easier to start by blending ricotta first, then fold in flavoring ingredients to avoid overworking. If your ricotta still looks slightly grainy, a gentle pass through a fine sieve can polish the texture.
Sweetness and flavor balance: Traditional cannoli filling is not just sweet—it’s balanced. Powdered sugar dissolves easily and gives a tender mouthfeel. Flavorings vary, but common classics include:
– Vanilla extract (rounded sweetness)
– Zest (lemon or orange zest adds bright aroma)
– Cinnamon or cinnamon-sugar notes (some regional styles)
– A pinch of salt (small but critical for flavor lift)
Chocolate and candied add structure: Mini chocolate chips and candied fruit (often small diced candied citrus peel) provide bursts of contrast—sweet, aromatic, and just textured enough to keep each cannoli bite interesting.
Essential Cannoli Ingredients and Substitutions

– Use mini chocolate chips and candied fruit for classic flavor and texture
– Swap ricotta brands or add mascarpone while maintaining creaminess
Cannoli recipes are forgiving, but the ingredients you choose determine whether the filling stays thick and how the shells perform. Below are practical guidance points for selecting components and substituting thoughtfully.
Ricotta choice: don’t treat it like milk
Look for ricotta labeled as whole milk or one that yields a thicker texture. Even among good brands, moisture content can differ. If you’re unsure, buy two brands and test draining time—your goal is to match the filling thickness you want.
Mascarpone for stability (when needed)
If your ricotta naturally runs soft, adding mascarpone can restore body and creaminess. Use it sparingly so the filling remains distinctly “ricotta-like” rather than turning into a cheesecake filling:
– Add mascarpone to improve spreadability without loosening the mixture excessively.
– Re-check thickness after mixing; chilling also helps set the filling.
Chocolate chips: mini matters
Mini chocolate chips distribute more evenly through the filling and avoid large pockets that can tear shells or create overly sweet bites. For a classic feel, keep the chips small and fold them in gently.
Candied fruit vs. fruit preserves
Candied fruit adds a traditional, candy-like brightness and texture. Fruit preserves can add moisture and shift the filling toward softness—if you substitute preserves, reduce quantity and consider draining your mixture slightly longer.
Quick substitution logic (so the filling stays authentic)
Use the “function” of each ingredient:
– Powdered sugar = sweetness + smoothness
– Zest/extract = aromatic lift
– Drained ricotta = structure + creamy body
– Mascarpone (optional) = stability + richness
– Chocolate/candied fruit = texture + contrast
Filling, Draining, and Timing Tips
– Fill shells right before serving to prevent sogginess
– Use piping for clean shapes and consistent portioning
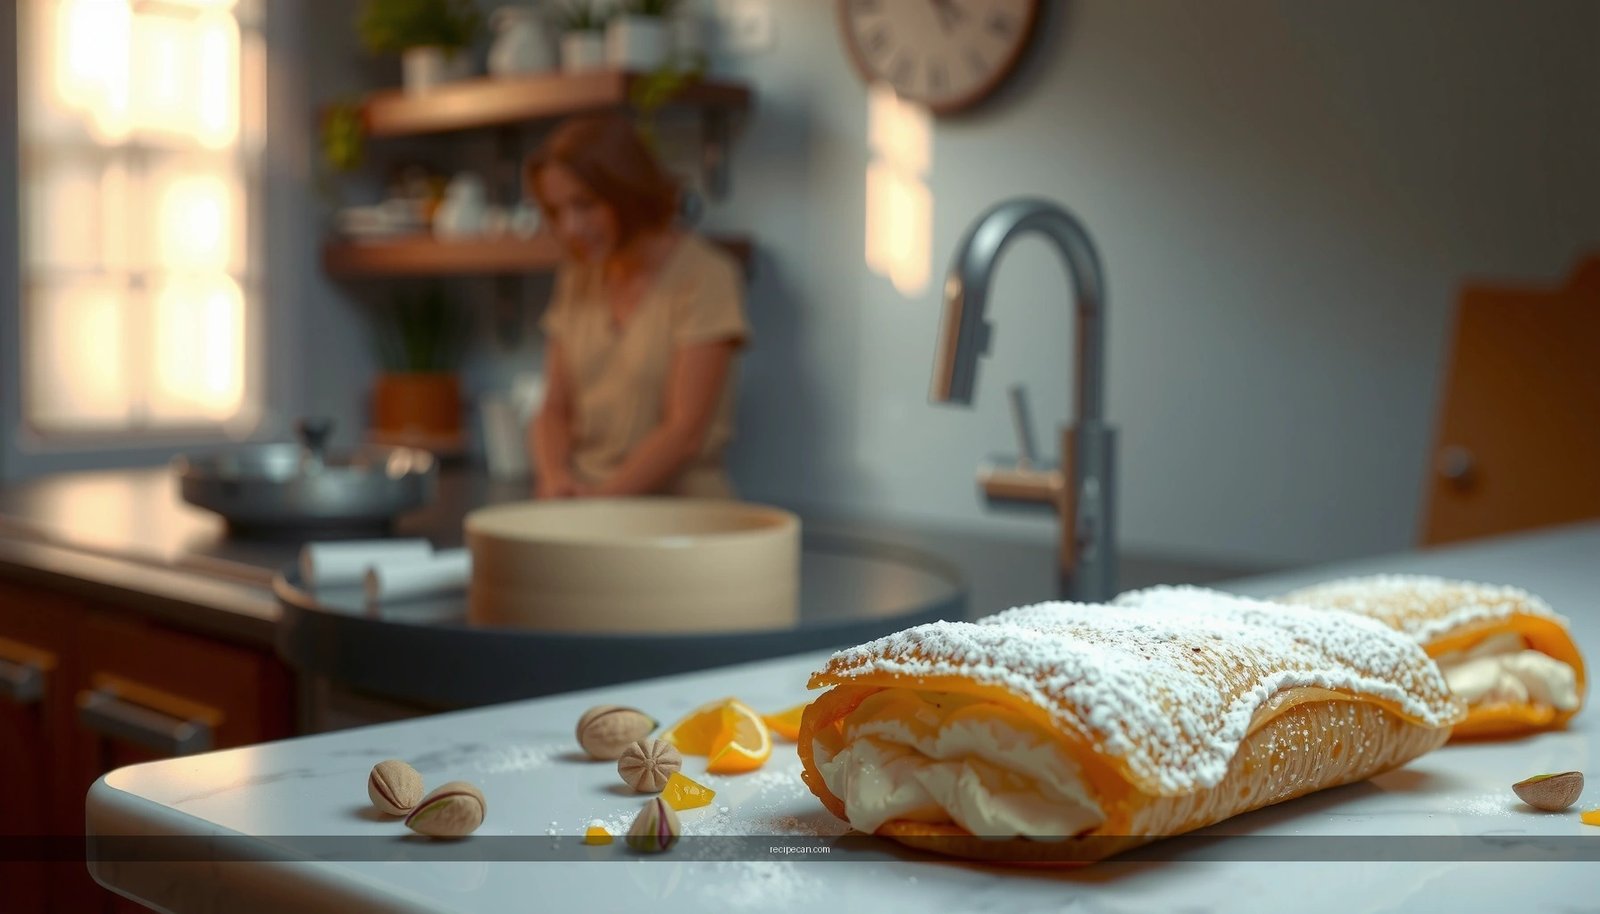
Even the best cannoli recipe can fall flat if timing is off. Shells are crisp because they’re dehydrated and relatively low in moisture. Ricotta filling contains water, and water is the enemy of crunch. The goal is to minimize the overlap in time between shell exposure and filling.
Best practice: fill immediately before serving. Plan your workflow so shells finish frying and cooling first, then you drain and mix the filling, and finally you pipe just before guests arrive. If you must hold filled cannoli, keep them chilled and expect a gradual softening—crispness is always time-sensitive.
Piping improves both appearance and efficiency: A pastry bag with a medium tip helps you:
– Control portion sizes consistently
– Reduce mess and air pockets
– Achieve a clean “ends-first” look that signals craftsmanship
Chill after piping, not before: If your filling is very soft, chilling briefly can help it pipe cleanly. But once shells are filled, extensive refrigeration can accelerate texture changes. A short chill for stability is fine; long storage of filled cannoli is typically avoided for peak quality.
How to tell if your filling is thick enough: When you lift a spoon, the mixture should form a mound and slowly settle—not pour. If it spreads instantly, it’s likely too wet. Add drained weight (more draining) rather than immediately adding sugar, which can mask the real moisture issue.
📊 DATA: Cannoli Process Targets for Crispness and Structure (Practical Benchmarks)
Cannoli Timing Targets for Best Shell Crispness (Home Kitchen Benchmarks)
| # | Process Step | Target Range | Typical Outcome If Missed | Quality Impact |
|---|---|---|---|---|
| 1 | Oil Temperature | 365°F (185°C) ±10°F | Greasy shells or premature browning | – |
| 2 | Shell Cooling Time | 12–25 minutes | Steam softening during filling | – |
| 3 | Ricotta Draining (Fridge) | 8–16 hours | Runny filling + faster shell sogginess | – |
| 4 | Filling Consistency Check | Mound holds 5–10 seconds | Piping slumps; poor slice/texture | – |
| 5 | Piping Before Service | Within 30 minutes | Shells lose crispness at ends first | – |
| 6 | Filled Cannoli Shelf Life (Best Quality) | 2–4 hours at cool room temp | Gradual softening and texture flattening | Improves |
| 7 | Separation Storage (Shell vs. Filling) | Up to 24 hours separate | Condensation transfers into shells | Maximizes |
Flavor Variations for Cannoli Recipes
– Try pistachio, orange zest, or vanilla variations for a different profile
– Add crushed cookies or almond notes for extra crunch
While the classic cannoli profile is iconic, professional bakeries often use variations to expand menu appeal without abandoning authenticity. The key is to keep the filling thick and the flavor additions dry enough not to loosen the ricotta.
Pistachio cannoli: Replace or supplement candied fruit with chopped pistachios. Pistachios add nutty fat and crunch. For a more polished finish, mix part into the filling and reserve some for topping.
Orange zest and citrus brightness: Swap lemon zest for orange zest (or use a blend). Citrus zest releases aromatic oils that lift the sweetness without requiring more sugar.
Vanilla-forward filling: Increase vanilla extract slightly and consider adding a small amount of vanilla bean paste for depth. Vanilla is particularly effective when using darker chocolate chips because it rounds the cocoa notes.
Crushed cookies (structured crunch): If you add crushed cookies, use a small amount and keep them fine so they don’t create hard lumps. Dry cookie crumbs also absorb moisture; if you add them, add later—closer to piping—to reduce sogginess.
Almond notes: A pinch of almond extract (used carefully) or finely chopped toasted almonds creates an elegant, Italian pastry profile. Keep the extract restrained; too much can taste artificial.
Pro tip for consistency: If you’re experimenting with flavors, prepare a small test batch first. Measure the resulting viscosity after mixing and after chilling—this prevents surprises on larger production.
Storage and Serving for Best Texture
– Store shells and filling separately for maximum crispness
– Serve chilled or at room temperature depending on your filling thickness
Texture management is the difference between “homemade” and “event-ready.” For cannoli, separation storage is usually the winning strategy.
Store shells dry and uncovered (or loosely covered): Shells are best kept at room temperature in an airtight container with a paper towel to absorb minor humidity. If you fully seal them while they’re still warm, condensation can form—so ensure shells are completely cool.
Store filling chilled in a covered container: Keep ricotta filling refrigerated to maintain flavor and food safety. Because ricotta is dairy, refrigeration also protects quality during production timelines.
Fill close to serving: The ideal service window is when shells are crisp and the filling is thick and cool. If your filling is slightly firm (well-drained and piped), it can be served chilled. If it’s softer due to recipe or ingredient variability, let it sit briefly at cool room temperature for improved spread and mouthfeel—just don’t wait long enough to create shell soak.
Serving style for business reliability: For gatherings, consider:
– A “fill station” setup with piping bag and toppings ready
– Portioning shells in advance (unfilled) and filling on demand
– Keeping shells insulated from steam and moisture
Conclusion
Authentic cannoli recipes come down to two controllable fundamentals: reliable, well-fried shells and a ricotta filling that’s drained to the right thickness and seasoned for balance. By managing oil temperature, cooling fully, draining thoroughly, and filling right before serving, you protect shell crispness and achieve consistent, bakery-style results. Once those foundations are solid, variations like pistachio, citrus zest, vanilla, and almond notes become easy upgrades—without sacrificing the structure and finish that make classic cannoli truly memorable.
Frequently Asked Questions
What is the best cannoli dough recipe for crispy shells?
Use a classic cannoli dough recipe with flour, sugar, salt, eggs, and a small amount of fat (often lard or butter) to create a tender-but-crisp shell. Add a splash of vinegar or a little baking powder for better texture and blistering when fried. Roll the dough thin, cut into rounds, wrap around cannoli forms, and fry until deep golden for the most reliable crunch.
How do you prevent cannoli shells from getting soggy?
The key is to keep shells and filling separate until serving, since ricotta absorbs moisture quickly. Let fried shells fully cool on a rack (not stacked) so steam doesn’t soften them. For the filling, drain ricotta well using cheesecloth and avoid adding overly wet ingredients; store filled cannoli covered in the refrigerator only briefly.
Why does my cannoli filling taste watery or grainy?
Watery cannoli filling usually means the ricotta wasn’t drained thoroughly or the mixture was too wet when combined. Graininess often happens when ricotta isn’t well blended—use a food processor or press the ricotta through a sieve for a smooth texture. For a balanced cannoli cream, fold in powdered sugar gradually and mix gently so the filling stays creamy rather than loose.
Which cannoli filling recipe is most authentic—traditional or chocolate?
Traditional cannoli filling typically uses well-drained ricotta, powdered sugar, vanilla, and chocolate chips (often mini chips) plus optional candied fruit. A chocolate cannoli filling adds cocoa, melted chocolate, or Nutella-style flavor, but it can be heavier and more prone to moisture if not measured carefully. For authenticity and classic results, choose a traditional ricotta filling with chocolate chips and a light touch with citrus zest.
How do you fry cannoli shells without burning them?
Maintain steady oil temperature—cannoli shells fry best around 350–375°F (175–190°C) so they cook through without scorching. Fry in small batches and avoid overcrowding, which can drop the temperature and lead to greasy shells. Drain on a rack and cool completely before filling; this helps the shells stay crisp and supports even, golden color.
References
- https://scholar.google.com/scholar?q=cannoli+recipe+ricotta+sicilian Google Scholar
https://scholar.google.com/scholar?q=cannoli+recipe+ricotta+sicilian - Google Scholar Google Scholar
https://scholar.google.com/scholar?q=cannoli+sicilian+pastry+recipe+fried+tube - Google Scholar Google Scholar
https://scholar.google.com/scholar?q=traditional+cannoli+recipe+wikipedia+britannica - Cannoli
https://en.wikipedia.org/wiki/Cannoli - https://www.britannica.com/dish/cannoli
https://www.britannica.com/dish/cannoli - https://www.bbc.co.uk/food/recipes/cannoli_75101
https://www.bbc.co.uk/food/recipes/cannoli_75101 - https://cooking.nytimes.com/recipes/1019391-cannoli
https://cooking.nytimes.com/recipes/1019391-cannoli - https://www.theguardian.com/food/2019/jan/13/cannoli-recipe
https://www.theguardian.com/food/2019/jan/13/cannoli-recipe - Google Scholar Google Scholar
https://scholar.google.com/scholar?q=recipes+for+cannoli - recipes for cannoli – Search results
https://en.wikipedia.org/wiki/Special:Search?search=recipes+for+cannoli