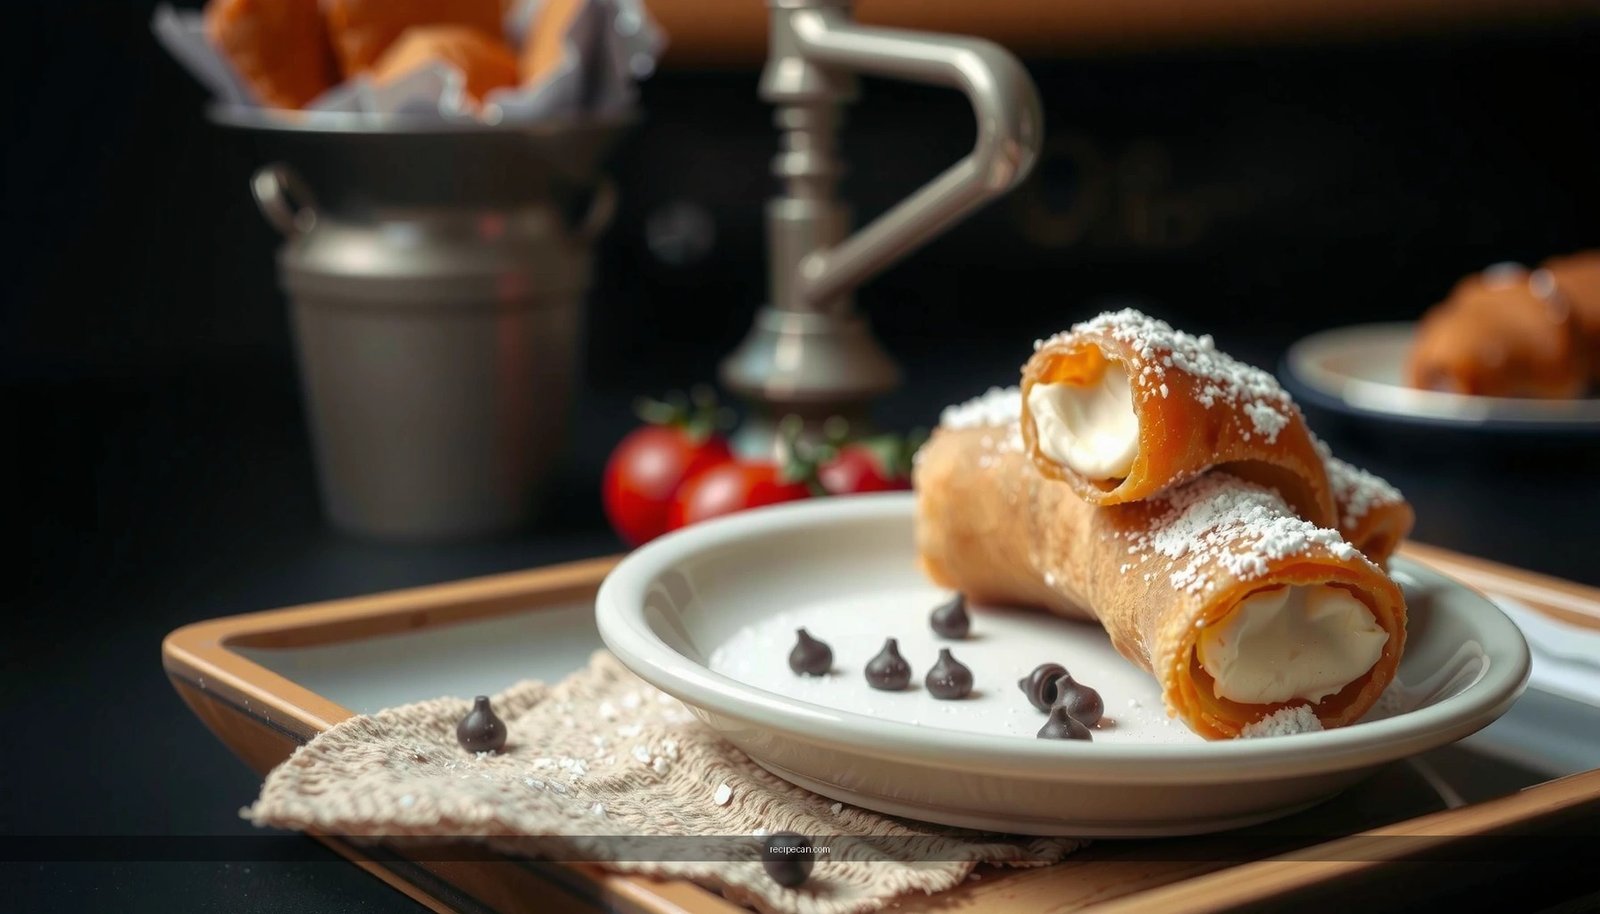
This cannoli cookies recipe tutorial tells you exactly how to make cannoli cookies at home with crisp shells and a sweet ricotta filling that tastes like the real deal. Follow the step-by-step method for mixing, shaping, baking, and assembling so you get bakery-quality results without guesswork. If you want a reliable cannoli cookies recipe that works in a normal home kitchen, this is the one.
Make cannoli cookies at home by pairing a tender, easy cookie dough with a creamy ricotta filling and baking until lightly golden. Follow the steps below to prep the dough, make the classic cannoli-style filling, shape and seal each cookie, and bake for the same sweet, scoopable-then-bite experience you’d expect from traditional cannoli flavors.
Ingredients You’ll Need for Cannoli Cookies

– For the creamy ricotta filling
– Whole milk ricotta (or part-skim ricotta): choose a brand with a smooth texture; if yours is watery, strain it.
– Granulated sugar: sweetens the ricotta and helps it taste like cannoli filling.
– Vanilla extract: rounds out the dairy sweetness.
– Mini chocolate chips: the signature “cannoli” texture and contrast.
– For the cookie dough
– All-purpose flour: structure without toughness.
– Unsalted butter (softened): provides richness and a tender crumb.
– An egg (or egg yolk): yolk-only versions are extra tender; whole egg is slightly more forgiving for shaping.
– Additional sugar (often granulated; sometimes a bit of brown sugar is optional): supports browning and a light caramel note.
– A pinch of salt: makes everything taste more “buttery” and balanced.
– Vanilla extract (or a small amount of vanilla in the dough): reinforces the cannoli flavor profile.
– Optional add-ins for “cannoli” depth
– Orange zest: a classic cannoli pairing; it brightens the ricotta and makes the dessert feel more aromatic.
– Ground cinnamon: works well in small amounts for a warm, bakery-style finish.
– Orange blossom water (optional): if you have it, a few drops can elevate flavor—use sparingly to avoid overpowering.
Cannoli Flavor Profile (Quick Reference)
Practical Baking Adjustments for Cannoli Cookies
| # | Baking Variable | Recommended Range | Why It Matters | Impact |
|---|---|---|---|---|
| 1 | Ricotta moisture control | 0–24 hrs straining | Prevents filling leaks and soggy cookies | Better texture |
| 2 | Cookie dough chill time | 20–45 minutes | Improves handling and edge definition | Cleaner shaping |
| 3 | Oven temperature | 175–190°C (350–375°F) | Sets dough before filling over-softens | Golden edges |
| 4 | Baking time | 10–14 minutes | Keeps the center tender, not dry | Soft chew + set |
| 5 | Portion size (for filling control) | 20–30 g dough each | Prevents thin dough from tearing | Better sealing |
| 6 | Filling portion | 8–12 g per cookie | Reduces blowouts and leak-outs | More “contained” bites |
| 7 | Cooling approach | 5 minutes on tray + rack | Finishes set without steaming | Improved texture |
Make the Cookie Dough

Cannoli cookies work best when the dough is soft enough to shape but structured enough to hold filling. The mixing order matters: creaming fat and sugar creates tiny air pockets that later translate into a tender crumb.
– Cream butter and sugar until smooth
– Use softened unsalted butter and mix with sugar until the mixture looks lighter and cohesive.
– This step improves both flavor and texture; if the butter is too cold, the dough may be grainy and harder to shape.
– Mix in ricotta and vanilla
– Ricotta adds a gentle moisture and dairy richness. Mix just until incorporated—overmixing can make cookies tough.
– If your ricotta is particularly wet, use a brief drain (even 15–30 minutes in a fine mesh strainer) so the dough isn’t loose.
– Fold in dry ingredients gradually
– Add flour and any baking-related dry components (like salt; baking soda/powder only if your specific variation includes them).
– Combine using a gentle hand (stir or mix on low). Stop when you no longer see dry flour.
– Chill briefly
– Chill the dough 20–45 minutes to firm it for cleaner edges and more reliable sealing.
– If your dough still feels tacky after chilling, dust very lightly with flour—avoid adding too much or you’ll reduce tenderness.
Key technical insight: When stuffed cookies leak, it’s usually not “operator error”—it’s either too-wet filling, too-thin dough, or insufficient chilling. The steps above mitigate all three.
Prepare the Cannoli-Style Filling

The filling is the heart of the cannoli cookie experience: creamy ricotta, sweetened just enough, and dotted with chocolate. Your main quality target is creaminess without excess water.
– Stir ricotta with sugar until creamy
– Mix ricotta and sugar until smooth. The sugar dissolves and the mixture thickens slightly as the dairy and sugar emulsify.
– Add vanilla and mini chocolate chips
– Vanilla brings the classic cannoli fragrance.
– Fold in chocolate chips last to prevent overmixing and melting at the edges.
– Drain excess liquid if needed
– If your ricotta weeps, strain it first. After mixing, check the bowl: if liquid pools around the edges, your filling will likely spread in the oven.
– A practical fix: stir the filling and let it stand 5–10 minutes, then spoon off any watery layer.
– Taste and adjust
– Cannoli filling is often lightly sweet with a noticeable vanilla-and-citrus lift.
– If you add orange zest, start with a small amount (zest is potent). If you like cinnamon, use a gentle pinch—cannoli is typically aromatic, not strongly spiced.
Professional baker tip: Keep the filling thicker than you think. Thick filling spreads less, stays contained, and gives that satisfying “cannoli bite” where you taste filling and cookie together.
Shape and Fill the Cookies
Shaping is where stuffed cookies either become impressive or frustrating. The good news: a consistent portion size and a reliable sealing technique solve most issues.
– Portion dough, flatten slightly, and add filling
– Scoop dough into equal portions so baking times stay consistent.
– Flatten each portion into a disk with thicker edges than the center.
– Place a small amount of filling in the center
– Use less filling than you’d like—because the oven will encourage some expansion and softening.
– Overfilling increases the chance of leakage and can tear dough at the seam.
– Seal carefully (pinch edges or fold dough over filling)
– Pinch edges firmly to close gaps.
– If your dough tears, press the seam back together—use gentle pressure rather than stretching too far.
– An alternate approach is to fold dough over the filling and pinch at the top, creating a “dumpling-like” seal.
– Leave space on the baking sheet
– Stuffed cookies can spread slightly. Use parchment for clean release and line trays with enough room between cookies for airflow and even browning.
Consistency check: If the seam opens while you transfer the tray, your dough is likely too warm. Return the tray to the fridge for 10 minutes and try again.
Bake to Golden Perfection
Baking cannoli cookies is about timing and visual cues. You want lightly golden edges while the interior stays tender and creamy.
– Bake at a consistent moderate temperature
– A common range is 175–190°C (350–375°F).
– At lower temps, the filling may warm too slowly and the dough can dry out before setting. At higher temps, butter melts faster and seams can weaken.
– Watch for set edges and light browning
– The cookies are done when edges look set and slightly golden.
– The centers may look a bit softer—this is expected and improves as cookies cool.
– Cool briefly on the tray, then on a rack
– Let cookies sit on the baking sheet for about 5 minutes so filling firms slightly and cookie structure stabilizes.
– Move to a rack to finish cooling and prevent steam-softening on the bottom.
– Store for softness
– Once fully cooled, store cookies in an airtight container. Cannoli cookies generally taste best after they rest—flavors meld, and the filling settles into a creamy consistency.
Serving and Storage Tips
The finishing touches elevate cannoli cookies from homemade to bakery-style. Storage is also part of the flavor: stuffed desserts often improve after a short rest.
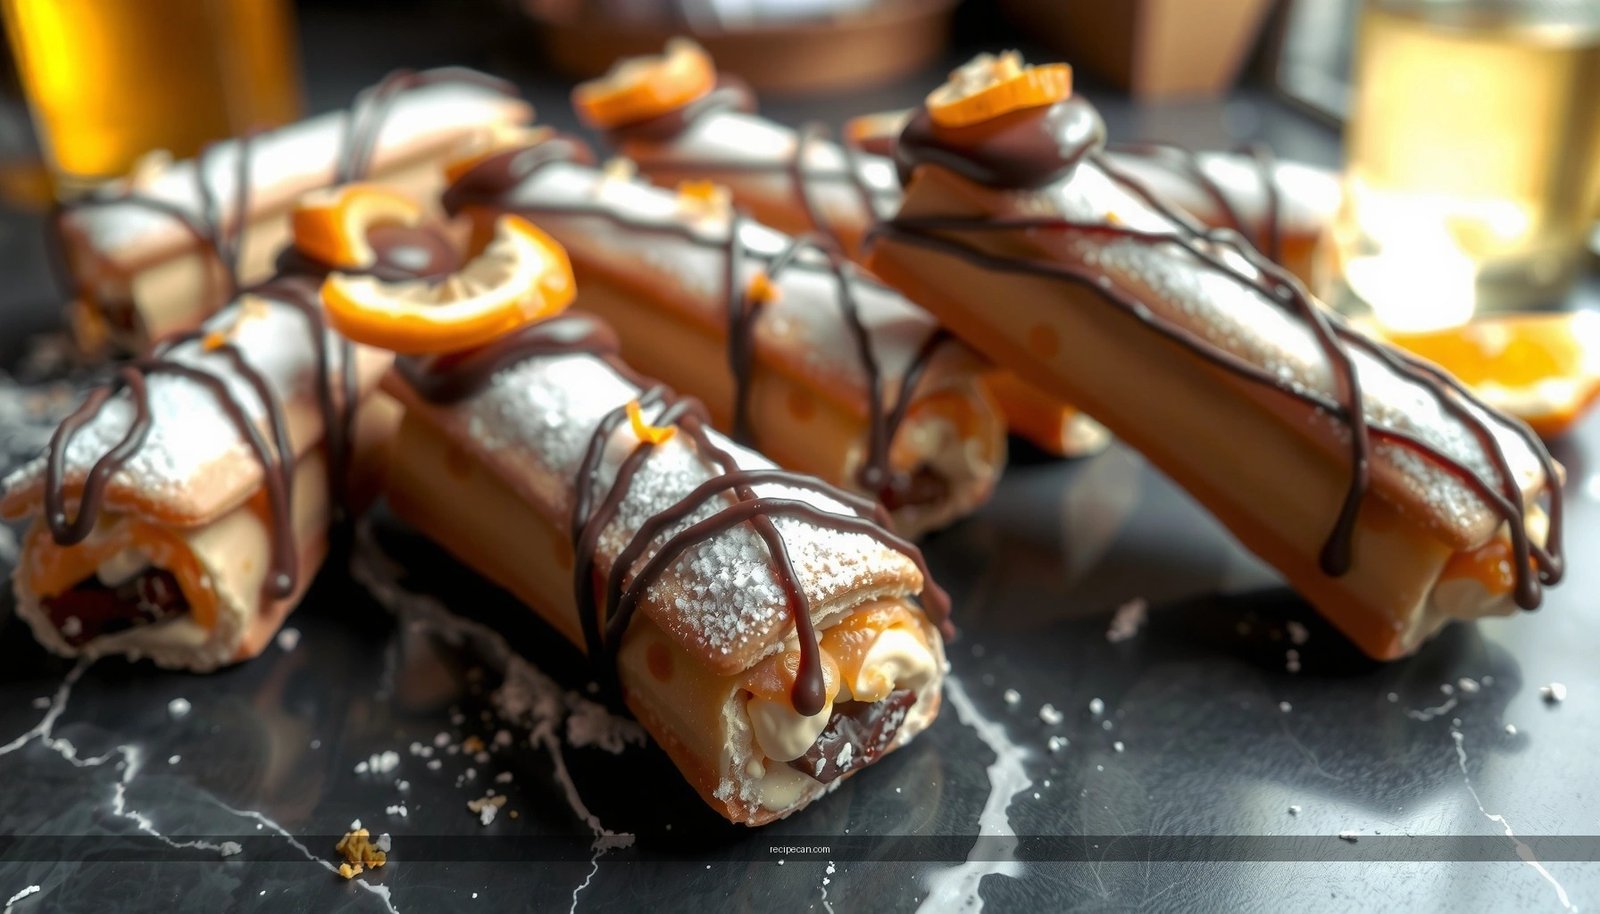
– Classic presentation
– Dust with powdered sugar for that cannoli-inspired “snowy” look.
– Or drizzle with a light icing if you prefer a sweeter, more decorative finish.
– Best timing
– For peak texture, enjoy the same day or within 24 hours.
– After that, cookies typically remain good for a few days, though the cookie base may soften slightly as moisture redistributes.
– Airtight storage for freshness
– Use an airtight container to keep cookies tender rather than drying out.
– If stacking, place parchment between layers to prevent sticking.
– Freezing for make-ahead convenience
– Freeze baked cookies in a freezer-safe container. Thaw overnight in the refrigerator, then bring to room temperature for best texture.
– If you prefer, you can also freeze extra filling in portions and assemble later—just be sure the filling is thick before freezing to reduce separation.
Cannoli cookies deliver the essence of classic cannoli—ricotta creaminess and chocolate flecks—wrapped in a tender baked cookie shell. By controlling ricotta moisture, chilling the dough for clean shaping, sealing carefully, and baking until lightly golden, you’ll consistently get cookies that taste like a true cannoli-inspired dessert. Try this cannoli cookies recipe tutorial today, and if you want, tell me what mix-ins you like most (orange zest, cinnamon, or extra chocolate) so I can tailor your next batch.
Frequently Asked Questions
What are the key ingredients for a cannoli cookies recipe tutorial?
A classic cannoli cookies recipe usually includes a cookie base made from flour, sugar, butter or shortening, egg, and baking powder, plus vanilla and salt for flavor. The cannoli filling is typically ricotta (drained to prevent sogginess), powdered sugar, cinnamon or chocolate chips, and sometimes mini chocolate or candied fruit for texture. For an authentic taste, choose ricotta labeled for baking or strain it in a fine-mesh sieve before mixing.
How do I make cannoli cookies so they don’t turn out soggy?
The biggest cause of soggy cannoli cookies is moisture in the ricotta filling—always drain the ricotta well for at least 1–2 hours (or blot it gently in cheesecloth). Use powdered sugar to thicken the filling and avoid adding extra liquid like milk. If you’re piping or stuffing the filling, assemble right before serving or refrigerate the assembled cookies briefly so the dough can set.
Why do my cannoli cookies spread or lose their shape when baking?
Spreading often happens when the cookie dough is too warm or the butter is too soft—chill the dough 30–60 minutes before baking for cleaner edges. Also measure flour carefully (spoon and level) so you don’t end up with a dough that’s too wet. If you’re using a soft filling, wait to add it after the cookies form a firm base or add filling in smaller portions to reduce weight and pressure.
Which cannoli filling works best for cookies—ricotta, mascarpone, or cream cheese?
Ricotta is the traditional choice and delivers that authentic cannoli flavor, but it must be well-drained. Mascarpone can be a great option if you want a richer, smoother filling, while cream cheese offers stability and a tangier profile. Many bakers combine ricotta with mascarpone or cream cheese for cannoli cookie recipes that pipe easily and hold up without leaking.
What’s the best way to store and freeze cannoli cookies made with a homemade tutorial?
Store cannoli cookies in an airtight container in the refrigerator, ideally separating layers with parchment to prevent sticking. For best texture, eat within 2–3 days, especially if the cookies are filled since the filling can soften the dough over time. To freeze, freeze baked unfilled cookies in a sealed bag for up to 2–3 months, then thaw and fill fresh for the best crunch.
References
- Cannoli
https://en.wikipedia.org/wiki/Cannoli - Ricotta
https://en.wikipedia.org/wiki/Ricotta - Cookie
https://en.wikipedia.org/wiki/Cookie - Pastry
https://en.wikipedia.org/wiki/Pastry - https://www.britannica.com/topic/cannoli
https://www.britannica.com/topic/cannoli - Google Scholar Google Scholar
https://scholar.google.com/scholar?q=cannoli+cookies+recipe+tutorial - Google Scholar Google Scholar
https://scholar.google.com/scholar?q=cannoli+recipe+ricotta+pastry+dough - Google Scholar Google Scholar
https://scholar.google.com/scholar?q=cannoli+pastry+frying+oil+absorption+study - https://pubmed.ncbi.nlm.nih.gov/?term=cannoli
https://pubmed.ncbi.nlm.nih.gov/?term=cannoli - https://pubmed.ncbi.nlm.nih.gov/?term=ricotta+pastry
https://pubmed.ncbi.nlm.nih.gov/?term=ricotta+pastry