This cannoli filling recipe easy delivers a quick, creamy filling with minimal effort—so you get classic cannoli flavor without the stress. It’s built for speed and reliability, using straightforward ingredients and a simple mixing method that holds up for filling right away. If your goal is an easy cannoli filling that turns out smooth and not runny, this is the version to make.
A simple, stress-free cannoli filling is achieved by mixing well-drained ricotta with sugar and vanilla, then loosening it slightly with cream until it’s smooth and pipeable. If you avoid watery ricotta and chill briefly for the right thickness, you’ll get a creamy center that tastes fresh and holds its shape inside crisp cannoli shells.
Simple Ingredients for Easy Cannoli Filling

An easy cannoli filling recipe starts with a short list of ingredients, but the quality of two components—ricotta and texture control—determines whether your filling tastes like classic Italian cannoli or a “good enough” dessert.
Core building blocks:
– Well-drained ricotta as the base for the classic flavor
Look for fresh ricotta labeled “whole milk” and plan to drain it (even if the package says “ready to use”). Excess whey is the main reason fillings turn watery.
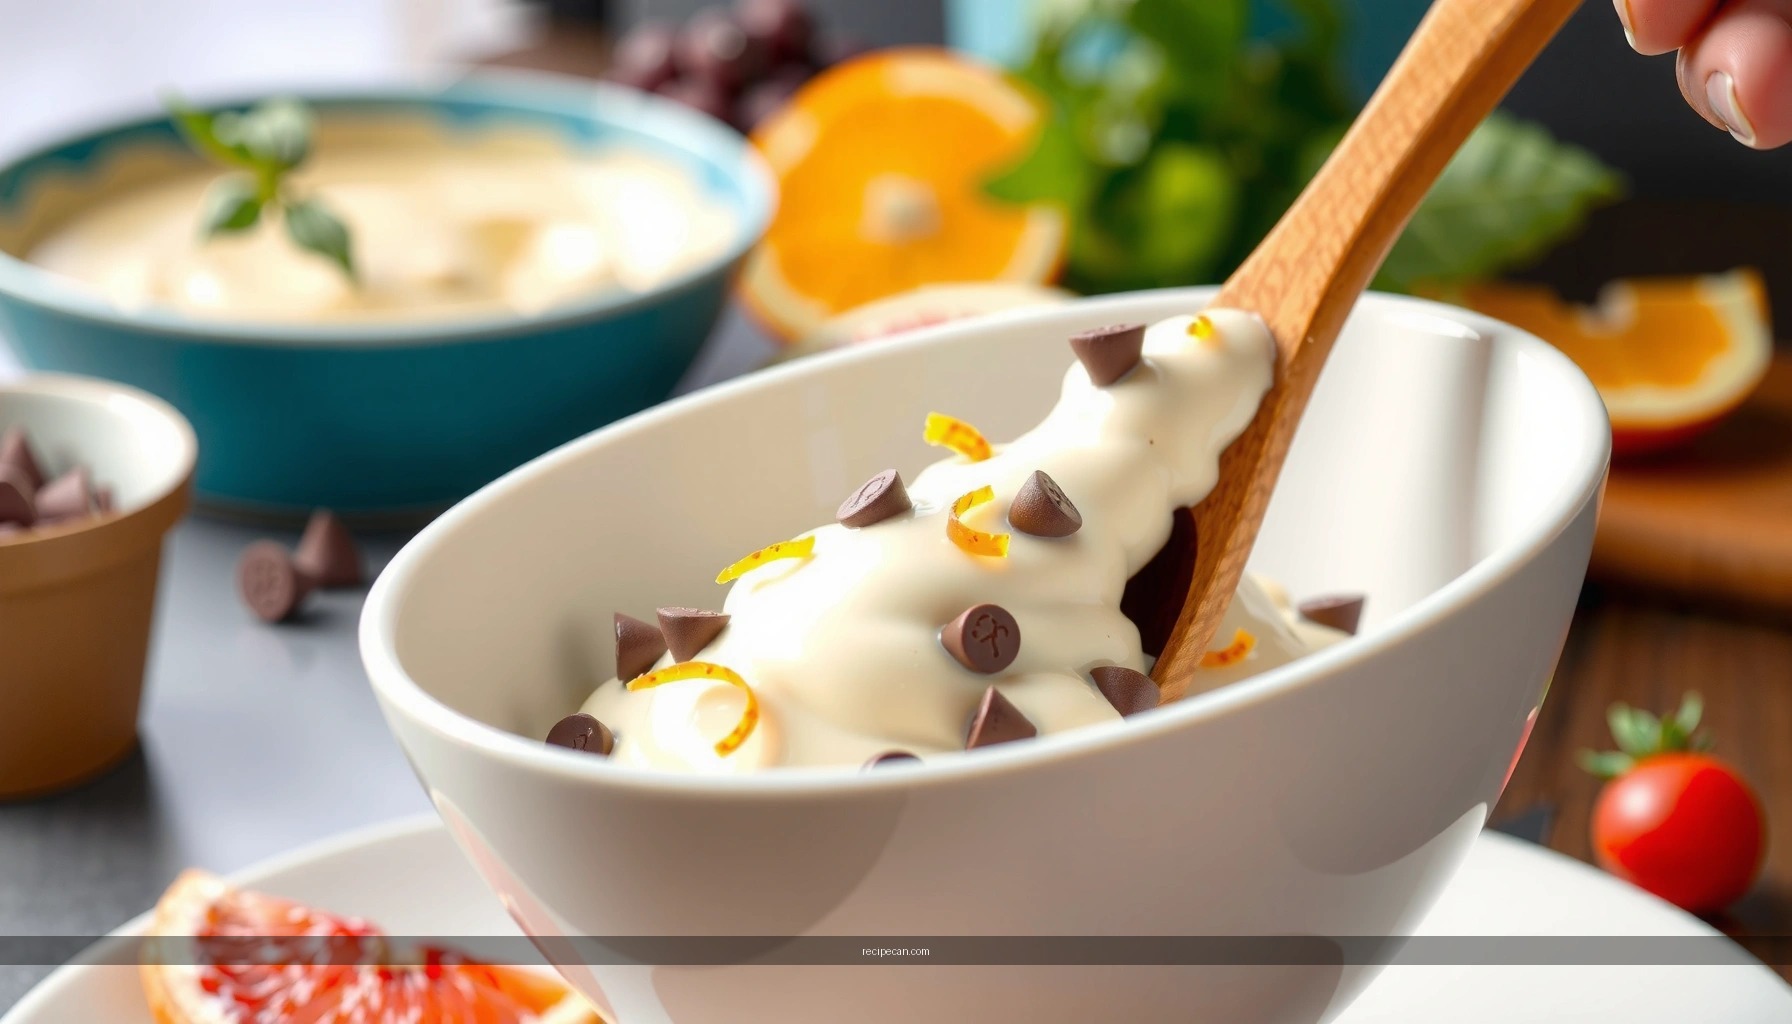
– Add sugar and vanilla, plus mini chocolate chips if desired
Sugar balances the tang of ricotta and helps the filling taste dessert-sweet, not just creamy. Vanilla rounds out flavor; mini chocolate chips add a traditional contrast and a little visual appeal.
Pro tip for consistent results:
If you can, weigh your ingredients. Cannoli filling is one of those recipes where small deviations (especially too much cream or not enough draining) show up immediately in the final texture.
Cannoli Filling Ingredient Targets (for 12–15 Filled Shells)
| # | Ingredient | Target Amount | Texture Role | Outcome Impact |
|---|---|---|---|---|
| 1 | Whole milk ricotta (well-drained) | 16 oz (454 g) | Base & tang | ★ ★ ★ ★ ★ |
| 2 | Granulated sugar | 1/3 cup (67 g) | Sweetness & body | ★ ★ ★ ★ ☆ |
| 3 | Vanilla extract | 1 tsp (5 ml) | Aroma & balance | ★ ★ ★ ★ ★ |
| 4 | Heavy cream (or mascarpone blend) | 2–4 tbsp (30–60 ml) | Pipeability control | ★ ★ ★ ☆ ☆ |
| 5 | Mini chocolate chips (optional) | 1/4 cup (40 g) | Texture contrast | ★ ★ ★ ★ ☆ |
| 6 | Fine salt | 1/8 tsp | Flavor lift | ★ ★ ★ ★ ☆ |
| 7 | Orange zest (optional) | 1 tsp (about 2 g) | Bright aroma | ★ ★ ★ ★ ☆ |
How to Make Ricotta Smooth (No Watery Filling)

If your cannoli filling looks loose or separates, the issue is usually ricotta moisture and curd texture, not your sugar or vanilla.
Drain properly—don’t skip it
Even “fresh” ricotta contains whey. Drain it to prevent watery cannoli filling:
– Method: Place ricotta in a fine-mesh sieve or lined colander.
– Time: 20–40 minutes in the fridge (longer if the container seems very wet).
– Result: Less liquid means your filling thickens naturally, so you need less cream.
Break down curds for a professional texture
Smooth filling matters because cannoli shells are delicate—lumpy filling can feel unpleasant and can clog piping tips.
– Stir first: Use a spatula to press ricotta against the bowl.
– Blend if needed: For an ultra-smooth finish, blend gently (short bursts) or use a hand mixer on low.
– Check thickness before adding cream: Ricotta texture varies by brand; adding cream too early can turn a correct recipe into a runny one.
A practical thickness test
After blending:
– Scoop a spoonful and let it fall back into the bowl.
– Ideal: It should mound and settle slowly, not immediately pool.
Quick Method: Mix, Chill, Pipe

Once your ricotta is drained and smooth, the rest of the process is fast—this is where you eliminate stress.
Step-by-step (typical timeline: ~10–15 minutes active)
1. Mix sugar and vanilla into ricotta
Stir until evenly distributed. Sugar will slightly thicken the mixture as it dissolves.
2. Add salt for balance
A tiny pinch improves sweetness perception and brings out vanilla.
3. Adjust texture with cream, incrementally
Add 1 tablespoon at a time, mixing thoroughly after each addition.
4. Chill briefly for pipeability
Refrigerate 15–30 minutes so the filling sets and becomes easier to pipe.
Why chilling works
Even if the mix looks right at first, chilling helps fat and moisture re-stabilize. That means cleaner lines when you pipe and better structure once the filling meets the shell.
Business-like consistency: make it repeatable
For the most repeatable results, use the same approach every time:
– Drain for the same time window.
– Mix until the same point of smoothness.
– Add cream in increments.
Best Consistency for Piping Into Cannoli
The “best” texture is not watery creaminess—it’s thick, spoonable, and pipe-ready.
What “pipeable” looks like
– Holds peaks when you drag a spoon across the surface
– Sits in a mound rather than spreading flat instantly
– Pipes smoothly without air bubbles or sudden flow
Fixes if your filling is off
– Too stiff (won’t pipe): Add cream 1 teaspoon at a time, mixing well.
– Too loose (runny):
– Chill 15 minutes first (fat re-thickens), and
– If still loose, fold in a small amount of additional well-drained ricotta and re-check thickness.
Avoid the common “over-cream” mistake
People often add cream to solve lumps. But if the ricotta is already smooth and drained, excess cream makes cannoli filling:
– Spread too quickly into the shell
– Loosen its structure
– Soften shells faster than intended
Optional Flavor Boosts and Variations
Classic cannoli filling is already excellent, but small additions let you tailor it for different preferences—without complicating the recipe.
Easy flavor upgrades
– Add orange zest, cinnamon, or a splash of liqueur for extra flavor
– Orange zest adds brightness that cuts through ricotta richness.
– A pinch of cinnamon adds warmth, especially for holiday-style cannoli.
– A splash of liqueur (like amaretto) brings a bakery-like aroma—use sparingly so it doesn’t loosen the texture.
– Try different add-ins like pistachios or candied fruit
– Pistachios add crunch and a nutty profile.
– Candied fruit provides pops of sweetness, but chop small to avoid uneven piping.
Timing guidance for add-ins
– Chocolate chips and chopped nuts: Fold in at the end to prevent over-mixing.
– Citrus zest: Mix in early so the oils distribute evenly.
How to Store and Fill for Fresh-Tasting Cannoli
Cannoli is one of those desserts where timing directly affects quality. Crisp shells and creamy filling are best together—but not for too long.
Fill right before serving
– For best crunch: Fill cannoli close to serving time.
– If entertaining: Fill 30–60 minutes ahead if your kitchen is cool, and serve soon after.
Storage for leftover filling
If you make filling in advance:
– Store in an airtight container in the refrigerator.
– Press plastic wrap directly onto the surface to reduce moisture exposure.
– Stir gently before use; chilled dairy can firm up and look slightly thicker at first.
What not to do
– Don’t store filled cannoli for long periods if you want shells to stay crisp.
– Don’t freeze ricotta filling; freezing can change texture and make it grainier after thawing.
When to Adjust Your Cannoli Filling
| # | If You Notice… | Likely Cause | Action to Take | Confidence |
|---|---|---|---|---|
| 1 | Filling looks glossy and pools on the spoon | Too much whey or too much cream | Chill 15 min, then drain/adjust with more drained ricotta | High |
| 2 | Lumpy texture when piping | Curds not fully smoothed | Press through sieve or blend briefly; re-check thickness | High |
| 3 | Filling holds peaks but won’t come out of piping tip | Too stiff from under-draining or too little cream | Add cream 1 tsp at a time until smooth | Medium |
| 4 | Cracks or watery separation after chilling | Inconsistent moisture distribution | Stir thoroughly; if needed, add 1–2 tsp cream | Low–Med |
| 5 | Flavor tastes bland | Sugar not enough or ricotta very mild | Add sugar 1 tsp at a time; adjust vanilla | Medium |
| 6 | Shells soften quickly | Filled too far in advance | Fill closer to serving; keep cannoli uncovered just before serving | Low |
| 7 | Filling seems too thick after 1+ hours | Chilling too long or low cream | Stir and add 1 tsp cream; re-chill briefly if needed | Medium |
A simple, creamy cannoli filling comes down to well-drained ricotta, quick mixing, and a short chill for the right texture. Follow the steps above, fill your cannoli when ready, and try one variation (like chocolate chips or citrus) to make it your own—then serve immediately for the best crunch and flavor.
Frequently Asked Questions
What is the easiest cannoli filling recipe with ricotta?
A simple cannoli filling recipe starts with drained ricotta cheese, powdered sugar, vanilla extract, and a pinch of salt. Fold in mini chocolate chips and mix until smooth and creamy. For the classic texture, make sure your ricotta is well-drained so the cannoli filling isn’t watery.
How do you thicken cannoli filling if it’s too runny?
If your easy cannoli filling feels runny, the most common cause is ricotta that hasn’t been properly drained. Stir in a little more powdered sugar and let it sit for 10–15 minutes, then re-check the texture. If it’s still loose, fold in a small amount of crushed ricotta or strained yogurt-free mascarpone in moderation to firm it up.
Why should you drain ricotta for cannoli filling?
Draining ricotta helps remove excess liquid so your cannoli filling stays thick enough to pipe or spoon into shells. This prevents sogginess and keeps the cannoli from becoming watery, especially if you’re preparing ahead. For best results, strain ricotta in a fine sieve or cheesecloth for at least 1–2 hours before mixing.
Which mix-ins work best for an easy cannoli filling?
Traditional mix-ins include mini chocolate chips, chopped candied orange peel, and a touch of cinnamon or espresso powder for depth. If you want a simpler cannoli filling recipe easy to customize, start with chocolate chips and vanilla, then add orange zest for a classic flavor. Keep mix-ins small and evenly distributed so every bite tastes balanced.
What’s the best way to store and use cannoli filling?
Store cannoli filling covered in the refrigerator for up to 2–3 days for the best flavor and texture. If you’re filling cannoli shells later, pipe or spoon the filling right before serving to prevent the shells from softening. Stir the filling briefly after chilling to restore its creamy consistency before using.
References
- Cannoli
https://en.wikipedia.org/wiki/Cannoli - Ricotta
https://en.wikipedia.org/wiki/Ricotta - https://www.britannica.com/topic/cannoli
https://www.britannica.com/topic/cannoli - USDA FoodData Central
https://fdc.nal.usda.gov/ - Google Scholar Google Scholar
https://scholar.google.com/scholar?q=cannoli+filling+recipe+ricotta - Google Scholar Google Scholar
https://scholar.google.com/scholar?q=cannoli+filling+sweetened+ricotta+technique - Google Scholar Google Scholar
https://scholar.google.com/scholar?q=easy+cannoli+filling+ricotta+chocolate+candied+fruit - https://pubmed.ncbi.nlm.nih.gov/?term=ricotta+cheese
https://pubmed.ncbi.nlm.nih.gov/?term=ricotta+cheese - cheese ricotta – Search Results – PMC
https://www.ncbi.nlm.nih.gov/pmc/?term=cheese+ricotta - Home – Books – NCBI
https://www.ncbi.nlm.nih.gov/books/


