This easy Italian cannoli recipe is the quickest path to classic cannoli—crispy shells, creamy ricotta filling, and all the flavors that make the real thing. It delivers a step-by-step method that answers whether you can make cannoli at home fast without complicated techniques or special equipment. If you want a reliable win for weeknight-speed baking that still tastes traditional, this is the one to follow.
Make easy Italian cannoli by filling crisp shells with a sweet, smooth ricotta mixture—no complicated techniques required. If you focus on two execution points (a thick ricotta filling and assembling right before serving), you’ll get the classic cannoli crunch-to-cream balance in a fraction of the time.
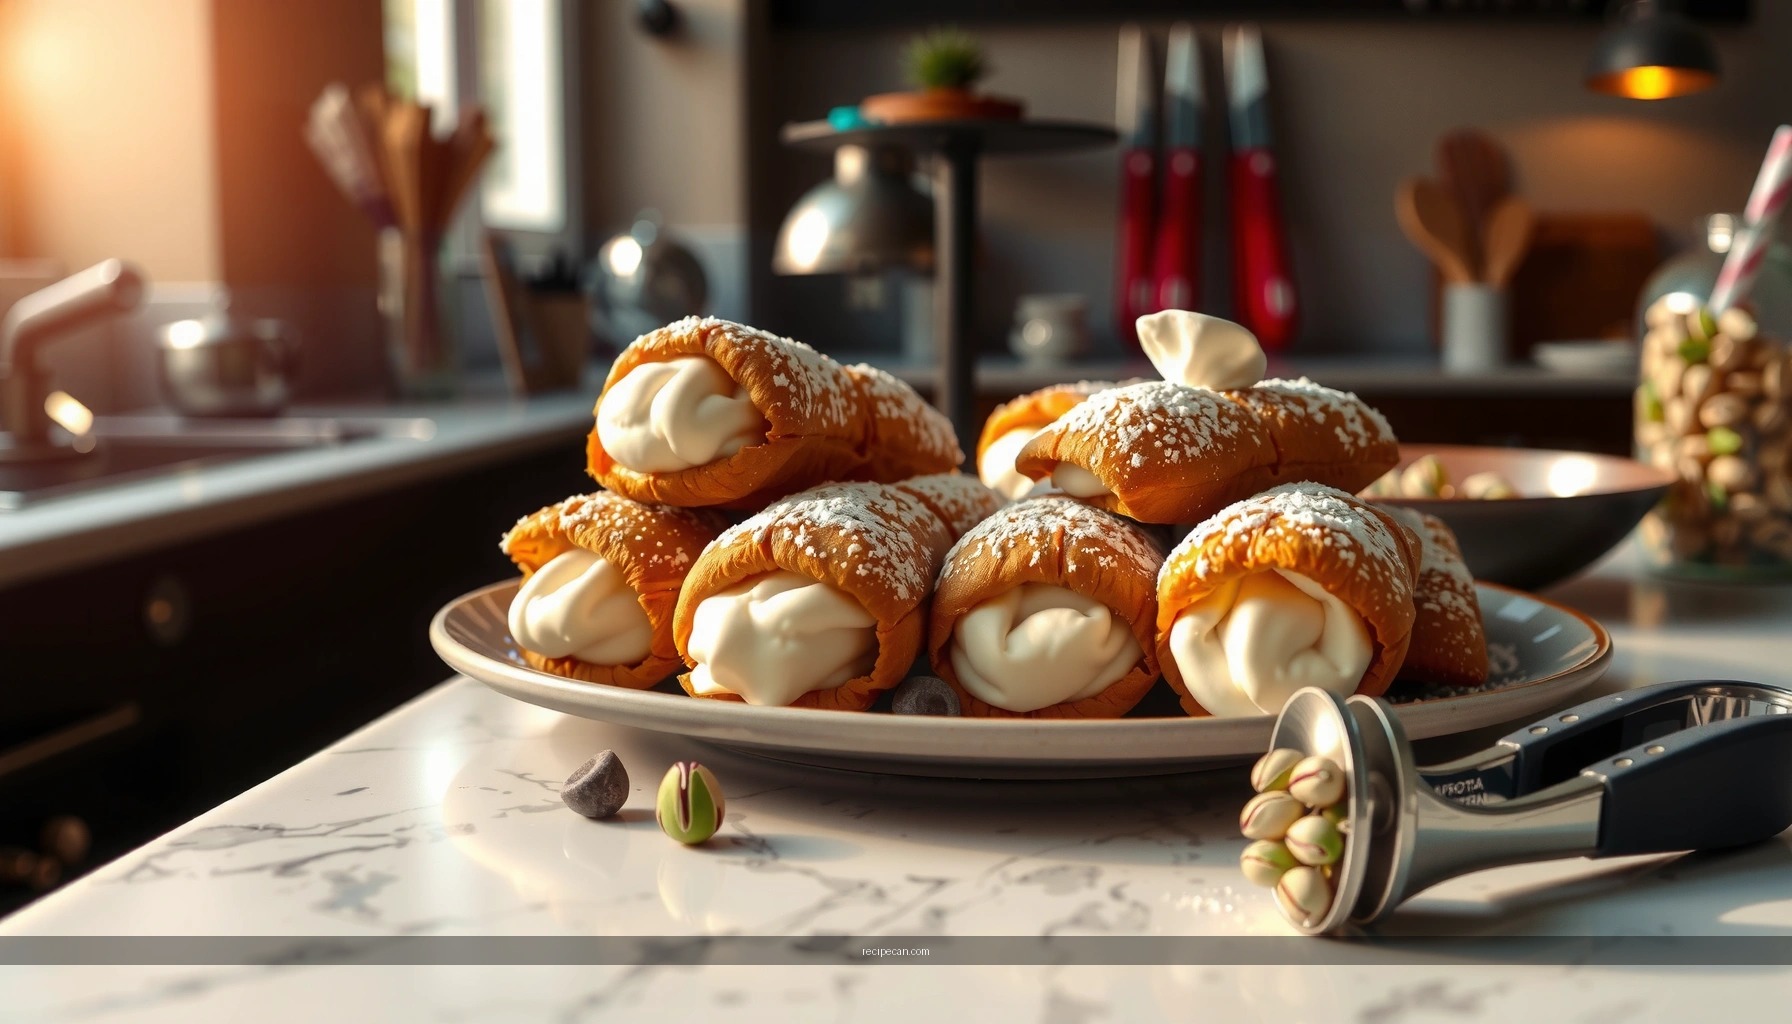
Cannoli are one of Italy’s most recognizable desserts because the contrast is the point: lightly sweet ricotta filling, chocolate accents (often mini chips), and a shell that stays crisp long enough to enjoy. This recipe is designed for speed and reliability. You’ll learn exactly how to mix a stable filling, how to handle homemade vs. store-bought shells without losing texture, and how to assemble cannoli so they don’t turn soggy. Along the way, you’ll also get practical flavor variations and make-ahead tips that work for real kitchens (including busy weeknights and entertaining).
Cannoli Shell Crunch vs. Fill Timing (Best Practices)
| # | Assembly Timing After Filling | Expected Texture | Recommended Use | Simplicity Score |
|---|---|---|---|---|
| 1 | 0–10 minutes | Maximum crispness | Serve immediately | ★★★★★ |
| 2 | 10–30 minutes | Crisp edges, soft center | Light entertaining | ★★★★☆ |
| 3 | 30–60 minutes | Noticeable softening | Quick batch service | ★★★☆☆ |
| 4 | 1–2 hours | Shell loses crunch | Not ideal (but workable) | ★★☆☆☆ |
| 5 | 2–4 hours | Soggy risk increases | Only if refrigerated | ★☆☆☆☆ |
| 6 | Chilled + served later | Slightly firmer filling | Best for “build to order” | ★★★☆☆ |
| 7 | Assembly just before plating | Most consistent results | Catering/party workflow | ★★★★☆ |
Ingredients for Easy Italian Cannoli

For a quick and classic cannoli, you want a straightforward shopping list and the right ratios to produce a filling that holds its shape. The filling is typically ricotta-based, flavored with sugar and vanilla, and dotted with small chocolate pieces for contrast.
Core ingredients (classic style):
– Ricotta cheese (preferably whole milk; well-drained for a thicker texture)
– Powdered sugar (dissolves smoothly—ideal for a creamy cannoli filling)
– Chocolate chips (mini chips work best so they distribute evenly)
– Vanilla extract (optional but strongly recommended for traditional warmth)
Shells and garnishes:
– Cannoli shells (homemade or store-bought)
– Optional toppings: pistachios, candied fruit, or extra chocolate (for finishing touches)
Pro tip for “easy” reliability: choose ricotta that’s not watery. If your ricotta looks wet, drain it in a fine-mesh sieve for 15–30 minutes before mixing. This is one of the simplest ways to prevent runny filling—and it’s critical for avoiding soggy cannoli shells.
Make the Cannoli Filling (Fast and Creamy)

The filling is the heart of an easy Italian cannoli recipe. When done correctly, it’s thick enough to pipe cleanly and firm enough to resist shell softening.
Step-by-step method
1. Drain (if needed). If you’re using fresh ricotta that feels loose, drain it. Thicker ricotta = a stable filling.
2. Mix with powdered sugar. In a bowl, stir ricotta and powdered sugar until smooth. For the easiest “no complications” result, use a spoon or hand mixer on low until you reach a thick, cohesive consistency.
3. Flavor thoughtfully. Add vanilla extract and a pinch of salt to balance sweetness. Salt may seem small, but it sharpens flavor and makes the ricotta taste more “classic.”
4. Fold in chocolate chips. Mix in mini chocolate chips gently so you don’t overwork the filling.
Texture targets (what “right” looks like)
– Pipe-able but not stiff: The filling should hold a shape when piped.
– No visible graininess: Smoothness is a sign the sugar has dissolved and the ricotta is properly worked.
– Even chocolate distribution: Chips should be scattered throughout, not sinking to the bottom.
If your filling seems loose, do not add more liquid—simply chill it 20–30 minutes, and it will often thicken as the dairy firms up.
Prepare and Crisp the Cannoli Shells

Cannoli shells are where the dessert earns its reputation. Whether you’re frying your own or buying pre-made shells, the goal is the same: a crisp shell that can withstand the filling long enough to enjoy.
If homemade shells are your plan
Homemade cannoli shells can be classic and satisfying, but they require frying. Keep it efficient:
– Roll dough thinly and evenly around cannoli forms.
– Fry until golden and bubbling—this indicates the moisture has evaporated and the shell has set.
– Cool fully before filling; warm shells can trap steam and soften quickly.
If using store-bought shells
Store-bought shells are convenient, but they can arrive slightly soft.
– Re-crisp briefly: Place shells in a preheated oven at a low temperature (about 300°F / 150°C) for 3–6 minutes, then cool completely.
– Handle gently: crispy shells are fragile, especially at the ends.
Key analytical point: crispness depends on dryness. Any trapped moisture—inside the shell or in the filling—accelerates sogginess. That’s why thick, well-drained ricotta matters as much as shell re-crisping.
How to Assemble Cannoli Without Making Them Soggy
Soggy cannoli are almost always a workflow problem, not a flavor problem. The fix is simple: assemble close to serving and manage the filling amount precisely.
Assembly principles that preserve texture
– Fill right before serving. Cannoli shells soften as soon as the filling contacts them. Aim to fill when guests are ready to eat.
– Pipe evenly. Use a piping bag for consistent texture and easier portion control. A spoon works, but piping is cleaner and faster.
– Avoid overfilling. Overfilled shells press filling against the ends, where the shell is thinnest—leading to faster softening.
A reliable “build-to-serve” workflow
1. Set out shells on a tray in single layers.
2. Spoon or pipe filling into each shell in one smooth motion.
3. Garnish immediately if using pistachios or candied fruit.
4. Serve promptly.
If you’re serving multiple guests, consider a staging approach: keep shells unfilled until just before plating, and only assemble the number you need at that moment.
Bonus: chocolate and garnish strategy
Finish with chocolate chips or crushed pistachios after filling. This reduces handling time and preserves shell structure. If you’re using candied fruit, keep pieces small to avoid tearing delicate shells during assembly.
Flavor Variations and Easy Add-Ins
An “easy Italian cannoli recipe” should be flexible. The classic base remains ricotta + powdered sugar, while variations come from aromatics and mix-ins.
Bright, traditional twists
– Orange zest: Add a small amount of finely grated orange zest for a citrus lift that complements chocolate.
– Cinnamon: A light dusting (or a tiny pinch in the filling) gives warmth without overpowering ricotta.
Swap chocolate chips for other textures
You can replace or supplement mini chocolate chips with:
– Chopped pistachios for a nutty, Sicilian-inspired profile
– Mini candied fruit for color and sweetness
– Cocoa powder (a tablespoon or two) for deeper chocolate flavor without extra sweetness spikes
Best practice: when swapping add-ins, keep the overall “dryness” similar. Wet add-ins (very syrupy fruit) can loosen the filling. If you use candied fruit, pat it dry first.
Serving, Storage, and Make-Ahead Tips
Cannoli are easiest when the timing is planned. You can absolutely prep components in advance—the trick is storing them separately so the shells remain crisp.
Serving guidance
– Serve immediately after filling for peak crunch-to-cream ratio.
– Plate on a dry surface and avoid stacking too deeply; stacked shells can trap moisture and stress-crack.
Storage strategy (component-based)
– Store shells separately: Keep shells unfilled in an airtight container at room temperature if they are already crisp.
– Store filling covered: Refrigerate filling in a covered bowl or piping bag. Before piping again, stir briefly to restore a smooth texture.
Make-ahead plan that actually works
– Prepare filling up to 1–2 days ahead.
– Re-crisp shells right before assembly if they soften over time.
– Fill cannoli in batches just before serving.
Practical timeframe: if you need cannoli for a party, plan on filling 20–40 minutes before guests arrive (or even “to order”). That workflow aligns with how texture changes naturally, and it delivers better results than trying to assemble everything early.
Homemade cannoli are easiest when you focus on one thing: crisp shells plus freshly made ricotta filling. Follow the steps above to mix, fill, and assemble quickly, then try a variation you love—so make a batch this week and enjoy them right away!
Frequently Asked Questions
What is the easiest Italian cannoli recipe for beginners?
An easy Italian cannoli recipe usually focuses on simple steps: fry (or use store-bought shells) and fill with a quick ricotta filling plus powdered sugar. Look for recipes that use minimal ingredients—ricotta, sugar, chocolate chips, and a few flavorings like vanilla or orange zest. If you’re new to frying, consider using pre-made cannoli shells to keep the process approachable while still tasting authentic.
How do you make authentic cannoli filling without watery ricotta?
To prevent watery cannoli filling, drain ricotta thoroughly before mixing—press it in a sieve lined with cheesecloth for at least 30 minutes. Once drained, beat the ricotta until smooth and only then add sugar (and any vanilla or orange zest). This technique helps the cannoli filling hold its shape and stay creamy instead of runny.
How long should you chill cannoli before serving?
For best results, chill filled cannoli for about 1–2 hours so the flavors meld and the filling firms up slightly. Avoid storing cannoli for too long, especially if the shells are homemade, because the filling can soften them. If you want crisp shells, fill them closer to serving time and keep them refrigerated until guests arrive.
Which ingredients make the best easy Italian cannoli flavor?
The classic flavor comes from good-quality ricotta, a touch of vanilla, and often orange zest or a splash of citrus. Chocolate chips (or mini chocolate pieces) are commonly used, and a pinch of salt can make the sweetness taste more balanced. For a simple upgrade, add a small amount of finely chopped candied peel or cinnamon to your easy Italian cannoli filling.
Best way to fill cannoli shells without breaking them?
Use a piping bag or zip-top bag with a corner snipped to control the filling and reduce mess. Pipe gently, stopping when the filling is full but not overstuffed, and keep the shells on a tray while filling. If your shells are warm or freshly fried, let them cool completely first—cold shells are less likely to crack and will hold the ricotta filling better.
References
- Cannoli
https://en.wikipedia.org/wiki/Cannoli - Ricotta
https://en.wikipedia.org/wiki/Ricotta - Pastry
https://en.wikipedia.org/wiki/Pastry - https://en.wikipedia.org/wiki/Pasta_frolla
https://en.wikipedia.org/wiki/Pasta_frolla - Sicilian cuisine
https://en.wikipedia.org/wiki/Sicilian_cuisine - Italian meal structure
https://en.wikipedia.org/wiki/Italian_dessert - https://www.britannica.com/topic/cannoli
https://www.britannica.com/topic/cannoli - Google Scholar Google Scholar
https://scholar.google.com/scholar?q=easy+cannoli+recipe+ricotta - Google Scholar Google Scholar
https://scholar.google.com/scholar?q=cannoli+shell+frying+dough+method - Google Scholar Google Scholar
https://scholar.google.com/scholar?q=cannoli+filling+ricotta+sugar+chocolate+chips+study


