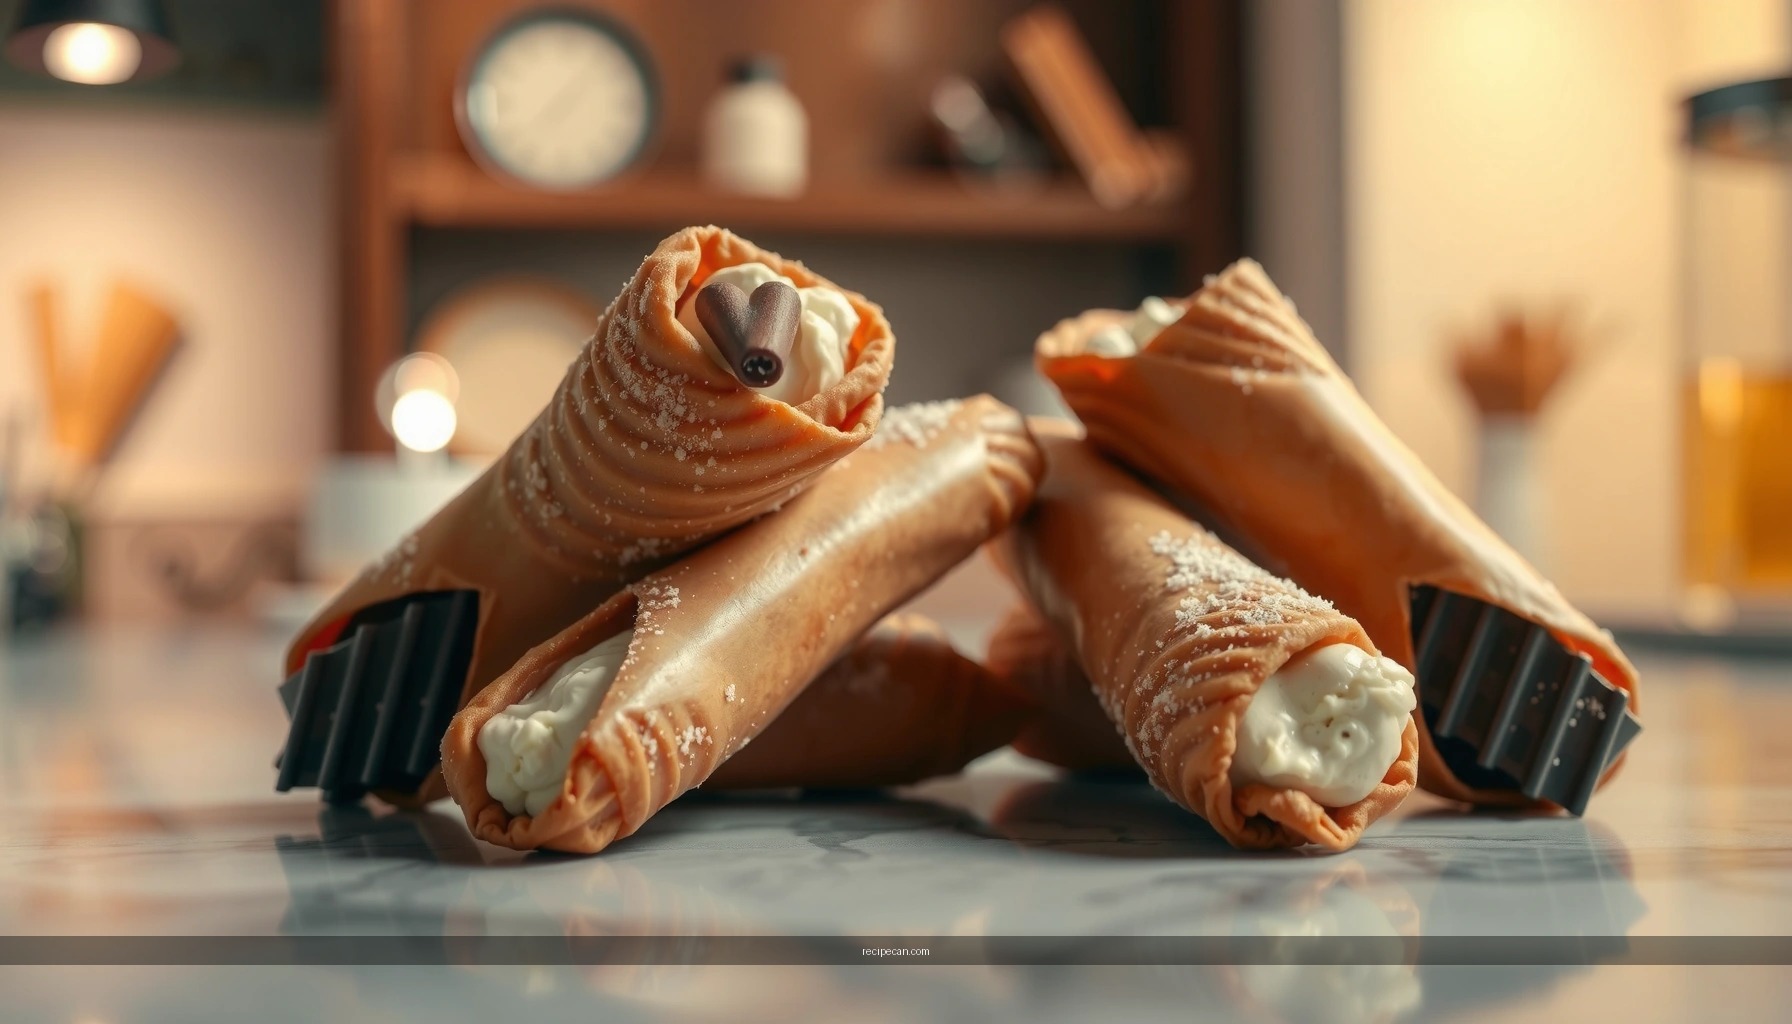
Get a foolproof cannoli shells recipe for homemade crunchy cannoli shells that crack cleanly and hold up to filling. This method delivers the right dough texture, consistent thin rolling, and fast frying/baking so every shell comes out crisp, not limp. If your last batch was too chewy or collapsed, this is the winning approach.
You can make restaurant-style cannoli shells at home by rolling the dough very thin, frying at the right oil temperature until they’re deeply golden, and filling them only at serving time to keep the crunch. This cannoli shells recipe walks you through dough prep, shaping, frying, and storage, with practical controls that help you reproduce crisp, blistered shells reliably.
Ingredients for Cannoli Shells

Cannoli shells are essentially a quick-fry pasta dough: low in sugar, rich enough to create crispness, and formulated to hold a hollow tube shape. The specific ingredients matter because they affect elasticity (so the dough rolls thin), browning (so shells crisp fast), and structure (so they don’t collapse after frying).
Essential pantry items (core dough)
– All-purpose flour: forms the dough’s gluten network for thin rolling
– Granulated sugar: a small amount for mild sweetness and browning
– Salt: balances flavor and strengthens gluten
– Lard or butter (lard traditional): contributes flakiness/crispness by limiting excessive gluten toughness
– Egg: adds binding and tenderness; helps shells stay cohesive
– Dry white wine or white wine vinegar: tenderizes and improves fry texture (wine is traditional; vinegar is a reliable substitute)
– Hot water (sometimes used in small amounts): helps hydrate flour for smooth elasticity during kneading
Optional flavor enhancers and substitutes
– Marsala wine (instead of white wine): slightly richer flavor (use the same quantity as wine)
– Cocoa powder (1–2 tsp, optional): for a subtle “bakery” twist—use carefully so it doesn’t darken too aggressively in the fryer
– Vanilla extract (½ tsp, optional): mild aroma; not traditional, but works well if you keep it subtle
– Butter substitute: if using butter, choose unsalted and cold; reduce kneading slightly since butter can create a slightly more delicate dough than lard
If you’re aiming for consistent results, prioritize: thin rolling + correct oil temperature + complete cooling on a rack. Those three factors outweigh most minor ingredient swaps.
Oil Temperature Targets for Crunchy Cannoli Shells (Fryer-Ready Guidance)
| # | Oil Temp | Typical Fry Time* | Shell Color | Crispness Rating | Result |
|---|---|---|---|---|---|
| 1 | 165°C / 329°F | 45–60 sec | Light gold | ★ ★ ★ | Soft edges |
| 2 | 170°C / 338°F | 35–50 sec | Golden | ★ ★ ★ ★ | Good crunch |
| 3 | 175°C / 347°F | 30–40 sec | Deep gold | ★ ★ ★ ★ ★ | Best balance |
| 4 | 180°C / 356°F | 25–35 sec | Golden-brown | ★ ★ ★ ★ ★ | Very crisp |
| 5 | 185°C / 365°F | 20–30 sec | Brown-gold | ★ ★ ★ ★ | Crisp, slightly darker |
| 6 | 190°C / 374°F | 15–25 sec | Dark gold | ★ ★ ★ | Risk of over-browning |
| 7 | 195°C / 383°F | 12–20 sec | Very dark | ★ ★ | Bitter notes possible |
\Fry time varies with shell thickness, mold coverage, and oil loading. Use the color and bubbles as primary signals.
Make the Cannoli Shell Dough

The dough should be smooth, elastic, and workable—not sticky. When the gluten is properly developed, you can roll it very thin without tearing, which is crucial for fast frying and an even crisp shell.
– Whisk flour, sugar, and salt together to distribute the sugar and salt evenly.
– In a separate bowl, beat egg with wine (or vinegar) and incorporate melted fat (lard/butter) once it’s warm but not hot.
2) Knead for structure
– Mix until a shaggy dough forms, then knead 8–12 minutes by hand (or 5–7 minutes with a mixer dough hook).
– You’re looking for elasticity: the dough should stretch a bit before snapping back.
3) Rest for better rolling
– Rest covered in the bowl 30 minutes (room temperature).
– This hydration and gluten relaxation improves rollability—especially important for achieving the “paper-thin” texture that turns into bubbles and crunch during frying.
Professional cue: If your dough resists rolling or springs back aggressively after the first few passes, it needs either more rest or additional kneading time. For cannoli shells, “rest + thin rolling” beats adding more flour.
Common dough issues
– Dough cracks when rolling → under-hydrated or not rested enough. Rest longer before rolling again.
– Dough tears → not elastic enough (needs kneading) or too aggressive rolling pressure.
– Shells blister unevenly → uneven thickness or inconsistent mold wrapping.
Shape Cannoli Shells

Shaping determines two things: how uniformly the shell fries and how cleanly it releases from the mold. Cannoli molds (the metal tubes) are ideal, but consistent technique matters more than fancy equipment.
1) Roll thin
– Roll dough to about 1.5–2 mm thickness (aim thinner if your dough is elastic enough).
– Cut strips (traditional for tube wrap) or circles if you prefer a more even seam—strips are usually easier for beginners.
2) Wrap tightly around molds
– Wrap the dough strip around the mold with a slight overlap—tight enough that the dough is in contact, not loose.
– Seal the seam by lightly pressing; trapped air can cause bubbling and lifting.
3) Consistency is king
– Make several shells at once with similar dough thickness and overlap.
– Keep wrapped shells at room temperature; avoid long waiting before frying, since dough can dry and behave unpredictably.
Hands-on tip: Lightly dust molds only if dough is sticking. Too much flour on metal surfaces can create scorched specks during frying.
Fry Cannoli Shells to Crisp Perfection
Crispy cannoli shells depend on two fryer controls: oil temperature and handling time. If the oil is too cool, shells absorb oil and turn chewy. If too hot, they brown quickly but may remain fragile or taste harsh.
1) Preheat oil to a target range
– Use a neutral oil suitable for deep-frying (e.g., canola, sunflower).
– Target 175–180°C (347–356°F) for a strong balance of color and crispness (as shown in the table).
2) Fry in batches
– Don’t overcrowd. Crowding drops oil temperature and creates uneven frying.
– Fry each shell until deep golden and crisp-looking bubbles appear at the surface.
3) Cool correctly
– Remove shells and cool on a rack (not paper towels).
– Allow shells to cool completely before filling. Residual steam is the enemy of crunch.
Troubleshooting by outcome
– Shells are pale after correct time → oil is likely too cool; raise temperature slightly.
– Shells are very dark but still feel soft → oil is too hot and/or shells are too thick; adjust both.
– Shells taste oily → not enough fry time at correct temp or excess batch loading.
Food-safety note: Molds and oil can be extremely hot. Use tongs or gloves, and dry wet tools to prevent oil splatter.
Fill and Serve (Best Timing for Texture)
Cannoli shells are engineered to be crisp, but fillings contain moisture—so timing is non-negotiable. Fill just before serving, and aim to serve promptly so shells don’t lose their snap.
1) Use a classic ricotta filling
A standard approach:
– Drain ricotta (or use fresh drained ricotta) to remove excess whey.
– Mix with sugar (to taste), vanilla, and optionally orange zest or a pinch of cinnamon.
– Fold in chocolate chips or candied fruit if you like the classic profile.
2) Fill with controlled pressure
– Use a piping bag or spoon.
– Fill firmly but don’t overfill to the point the shell seams burst.
3) Finish for visual impact
– Dust with powdered sugar.
– Add a few chocolate chips on top for a clean finish.
Operational best practice: If you’re producing for guests, keep shells in an airtight container (dry environment) and portion filling near the serving window. This lets you maintain both texture and consistency across the crowd.
Storage and Make-Ahead Tips
If you store shells correctly, you can prepare much of the cannoli workflow in advance—then finish with filling at the last moment.
1) Store shells airtight and dry
– Place completely cooled shells in an airtight container.
– Line the container only if needed; avoid paper towels that can trap humidity.
2) Re-crisp if necessary
– If shells lose some crispness, reheat in a low oven (about 150°C / 300°F) for 3–5 minutes.
– Cool again on a rack before filling.
3) Plan filling timing
– Fill right before serving.
– For events, assign a “fill station” so shells receive filling in waves aligned with guest arrivals.
Practical schedule
– Day of: Make dough, rest, shape, fry, cool, store shells airtight.
– Serving window: Mix/dress filling, fill shells, dust and finish, serve immediately.
Homemade cannoli shells are all about thin rolling, correct frying temperature, and timing the filling. Follow this cannoli shells recipe from dough to crisp frying, store properly, and fill right before serving—then enjoy your fresh, crunchy cannoli at home.
Frequently Asked Questions
What are cannoli shells made of and what ingredients do I need for a classic cannoli shells recipe?
Traditional cannoli shells are made from a simple dough of flour, sugar, salt, butter or lard, egg, and a splash of wine (often Marsala) plus vinegar or another acidic ingredient to help with crispness. Some recipes also include baking powder for lightness, though classic versions may vary. For a reliable cannoli shells recipe, use high-quality flour and room-temperature ingredients so the dough is elastic and easy to roll thin.
How do I make crispy cannoli shells at home without them getting soggy?
To keep cannoli shells crisp, roll the dough thin and fry quickly in oil heated to the right temperature (typically around 350°F/175°C). Drain the shells well and let them cool completely before filling, since moisture from the ricotta can soften them. If you’re aiming for extra crunch in a cannoli shells recipe, keep the filling chilled and assemble close to serving time.
Why do my cannoli shells crack or blister when frying, and how can I prevent it?
Cracking often happens when the dough is too dry, too thick, or rolled unevenly, while blistering can be caused by oil that’s too hot or dough that’s too wet. Make sure your dough rests so gluten relaxes, then roll it consistently thin and evenly around the cannoli forms. Also ensure the oil temperature stays steady throughout your cannoli shells recipe for uniform frying.
Which oil is best for frying cannoli shells, and what frying temperature should I use?
Many people prefer neutral oils like vegetable, canola, or peanut oil because they don’t overpower the flavor of the shell dough. For the best cannoli shells, maintain a steady frying temperature around 350°F/175°C; if the oil runs cooler, shells absorb oil and turn greasy, and if it’s too hot they brown too fast and can become brittle. Use a thermometer for accuracy, especially if you’re testing a new cannoli shells recipe.
What’s the best way to store cannoli shells made from scratch so they stay crunchy?
Store unflllled, fully cooled cannoli shells in an airtight container at room temperature for a short time (often up to a day or two), since they gradually lose crispness once exposed to humidity. Avoid refrigerating shells, as cold air and condensation can soften them. For the best results with your cannoli shells recipe, fill only when ready to serve and keep the ricotta filling separate until assembly.
References
- Cannoli
https://en.wikipedia.org/wiki/Cannoli - https://www.britannica.com/topic/cannoli
https://www.britannica.com/topic/cannoli - Cannoli recipe | Good Food
https://www.bbcgoodfood.com/recipes/cannoli - https://www.theguardian.com/lifeandstyle/2018/jan/07/cannoli-recipe
https://www.theguardian.com/lifeandstyle/2018/jan/07/cannoli-recipe - https://cooking.nytimes.com/recipes/1014855-cannoli
https://cooking.nytimes.com/recipes/1014855-cannoli - Google Scholar Google Scholar
https://scholar.google.com/scholar?q=cannoli+shells+recipe - Google Scholar Google Scholar
https://scholar.google.com/scholar?q=Italian+pastry+cannoli+shells+fry+method - https://scholar.google.com/scholar?q=cannoli+dough+recipe+ingredients+egg+flour+wine Google Scholar
https://scholar.google.com/scholar?q=cannoli+dough+recipe+ingredients+egg+flour+wine - cannoli shells recipe – Search results
https://en.wikipedia.org/wiki/Special:Search?search=cannoli+shells+recipe - https://www.ncbi.nlm.nih.gov/search/research-articles/?term=cannoli+shells+recipe
https://www.ncbi.nlm.nih.gov/search/research-articles/?term=cannoli+shells+recipe


