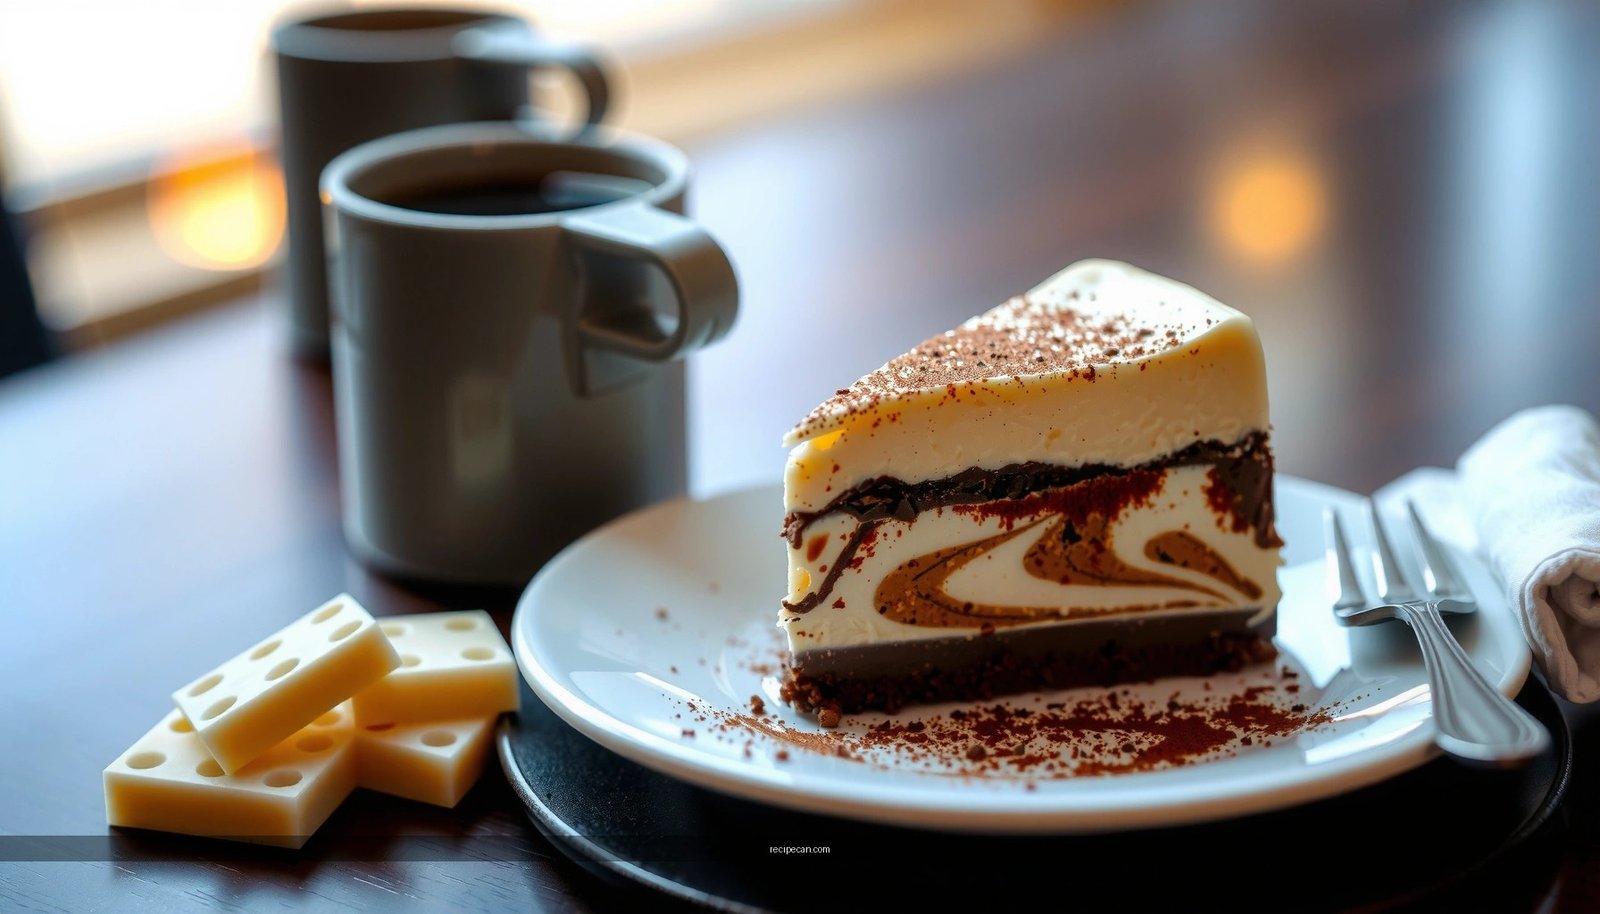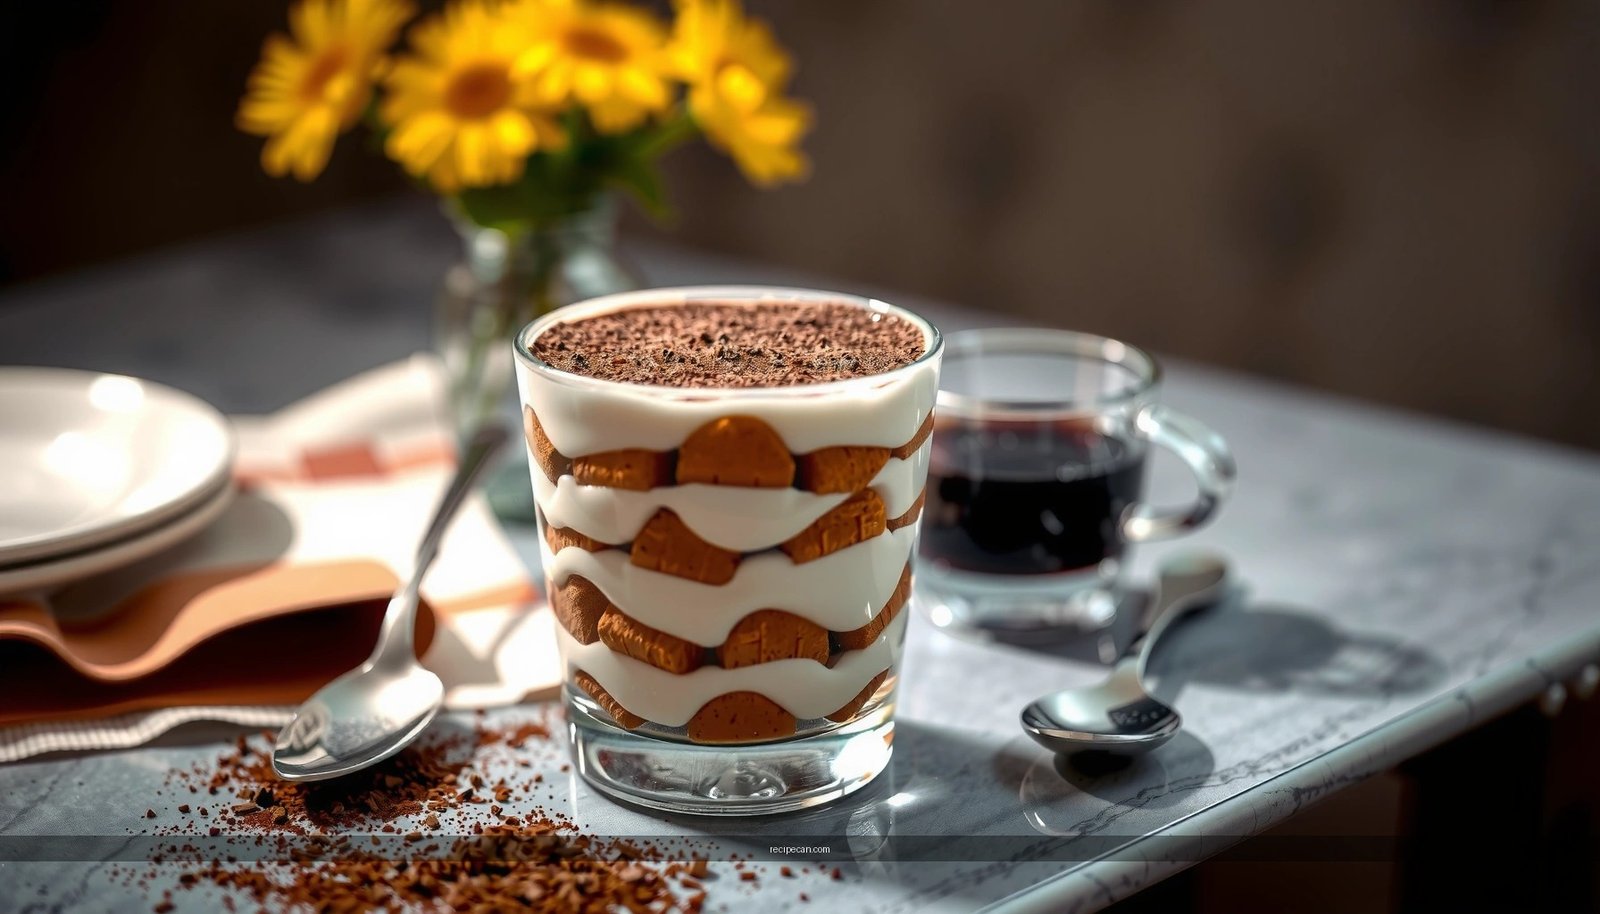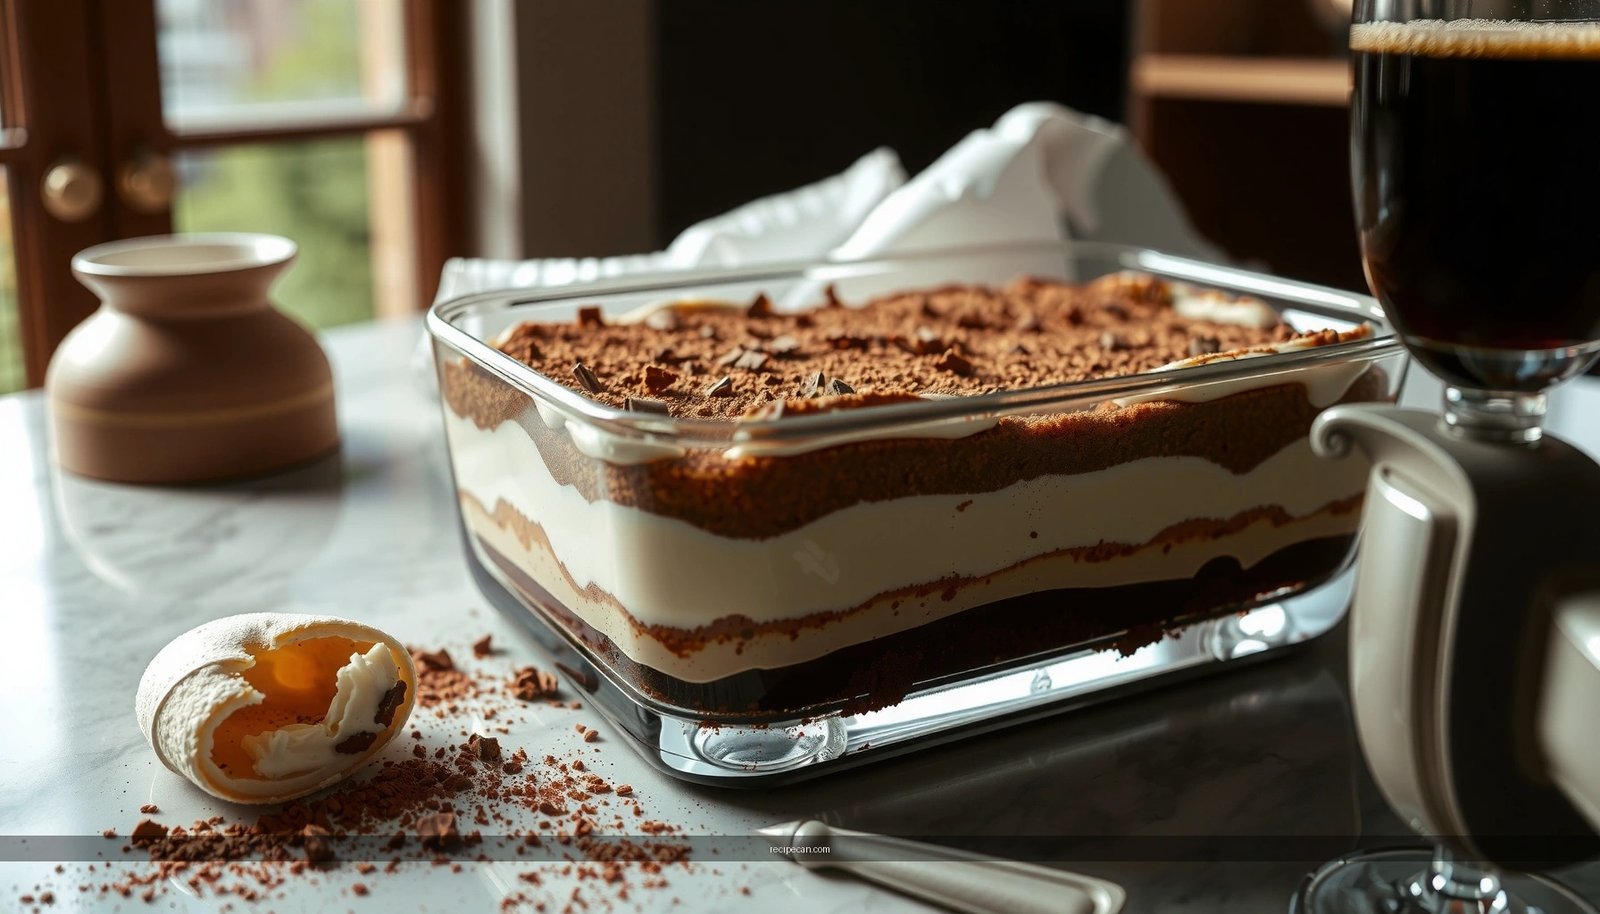
This eataly tiramisu recipe delivers the classic, creamy dessert you want—espresso-soaked ladyfingers layered with a rich mascarpone filling. Follow these straightforward steps to get clean layers, the right soak (not soggy), and that unmistakable coffee-and-cocoa finish. If you want traditional Eataly-style results with minimal guesswork, this is the only process you need.
If you want classic eataly-style tiramisù—creamy mascarpone layers with ladyfingers soaked just enough—focus on two technical points: smooth, well-aerated filling and a quick espresso dip (no prolonged soaking). Chill the assembled dessert long enough for the structure to set, and you’ll get the signature texture that’s balanced, aromatic, and never watery.
Gather Ingredients for eataly Tiramisu
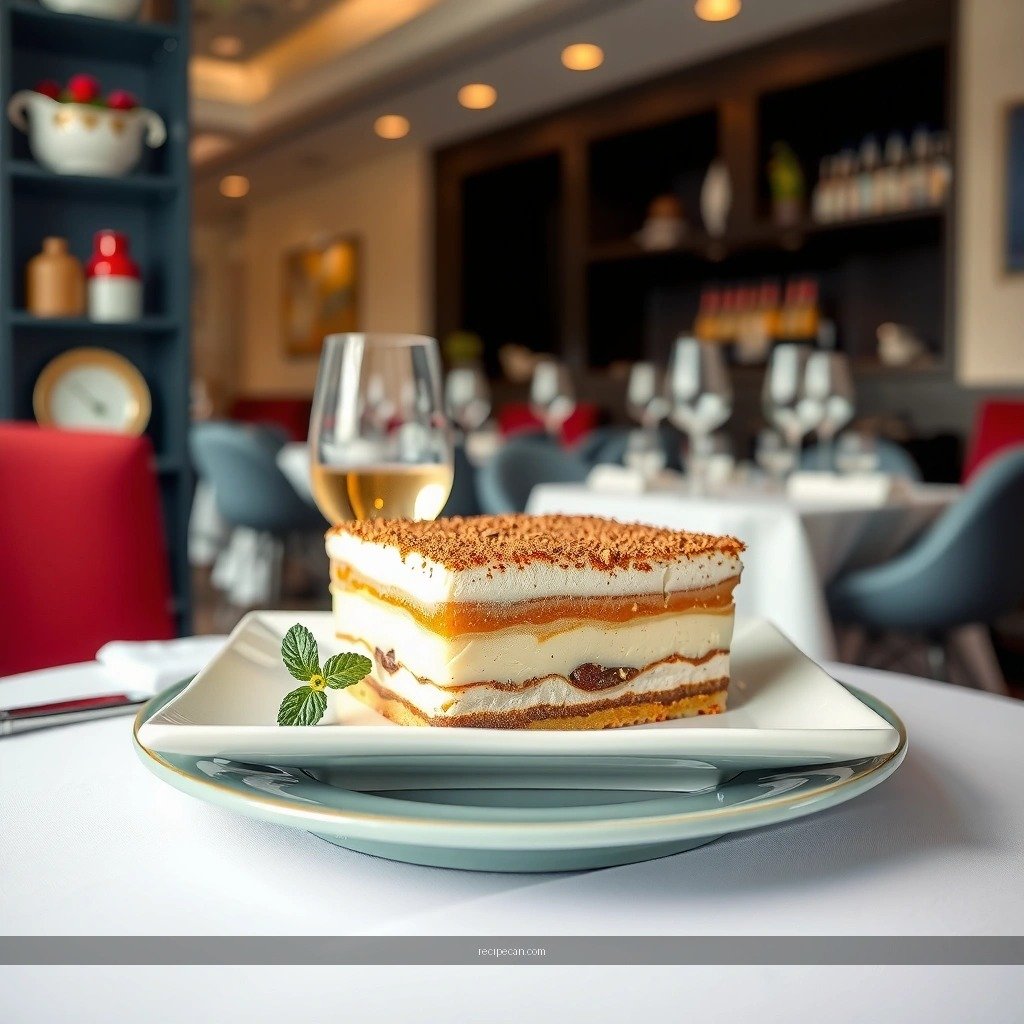
Start by treating this as a layered construction project, not just a “mix-and-dip” dessert. The right ingredients create the correct viscosity, emulsification, and flavor intensity so the tiramisu holds slices cleanly after refrigeration.
Use quality mascarpone, espresso, and cocoa for the best flavor
– Mascarpone: Choose a reputable brand and check freshness. High-fat, properly set mascarpone whips smoothly; older mascarpone can become grainy or loosen too quickly.
– Espresso (or strong coffee): Espresso provides concentrated bitterness that balances the sweetness of the filling. If using brewed coffee, aim for espresso-like strength (dark roast, low dilution) and cool it to room temperature.
– Cocoa powder: Use unsweetened Dutch-process cocoa for a deep chocolate aroma and stable dusting. It also avoids the chalky bitterness some natural cocoa powders can add.
Plan for ladyfingers and strong brewed coffee (cooled)
– Ladyfingers (savoiardi): Traditional tiramisu uses dry, crisp ladyfingers that soften with brief espresso contact. If they’re too fresh or soft from packaging, they may collapse instead of holding their shape.
– Coffee volume for dipping: You want enough espresso to dip repeatedly without running out mid-assembly. A broad, shallow dish helps you dip quickly and evenly.
– Optional flavor accents (use sparingly): A small splash of Marsala or a vanilla extract in the filling can add complexity, but the espresso and mascarpone must remain dominant.
Ingredient smart checklist (typical quantities for one 8×8-inch / ~20×20 cm pan):
– Mascarpone: ~450 g (about 2 cups)
– Eggs: 3 large (separated)
– Sugar: ~60–90 g (to taste for sweetness level)
– Strong espresso or dark coffee: ~250–300 ml, cooled
– Ladyfingers: ~18–24 depending on dip depth and pan fit
– Cocoa powder: for dusting (plus a little extra to serve)
– Salt: a small pinch (to stabilize yolk/white separation and enhance flavor)
Tiramisu Texture Targets for an 8×8-inch Pan
| # | Component | Typical Amount | Why It Matters | Texture Impact |
|---|---|---|---|---|
| 1 | Mascarpone | 450 g | Cream base that holds structure | High |
| 2 | Egg yolks + sugar | 3 yolks + 60–90 g | Sweetness + thickening in filling | High |
| 3 | Whipped egg whites | 3 whites | Air that makes it light, not dense | Medium–High |
| 4 | Espresso (cooled) | 250–300 ml | Flavor + moisture controlled by quick dip | Medium |
| 5 | Ladyfingers | 18–24 | Defines layer thickness and slice integrity | High |
| 6 | Cocoa dusting | 2–3 tbsp | Surface aroma; prevents clumping | Medium |
| 7 | Chill time before serving | 6–12 hours | Sets moisture balance & slice definition | If under 4 hrs → Risky |
Make the Mascarpone Filling

The mascarpone filling is where classic eataly tiramisù earns its reputation: thick, creamy, and light at the same time. The goal is to emulsify mascarpone smoothly while maintaining the airy lift from whipped whites.
Whisk mascarpone until smooth and creamy
– Start with room-temperature mascarpone. Cold mascarpone resists mixing and can create lumps.
– Whisk until the texture turns glossy and uniform. Overmixing usually isn’t a problem with mascarpone, but avoid adding air aggressively until you’re ready for the egg-white stage.
Combine with sweetened egg mixture for a light, thick texture
– Many versions separate eggs for a reason:
– Yolks + sugar: whisk until pale and slightly thickened.
– Whites: whip to soft peaks (not dry, stiff peaks). Soft peaks integrate more cleanly and keep the filling tender.
– Fold whites into the yolk mixture gently, then fold in mascarpone in batches. The folding motion should be slow and deliberate: scrape bottom and sides, turn the mixture over itself, and stop as soon as it looks consistent.
Quality control: what “right” looks like
– Filling should be spoonable but thick—it should not pour like a sauce.
– If your mixture looks too loose, chill it 10–15 minutes, then reassess. If it’s grainy, you may have incorporated yolks too aggressively into cold mascarpone or overfolded after the whites lost volume.
Dip Ladyfingers in Espresso
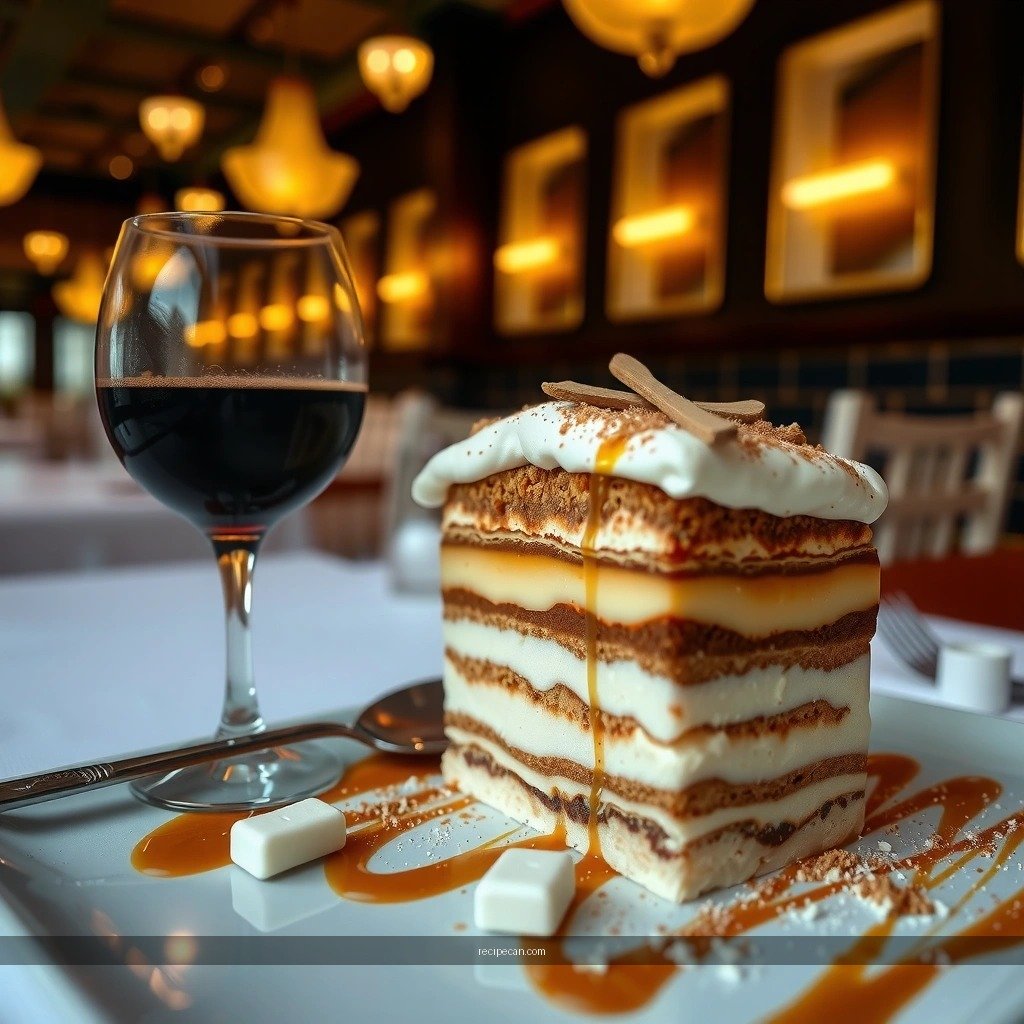
This is the step most often responsible for watery tiramisù. The solution is disciplined dipping: quick contact, then immediate layering.
Dip quickly so they’re soaked, not soggy
– Hold each ladyfinger vertically and dip briefly, typically 1–2 seconds per side (adjust based on brand thickness and dryness).
– The ladyfinger should become dark and flexible at the surface, but not collapse. If it bends easily but still holds its shape, you’re on target.
Use a moderate amount of espresso to balance richness
– Strong espresso is essential, but you also need control. Too much liquid absorption makes the filling “float,” then weep as it chills.
– If you’re using a shallow dish, you can dip efficiently without submerging the entire finger. Consider using a wider dish to reduce time spent repositioning.
Practical technique (fast workflow)
– Pre-assemble: have your pan ready, filling chilled, and ladyfingers aligned.
– Dip one layer worth at a time. This reduces time between dipping and assembly—one of the most overlooked causes of sogginess.
Assemble the Tiramisu Layers
Assembly is where you lock in classic proportions. Each layer should be even enough to create clean slice boundaries and consistent flavor per bite.
Layer espresso-dipped ladyfingers and mascarpone filling evenly
– Place the first layer of dipped ladyfingers on the bottom—cover the base fully with minimal gaps.
– Spread mascarpone filling in an even layer using an offset spatula. Consistency matters: if the filling thickness varies, some sections will taste more “egg-forward” or more “coffee-forward.”
– Repeat layering—ladyfingers first, filling second—until you reach the top. Finish with mascarpone so the surface is smooth and ready for cocoa.
Critical finishing detail
– After spreading the final mascarpone layer, level it and chill briefly while you dust with cocoa right before serving (or at least until the surface crust forms). Cocoa dusted too early can absorb moisture and darken unevenly.
Chill and Finish with Cocoa
Chilling does more than cool the dessert—it rebalances moisture, sets the structure, and allows espresso notes to mellow into the mascarpone.
Refrigerate several hours (or overnight) to set the structure
– Aim for 6–12 hours. During this time:
– Ladyfingers soften to the ideal “tender” texture.
– Filling firms slightly, supporting slice integrity.
– Espresso flavor distributes more evenly across layers.
– If you rush to serve after a short chill, you may get a looser texture and less cohesive layers.
Dust generously with cocoa just before serving
– Use a fine mesh sieve. This avoids clumps and creates an even “classic” finish.
– Dust generously but not aggressively—too much cocoa can dull the mascarpone aroma and create a bitter surface.
Serving Tips for Best Results
Serving isn’t an afterthought; it’s part of ensuring the dessert looks and tastes right when presented.
Slice with a sharp knife for clean layers
– Use a sharp, straight-edged knife. Wipe and re-wipe between cuts for clean edges.
– If your knife drags, dip it in warm water and wipe dry, then slice again. Heat helps the filling separate cleanly without compressing layers.
Serve cold and optionally add extra cocoa or a light espresso drizzle
– Serve immediately after dusting with cocoa.
– For a more expressive espresso profile, add a tiny drizzle of cooled espresso on top of the slice (not the whole pan). This keeps the dessert pristine and prevents additional moisture from migrating through the layers.
Common pitfalls to avoid (quick diagnosis)
– Watery tiramisù: likely over-dipped ladyfingers or insufficient chilling time.
– Dense filling: whites not whipped to soft peaks, or overfolding that deflated air.
– Curdled or grainy filling: mascarpone too cold during mixing or vigorous whisking after adding egg yolks.
Final checklist: chill long enough, dip briefly, fold gently, and dust cocoa at the last moment.
Chill, layer carefully, and dip ladyfingers quickly for the signature eataly tiramisu texture—creamy, balanced, and never watery. Make this recipe today, then refrigerate it long enough for the flavors to fully develop; share it after the first perfect slice.
Frequently Asked Questions
What makes an Eataly tiramisu recipe different from traditional tiramisu?
An Eataly tiramisu recipe typically emphasizes high-quality Italian ingredients and a balanced flavor profile, often using espresso that’s strong but not overly bitter. Many versions focus on a smooth mascarpone cream with a careful ratio of mascarpone to eggs for a richer yet spoonable texture. You may also see more attention to soak consistency so the ladyfingers absorb espresso without becoming soggy.
How do you make Eataly tiramisu without curdling the mascarpone filling?
To avoid curdling in an Eataly tiramisu recipe, keep egg yolks warm but not hot—use gentle heat and stir constantly until slightly thickened. Temper the yolks gradually if you’re combining them with other ingredients, then fold in mascarpone carefully rather than whisking aggressively. Chilling the tiramisu after assembling also helps the cream set properly for clean slices.
Why should tiramisu rest in the fridge, and how long for the best results?
Resting is crucial because the ladyfingers fully hydrate from the espresso, and the flavors meld into a cohesive Eataly tiramisu taste. For best results, refrigerate for at least 4–6 hours, and ideally overnight, so the mascarpone cream firms up and the texture becomes more stable. If you serve it too soon, you may get watery layers or a runnier filling.
Which espresso should you use for an Eataly tiramisu recipe—coffee strength or type?
For an authentic Eataly tiramisu recipe, use a strong espresso or espresso-style coffee because the soaking liquid needs enough intensity to stand up to the sweet mascarpone cream. Many bakers prefer freshly brewed espresso, but cold brewed coffee can work if it’s concentrated enough. Aim for a flavor that’s bold and aromatic; weak coffee will taste thin once layered.
What’s the best way to assemble Eataly-style tiramisu so it doesn’t turn watery?
Assemble in thin, even layers and dip the ladyfingers quickly—just long enough to moisten, not soak through. Use a consistent cream thickness and avoid over-soaking, since excess liquid can break down the structure of the tiramisu. After layering, refrigerate promptly and dust with cocoa only when ready to serve for the most appealing Eataly tiramisu presentation.
References
- Tiramisu
https://en.wikipedia.org/wiki/Tiramisu - Tiramisu | Meaning, Ingredients, Origin, Desserts, & Taste | Britannica
https://www.britannica.com/topic/tiramisu - https://www.bbc.com/food/recipes/tiramisu_70034
https://www.bbc.com/food/recipes/tiramisu_70034 - https://www.theguardian.com/food/2014/aug/23/tiramisu-recipe-italian-coffee-cream
https://www.theguardian.com/food/2014/aug/23/tiramisu-recipe-italian-coffee-cream - https://cooking.nytimes.com/recipes/1015964-tiramisu
https://cooking.nytimes.com/recipes/1015964-tiramisu - Mascarpone
https://en.wikipedia.org/wiki/Mascarpone - Lady finger
https://en.wikipedia.org/wiki/Ladyfinger - Google Scholar Google Scholar
https://scholar.google.com/scholar?q=Eataly+tiramisu+recipe - Google Scholar Google Scholar
https://scholar.google.com/scholar?q=tiramisu+recipe+mascarpone+ladyfingers+eggs - Google Scholar Google Scholar
https://scholar.google.com/scholar?q=tiramisu+food+safety+raw+eggs+eggnog+pasteurization