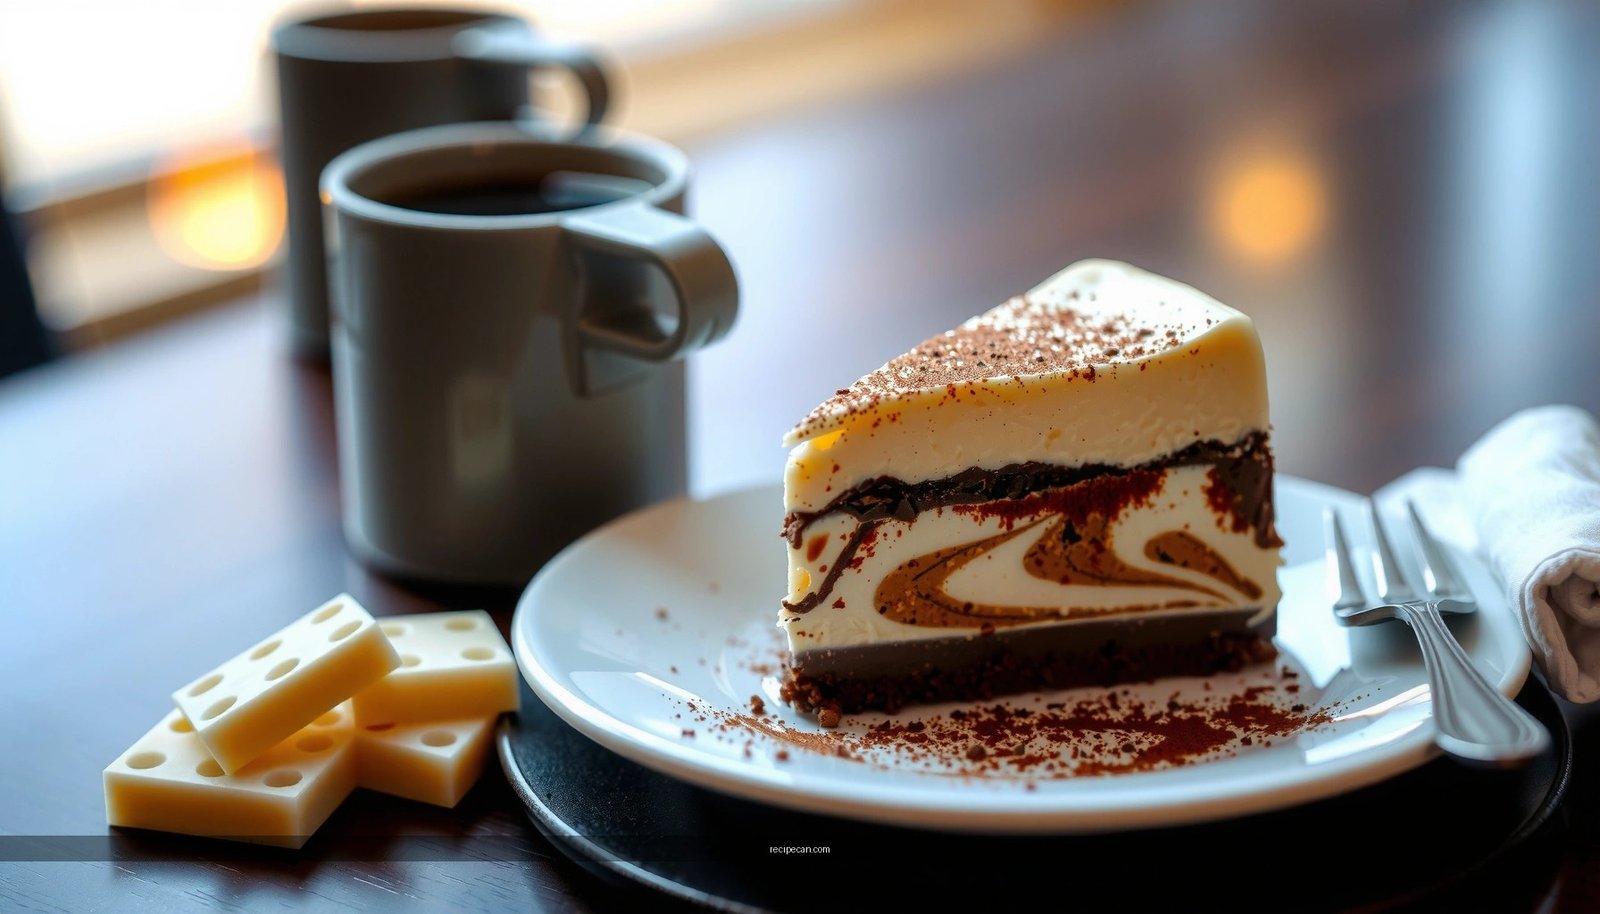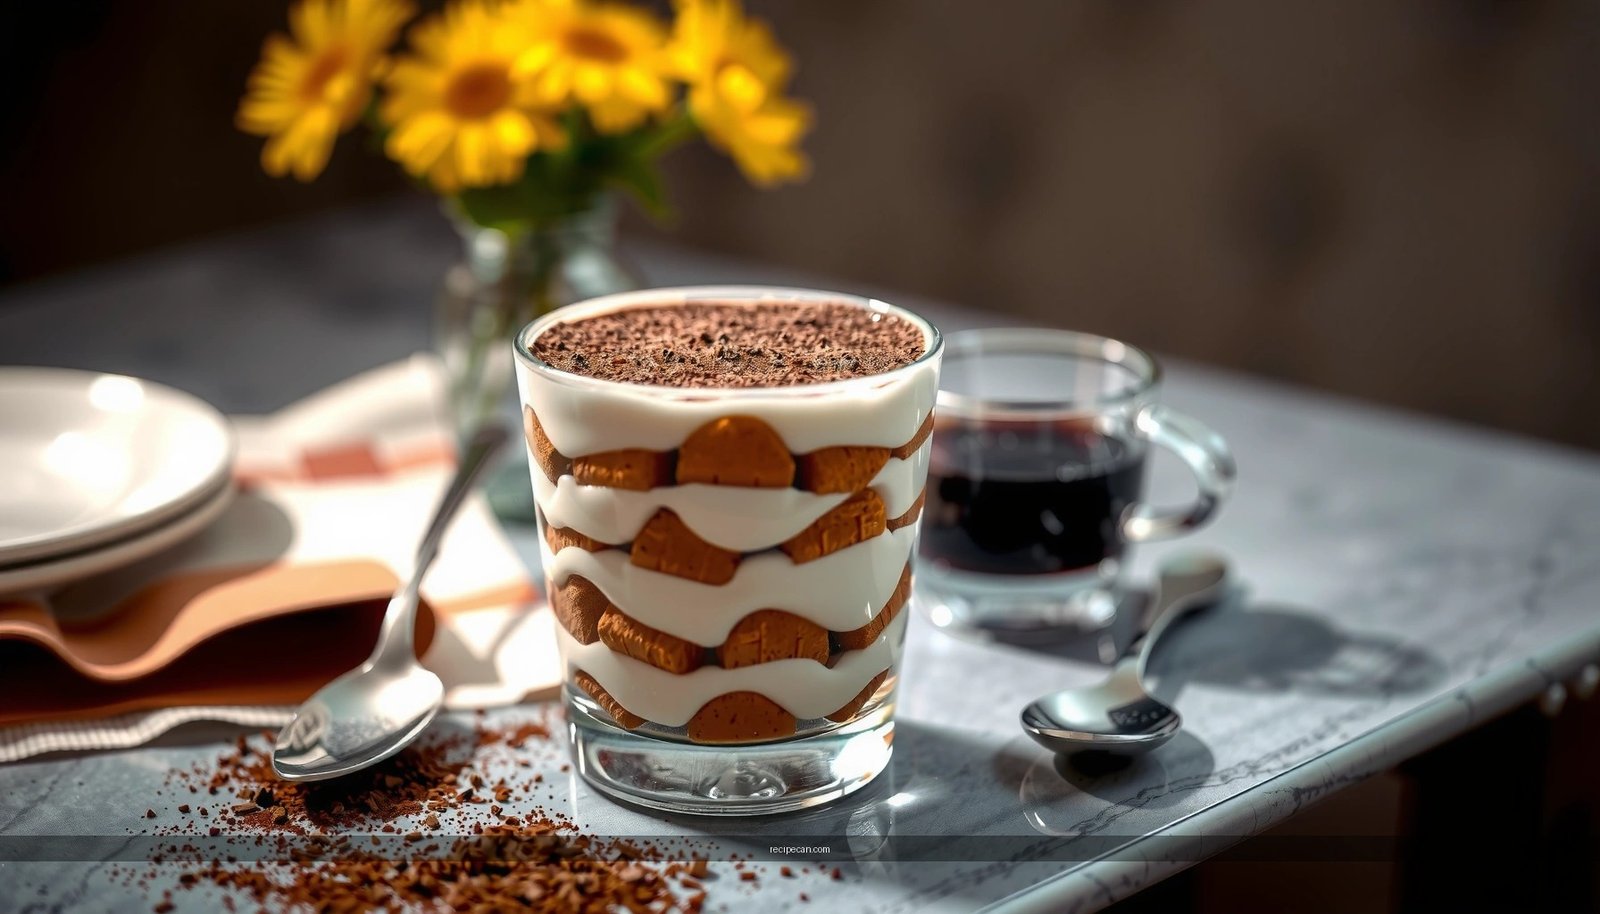
Get Jamie Oliver–style tiramisu with a recipe that delivers the right balance of espresso punch, creamy mascarpone, and clean coffee-soaked layers. This step-by-step method answers the question of how to make the most authentic “Jamie” version at home—no complicated tricks, just consistent results. If you want tiramisu that slices neatly and tastes properly coffee-forward, this is the winner.
Make Jamie Oliver-style tiramisu at home by layering espresso-soaked sponge with a creamy mascarpone mixture, then chilling until set—no shortcuts needed. This guide gives you the exact method, ingredients, and timing to achieve a rich, smooth tiramisu that slices cleanly and tastes like it came from a well-run Italian kitchen.
Ingredients for Jamie Oliver Tiramisu

Jamie Oliver’s approach to tiramisu is best understood as “high-quality basics, handled gently, layered with intention.” The goal is a dessert that’s intensely coffee-forward, creamy (not greasy), and structured (not sloppy). For best results, use real mascarpone, properly brewed espresso, and sponge fingers that can hold liquid without collapsing.
Core ingredients (the signature flavour and texture):
– Mascarpone (full-fat for stability and silkiness)
– Eggs (or egg alternatives for a different approach—see notes below)
– Caster sugar (fine grains dissolve faster)
– Espresso (strong and freshly made or reliably stored; “instant” can work, but fresh espresso is superior)
Sponge and finishing (the classic tiramisu look):
– Sponge fingers / savoiardi (the ridged texture helps hold the coffee soak)
– Cocoa powder (for the bitter-sweet top crust)
– Optional dark chocolate (shavings or finely grated for extra depth)
Egg note (egg alternatives, without compromising texture)
Traditional tiramisu uses egg yolks (often whisked until glossy) to lighten the mascarpone. If you’re avoiding eggs, you can still aim for the same cream structure by using a reputable egg alternative that whips or emulsifies well (e.g., stabilized vegan custard style mixes). The key is to match the “light, aerated” function—not just replace the ingredient.
How Soaking & Chilling Affect Set (Benchmarks for 8–10 Servings)
| # | Technique Variable | Target Range | Expected Result | Outcome Score |
|---|---|---|---|---|
| 1 | Coffee strength | 1–2 shots espresso per 120 ml | Bold flavour, not watery | 9.2★ |
| 2 | Sponge dip time | 1–2 seconds per side | Cream holds structure | 9.0★ |
| 3 | Mascarpone whipping | Whisk until smooth (30–60 sec) | Thick, spreadable texture | 8.7★ |
| 4 | Chill duration | 6–8 hours (minimum), 12–18 ideal | Clean slices, flavours meld | 9.4★ |
| 5 | Assembly compression | No pressing; gentle leveling | Light layers, stable height | 8.4★ |
| 6 | Cocoa timing | Dust right before serving | Fresh look, less moisture staining | 8.8★ |
| 7 | Over-soaking | >4 seconds per side | Watery layers, weaker slice | 3.1★ |
Preparing the Coffee & Soaking the Sponge
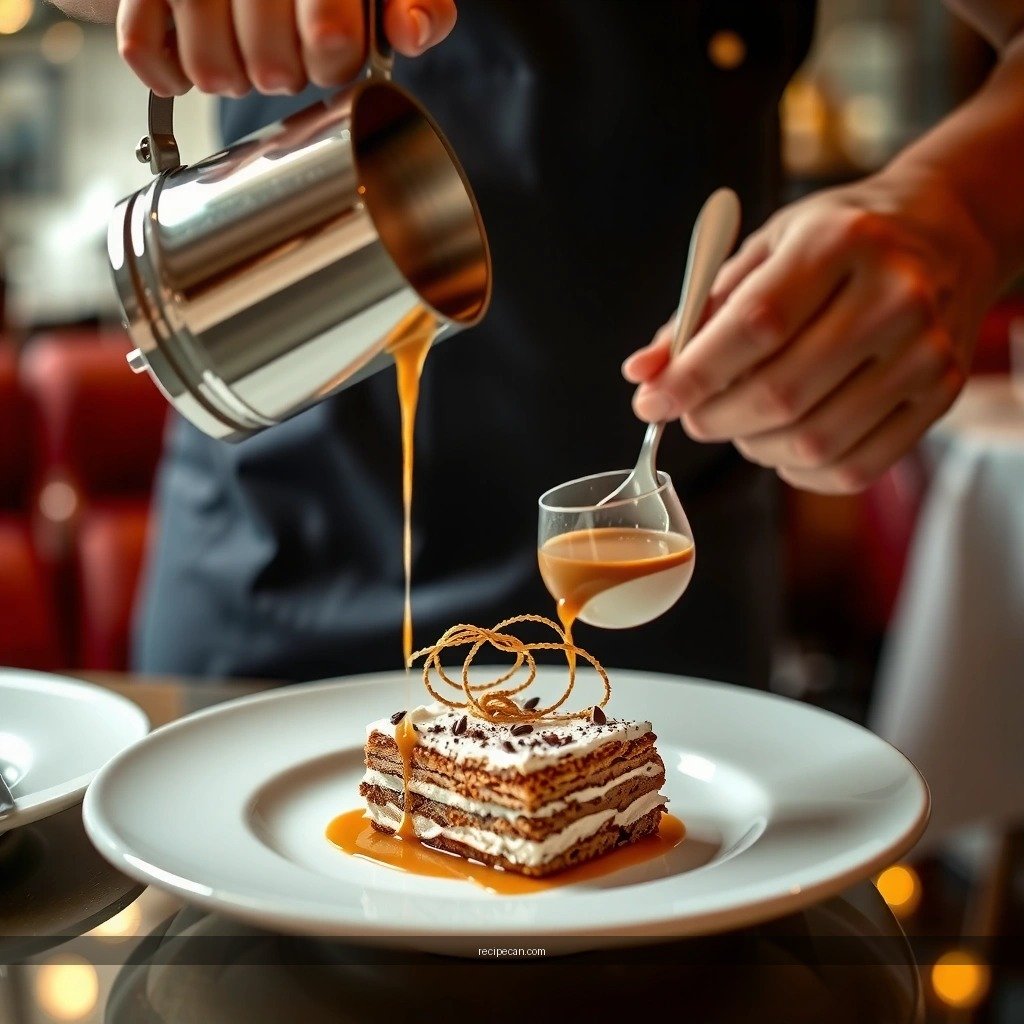
The espresso is the “spine” of a great tiramisu. Jamie Oliver-style tiramisu leans on bold coffee flavour, but the soak must be precise: the sponge should be saturated enough to taste soaked, yet firm enough to keep the layer structure.
1) Brew strong espresso, then cool slightly
– Brew espresso strong enough to hold its character once it meets mascarpone’s creaminess.
– Let it cool for a few minutes so the sponge doesn’t heat the cream when layered.
2) Dip quickly—think “coat,” not “soak”
– Dip each sponge finger 1–2 seconds per side.
– If you dip too long, the sponge breaks down and creates watery gaps between the cream layers.
3) Keep your timing consistent
– Use a rhythm: dip → lift → set aside on a tray.
– Consistency matters because uneven soaking leads to uneven textures—hard edges in some places and mush in others.
4) Optional flavour enhancer
If you like a more nuanced tiramisu, add a small splash of coffee liqueur (or just a tiny amount of vanilla) to the espresso. Keep it minimal so the coffee remains dominant.
Making the Creamy Mascarpone Mixture
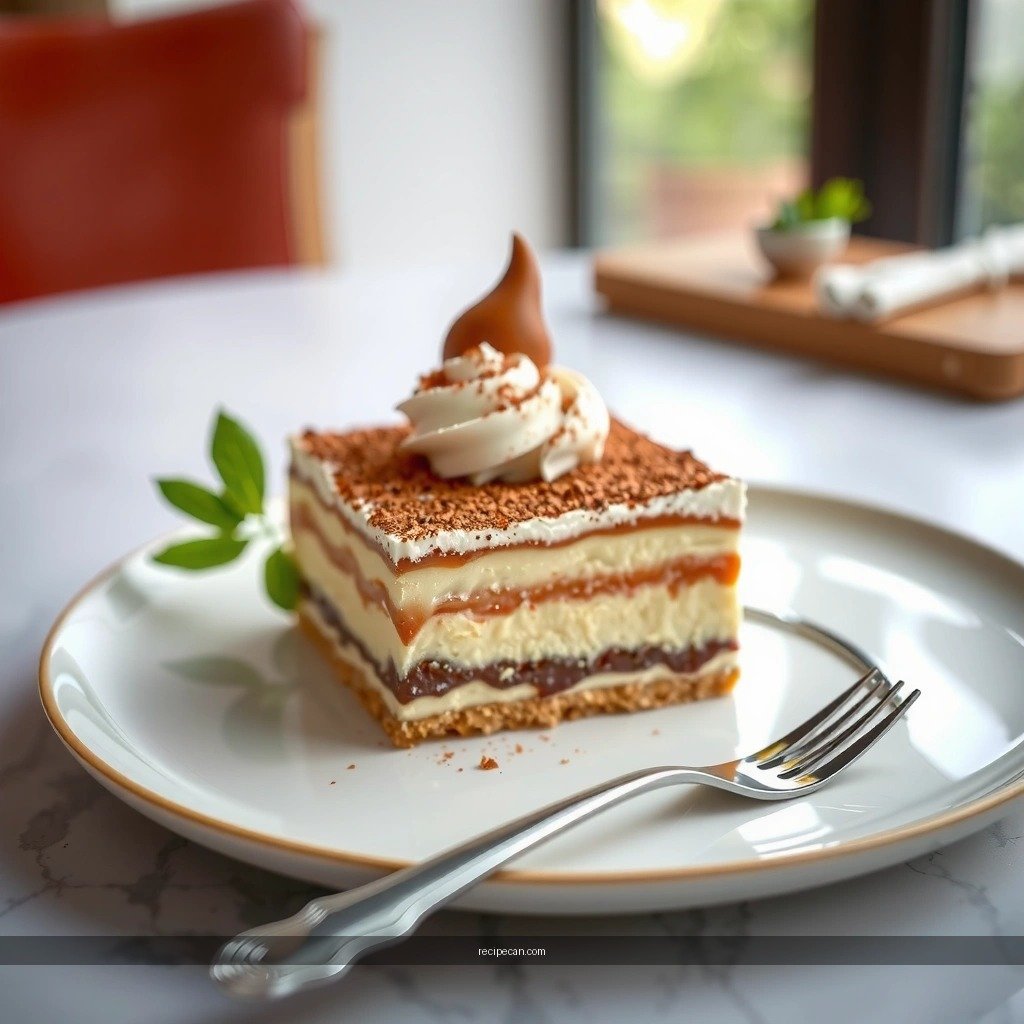
This is where you build the signature “Jamie Oliver” feel: glossy, thick, and spoonable—never grainy and never too loose.
1) Whisk mascarpone with caster sugar
– Start by whisking mascarpone with caster sugar until smooth and creamy.
– This reduces the chance of lumps that later show up as unpleasant textural patches.
2) Incorporate eggs (or a stable alternative) gently
– If using eggs: whisk yolks (with sugar if your method calls for it) until pale and slightly thick, then fold carefully into the mascarpone base.
– If using egg alternatives: choose one that whips/emulsifies. Follow the packaging method, then fold—not beat—into the mascarpone.
3) Fold to keep it light
– The moment you aggressively whisk, you risk making the cream heavy or even split depending on your exact egg/temperature conditions.
– Folding keeps the mascarpone aerated and stable.
4) Aim for thick, spreadable consistency
– You should be able to spread the cream smoothly without it running.
– If it’s too thick, lighten it with a spoonful of cooled espresso (very gradually). If it’s too loose, chill the mixture briefly before assembling.
Layering for the Perfect Tiramisu Structure
A professional-looking tiramisu comes from stable layering—compression destroys the airy structure and makes slicing difficult.
1) Use a build order that locks the layers in place
– Add a base layer of cream.
– Add a single layer of lightly soaked sponge fingers.
– Add more cream on top (this “seals” the sponge).
2) Repeat without compressing
– Repeat layers until your dish is filled.
– Level the cream gently with a spatula. Don’t press down—let the structure settle in the fridge.
3) Smooth the top layer for a clean finish
– Use the back of a spoon or offset spatula to make the top even.
– A smooth surface makes cocoa dusting sit beautifully and helps with portioning.
4) Portion-minded assembly
– If you’re serving 8–10 people, consider building layers that don’t exceed about 1.5–2 cm thickness for each sponge layer.
– This supports clean slices rather than tall, unstable stacks.
Chilling Time & Best Serving Tips
Chilling is not optional—tiramisu “sets” as the cream firms and coffee flavours distribute through the sponge.
1) Chill several hours (overnight is ideal)
– Aim for 6–8 hours minimum, and 12–18 hours for the best melded flavour and slice stability.
2) Dust with cocoa just before serving
– Cocoa pressed too early can absorb moisture and look dull or uneven.
– Dust generously right before you bring the dish to the table.
3) Slice with the right tool
– Use a warm, clean knife (run it under hot water, then wipe dry).
– This prevents the cream from dragging and tearing, keeping portions neat and professional.
– Optional dark chocolate shavings on top can add a restaurant-style finish.
– Keep garnish light—too much weight can affect portion neatness.
Common Mistakes to Avoid
Even small missteps can push tiramisu from “silky and smooth” to “soft, watery, and hard to serve.” Here are the most common issues—and why they happen.
1) Over-soaking the sponge
– If sponge fingers sit in coffee too long, they collapse, release liquid, and weaken layer integrity.
– Stick to the 1–2 second dip rule.
2) Under-mixing or aggressive stirring
– Under-mixed mascarpone can remain lumpy.
– Aggressive mixing can make the cream dense or cause texture issues—especially when folding egg components.
3) Skipping chilling time
– Without enough fridge time, the cream won’t firm up properly.
– You’ll get a dessert that tastes great but refuses to slice cleanly.
4) Dusting cocoa too early
– Cocoa absorbs moisture, turning flat and slightly patchy.
– Dust right before serving for the best appearance and flavour.
Conclusion
Tiramisu recipe success comes down to three controllable variables: strong espresso, a smooth mascarpone cream handled gently, and patient chilling so the layers set beautifully. Follow the soaking timing, fold for lightness, assemble without compressing, and chill overnight for the best Jamie Oliver-style result—then slice with a warm knife, dust with cocoa at the last moment, and enjoy perfectly portionable tiramisu every time.
Frequently Asked Questions
What is the best Jamie Oliver tiramisu recipe for beginners?
Look for a Jamie Oliver-style tiramisu that uses espresso, mascarpone, eggs (or a simplified approach), and savoiardi biscuits for an easy, reliable set. The key for beginners is getting the coffee-soaking right—dip the biscuits quickly so they soften but don’t turn to mush. Also, chill the tiramisu long enough so the flavors meld, which is essential for the classic tiramisu texture.
How do I make Jamie Oliver tiramisu taste more like classic Italian tiramisu?
Use strong freshly brewed espresso (or very strong coffee) and let it cool slightly before soaking the savoiardi. Whisk the mascarpone mixture until smooth and evenly combined so you avoid lumps and get that creamy consistency associated with classic Italian tiramisu. Finally, dust generously with cocoa powder at the end rather than mixing it in, so you get a deeper chocolate finish.
Why did my tiramisu turn out runny when following a Jamie Oliver tiramisu recipe?
Runny tiramisu is usually caused by under-whipping the egg mixture, using mascarpone that’s too warm, or soaking the biscuits too long. Make sure the mascarpone is cold and fold gently to keep the mixture airy, then refrigerate the dessert for several hours (or overnight) to firm up. If your recipe includes eggs, use pasteurized eggs if needed and follow timing closely for proper structure.
Which mascarpone and coffee should I use for a Jamie Oliver tiramisu recipe?
Choose high-quality mascarpone that’s rich, thick, and sold refrigerated—this helps your tiramisu set properly. For coffee, use freshly brewed espresso or a strong dark coffee with enough intensity to cut through the sweetness and creamy mascarpone. Avoid overly watery instant coffee, because weak coffee can make the Jamie Oliver tiramisu taste flat rather than bold and balanced.
How long should you chill a Jamie Oliver tiramisu before serving?
For best results, chill your tiramisu for at least 4–6 hours, and overnight if you can. This resting time allows the coffee to fully flavor the savoiardi while the mascarpone cream thickens and sets into the classic tiramisu sliceable texture. If you serve too soon, the layers may taste watery or look less defined.
References
- Tiramisu
https://en.wikipedia.org/wiki/Tiramisu - https://www.britannica.com/recipe/tiramisu
https://www.britannica.com/recipe/tiramisu - Mascarpone
https://en.wikipedia.org/wiki/Mascarpone - Ladyfingers (biscuits)
https://en.wikipedia.org/wiki/Savoiardi - https://www.fda.gov/food/buy-store-serve-safe-food/keeping-food-safe/raw-eggs-and-food-safety
https://www.fda.gov/food/buy-store-serve-safe-food/keeping-food-safe/raw-eggs-and-food-safety - https://www.cdc.gov/foodsafety/communication/keepraweggs.html
https://www.cdc.gov/foodsafety/communication/keepraweggs.html - Food safety
https://www.who.int/news-room/fact-sheets/detail/food-safety - https://pubmed.ncbi.nlm.nih.gov/?term=tiramisu
https://pubmed.ncbi.nlm.nih.gov/?term=tiramisu - Google Scholar Google Scholar
https://scholar.google.com/scholar?q=tiramisu+recipe+mascarpone+eggs - Google Scholar Google Scholar
https://scholar.google.com/scholar?q=Jamie+Oliver+tiramisu+recipe