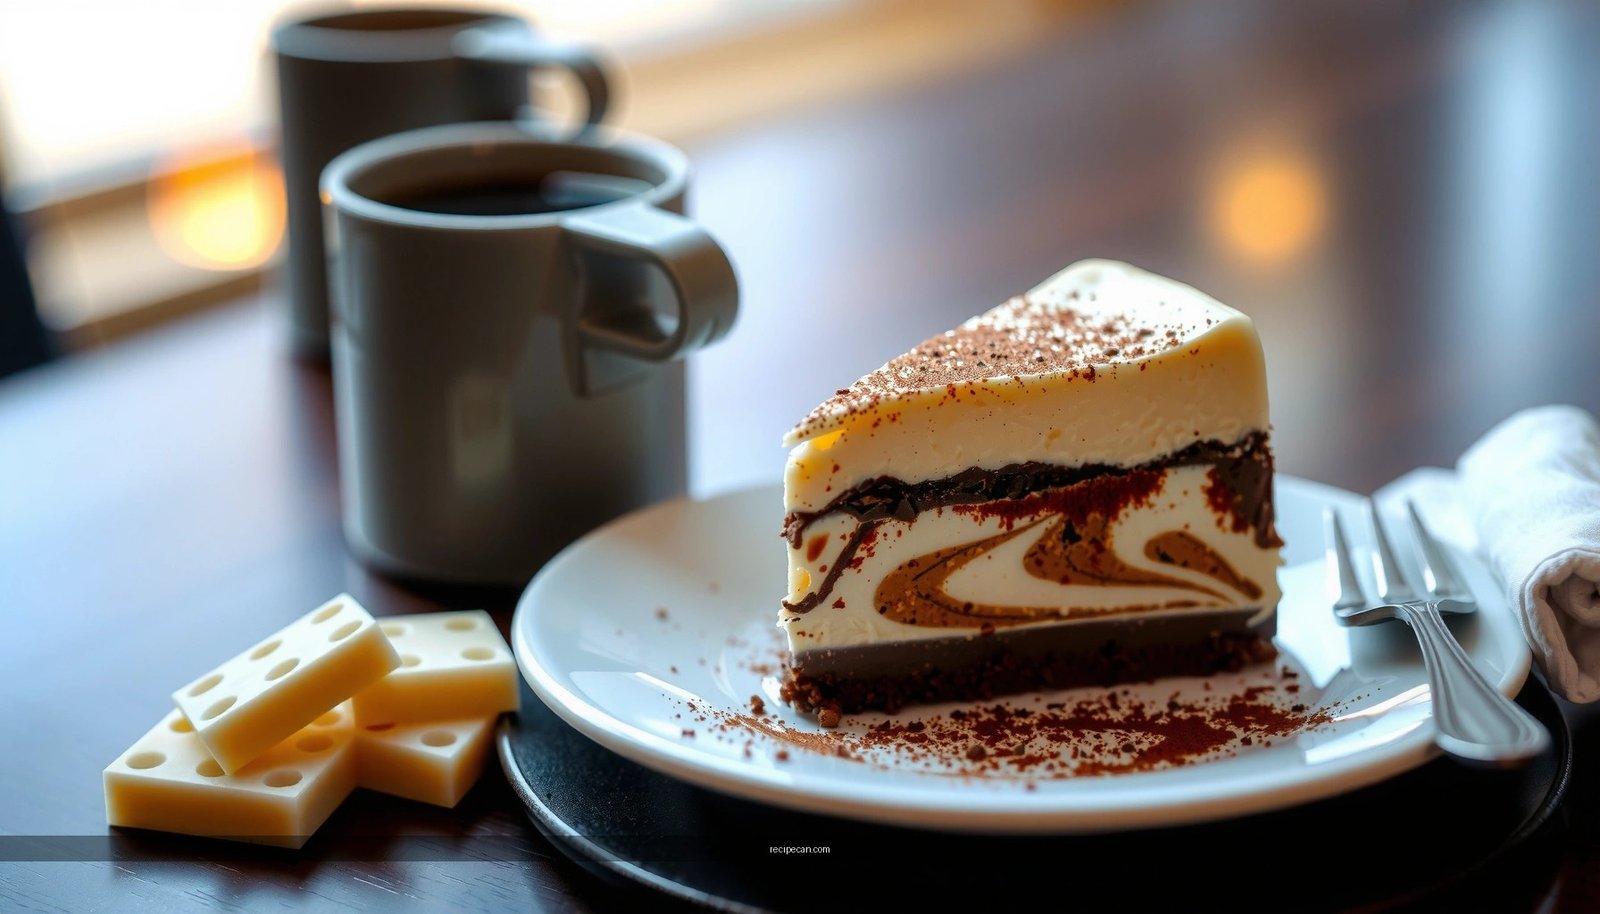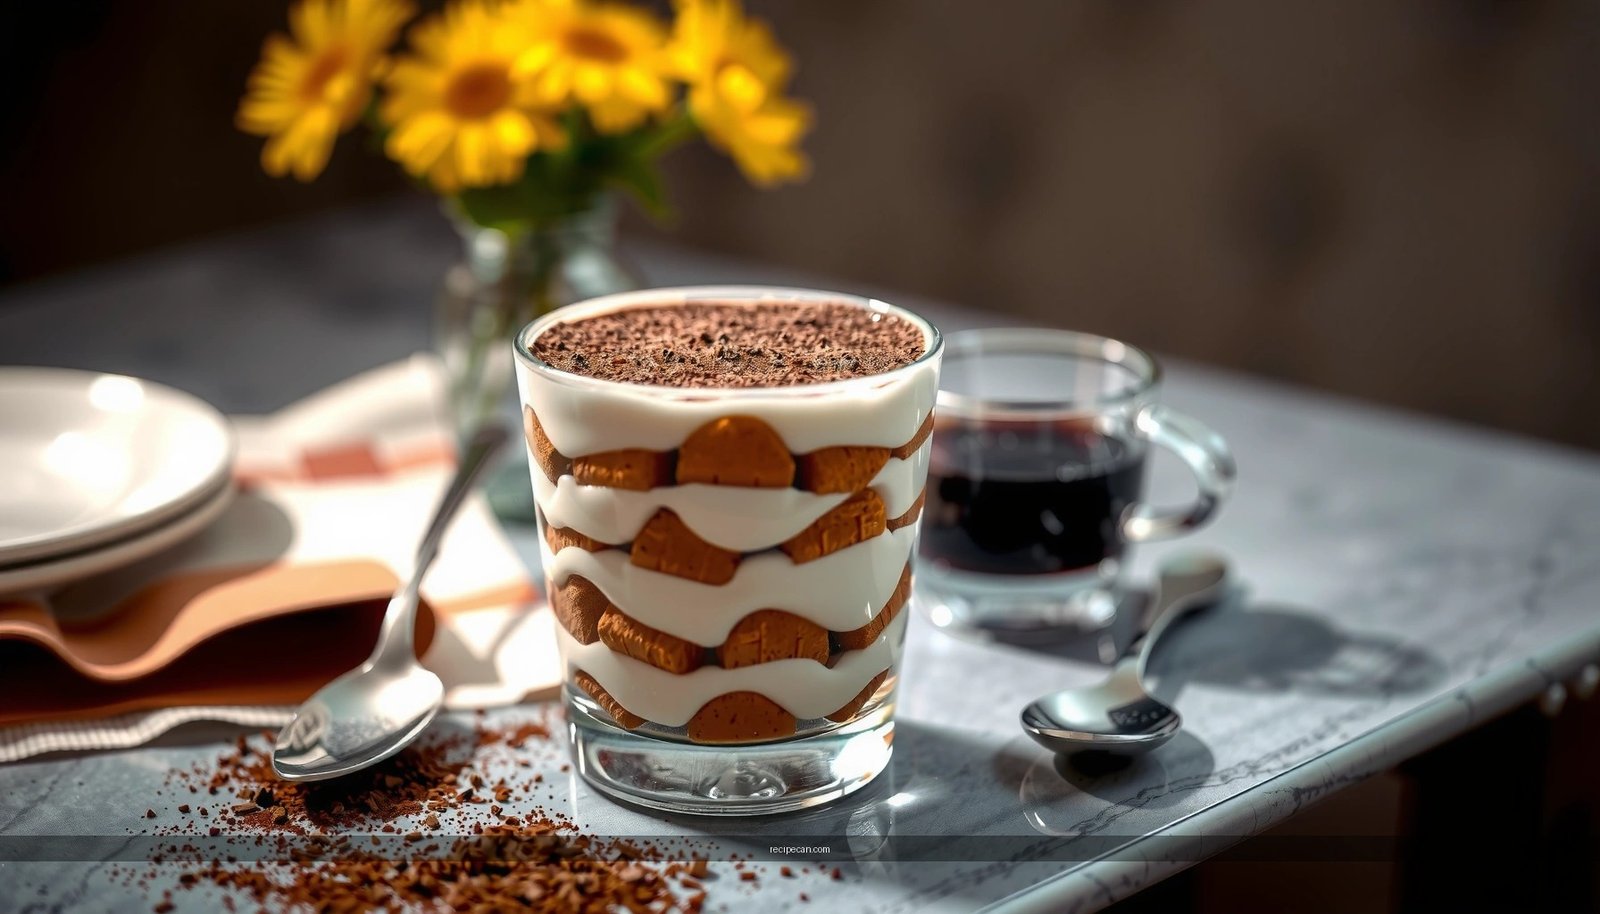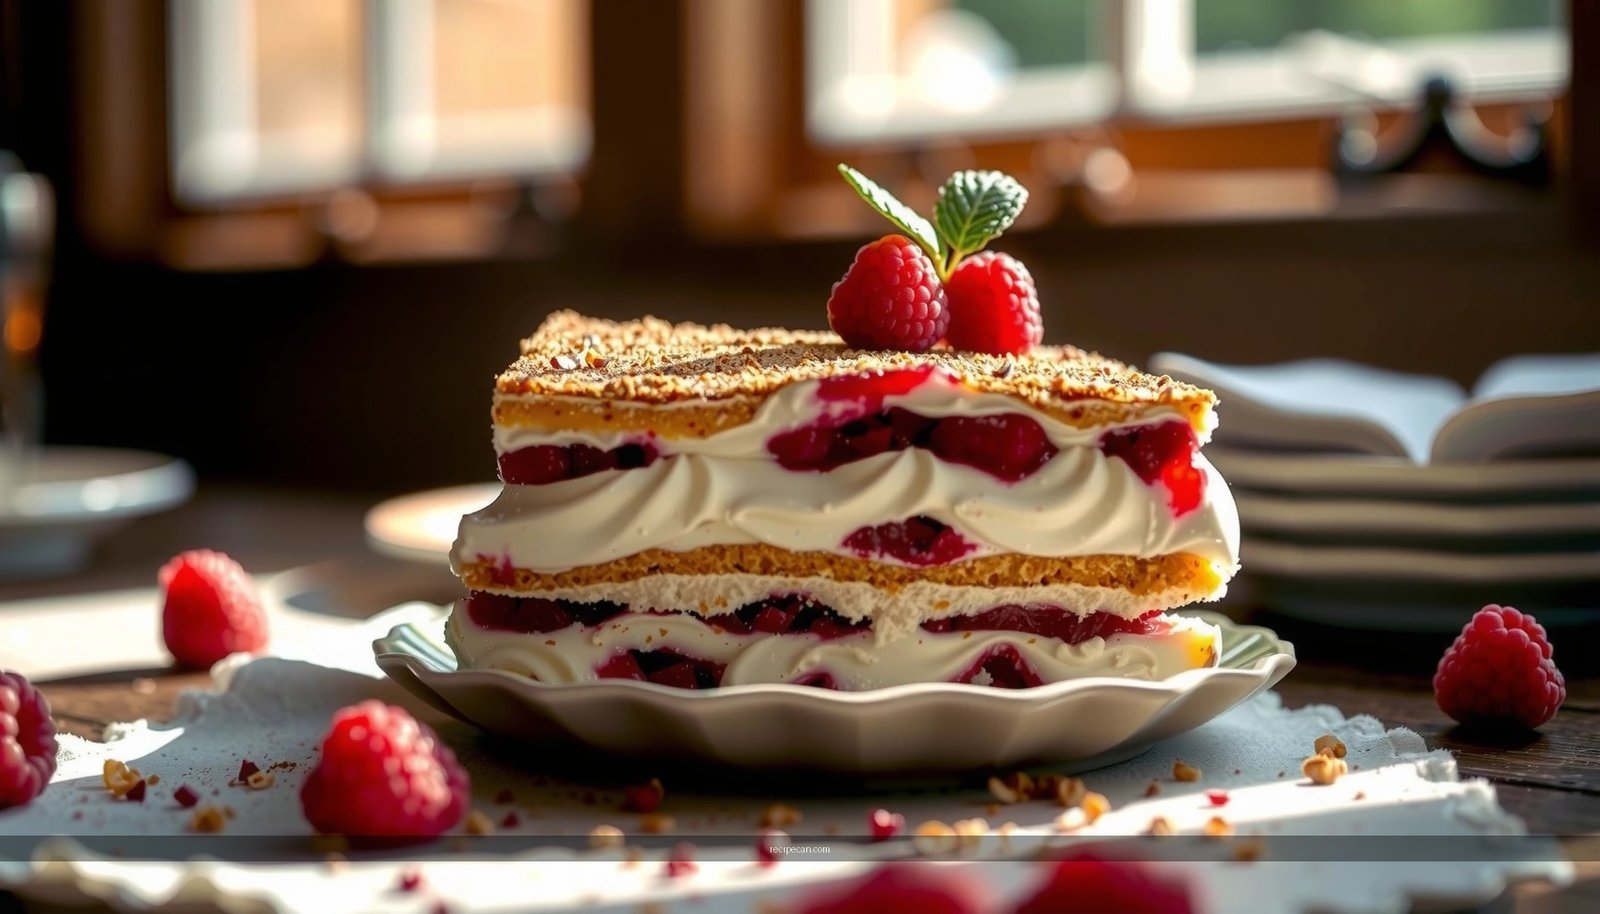
This raspberry tiramisu recipe delivers the most reliable creamy, fruity dessert you can make at home, with clear raspberry layers in every forkful. If you want a show-stopping no-fail method that produces a thick mascarpone filling and bright berry flavor instead of a watery mess, follow this. Expect a layered finish that tastes like classic tiramisu—only unmistakably raspberry-forward.
Make raspberry tiramisu by layering mascarpone cream with raspberry-soaked ladyfingers and finishing with a dusting of cocoa—then chill long enough for the layers to set. The key to a creamy, sliceable dessert is building the raspberry sauce first (so it cools and thickens properly) and assembling quickly (so the ladyfingers absorb coffee without turning soggy).
Raspberry Tiramisu Ingredients

To make a reliable raspberry tiramisu recipe, it helps to think in components: a fruit layer, a classic tiramisu cream, and coffee-dipped ladyfingers that provide structure. Below is a practical ingredient list for a standard 8×8-inch (20×20 cm) dish, yielding about 10–12 slices.
– Fresh or frozen raspberries plus sugar for a quick raspberry layer
– Raspberries: 12–14 oz (340–400 g)
– Sugar: 2–4 tbsp (to taste; depends on tartness)
– Optional: 1 tbsp lemon juice to brighten flavor and balance sweetness
– Mascarpone, cream, eggs (optional), and vanilla for a smooth tiramisu filling
– Mascarpone cheese: 16 oz (450 g)
– Heavy cream: 1 cup (240 ml), cold
– Eggs (optional for stability): 2–3 large
– Vanilla extract: 1–2 tsp
– Ladyfingers and espresso (or coffee) for classic tiramisu structure
– Ladyfingers: about 18–24 (depending on size; buy an extra pack if unsure)
– Espresso or strong coffee: ~1 cup (240 ml), cooled
– Optional: raspberry liqueur or coffee liqueur, 1–3 tbsp (for deeper flavor)
A professional tip: Use strong coffee/espresso rather than weak drip coffee. The bolder coffee flavor holds up against the tangy raspberry layer and prevents the dessert from tasting “flat.”
To help you plan ingredient choices, here’s a quick comparison of common raspberry options and what each one contributes to the finished tiramisu.
Raspberry Layer Outcomes by Fruit Type (for Tiramisu)
| # | Raspberry Type | Typical Prep | Best Texture Target | Taste Impact |
|---|---|---|---|---|
| 1 | Fresh (peak season) | Simmer 3–5 min | Spoonable sauce | Bright, floral |
| 2 | Frozen (unsweetened) | Simmer 6–8 min | Thick, reduced | Consistent tart |
| 3 | Frozen (sweetened) | Simmer 4–6 min | Medium-thick | May need less sugar |
| 4 | Diced raspberry jam (no sugar) | Warm gently 1–2 min | Spreadable, not runny | Less “fresh fruit” aroma |
| 5 | Raspberry compote (store-bought) | No cook, stir & cool | Even spoon layer | Fastest assembly |
| 6 | Raspberry purée (strained) | Light simmer 3–4 min | Smooth, clingy sauce | Silky finish |
| 7 | Freeze-dried raspberries (powder) | Fold 1–2 tbsp into cream | Concentrated flavor | Intense aroma |
Make the Raspberry Layer
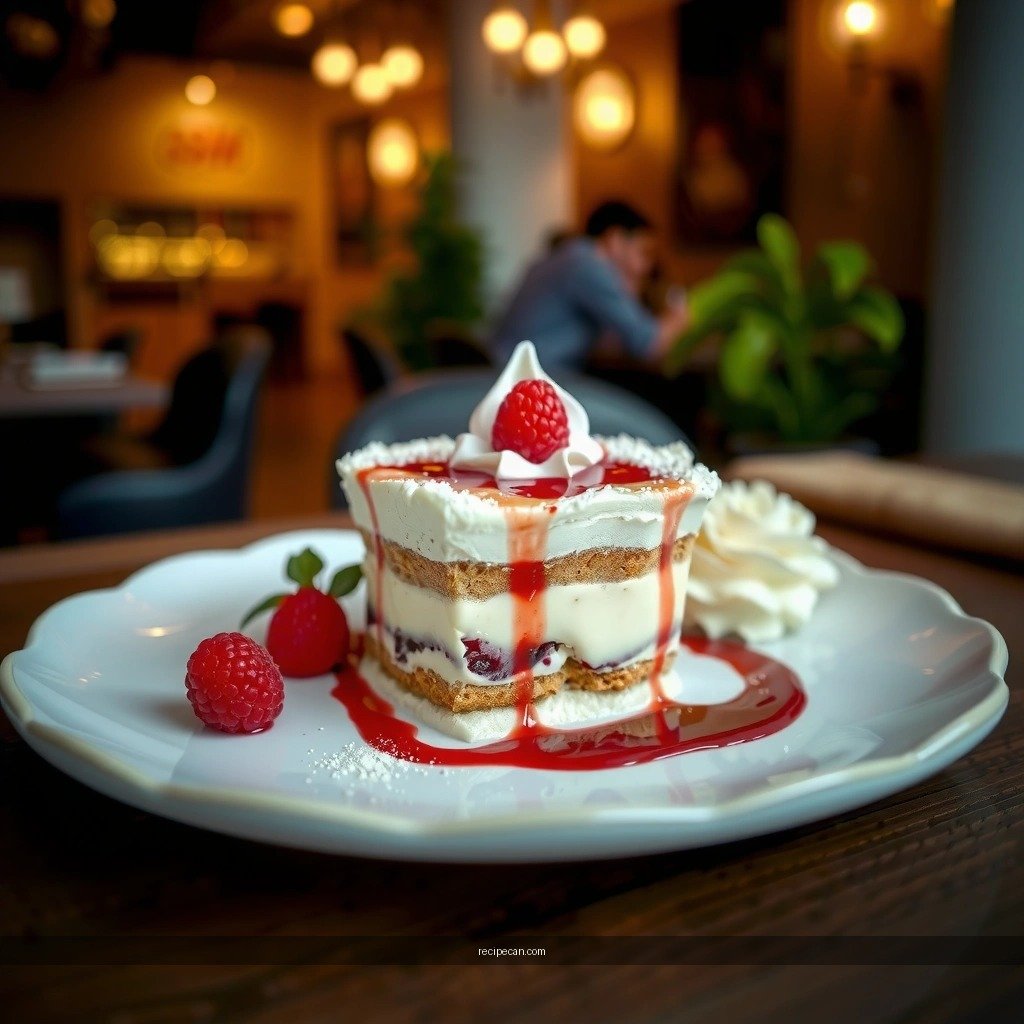
The raspberry layer is where your tiramisu gets its “bright and fruity” identity. The objective isn’t to make jam; it’s to create a thick, spoonable raspberry sauce that won’t melt the mascarpone.
1. Cook the raspberries briefly.
Add raspberries and sugar to a saucepan. Simmer until the berries break down and the mixture thickens slightly—typically 3–5 minutes for fresh or 6–8 minutes for frozen. Stir often so it reduces evenly.
2. Mash thoroughly for control.
Use the back of a spoon or a potato masher to mash the berries. This helps you get an even texture throughout the dessert rather than occasional chunks.
3. Sweeten to taste—then cool completely.
Taste the sauce while warm, then add more sugar if needed. Once it reaches your preferred balance, let it cool to room temperature. A warm raspberry layer can soften the cream and reduce the distinctness of your layers.
4. Optional: strain for a smoother texture.
If you dislike raspberry seeds, strain the sauce through a fine mesh sieve. This creates a cleaner mouthfeel and makes the final slice look more uniform—especially if you’re serving guests who prefer “restaurant-style” smooth fillings.
Quality benchmark: When cooled, the sauce should coat a spoon and mound slightly before running off. If it looks watery, reduce it for an additional 1–2 minutes.
Prepare the Tiramisu Cream

A creamy tiramisu filling depends on two processes: achieving the right mascarpone-to-cream ratio, and keeping air in the mixture through gentle folding.
1. Whip mascarpone with cold cream.
In a chilled bowl, combine mascarpone and vanilla. Whip with heavy cream until the mixture becomes thick and spreadable. Stop once it holds soft peaks—over-whipping can make the cream grainy.
2. Eggs (optional) for lighter, stable texture.
Traditional-style tiramisu often uses eggs. If you want extra stability, separate eggs, whisk yolks with a small amount of sugar until pale, then temper them by gradually adding warm liquid. Whip until thick. Fold into the mascarpone/cream base.
If you prefer a simpler method, you can omit eggs; just ensure your cream stays cold and chill time is long enough.
3. Fold gently to keep it airy.
Use a spatula and fold in any additional components slowly. The goal is to preserve the texture so the dessert feels luxurious, not dense.
Pro-level note: Mascarpone is fairly delicate. Maintain a cool kitchen environment and work with cold dairy to prevent separation.
Assemble the Raspberry Tiramisu
Assembly determines whether your tiramisu slices cleanly. You’re balancing absorption (flavor) with firmness (structure).
1. Dip ladyfingers quickly in coffee.
Dip each side for about 1 second, then transfer immediately. The ladyfingers should look moist, not saturated. Over-dipping is the most common cause of watery tiramisu.
2. Layer order for best structure.
– Arrange a first layer of lightly dipped ladyfingers in your dish.
– Spread a portion of cream.
– Spoon raspberry sauce in an even layer.
– Repeat with another ladyfinger layer and finish with cream on top.
3. Aim for uniform coverage.
Use an offset spatula to spread cream to the edges. This creates clean, consistent layers that hold their shape when sliced.
4. Finish with cream, not fruit.
The top layer being cream helps support the final cocoa dusting and prevents the cocoa from dissolving into a watery raspberry edge.
If you want, you can create sharper visual lines by slightly chilling the raspberry sauce first (so it thickens) and spreading it gently rather than dragging it through the cream.
Chill, Set, and Serve
Tiramisu is a “time dessert.” Chilling allows coffee and raspberry moisture to settle evenly into the structure, while the cream firms to produce sliceable layers.
– Refrigerate at least 4–6 hours (overnight is best).
For the most stable cuts, plan for overnight chilling. During this time, the ladyfingers hydrate, the raspberry layer settles, and the mascarpone texture becomes cohesive.
– Dust with cocoa right before serving.
Cocoa absorbs moisture. For the brightest presentation and best texture, dust at the last minute using a fine sieve.
– Slice with a warm knife for neat portions.
Run the knife under hot water, wipe it dry, then slice. This prevents cracking and keeps each layer intact.
Serving idea: Let the dessert sit at room temperature for 5–10 minutes before serving so the mascarpone softens slightly and the raspberry flavor becomes more aromatic.
Flavor Variations and Tips
Once you’ve mastered the base raspberry tiramisu recipe, small tweaks can significantly improve flavor depth and versatility.
– Add raspberry liqueur for extra fruit complexity.
A splash (1–2 tbsp) in the coffee or folded into the raspberry sauce intensifies aroma and makes the raspberry taste feel more pronounced. If serving kids, skip alcohol or use a non-alcoholic raspberry concentrate.
– Boost vanilla and aroma.
Add an extra ½ tsp vanilla or scrape a small amount of vanilla bean into the cream. Vanilla works like a “flavor amplifier” for berries and cocoa.
– Use gluten-free ladyfingers if needed.
Choose gluten-free ladyfingers that are designed for tiramisu-style layering. The assembly method remains the same—quick dipping and even layers.
– Make it ahead and store covered in the fridge up to 2 days.
Flavor often improves after a full day because the coffee and raspberry integrate into the cream. Cover tightly to prevent fridge odors from affecting the dessert.
Visual planning: at-a-glance timeline
Raspberry Tiramisu Prep & Set Timing
| # | Step | Active Time | Rest/Chill | Target Result |
|---|---|---|---|---|
| 1 | Cook and cool raspberry sauce | 10–15 min | 20–30 min (cooling) | Thick, spoonable |
| 2 | Whip tiramisu cream | 8–12 min | — | Soft peaks, spreadable |
| 3 | Dip ladyfingers and assemble | 12–18 min | — | Even layers, dry edges |
| 4 | Chill for set | — | 4–6 hours (min), 8–12 hrs (ideal) | Sliceable, creamy stability |
After chilling, your raspberry tiramisu should be creamy, layered, and perfectly set—bright raspberry flavor with the classic mascarpone richness. Follow the layer order, cool the raspberry mixture first, and give it enough time to firm up. Make this tonight or prep it for tomorrow, then serve chilled and enjoy the compliments.
Frequently Asked Questions
What is the best recipe for raspberry tiramisu?
The best raspberry tiramisu recipe combines classic tiramisu elements—mascarpone, eggs (or a no-egg option), cream, and espresso-soaked ladyfingers—with a raspberry layer made from fresh or frozen raspberries and a little sugar. Many versions add a quick raspberry compote for flavor and color, then fold it lightly into the mascarpone mixture. For best results, chill the dessert at least 4–6 hours so the ladyfingers soften and the flavors meld.
How do you make raspberry tiramisu without raw eggs?
To avoid raw eggs, use either pasteurized eggs or a no-egg method with whipped cream folded into mascarpone. Another easy approach is making a quick cooked custard-style base by gently heating egg yolks with sugar until thickened, then cooling before mixing with mascarpone. These methods still give you a creamy raspberry tiramisu texture without worrying about egg safety.
How do you prevent raspberry tiramisu from becoming watery?
Watery tiramisu usually comes from raspberry juice that isn’t controlled, over-soaking ladyfingers, or overly warm mascarpone. Use a thicker raspberry compote (cook raspberries until syrupy, then cool) and strain if needed to reduce extra liquid. Dip ladyfingers briefly in espresso or coffee syrup—don’t soak them—and make sure your mascarpone mixture is chilled before assembling.
Which ladyfingers work best for raspberry tiramisu?
For tiramisu, choose traditional Italian-style ladyfingers (savoiardi) that are firm enough to hold their shape but absorb liquid well. If your ladyfingers are very thin or soft, they may break apart during assembly, making the raspberry tiramisu less layered. Keep them slightly dry until you’re ready to assemble, then dip quickly in espresso for structure and clean layers.
Why does chilling time matter for raspberry tiramisu?
Chilling time is what transforms the dessert from “assembled” into “set,” allowing ladyfingers to fully absorb the mascarpone mixture and espresso. Ideally, refrigerate raspberry tiramisu for at least 4 hours, though overnight is often best for the richest flavor and the smoothest texture. If you slice it too soon, you may get loose layers and a less cohesive tiramisu cream.
References
- Raspberry tiramisu recipe | Good Food
https://www.bbcgoodfood.com/recipes/raspberry-tiramisu - Tiramisu
https://en.wikipedia.org/wiki/Tiramisu - Mascarpone
https://en.wikipedia.org/wiki/Mascarpone - Lady finger
https://en.wikipedia.org/wiki/Ladyfinger - Tiramisu | Meaning, Ingredients, Origin, Desserts, & Taste | Britannica
https://www.britannica.com/topic/tiramisu - Google Scholar Google Scholar
https://scholar.google.com/scholar?q=raspberry+tiramisu+recipe - Google Scholar Google Scholar
https://scholar.google.com/scholar?q=tiramisu+recipe+mascarpone+egg - Google Scholar Google Scholar
https://scholar.google.com/scholar?q=savoiardi+ladyfingers+tiramisu+recipe - Raspberry
https://en.wikipedia.org/wiki/Raspberry - Google Scholar Google Scholar
https://scholar.google.com/scholar?q=recipe+for+raspberry+tiramisu