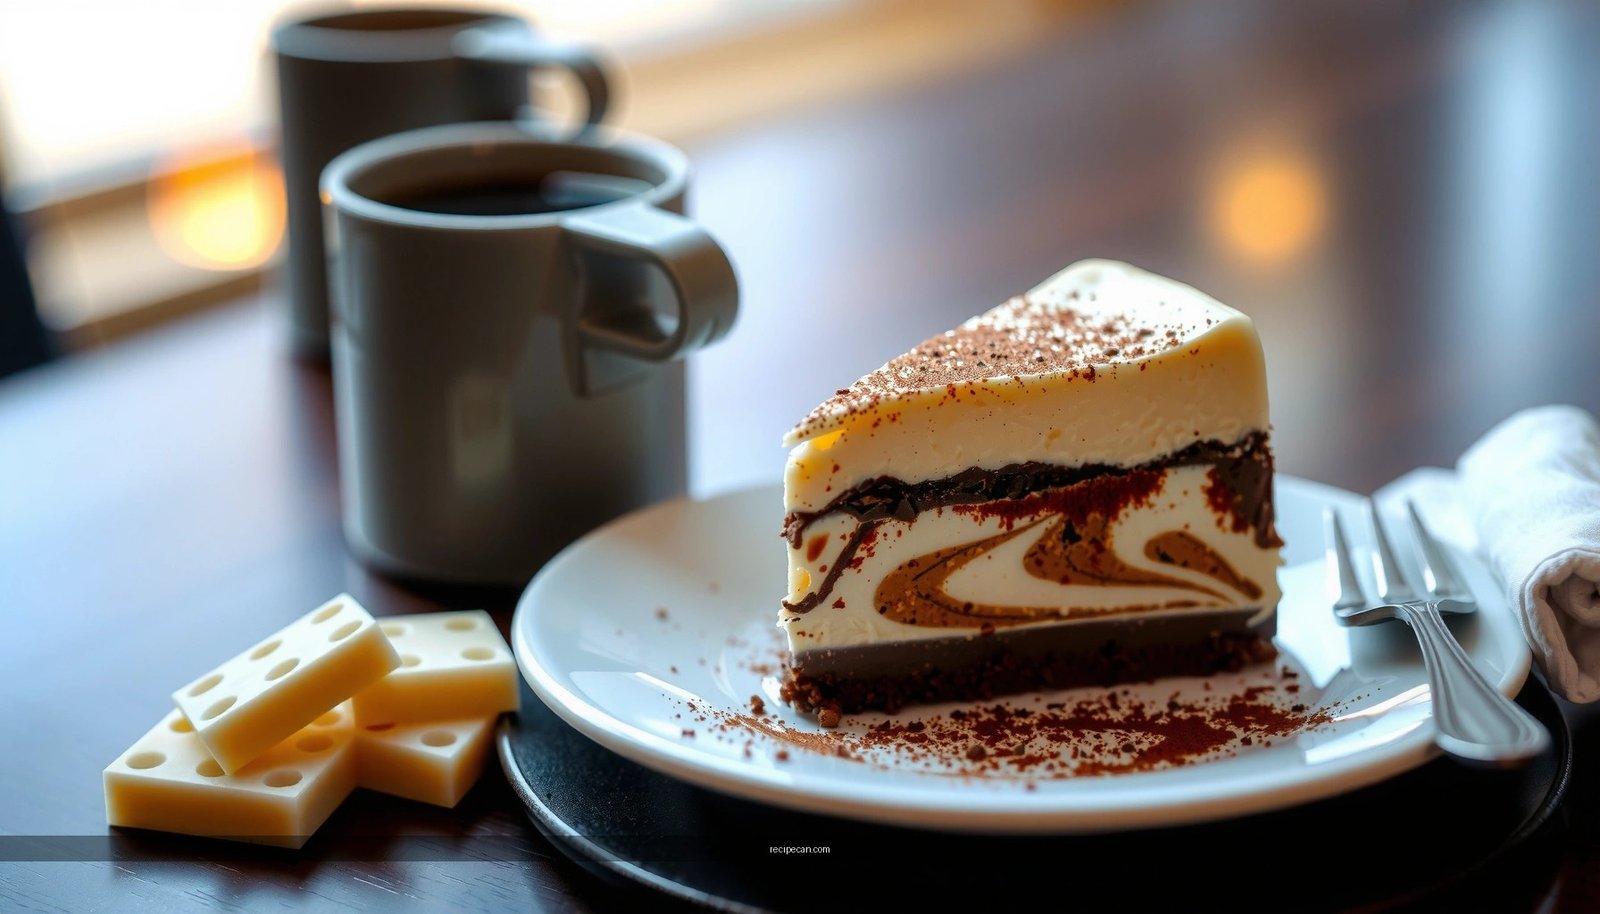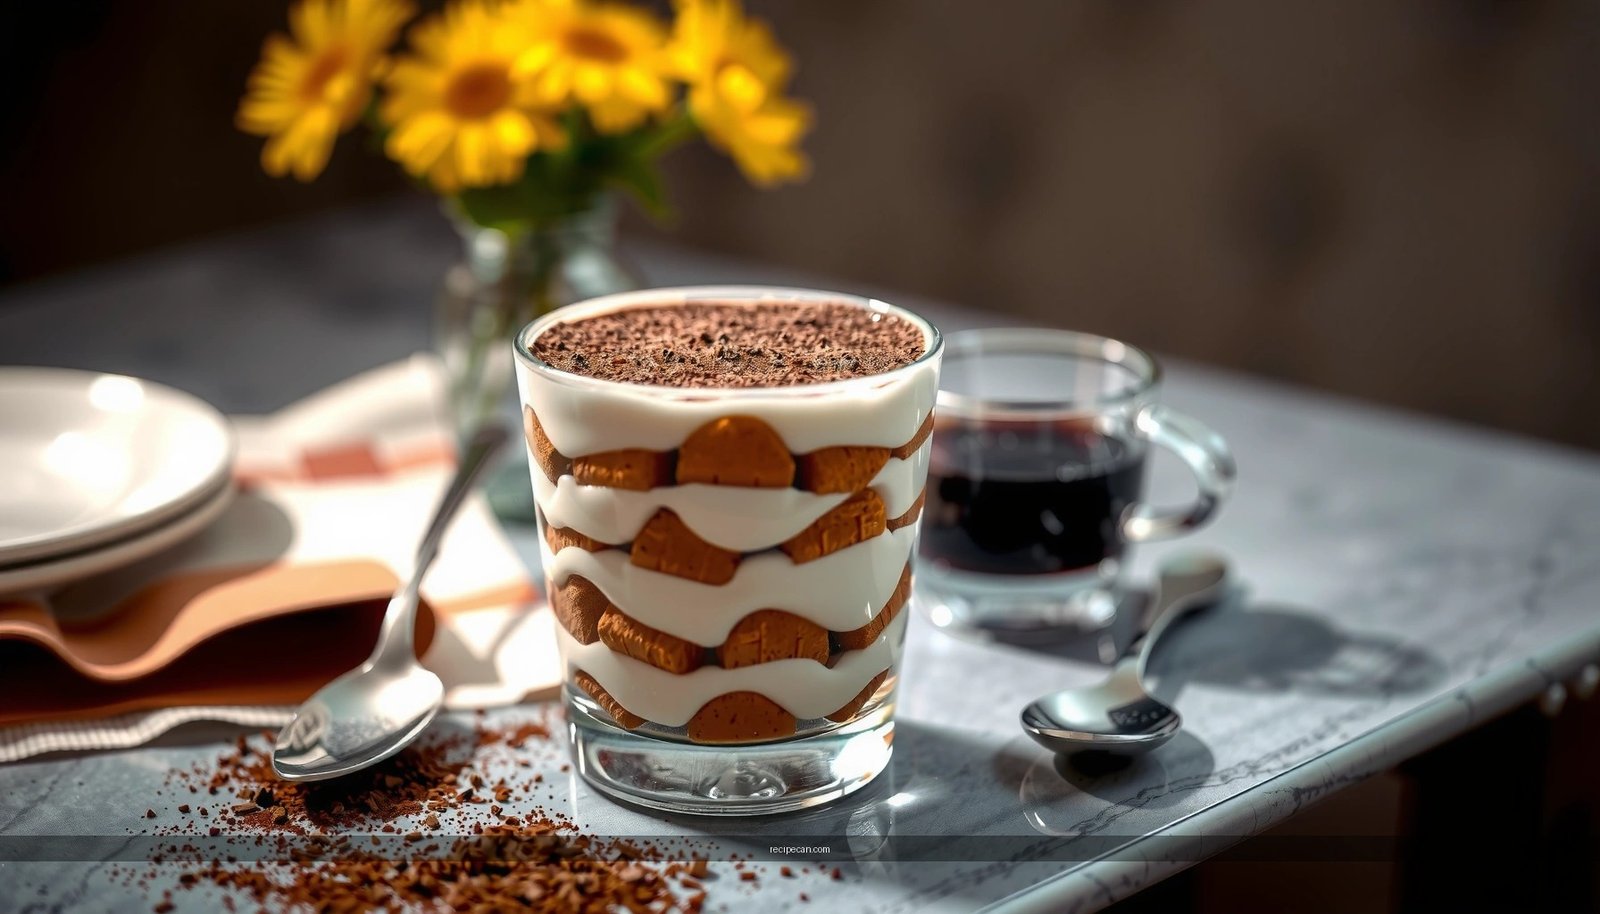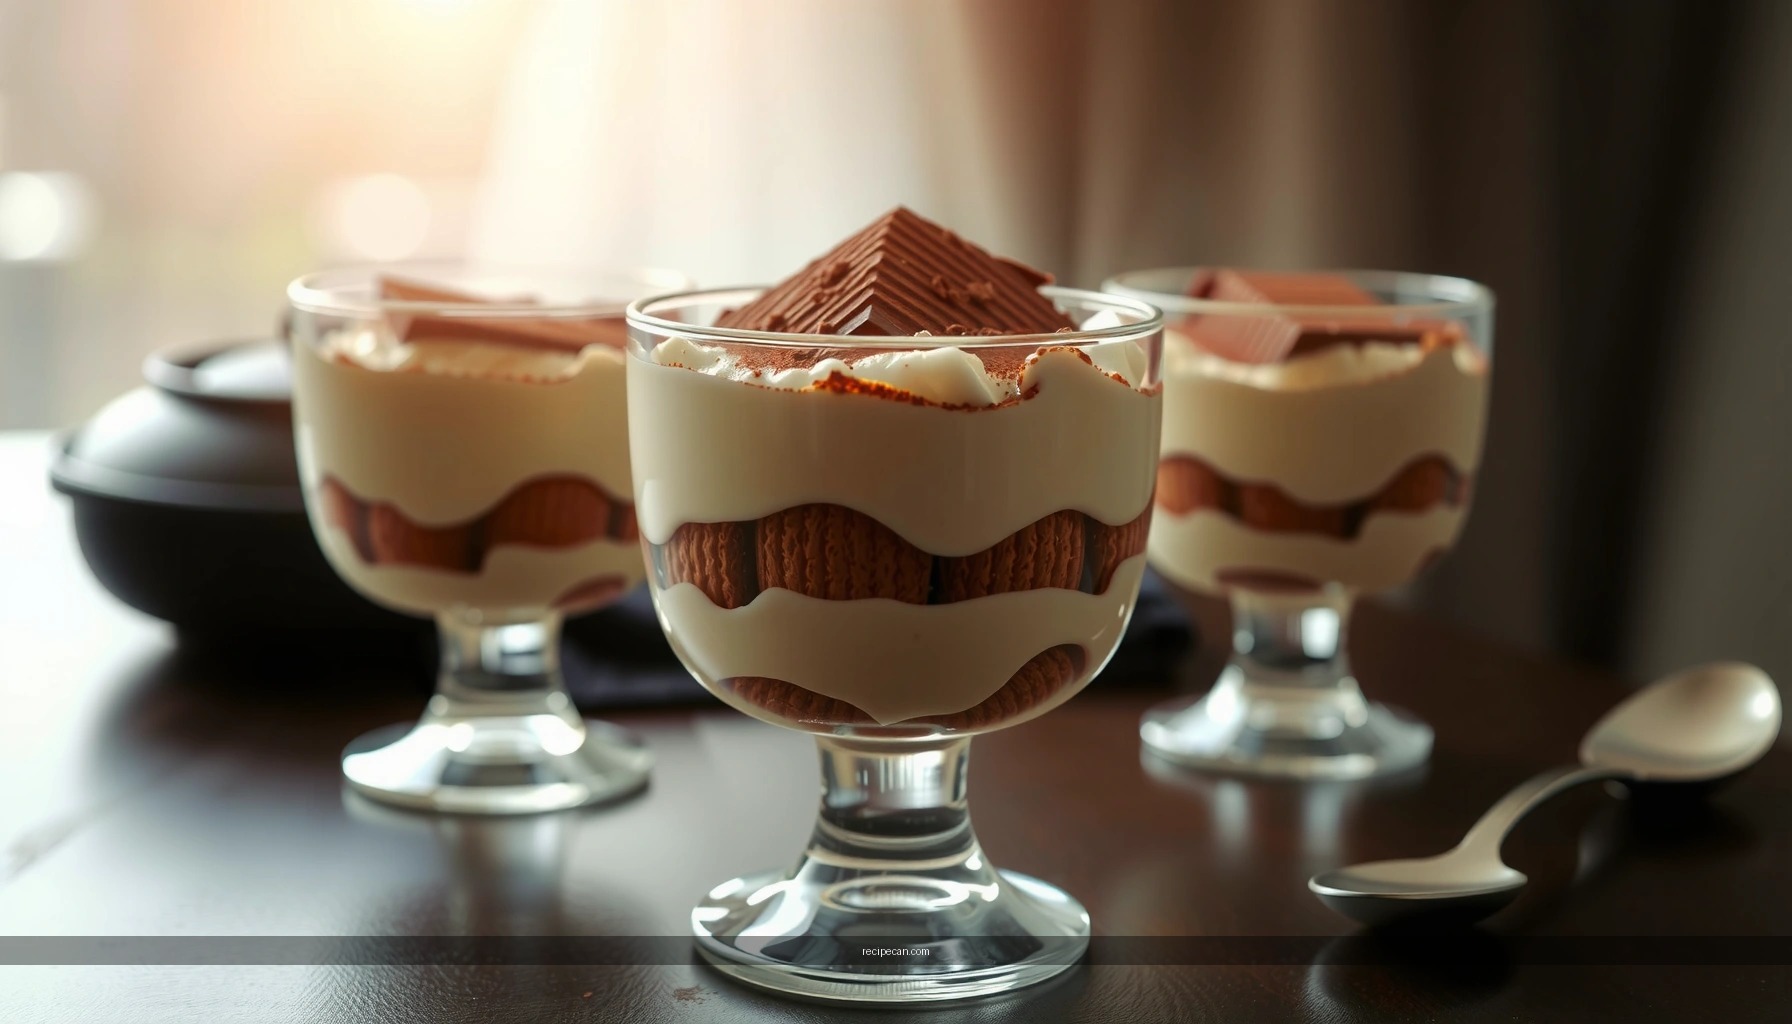
Find out how to make tiramisu desserts the right way—creamy, layered, and reliably set with classic steps. This recipe answers the question of how to build the perfect tiramisu layers using espresso-soaked savoiardi, mascarpone cream, and a clean cocoa finish. If you want a straightforward method that delivers restaurant-style texture without guesswork, start here.
You can make a classic tiramisu desserts recipe with creamy mascarpone, espresso-soaked layers, and cocoa on top—no special skills required. By using properly cooled espresso, gentle folding for a stable mascarpone cream, and enough chilling time, you’ll get clean layers and a silky, sliceable texture every time.
Ingredients for a Classic Tiramisu Desserts Recipe
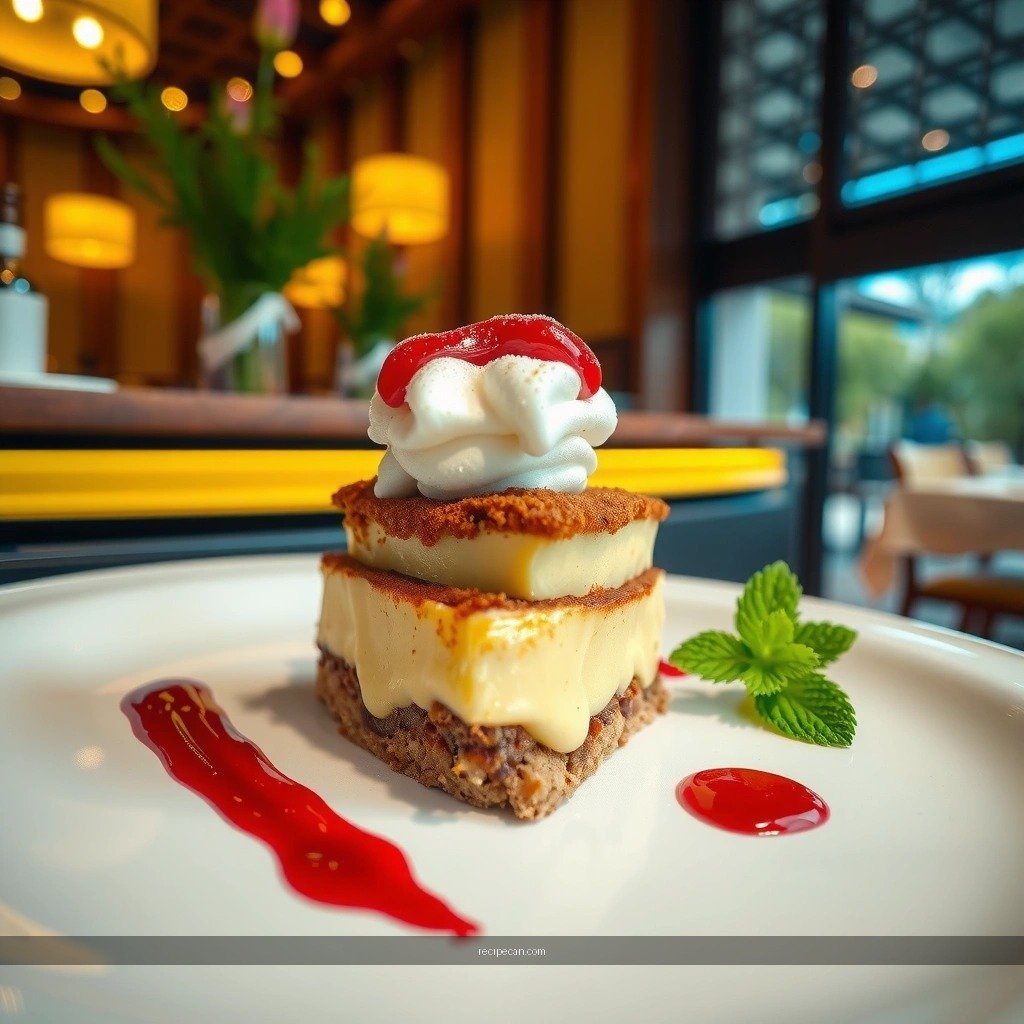
– Gather mascarpone, espresso, ladyfingers, eggs (or alternatives), sugar, and cocoa powder
– Use strong, cooled espresso (or cooled coffee) for the best flavor
– Choose vanilla and salt to balance the sweetness and richness
A traditional tiramisu desserts recipe relies on a few ingredients that directly control flavor, structure, and the “signature” creamy mouthfeel. Here’s what to prioritize:
Mascarpone (the cream’s core): Use high-quality mascarpone for a thick, rich base. Low-quality mascarpone can taste flat and may loosen the cream. Aim for room temperature mascarpone so it creams smoothly without lumps.
Espresso (the flavor backbone): Brew your espresso fresh, then cool it completely. Strong espresso (or concentrated coffee) gives tiramisu its bold coffee aroma; watery, weak coffee results in a dessert that tastes more sweet than coffee-forward.
Ladyfingers (the structure): Classic tiramisu uses savoiardi-style ladyfingers (often called sponge fingers). They’re designed to absorb liquid quickly. If you substitute with a cake slice or different cookie, the absorption rate changes—your layers may become soggy or uneven.
Eggs (optional, but traditional): Many classic recipes use separated eggs to create a lighter, aerated cream. If you prefer an egg-free approach, there are alternatives, but the texture won’t be identical. If using eggs, tempering and correct whipping matter.
Cocoa powder (the finishing layer): Use unsweetened cocoa powder. Sift it just before serving so it stays aromatic and doesn’t dissolve into the cream.
To make your shopping and planning more precise, here’s a practical “targets” table that matches the classic method and typical 8–10 slice yield.
Classic Tiramisu Build Targets (for 8–10 servings)
| # | Component | Typical Amount | Goal Texture/Flavor | Impact if Off |
|---|---|---|---|---|
| 1 | Mascarpone | 24 oz / 680 g | Thick, spreadable cream | Too warm → runny layers |
| 2 | Espresso (cooled) | 1 cup / 240 ml | Bold, coffee-forward soak | Hot coffee → curdling risk |
| 3 | Ladyfingers | 34–42 pieces | Quick soak, no collapse | Over-soak → watery top |
| 4 | Granulated sugar | 1/2–3/4 cup (100–150 g) | Balanced sweetness | Too much → cloying cream |
| 5 | Eggs (whole split) | 4 large eggs | Light, stable mousse-cream | Undershave → dense texture |
| 6 | Vanilla + salt | 1 tsp vanilla, 1/8 tsp salt | Flavor lift, cream balance | Improves perceived richness |
| 7 | Cocoa for dusting | 2–3 tbsp | Fresh aroma and contrast | Early dusting → dull taste |
Prep the Espresso and Ladyfingers
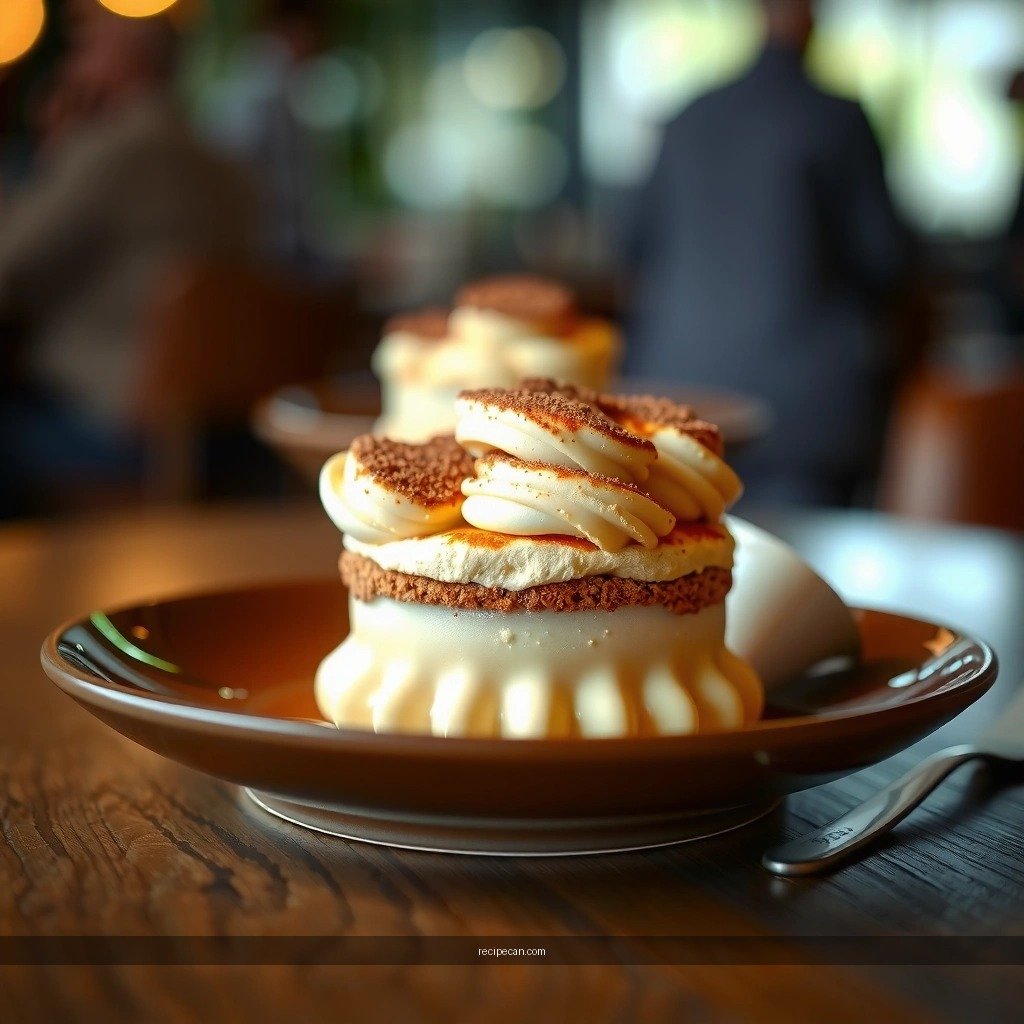
– Brew espresso, then cool it completely before dipping
– Dip ladyfingers quickly to prevent sogginess
– Keep a steady rhythm so layers stay even and clean
This step is the “control panel” for your entire tiramisu desserts recipe. The goal is to hydrate the ladyfingers just enough to taste coffee throughout, without turning the dessert into a soft, fractured mass.
Cool espresso fully. If you dip ladyfingers into hot espresso, you’ll warm the cream and can create texture issues—especially if you’re using eggs. Cooling also helps the sponge absorb evenly rather than steam-drying the edges.
Work in batches. Pour your cooled espresso into a shallow dish. Dip each ladyfinger for a short, consistent interval—think “quick dip” rather than soaking. You should see the surface darken and then stop. If you dip too long, the finger becomes heavy and tears during assembly.
Maintain a rhythm for even layers. Assemble one layer at a time. As you dip and place ladyfingers, keep spacing consistent so each bite has the same ratio of cream to sponge.
Pro tip for stronger coffee flavor: Instead of adding more espresso overall, use a more concentrated espresso and keep the soak brief. That delivers a coffee punch without oversaturating.
Make the Tiramisu Cream (Mascarpone Mixture)
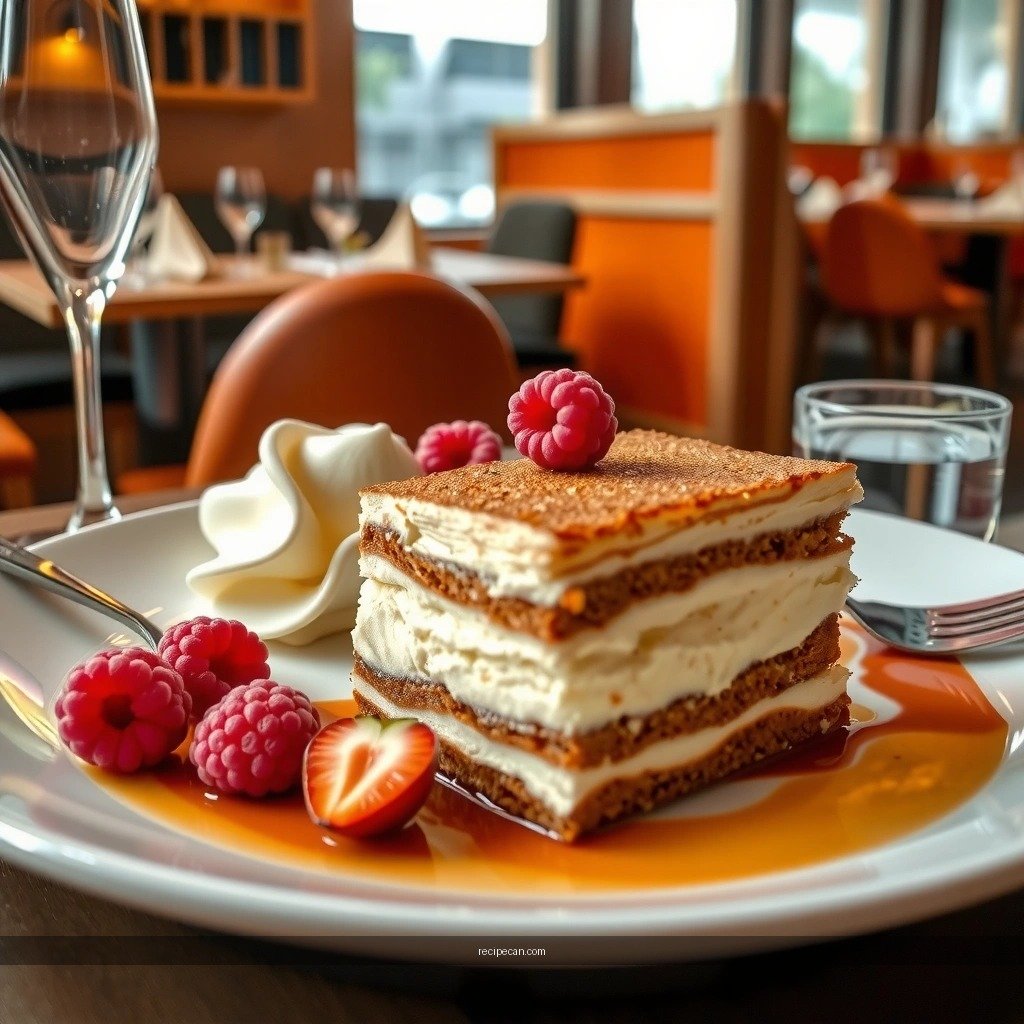
– Whip mascarpone with sugar until smooth and fluffy
– Separate eggs (if using) and whip whites to light, airy texture
– Fold gently to keep the cream thick and not deflated
A classic mascarpone cream is about stability and air incorporation. Whipping and folding techniques determine whether your tiramisu ends up luxurious or heavy.
Mascarpone + sugar base
Start by whipping mascarpone with sugar until the mixture looks smooth. Scrape the bowl sides to eliminate lumps. Proper mixing here prevents grainy cream and ensures consistent sweetness.
Whipped egg whites (traditional lightness)
If using eggs, separate yolks and whites. Whip whites to a soft, airy state. You’re aiming for peaks that hold shape—light enough to fold in without deflating, yet stable enough to set in the fridge.
Gentle folding (the difference-maker)
When combining whipped whites with mascarpone, fold slowly with a spatula. Folding is not stirring—stirring breaks down the air bubbles. Keep a steady, gentle motion until no streaks remain. The finished cream should be thick and hold a spoon line briefly.
Food-safety note for classic egg methods: If you’re concerned about raw egg concerns, consider recipes that use pasteurized eggs or an eggless mascarpone method. Either approach can still produce a creamy, classic result; the texture will vary slightly.
Assemble the Tiramisu Layers
– Start with a thin base layer of cream, then add dipped ladyfingers
– Repeat layers until you reach the top, finishing with cream
– Smooth the final layer so cocoa dusting looks even
Layering is where “easy” becomes “excellent” because the method creates bite consistency. Think like a builder: the base supports, the sponge forms the structure, and the cream provides the luxurious texture.
1) Add a cream base layer. Spread a thin layer of cream in your dish first. This prevents the bottom ladyfingers from sliding and helps create clean slice edges.
2) Place dipped ladyfingers. Arrange ladyfingers side by side to cover the surface. Don’t press hard—just set them in place. If they’re properly dipped, they’ll sit without breaking.
3) Add cream layer, then repeat. Add cream until the ladyfingers are fully covered. Repeat the pattern (typically 2–3 sponge layers depending on your dish height).
4) Finish with cream and smooth. The final layer should be even because it’s the surface that cocoa powder will highlight. Use an offset spatula or the back of a spoon to smooth.
Optional flavor layer: Some cooks add a subtle hint of cocoa to the cream or a small amount of vanilla extract for aroma. Keep additions modest so you don’t overpower the espresso.
Chill and Serve for Best Texture
– Refrigerate at least 4–6 hours (overnight is best)
– Dust with cocoa right before serving to keep it fresh
– Slice with a warm knife for neat, professional portions
Chilling is not optional if you want classic tiramisu desserts texture. During refrigeration, the ladyfingers fully hydrate and the cream firms up, locking in the layered structure.
Minimum chilling time: Refrigerate for 4–6 hours, but overnight is best. Overnight provides deeper coffee absorption and more cohesive slices.
Cocoa last, always. Dust cocoa right before serving. Cocoa can absorb moisture and lose aroma if it sits too long on the cream.
Neat slicing technique: For professional-looking portions, warm your knife under hot water, wipe dry, and slice. Repeat between cuts. This prevents the cream from sticking and tearing.
Serving window: Serve within a day or so for best texture. If you go much longer, the sponge may soften further and the layers can blur.
Common Mistakes to Avoid
– Over-dipping ladyfingers causes a watery, broken texture
– Skipping chilling prevents the cream from setting properly
– Using hot espresso can curdle the mixture (always cool first)
Even a “no special skills” dessert can fail if a few core variables go off track. Here are the most common problems and why they happen:
1) Over-dipping ladyfingers
– What it looks like: Pools of liquid, collapsing layers, soggy bites.
– Why it happens: The sponge absorbs too much espresso, turning it into a watery base.
– Fix: Dip quickly and keep your pace steady. If a ladyfinger tears while placing, it was likely oversoaked.
2) Skipping chilling
– What it looks like: Soft cream, unstable layers, blurred edges.
– Why it happens: Mascarpone cream needs time to firm slightly and the sponge needs time to hydrate evenly.
– Fix: Plan ahead—overnight chilling yields the most reliable results.
3) Using hot espresso
– What it looks like: Grainy or curdled cream, uneven texture.
– Why it happens: Heat can interfere with the fat structure and (when using eggs) may create curdling risk.
– Fix: Always cool espresso completely before dipping.
4) Overmixing after folding
– What it looks like: Dense, heavy cream.
– Why it happens: Whipped air gets knocked out.
– Fix: Stop mixing once the cream is uniform; fold gently until combined.
5) Dusting cocoa too early
– What it looks like: Flat, muted cocoa taste.
– Why it happens: Cocoa absorbs moisture and can dissolve into the top layer.
– Fix: Dust right before serving.
Tiramisu desserts recipe success comes down to three things: cooled espresso, gentle folding for a light cream, and enough chilling time to set the layers. Follow these steps, assemble confidently, and chill overnight for the best results—then dust with cocoa and serve your perfect slice.
A classic tiramisu desserts recipe is simpler than it looks: you’re not chasing advanced technique, you’re controlling timing and temperature. Master the quick dip, whip and fold gently for stable mascarpone cream, assemble with clean layers, and chill overnight for the signature creamy texture—then finish with fresh cocoa for the bold, restaurant-style presentation.
Frequently Asked Questions
What is the best tiramisu desserts recipe for beginners?
A beginner-friendly tiramisu desserts recipe uses simple ingredients: espresso or strong coffee, mascarpone, eggs (or a no-egg alternative), ladyfingers, sugar, and cocoa powder. Choose a recipe that clearly explains soaking the ladyfingers—briefly dip them so they soften without turning mushy. For easier success, look for an approach that stabilizes the filling and provides chilling time so the flavors set properly.
How do you make tiramisu desserts without raw eggs?
To make tiramisu desserts without raw eggs, you can use pasteurized eggs, or use a mascarpone filling method that avoids raw yolks by heating the egg mixture gently (tempering) before combining. Another option is a no-egg tiramisu where you whip mascarpone with sweetened cream or use gelatin to stabilize, depending on the recipe style. These methods reduce food-safety concerns while keeping the classic creamy texture.
Why is my tiramisu watery, and how can I fix it?
Tiramisu desserts often turn watery when the ladyfingers are soaked too long or when warm coffee isn’t allowed to cool before assembly. It can also happen if the mascarpone mixture is too thin or the dessert wasn’t chilled long enough for the structure to set. To fix it, use less coffee per ladyfinger, ensure the coffee is cooled, and chill the tiramisu for at least 4–6 hours (ideally overnight).
Which coffee is best for tiramisu desserts—espresso or instant?
Espresso is ideal for tiramisu desserts because it’s strong, concentrated, and delivers a deep coffee flavor that balances the sweetness of mascarpone. If you don’t have an espresso machine, strong brewed coffee works well, and high-quality instant coffee can also work if you dissolve it thoroughly and keep the flavor robust. Whichever you choose, let the coffee cool so the filling doesn’t loosen and the texture stays creamy.
How long should tiramisu desserts chill before serving?
For best results, tiramisu desserts should chill in the refrigerator for at least 4–6 hours so the ladyfingers fully absorb the coffee and the mascarpone filling firms up. Overnight chilling often improves flavor, giving the dessert a smoother, well-integrated taste. If you’re in a hurry, a minimum chill helps, but serving too soon can make the tiramisu feel loose or under-set.
References
- Tiramisu
https://en.wikipedia.org/wiki/Tiramisu - https://www.britannica.com/recipe/tiramisu
https://www.britannica.com/recipe/tiramisu - https://cooking.nytimes.com/recipes/1017077-tiramisu
https://cooking.nytimes.com/recipes/1017077-tiramisu - https://www.theguardian.com/food/2010/may/10/tiramisu-recipe
https://www.theguardian.com/food/2010/may/10/tiramisu-recipe - Google Scholar Google Scholar
https://scholar.google.com/scholar?q=tiramisu+recipe+mascarpone+coffee+cocoa - Google Scholar Google Scholar
https://scholar.google.com/scholar?q=tiramisu+history+Italian+dessert+savoiardi - Google Scholar Google Scholar
https://scholar.google.com/scholar?q=tiramisu+egg+raw+food+safety+guidelines - https://pubmed.ncbi.nlm.nih.gov/?term=tiramisu
https://pubmed.ncbi.nlm.nih.gov/?term=tiramisu - https://scholar.google.com/scholar?q=Italian+dessert+tiramisu+recipe+manual+technique Google Scholar
https://scholar.google.com/scholar?q=Italian+dessert+tiramisu+recipe+manual+technique - Google Scholar Google Scholar
https://scholar.google.com/scholar?q=tiramisu+desserts+recipe