This banana pudding bars recipe delivers the creamy, no-fuss dessert you want—baked bars with classic banana pudding flavor in a fraction of the time. If you’re searching for an easy way to turn banana pudding into cut-and-serve squares, this is the clear winner: simple ingredients, straightforward steps, and a reliable set every time. Get ready to skip the complicated layering and go straight to thick, spoonable bars that hold up for gatherings.
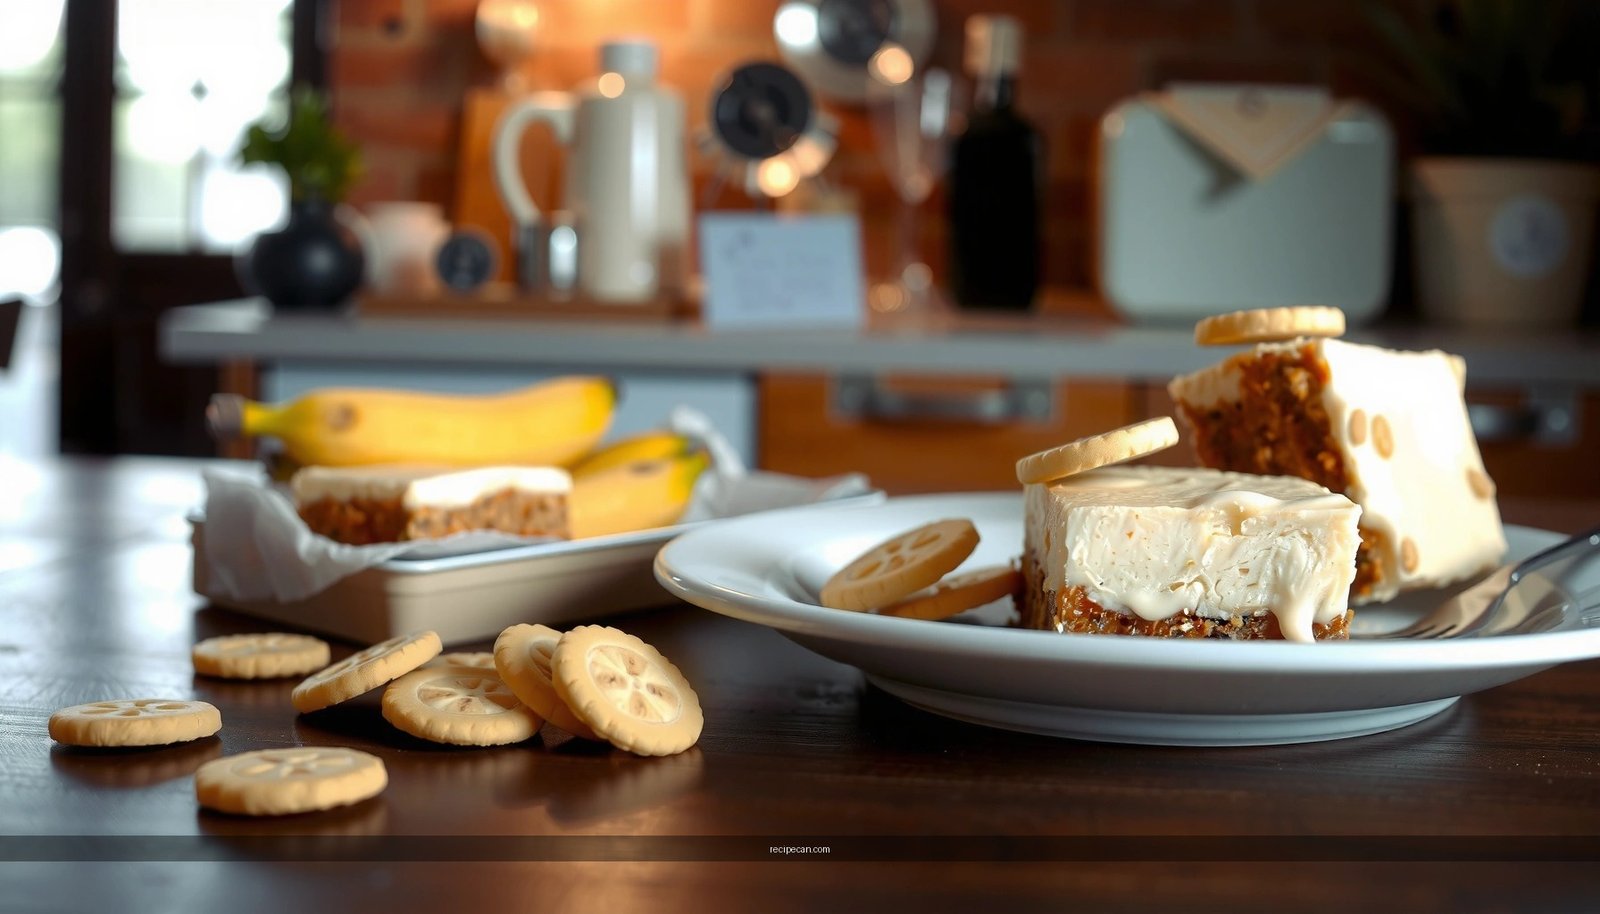
Make banana pudding bars by layering crushed vanilla wafers, creamy banana pudding, and sliced bananas, then topping with whipped topping and extra cookies—chilled until firm for clean slices. This no-fuss method delivers the classic banana pudding flavor with a bar-cookie structure that’s easier to portion than traditional layered cups.
Ingredients You’ll Need for Banana Pudding Bars
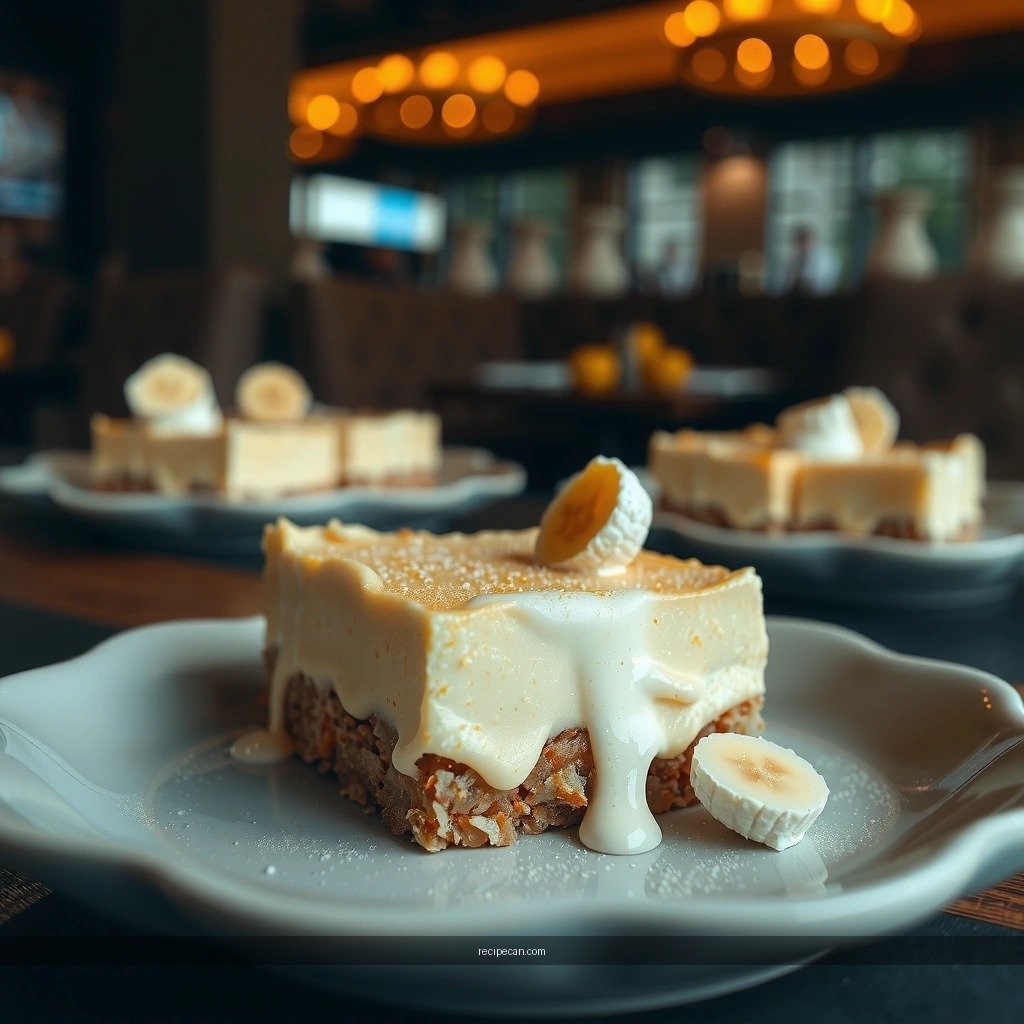
Banana pudding bars are all about balance: crunchy cookie base, creamy custard-style filling, and fresh banana slices that perfume each bite. To keep the recipe consistent and slice-friendly, use ingredients that work reliably in layered desserts.
Core ingredients (the “must-haves”):
– Vanilla wafers for the signature crunch and base
Choose vanilla wafers (not vanilla cookies) for that classic banana pudding flavor profile. You’ll crush some for the bottom and typically reserve extra for the top garnish.
– Instant banana pudding, milk, and ripe bananas for the creamy layer
Instant banana pudding provides the dependable thickness you need for clean bars. Use cold milk and ripe bananas for optimal sweetness and texture—overripe bananas become too soft, while underripe bananas taste starchy.
Smart add-ons (optional but highly effective):
– Whipped topping (store-bought tub or homemade whipped cream) for a light, airy finish
– Salt (a tiny pinch) to enhance sweetness and keep the pudding tasting “bright,” not flat
– Vanilla extract (optional) if your instant pudding tastes slightly muted—just a small amount goes a long way
How much should you buy? (guidance for consistency)
For an 8×8-inch pan of bars, you’ll generally need enough vanilla wafers to form a cohesive bottom layer once crushed and enough ripe bananas to scatter through the middle layers. If you like taller bars, lean toward an extra banana for better coverage.
Banana Pudding Bars: Ingredient Ratios for an 8×8 Pan
| # | Ingredient | Amount | Purpose | Bar Impact |
|---|---|---|---|---|
| 1 | Vanilla wafers (crushed) | 32–36 wafers | Bottom crunch + structure | ★ ★ ★ ★ ★ |
| 2 | Instant banana pudding mix | 1 (3.4–3.6 oz) box | Creamy, sliceable base | ★ ★ ★ ★ ★ |
| 3 | Cold milk | 2 cups | Custard texture + setting | ★ ★ ★ ★ ☆ |
| 4 | Ripe bananas | 3 medium bananas | Fresh banana layer flavor | ★ ★ ★ ★ ★ |
| 5 | Whipped topping | 1 (8 oz) tub | Light, creamy top finish | ★ ★ ★ ★ ★ |
| 6 | Vanilla wafers (top garnish) | 10–14 wafers | Classic crunch contrast | ★ ★ ★ ★ ☆ |
| 7 | Pinch of salt (optional) | 1/16 tsp | Enhances banana flavor | ★ ★ ★ ☆ ☆ |
Equipment & Pan Prep for Perfect Slices
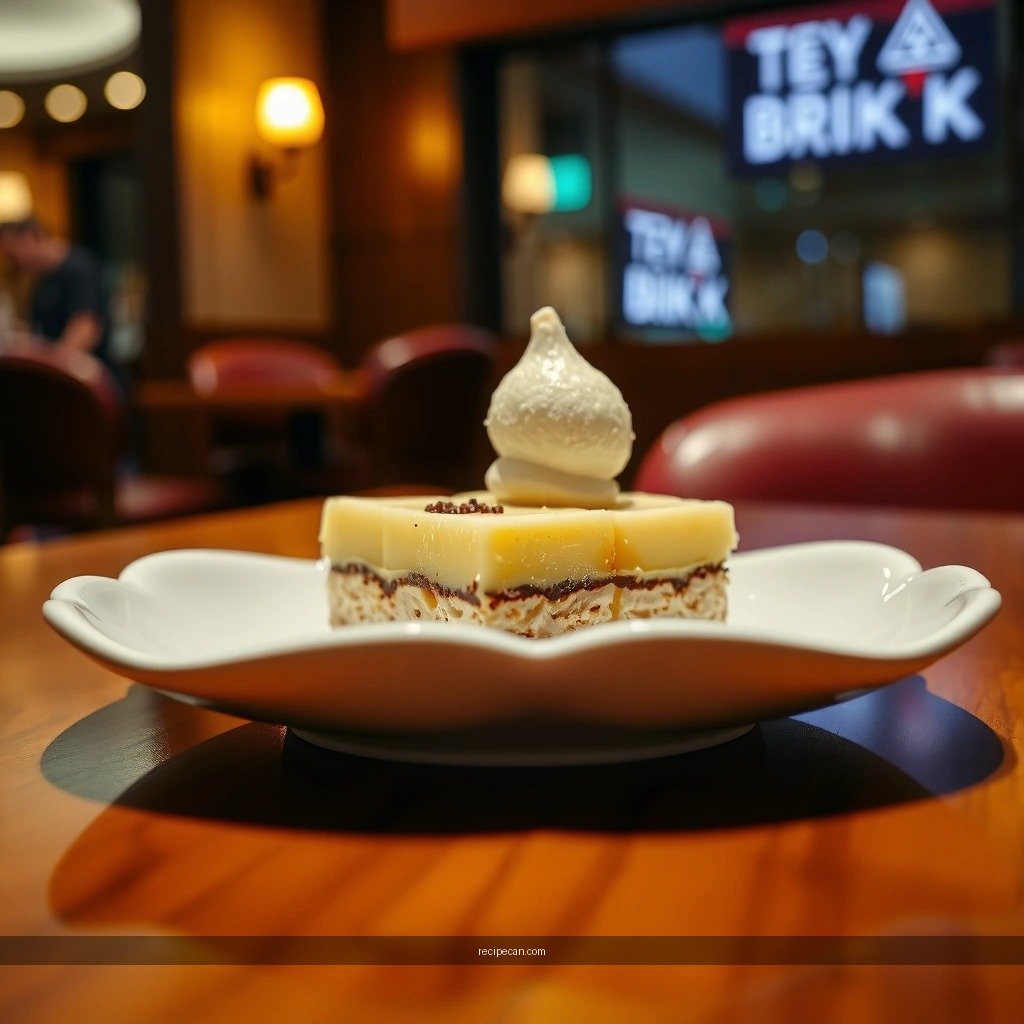
Even the best banana pudding bars can look messy if the pan isn’t prepared correctly. Your goal is release + clean edges—because the point of bars is portioning with confidence.
Pan and liner choices
– Use a lined baking dish or parchment for easy removal.
Line the bottom and sides with parchment paper, leaving overhang so you can lift the entire slab out. This reduces crumbling and protects the cookie layers from tearing.
– Choose the right pan size.
An 8×8-inch pan yields thicker layers that hold together well. A 9×13-inch pan can work, but the bars will be thinner—making chilling time and cutting technique even more important.
Chilling before cutting is non-negotiable
– Chill fully after assembly, not just until “cool.” Custard-like fillings continue to set in the fridge.
– Aim for at least 4 hours, ideally overnight, so each layer slices cleanly without smearing.
Tools that improve results
– Offset spatula or rubber spatula to smooth pudding evenly
– Sharp knife (or warmed slightly under hot water and wiped dry) for cleaner cuts
– Measuring cup to portion layers consistently—especially the crushed cookie base
Step-by-Step Instructions (Layer, Chill, Slice)
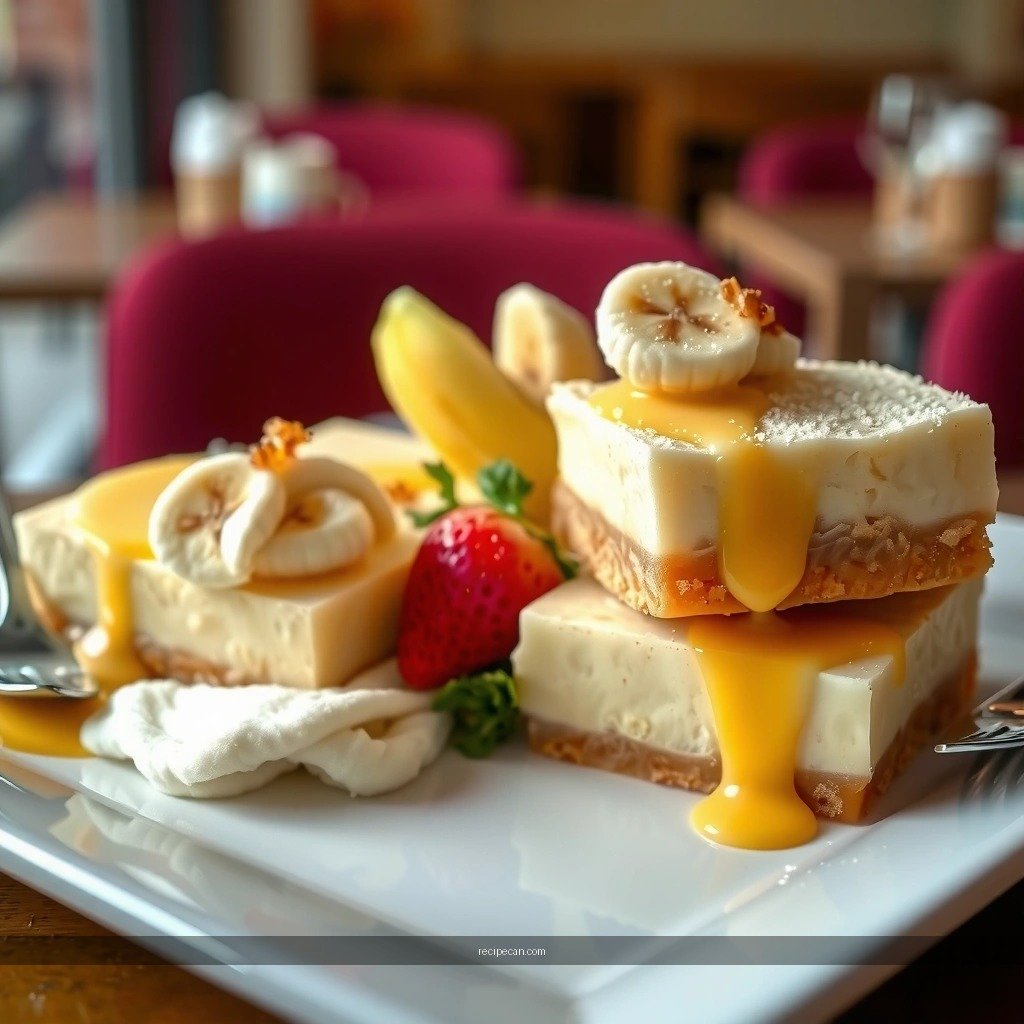
This recipe is built around a repeatable layering sequence. The method is simple—accuracy is what makes it “no-fuss.”
Step 1: Crush the vanilla wafers (cookie base)
1. Place vanilla wafers in a sealed bag.
2. Crush until you have a mix of fine crumbs and small bits.
3. Press crumbs into the lined pan for an even bottom layer. Lightly pack it so it supports the pudding.
Why this matters: fine crumbs bind with the pudding, while small bits maintain texture.
Step 2: Mix the instant banana pudding
1. Whisk the instant banana pudding mix with cold milk until thickened.
2. Let it stand for a minute if the package recommends it (this helps it reach the right viscosity).
Pro control tip: Don’t over-mix. Overworking can make the filling looser than intended.
Step 3: Layer pudding, bananas, and cookie repeats
1. Spread a layer of pudding over the cookie base.
2. Add sliced bananas in an even layer (not mashed into the pudding).
3. Repeat with another layer of pudding, then add any optional banana slices where you want extra banana presence.
Step 4: Top with whipped topping
Spoon whipped topping over the final pudding layer and smooth gently. This creates the creamy top that characterizes banana pudding bars and also provides a seal over the custard.
Step 5: Finish with cookie garnish
Top with additional crushed or lightly broken vanilla wafers. This keeps the classic banana pudding “cookie meets custard” effect visible on every slice.
Step 6: Chill until firm, then slice
– Chill until the bars are fully set—typically 4–6 hours for minimum sliceability, overnight for best results.
– Lift from the pan using the parchment overhang, place on a cutting board, and slice with a sharp knife.
Portioning approach: wipe the knife between cuts for the cleanest edges.
Best Tips for Getting the Classic Banana Pudding Flavor
The “classic” part of banana pudding flavor comes from two things: ripe banana sweetness and the vanilla cookie-custard contrast. These tips focus on sensory outcomes, not just technique.
– Use ripe bananas for sweetness and better texture
Look for bananas with yellow skin and some brown speckling. They provide balanced sweetness and a softer texture that blends harmoniously with instant pudding.
– Avoid watery bananas
If your bananas are very soft or overly wet, slice them carefully and pat lightly if needed. Watery fruit can thin the pudding layer.
– Add a light wafer topping for extra crunch on top
A thin sprinkle of crumbs or a few broken wafers on top preserves crunch longer. If you fully submerge all cookies into pudding, crunch will soften quickly.
Optional flavor refinement (still no-fuss):
– Add a tiny pinch of salt to the pudding mixture to enhance banana and vanilla notes.
– Use cold milk and chill promptly—temperature stability supports the correct pudding thickness.
Make-Ahead, Storage, and Freezing Options
Banana pudding bars are naturally meal-prep-friendly because chilling improves structure and flavor integration. If you’re planning for gatherings, this is one of those desserts that gets better with time—up to a point.
Refrigeration
– Refrigerate covered for best flavor within a few days.
– Store in the fridge in an airtight container or keep the pan covered tightly to prevent the whipped topping from drying out.
How long do they last?
– Typically 3–4 days for best quality, with the cookie crunch diminishing over time as the bars absorb moisture.
Freezing (for longer planning)
– Freeze bars (if desired) and thaw in the fridge for serving.
– For best texture after thawing: wrap individual portions tightly in plastic wrap, then place in a freezer-safe bag or container.
– Thaw overnight in the refrigerator rather than at room temperature to maintain layer integrity.
Serving tip: If you want slightly revived crunch, add a few fresh wafer crumbs right before serving.
Common Mistakes to Avoid
Most “banana pudding bars” failures come from cutting early or using ingredients that don’t behave in layered systems. Here are the pitfalls and how to prevent them.
– Don’t cut too soon—warm bars won’t hold their layers
If the bars are warm, the pudding is still setting. Cutting too early causes smearing and loose layers.
Fix: follow the chilling timeline and cut only when firm.
– Avoid watery bananas or over-mixing the pudding for the right consistency
Watery banana slices can create thin, watery pockets in the custard layer. Over-mixing can affect pudding thickness.
Fix: slice ripe bananas and mix pudding just until thick; let it rest briefly if instructed on the box.
– Skipping pan prep
If you don’t line the pan, lifting can tear the cookie base and make edges crumble.
Fix: use parchment with overhang and lift gently.
– Uneven layering
Thick spots may prevent consistent chilling and cause sections to slice differently.
Fix: spread pudding evenly and distribute banana slices consistently across the surface.
Chill the banana pudding bars until firm, layer carefully for that creamy-cookie contrast, and slice when set for clean pieces. Try this recipe today—then make it ahead and serve it cold for the best classic banana pudding bar experience.
In summary, creamy banana pudding bars are easiest when you treat them like a structured layered dessert: crushed vanilla wafers for a stable base, thick instant banana pudding for dependable setting, and ripe banana slices for classic flavor. With proper pan prep, sufficient chilling time, and a sharp-cut slicing approach, you’ll get neat bars with that signature cookie-and-custard texture every time.
Frequently Asked Questions
What are the best banana pudding bars recipe ingredients?
A classic banana pudding bars recipe typically uses vanilla wafer crumbs (or crushed cookies) for the crust, sweetened condensed milk for richness, instant vanilla pudding mix for structure, milk for consistency, and sliced bananas for flavor. Many recipes also include whipped topping or cream cheese for a thicker, creamier layer that holds well when chilled. For an extra “pudding” taste, use real vanilla and consider adding a pinch of salt to balance the sweetness.
How do you make banana pudding bars with a no-bake crust?
To make a no-bake crust, mix crushed vanilla wafers with melted butter until the crumbs look like wet sand, then press firmly into a lined baking dish. Bake is optional, but chilling the crust for 15–30 minutes helps it set. After that, prepare the banana pudding filling (often whisking pudding mix with milk and folding in whipped topping), then layer sliced bananas and spread the filling over the crust before chilling again to firm up.
How do you prevent bananas from turning brown in banana pudding bars?
Brown bananas are mostly a freshness issue, so timing matters. Slice the bananas right before assembling and optionally toss them lightly with a squeeze of lemon juice or a splash of pineapple juice to slow browning. Keep the bars tightly covered in the refrigerator; exposure to air speeds up oxidation and can affect the look of your banana pudding bars.
Why do banana pudding bars turn out runny, and how can you fix it?
Runny banana pudding bars usually come from under-measuring pudding mix, using pudding that isn’t instant, or not chilling long enough for the layers to set. Make sure you use the correct amount of instant pudding mix, whisk it thoroughly, and let the assembled bars refrigerate at least 2–4 hours (overnight is best). If your filling is already too loose, chilling longer often helps, but adding extra pudding mix works best only if you catch it early before layering.
Which baking dish size is best for banana pudding bars, and how do you cut them cleanly?
Many banana pudding bars are made in a 9×13-inch pan for standard thickness, but you can adjust recipe portions based on your dish size. For thicker bars, use a smaller pan; for thinner bars that slice easily, a larger pan helps. Chill completely, then use a sharp knife dipped in warm water, wiping between cuts, to get neat slices without smearing the creamy layer.
References
- Banana pudding
https://en.wikipedia.org/wiki/Banana_pudding - Pudding
https://en.wikipedia.org/wiki/Pudding - Custard
https://en.wikipedia.org/wiki/Custard - Graham cracker crust
https://en.wikipedia.org/wiki/Graham_cracker_crust - Graham cracker
https://en.wikipedia.org/wiki/Graham_cracker - Wafer
https://en.wikipedia.org/wiki/Vanilla_wafer - Dessert bar
https://en.wikipedia.org/wiki/Dessert_bar - Google Scholar Google Scholar
https://scholar.google.com/scholar?q=banana+pudding+bars+recipe - Google Scholar Google Scholar
https://scholar.google.com/scholar?q=banana+pudding+dessert+bars - https://scholar.google.com/scholar?q=banana+pudding+sheet+pan+bars+recipe Google Scholar
https://scholar.google.com/scholar?q=banana+pudding+sheet+pan+bars+recipe