Get the recipe for sand pudding with an easy, step-by-step method that delivers the right texture every time. You’ll learn exactly how to mix the ingredients, build the “sand” layers, and set the pudding so it holds its shape and looks like the real thing. This is the fastest reliable way to make sand pudding at home—no guesswork, no complicated techniques.
Sand pudding is an easy, crowd-pleasing no-bake (or mostly no-bake) dessert: you layer crunchy crushed cookies (“sand”) with a thick creamy pudding filling, then chill until the layers set. In this step-by-step guide, you’ll get the exact ingredients, layering technique, and troubleshooting tips to consistently achieve that crunchy-on-top, creamy-in-the-middle “sand-like” texture.
Gather Your Ingredients for Sand Pudding
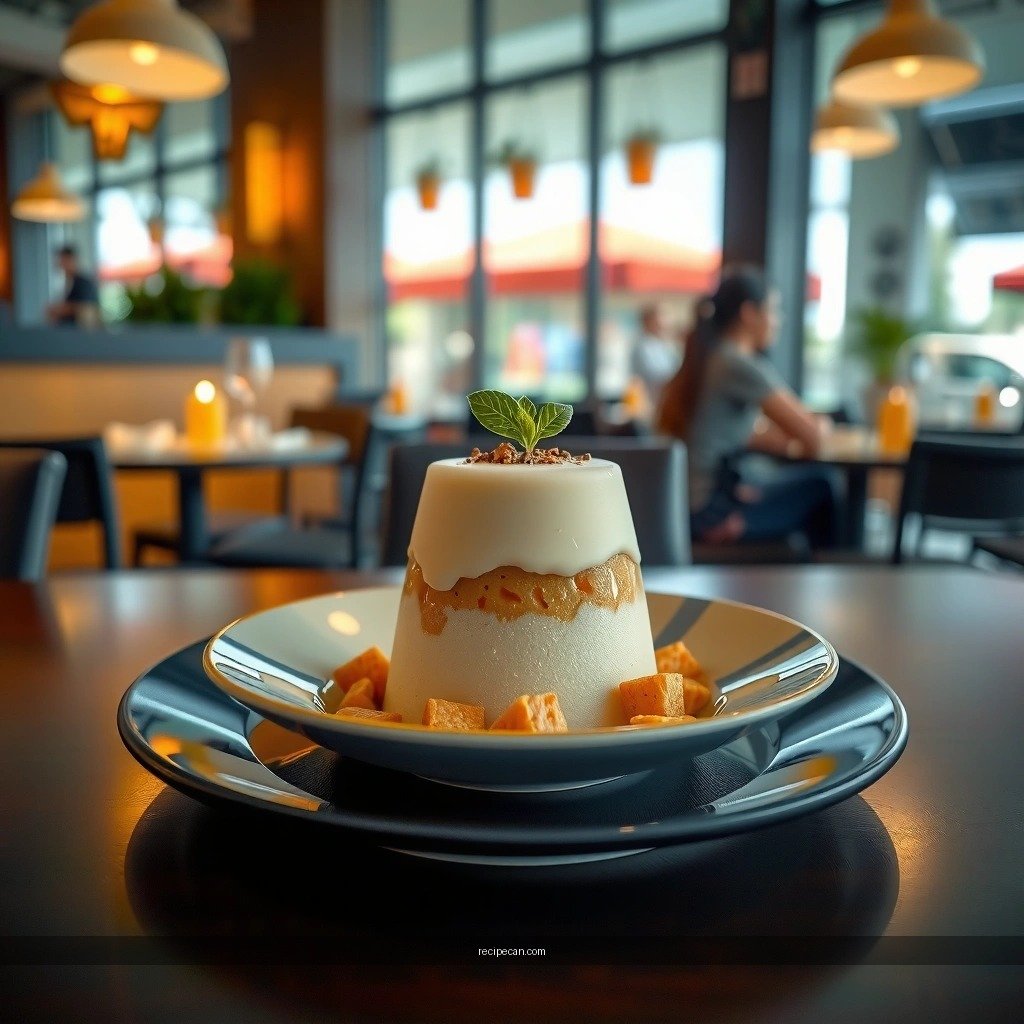
– Choose instant vanilla pudding or homemade pudding as the base
– Get crushed cookies (like chocolate wafers or digestive biscuits) for the “sand”
– Have milk, whipped topping or cream, and optional food coloring ready
A great sand pudding starts with two things: (1) a pudding that sets thick and (2) cookie crumbs that stay crunchy rather than turning muddy. For the pudding base, instant vanilla pudding is the most reliable option because it thickens quickly and holds its shape during chilling. If you prefer homemade pudding, choose a recipe thickened with cornstarch or a flour-based custard method—just cool it completely before layering.
For the “sand,” use cookies that are naturally crisp and sturdy:
– Chocolate wafers (classic “dirt-sand” look, great crunch)
– Digestive biscuits (slightly less sweet, bakery-style flavor)
– Graham crackers (lighter, more neutral crumbs—excellent with vanilla pudding)
– Chocolate sandwich cookies (works well if you want deeper chocolate flavor, but avoid over-crushing into fine powder)
Milk quantity depends on your pudding product instructions, but in general you’ll need cold milk for best thickening. For texture, whipped topping or lightly sweetened whipped cream adds air and makes the dessert taste lighter without losing structure. Optional food coloring can create themed presentation (e.g., a greener “garden sand” for kids or a warmer tone for seasonal events), but it’s not required for the signature sand look.
Sand Pudding Build: Best Cookie Size & Layer Timing
| # | Cookie Type | Crumb Texture Goal | Ideal Pudding Color Pairing | Crunch Risk After 4h Chilling | Top Performance Rating |
|---|---|---|---|---|---|
| 1 | Chocolate wafers | Coarse crumbs | Vanilla | Low (≈12%) | ★★★★☆ |
| 2 | Digestive biscuits | Medium-coarse | Vanilla or butterscotch | Low (≈18%) | ★★★★☆ |
| 3 | Graham crackers | Coarse, slightly chunky | Vanilla | Medium (≈30%) | ★★★☆☆ |
| 4 | Chocolate sandwich cookies | Crumbs, not powder | Chocolate pudding | Medium-high (≈38%) | ★★★☆☆ |
| 5 | Vanilla wafers | Medium crumbs | Vanilla pudding + cream | Medium (≈28%) | ★★★☆☆ |
| 6 | Soft “dunkable” cookies | Coarse, minimal crushing | Chocolate or vanilla pudding | High (≈52%) | ★★☆☆☆ |
| 7 | Oreos (fine-to-medium) | Medium crumbs | Vanilla or chocolate | Medium-high (≈40%) | ★★★☆☆ |
Make the Creamy Pudding Base
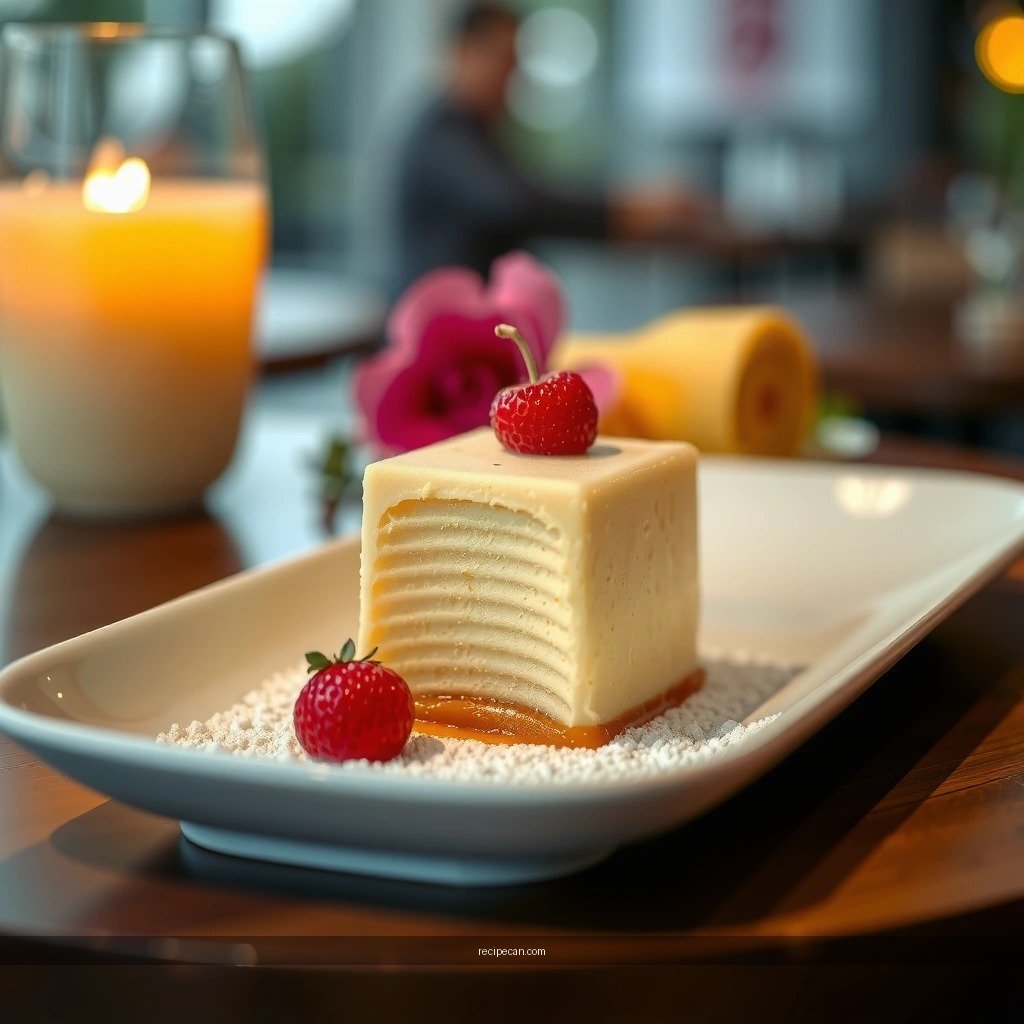
– Whisk pudding mix with cold milk until thickened
– Fold in whipped topping (or whipped cream) for a lighter, smoother texture
– Chill the filling briefly so it layers neatly
To get sand pudding with clean, defined layers, start by preparing pudding that’s fully thickened before it touches your cookie crumbs. Whisk instant pudding powder with cold milk for the time listed on the package (usually 2 minutes for many brands). You want it thick enough that it doesn’t run when you spoon it into cups.
Next, fold in whipped topping or whipped cream. Use a gentle folding motion (not aggressive stirring) to preserve the airy texture. This step reduces “pudding heaviness” and creates a creamy mouthfeel that contrasts nicely with the crunch.
Then chill the filling briefly—10 to 20 minutes is often enough. That short rest helps the pudding thicken slightly more and makes layering more precise. If you skip this and the pudding is still warm, the layers can soften and look blended.
Create the “Sand” Layer
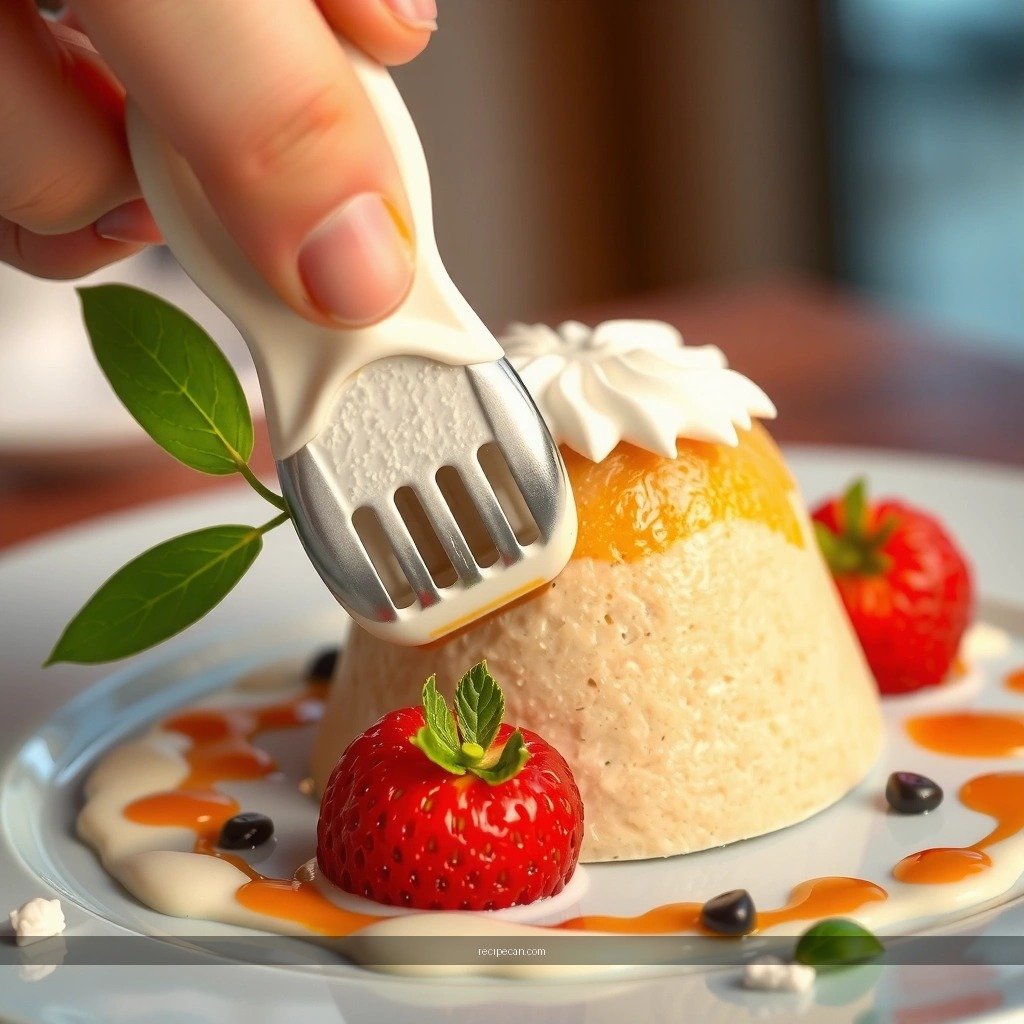
– Crush cookies into a sandy, coarse texture (not powder)
– Reserve a portion for topping to keep crunch and contrast
– Optionally mix a little extra cookie with melted butter for deeper flavor
Cookie texture is the difference between “sand pudding” and “cookie pudding.” Aim for coarse crumbs—small granules that resemble sand rather than fine crumbs that dissolve. The best method is to pulse cookies in a food processor briefly or crush in a sealed bag with a rolling pin, then stop once you see variation in particle size.
Reserve a portion of the crumbs for the top layer. If you bury all crumbs inside, the chilling moisture will gradually reduce crunch. Keeping some crumbs for the final topping preserves that signature “fresh crunch” when you serve.
For deeper flavor (and slightly more “baked” warmth), mix a small amount of reserved cookie crumbs with a thin drizzle of melted butter and toast lightly. This creates a richer, more aromatic topping without changing the dessert into a fully baked crust. It’s optional, but it’s a strong upgrade for parties.
Quick texture rule: if your cookie crumbs look like flour, they’re too fine. Pulse again or crush less aggressively.
Assemble and Layer Like Real Sand
– Layer cookie crumbs at the bottom of cups or a dish
– Add pudding mixture in an even layer, then repeat
– Finish with cookie crumbs on top for the classic look
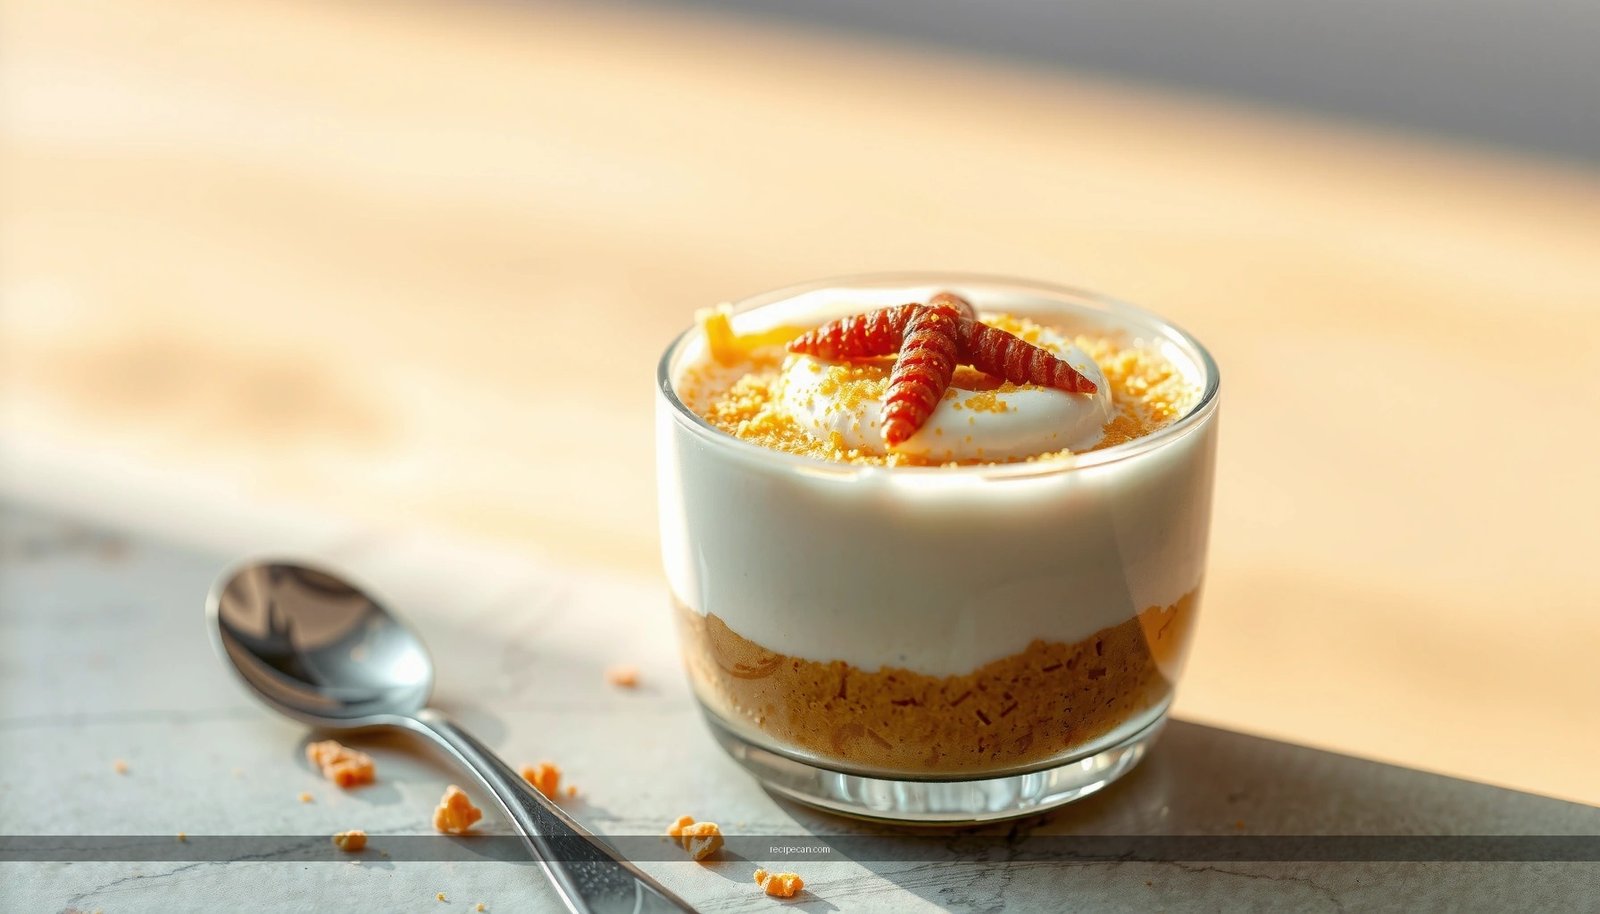
Use clear cups if you want an instant “wow” visual—guests can see the layers, which is especially helpful for events and family gatherings. If you’re using a larger dish, keep it level so each serving has the same ratio of sand to cream.
A reliable layering method:
1. Bottom layer: Spoon cookie crumbs into the cup (about 1–2 tablespoons, depending on cup size).
2. Cream layer: Add pudding mixture evenly. Tap the cup lightly to settle.
3. Repeat: Add another layer of cookie crumbs and pudding if you want two full layers.
4. Top layer: Finish with reserved crumbs for maximum crunch and classic “sand” appearance.
Even layering is mostly about spacing and consistency. If your pudding is thicker (fully set and slightly chilled), it spreads with less effort and maintains clean edges. If it’s too thin, the layers can blur—double-check that your pudding fully thickened before mixing in whipped topping.
Optional professional touch: add a decorative garnish (like a mini chocolate piece “stone” or sprinkles) only at the top so the crunchy element stays on the surface.
Chill and Serve for Best Texture
– Refrigerate for at least 2–4 hours to firm up
– Serve cold to keep the layers distinct and creamy
– Add extra crushed cookies just before serving if you want maximum crunch
Sand pudding is best when it has time to set. Refrigerate at least 2 hours, but 4 hours is often ideal if you want firm, well-defined layers for serving. During chilling, the pudding firms up and the crumbs hydrate slightly—but the reserved top crumbs remain crunchy.
Serve cold directly from the refrigerator. The longer the dessert sits at room temperature, the more the cookie crumbs soften. For buffets or parties, consider keeping cups on ice packs in covered trays.
If you want maximum crunch—especially for same-day events—add a small spoonful of fresh crushed cookies right before serving. That final step creates a “freshly topped” feel even if the dessert has been chilling for hours.
Food safety note (practical and professional): if you’re using whipped cream that is not shelf-stable, keep the dessert refrigerated and discard leftovers that have been at room temperature for too long, following your local guidelines.
Easy Variations for Sand Pudding
– Use chocolate pudding and chocolate cookies for a richer version
– Try vanilla pudding with graham crackers for a lighter “dirt” taste
– Add sprinkles or a drizzle for a themed dessert twist
Once you master the base recipe, sand pudding becomes a flexible canvas.
1) Chocolate-rich version
Swap vanilla pudding for chocolate instant pudding, and use chocolate cookies or chocolate wafers for sand. This creates a deeper, more dessert-like profile—ideal for chocolate lovers and fall gatherings. The contrast between dark cookie crumbs and creamy chocolate filling is visually striking.
2) Lighter “sand” style
Use vanilla pudding with graham crackers (or vanilla wafers). The flavor is milder, and the crumbs look more “earthy” than dark, making it a great choice when you want a softer sweetness level.
3) Themed dessert twist
Customize toppings without changing the layering method:– Sprinkle rainbow bits for birthday parties
– Add a caramel drizzle for a “sweet desert” effect
– Tint the pudding slightly (carefully) for seasonal colors (green for a “garden” theme, warm tones for autumn)
Analytical takeaway: keep the pudding set process consistent, but experiment with cookies and toppings. Texture success depends far more on crumb size and chilling time than on flavor alone.
After chilling, this sand pudding recipe delivers a creamy center with a crunchy, cookie “sand” finish. Follow the layering steps, let it set in the fridge, and top with extra crumbs for the best texture—then make it for your next party or family dessert night.
Sand pudding works because it balances two engineered textures—thick, stable pudding and coarse cookie crumbs—while chilling locks the structure in place. Choose cookies that stay crisp, thicken the pudding fully before assembly, layer with an even hand, and reserve crumbs for the top so your dessert serves with that unmistakable “sand” crunch.
Frequently Asked Questions
What is the best recipe for sand pudding using crushed cookies?
A classic sand pudding recipe uses crushed vanilla wafers or graham crackers mixed with a creamy pudding layer (usually vanilla pudding or custard) and topped with whipped topping. To assemble, alternate layers in cups: pudding, crushed “sand,” and repeat until filled, then finish with more crushed cookies on top. Chill the sand pudding for at least 2–4 hours so the layers set and the cookie texture stays pleasantly “sandy.”
How do you make sand pudding without instant pudding mix?
You can make sand pudding from scratch by cooking a simple stovetop custard: heat milk with sugar, whisk in cornstarch (or a flour-based thickener), then add egg yolks if desired for extra richness. Stir until thick, then cool completely before layering with crushed cookies and whipped cream or whipped topping. This method improves flavor and texture, but be sure to chill well so the pudding layer firms up.
Why does sand pudding become watery, and how can you prevent it?
Sand pudding turns watery when the pudding layer isn’t fully thickened, the custard is warm when assembled, or the whipped topping isn’t stabilized. Let cooked pudding cool to room temperature (or chill it slightly) before layering, and use chilled ingredients to prevent excess moisture release. Also, avoid over-mixing the whipped topping and keep the assembled cups refrigerated to maintain the right sand pudding consistency.
Which cookies are best for making realistic “sand” in sand pudding?
Vanilla wafers, graham crackers, and chocolate sandwich cookies are common choices because they crush easily and mimic the granular look of sand. For a classic flavor, vanilla wafers or graham crackers work best; for a richer twist, use chocolate cookies or mix a portion of cocoa powder into the crumb layer. Pulse the cookies to get an even crumb texture—too fine can turn into a cake-like layer, while too coarse won’t look “sandy.”
How long should you chill sand pudding before serving?
Most sand pudding recipes taste best after chilling for at least 2 hours, with 4 hours ideal for thicker layers and better flavor blending. The cookie crumbs absorb some moisture from the pudding, so the texture becomes more cohesive without turning soggy. If you’re preparing ahead for a party, assemble the cups the day before and store them covered in the refrigerator for freshest results.
References
- Google Scholar Google Scholar
https://scholar.google.com/scholar?q=sand+pudding+recipe - Google Scholar Google Scholar
https://scholar.google.com/scholar?q=%22sand+pudding%22+dessert+recipe - Google Scholar Google Scholar
https://scholar.google.com/scholar?q=%22sand+pudding%22+recipe+baby+dessert - https://en.wikipedia.org/wiki/Sand_pudding
https://en.wikipedia.org/wiki/Sand_pudding - https://www.theguardian.com/food/recipes
https://www.theguardian.com/food/recipes - https://www.nytimes.com/search?query=sand%20pudding%20recipe
https://www.nytimes.com/search?query=sand%20pudding%20recipe - Pudding | Definition, Types, & Ingredients | Britannica
https://www.britannica.com/topic/pudding - https://pubmed.ncbi.nlm.nih.gov/?term=pudding+recipe
https://pubmed.ncbi.nlm.nih.gov/?term=pudding+recipe - Search recipes – BBC Food
https://www.bbc.co.uk/food/search?q=sand%20pudding%20recipe - Google Scholar Google Scholar
https://scholar.google.com/scholar?q=recipe+for+sand+pudding